Phone Number
Email Us Here
Fold to Unfold a Sustainable Future
Phone Number
Email Us Here

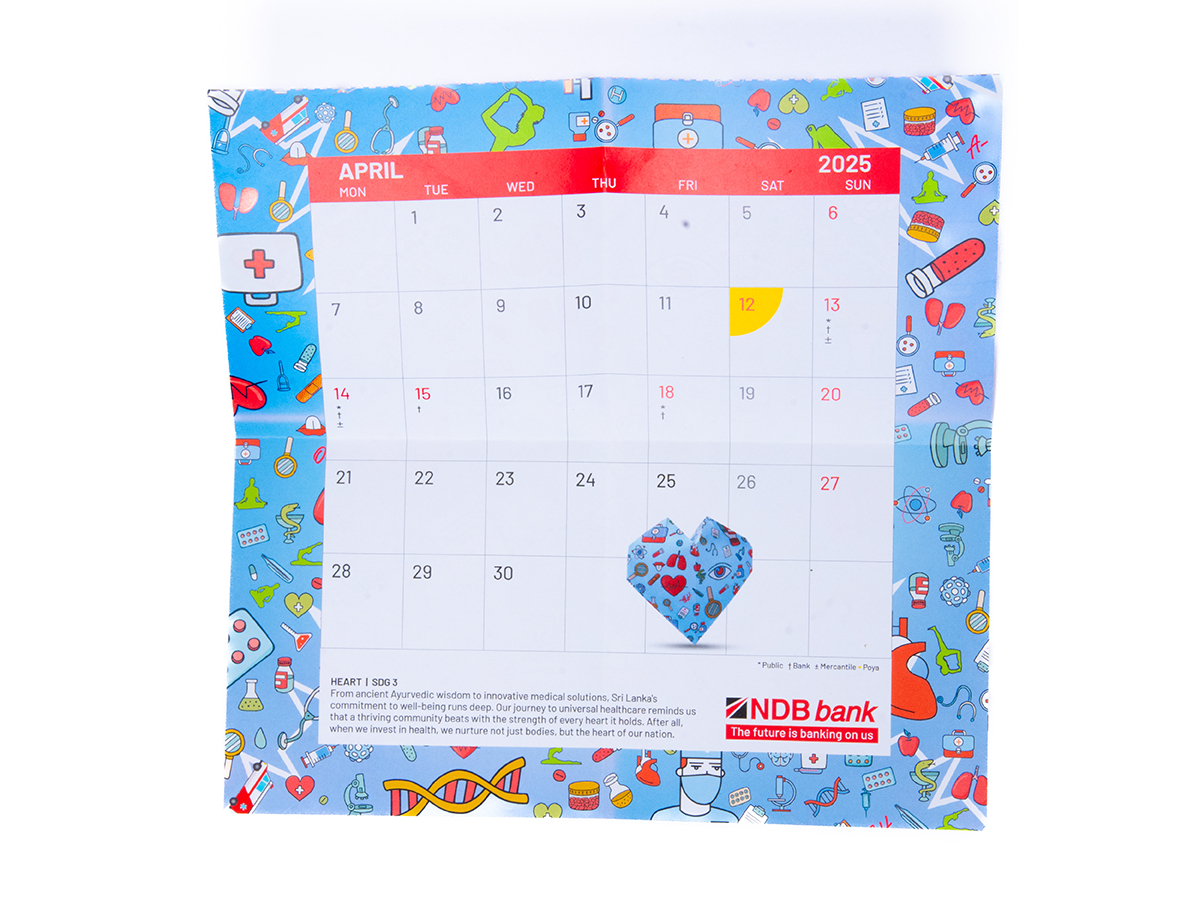
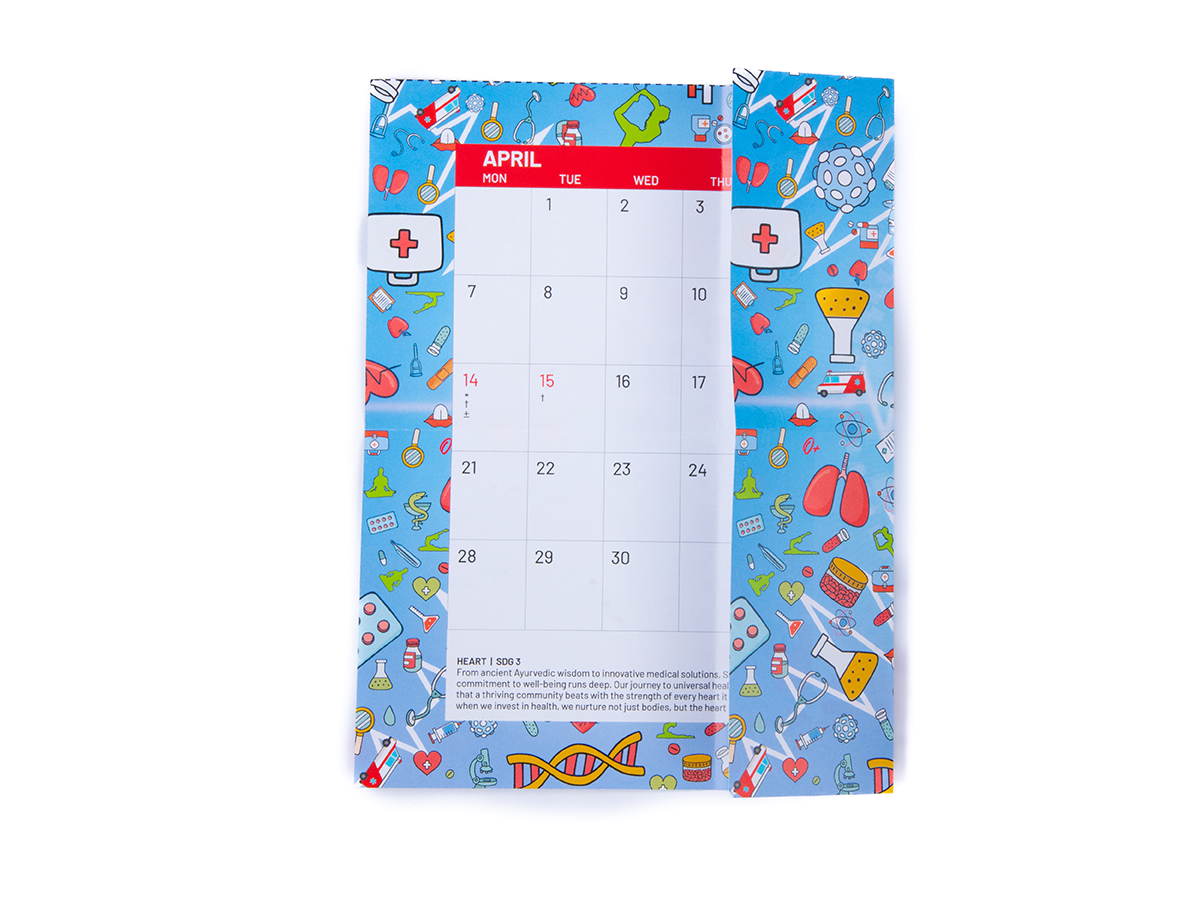
From ancient Ayurvedic wisdom to innovative medical solutions, Sri Lanka's commitment to well-being runs deep. Our journey to universal healthcare reminds us that a thriving community beats with the strength of every heart it holds. After all, when we invest in health, we nurture not just bodies, but the heart of our nation.

Place the April origami sheet in front of you on a flat surface.
Turn the sheet over so that the dated side is facing up. Fold in half horizontally, crease and unfold.
Fold in half vertically without pressing down, and crease ONLY the middle as shown.
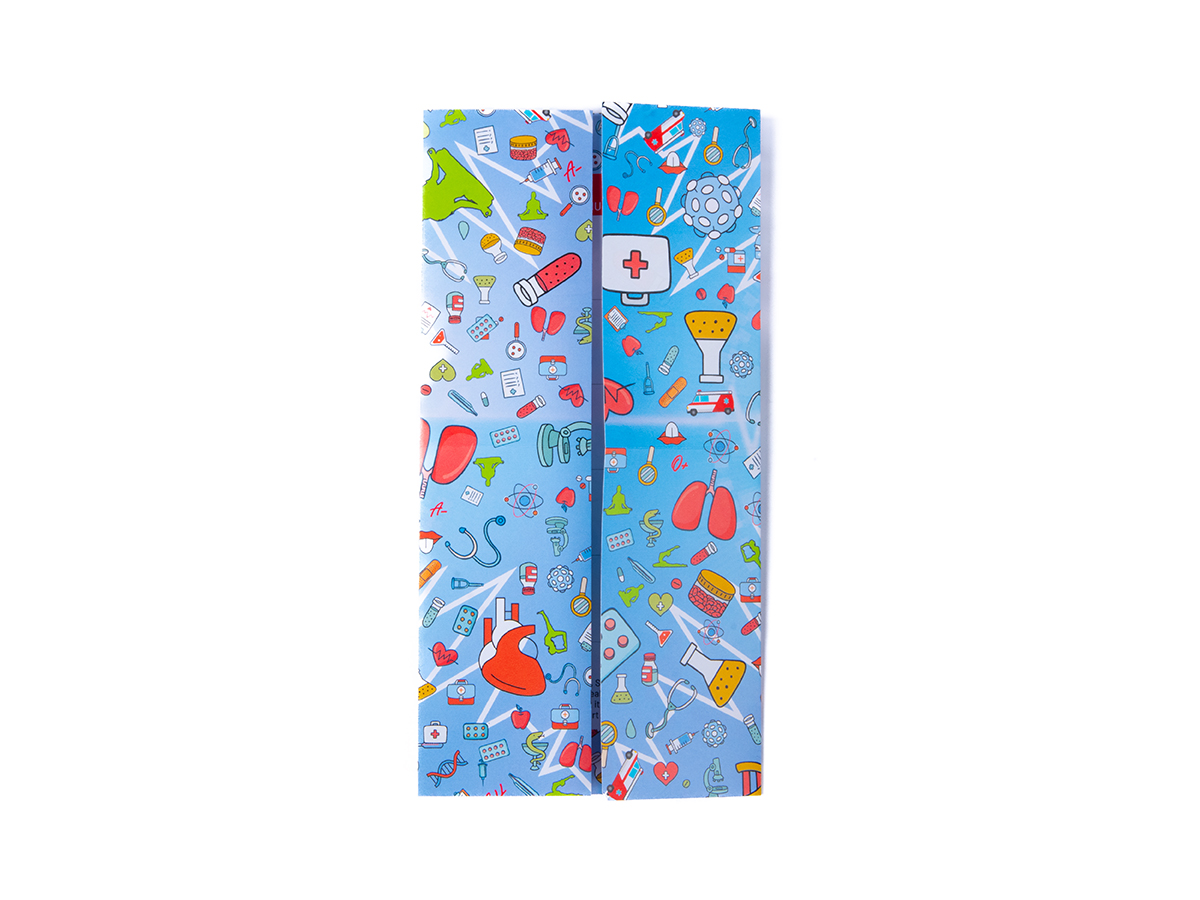
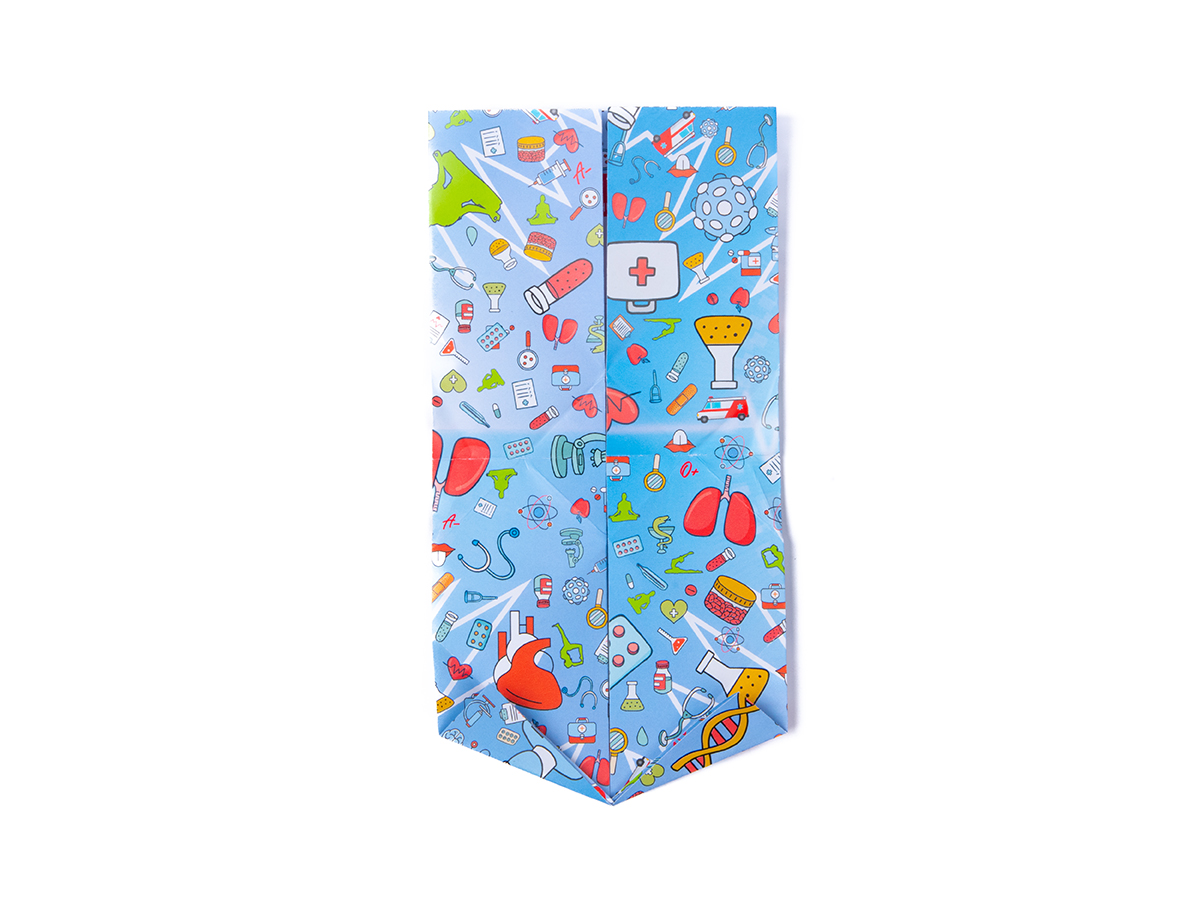
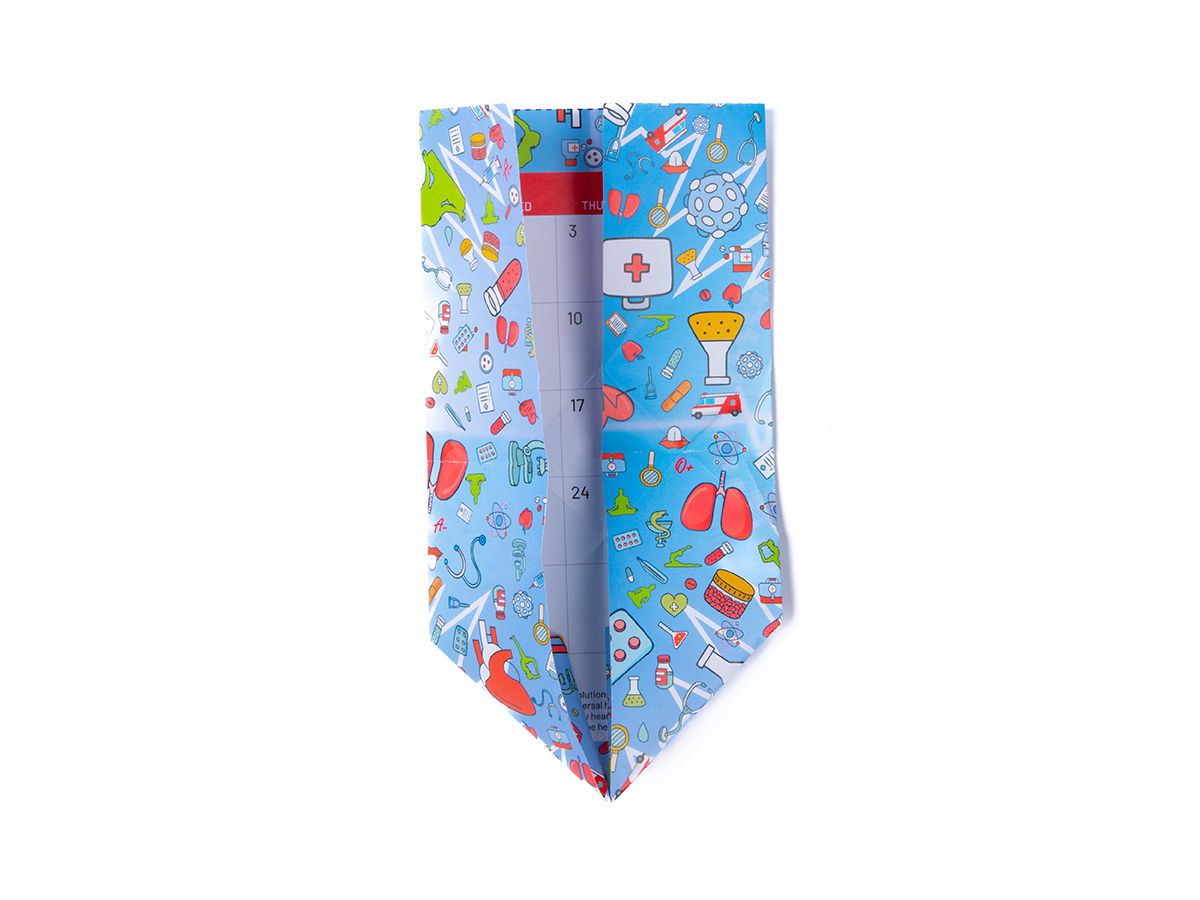
Fold the left and right edges of the sheet in to meet the central vertical crease. This is called a gate fold.
Place the April origami sheet in front of you on a flat surface.
Turn the sheet over so that the dated side is facing up. Fold in half horizontally, crease and unfold.
Fold in half vertically without pressing down, and crease ONLY the middle as shown.
Fold the left and right edges of the sheet in to meet the central vertical crease. This is called a gate fold.

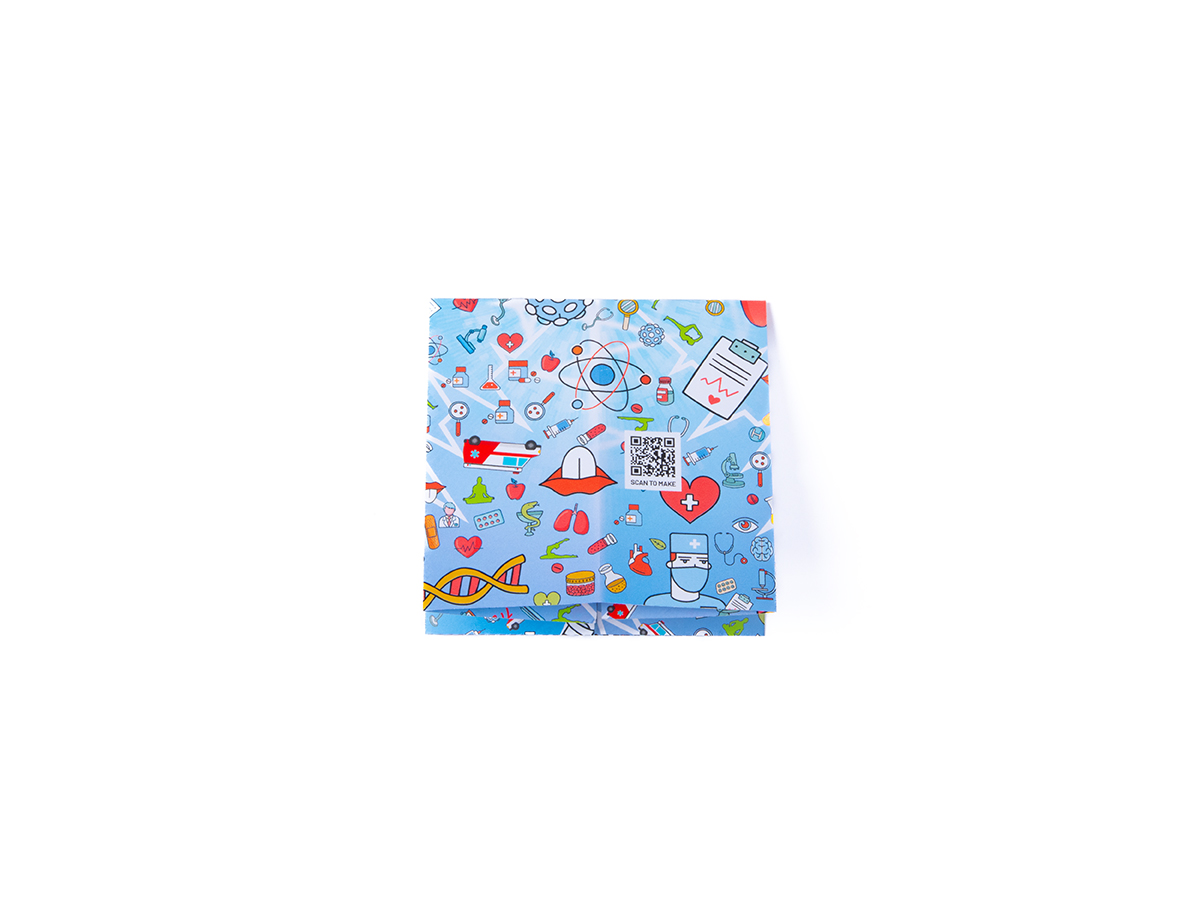
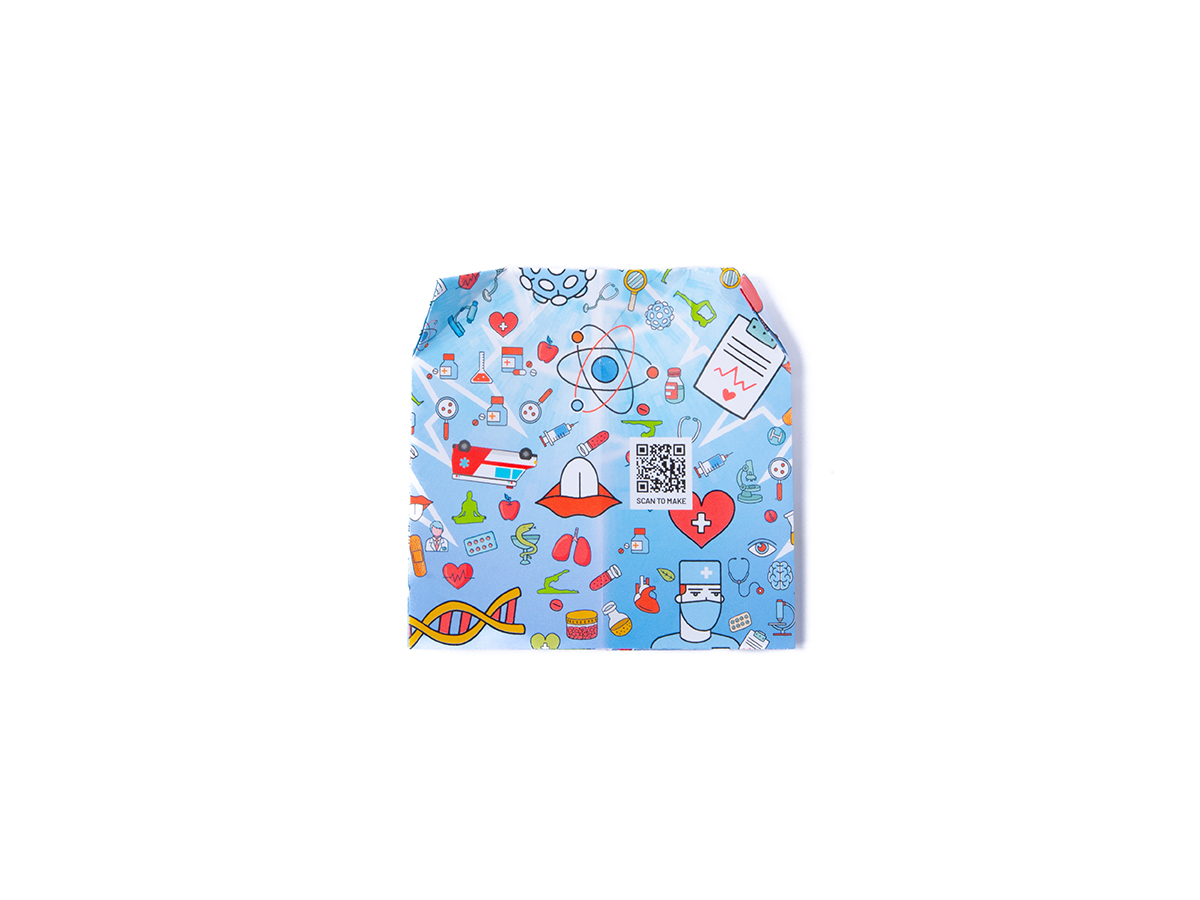
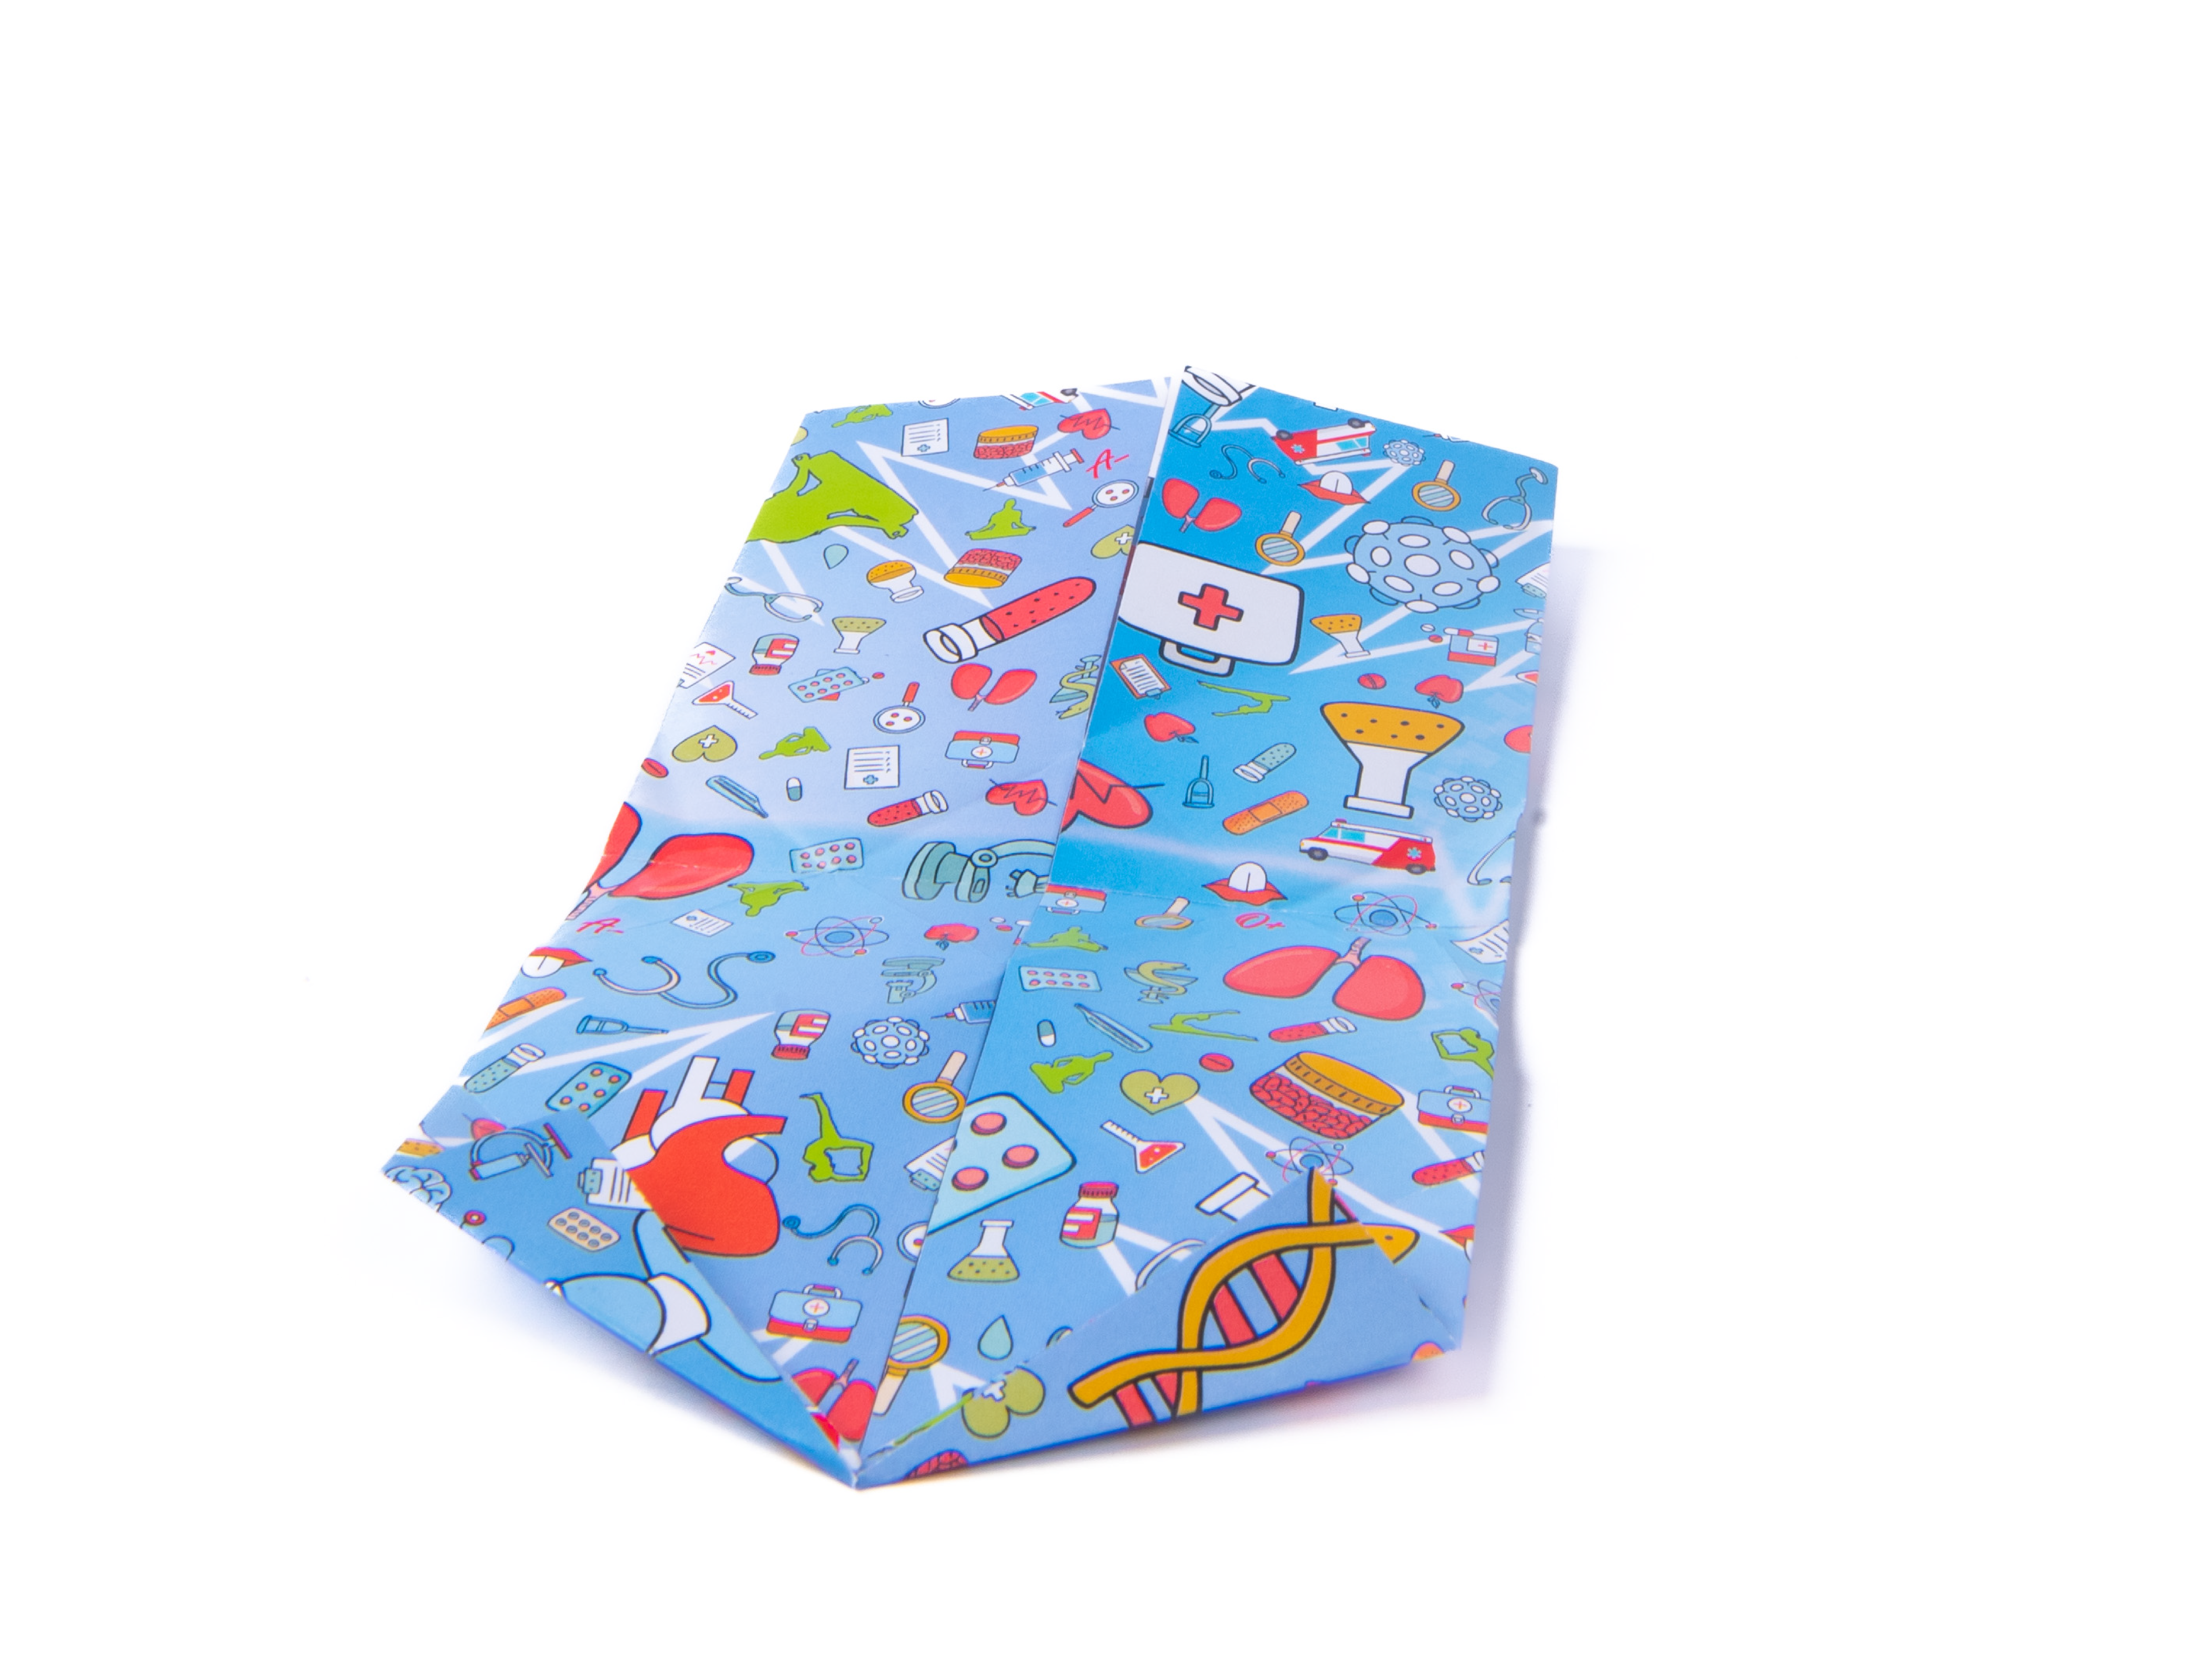
Fold the top edge down to the bottom edge.
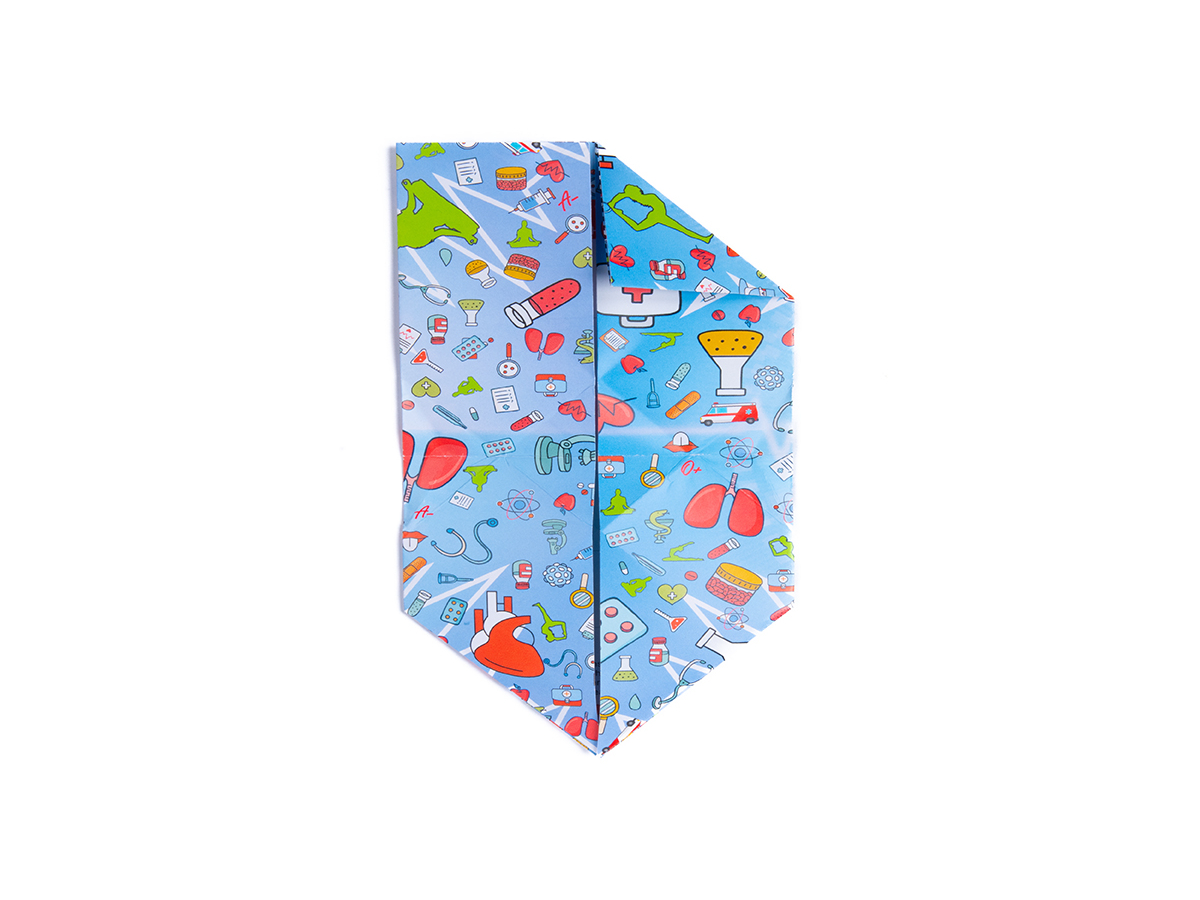
Locate the short middle crease you created in step 3, and find the midway point between that and the top right corner. From this point, fold the right corner down at a 45 degree angle.
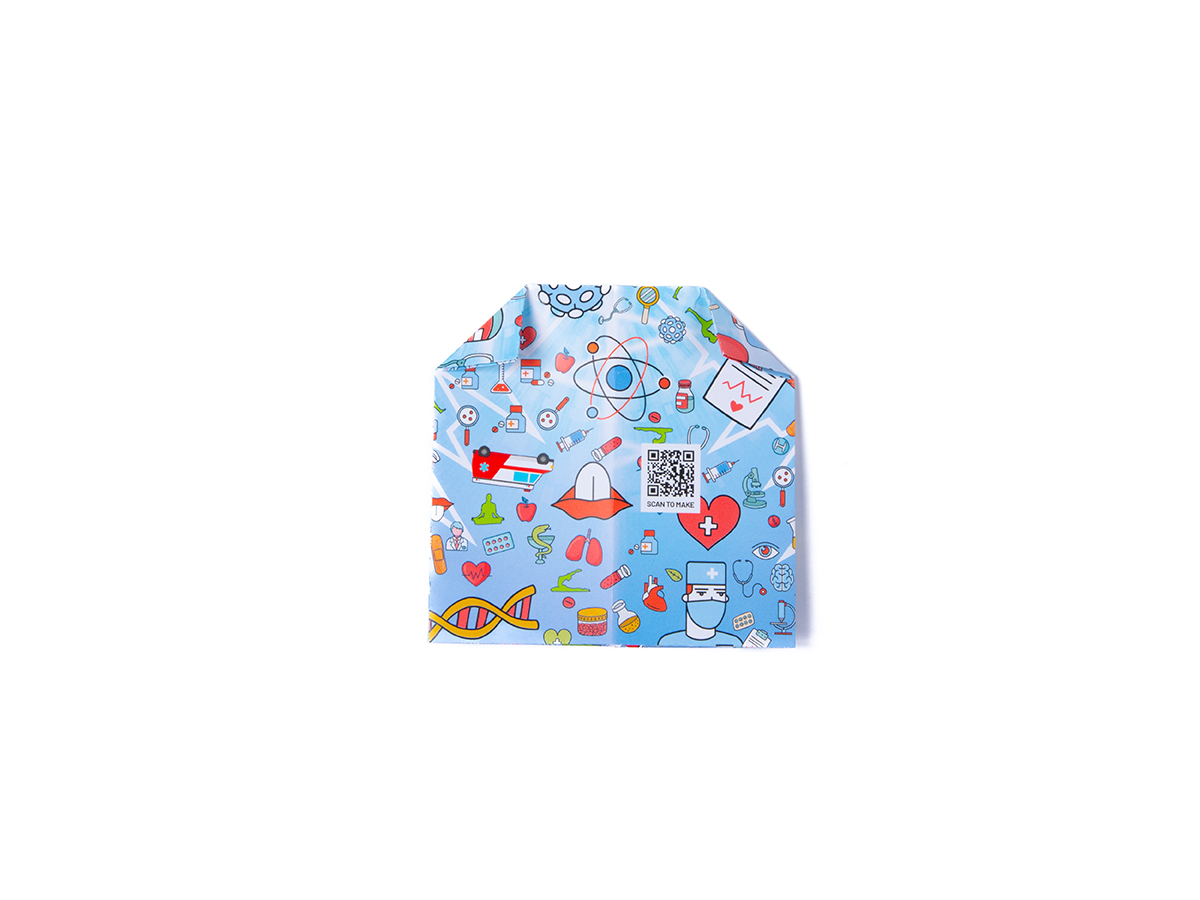
Repeat on the left corner.
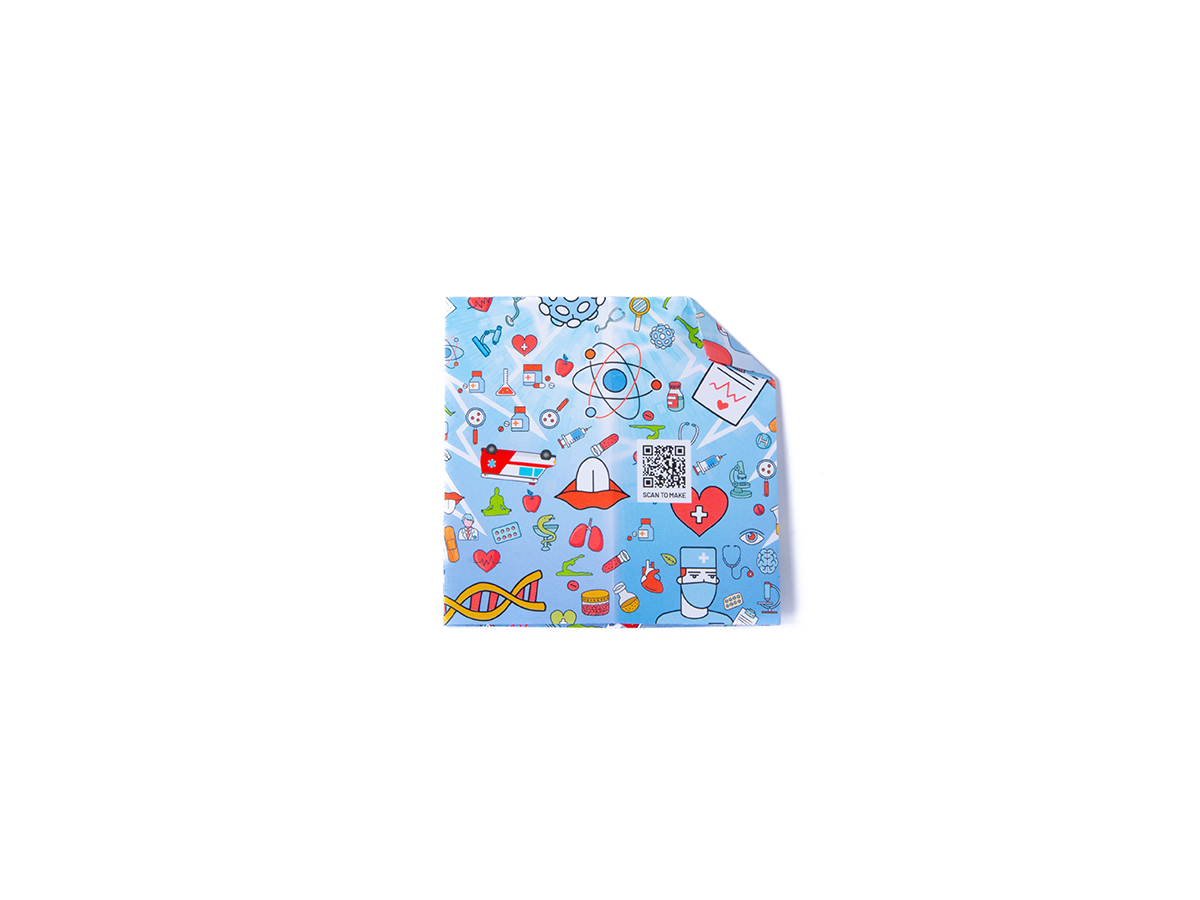
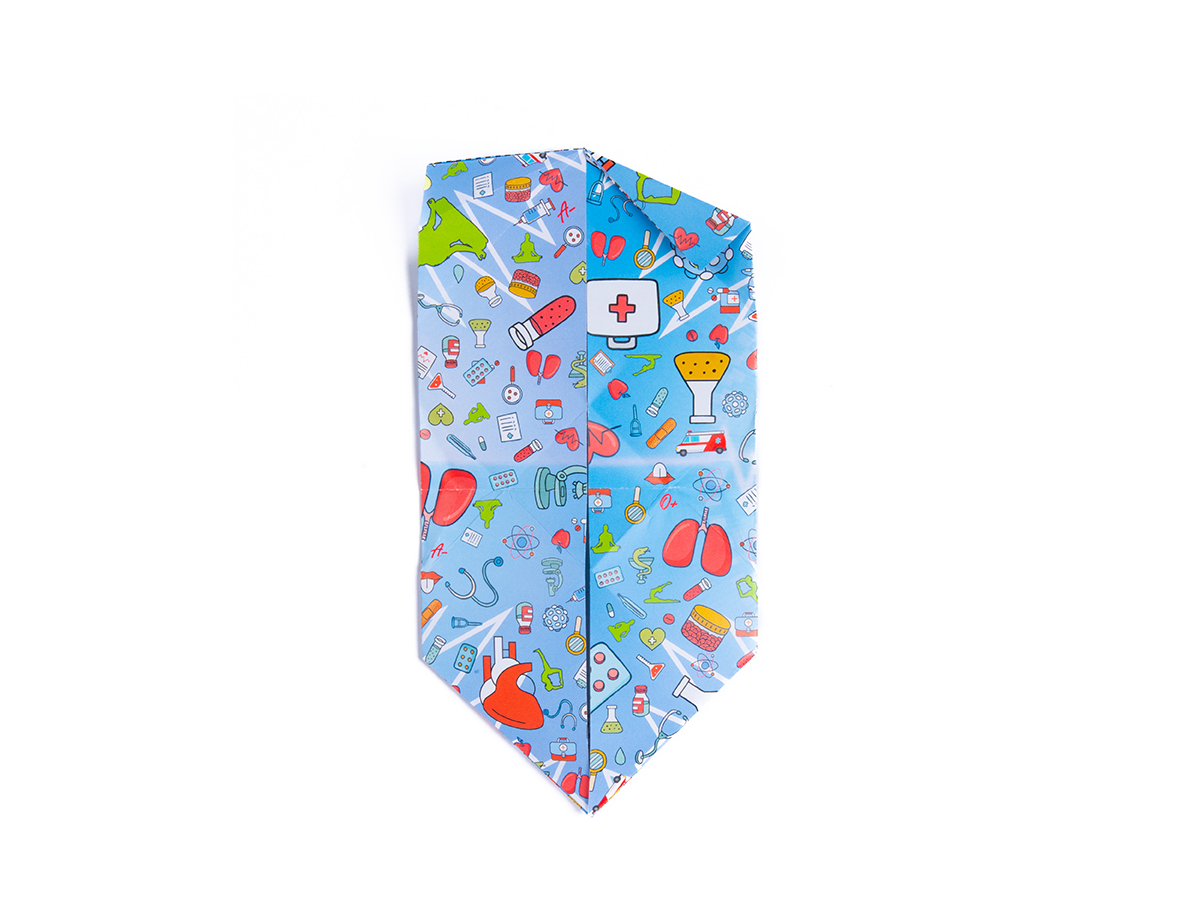
Bring the top right edge to meet the left flap, and crease as shown on the image. Unfold.
Fold the top edge down to the bottom edge.
Locate the short middle crease you created in step 3, and find the midway point between that and the top right corner. From this point, fold the right corner down at a 45 degree angle.
Repeat on the left corner.
Bring the top right edge to meet the left flap, and crease as shown on the image. Unfold.


Repeat on the left edge, bring it down to meet the right flap and creasing well. Unfold.
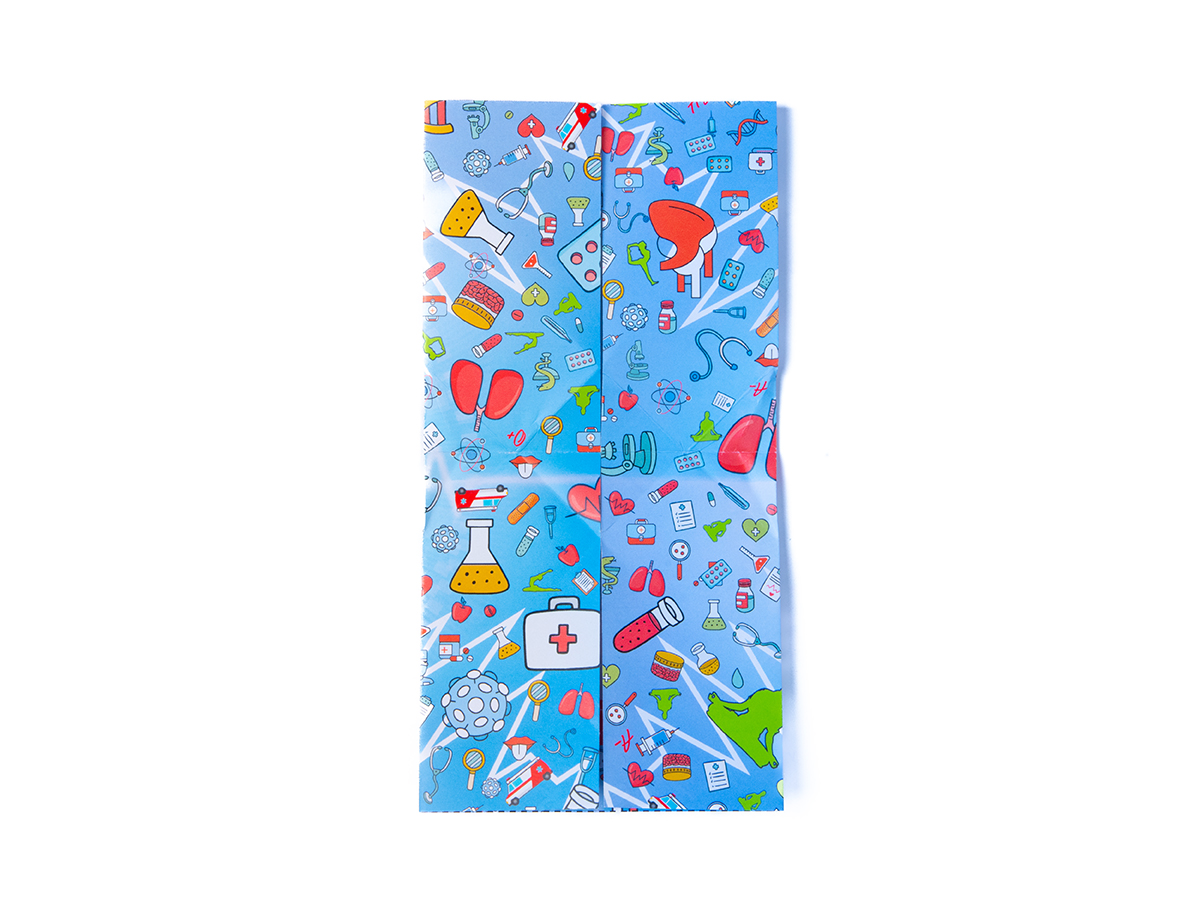
Unfold the left and right corners, then unfold the square upwards. You will see the creases from previous steps like 2 Xs in the middle.
Fold the bottom left and right corners up diagonally to meet the central line. Crease well and unfold.
Fold the bottom left and right corners up again, this time to the to meet the diagonal creases from the previous step. Crease well and unfold.
Repeat on the left edge, bring it down to meet the right flap and creasing well. Unfold.
Unfold the left and right corners, then unfold the square upwards. You will see the creases from previous steps like 2 Xs in the middle.
Fold the bottom left and right corners up diagonally to meet the central line. Crease well and unfold.
Fold the bottom left and right corners up again, this time to the to meet the diagonal creases from the previous step. Crease well and unfold.
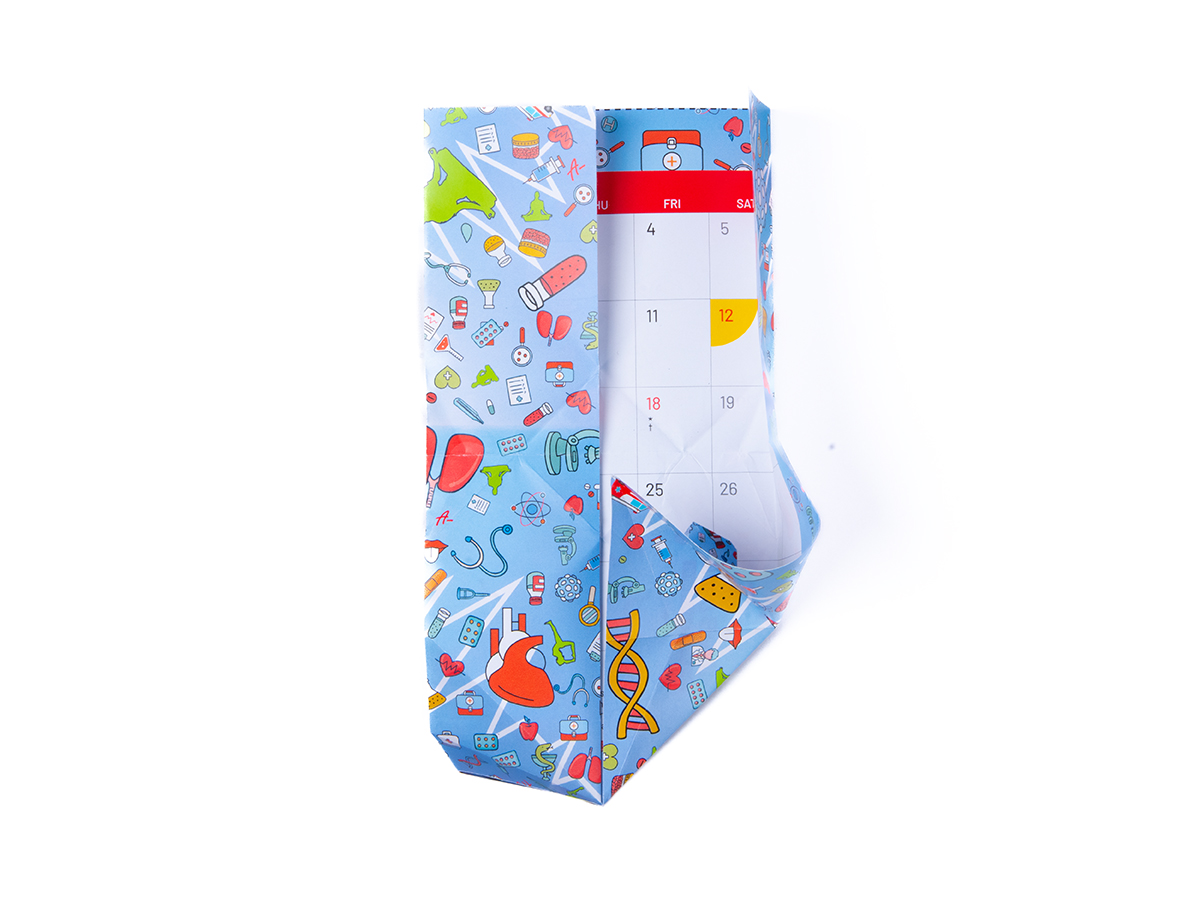
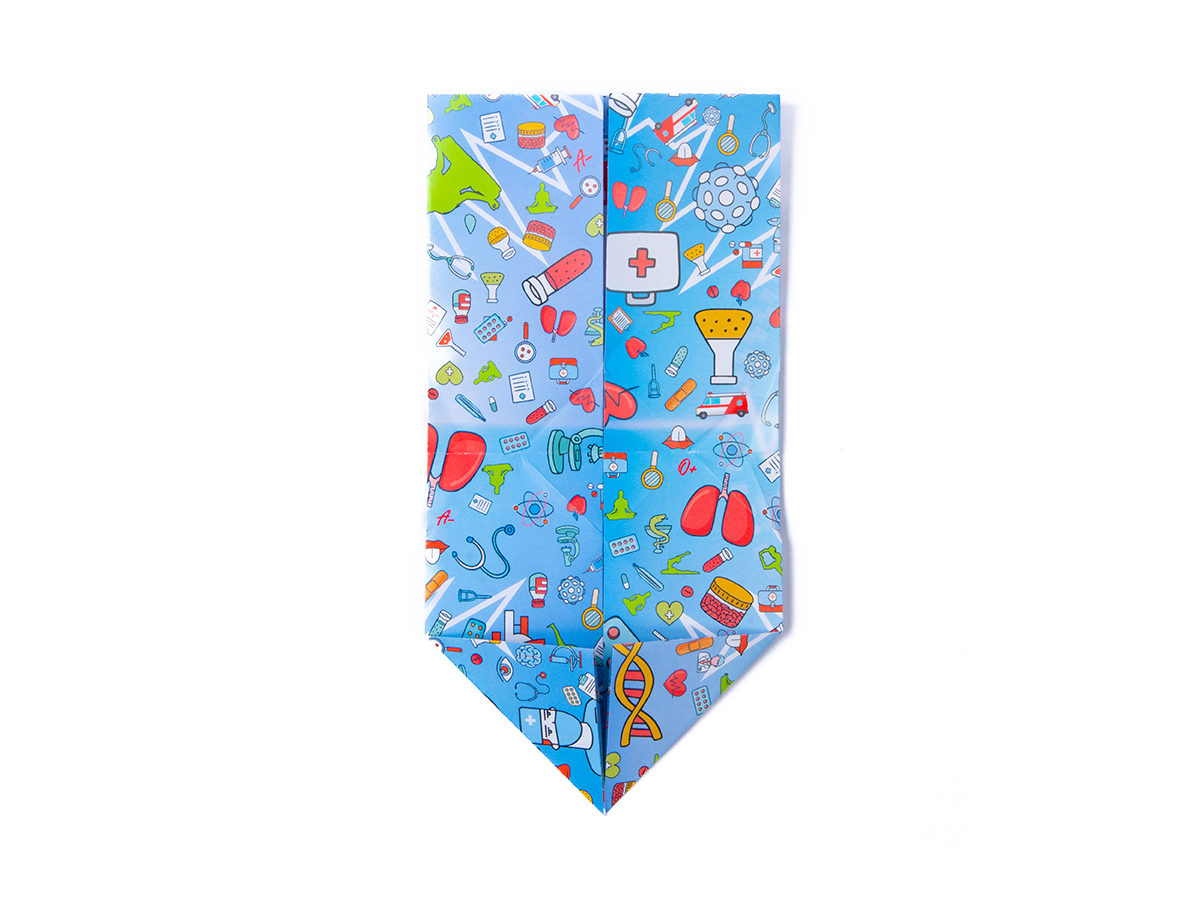
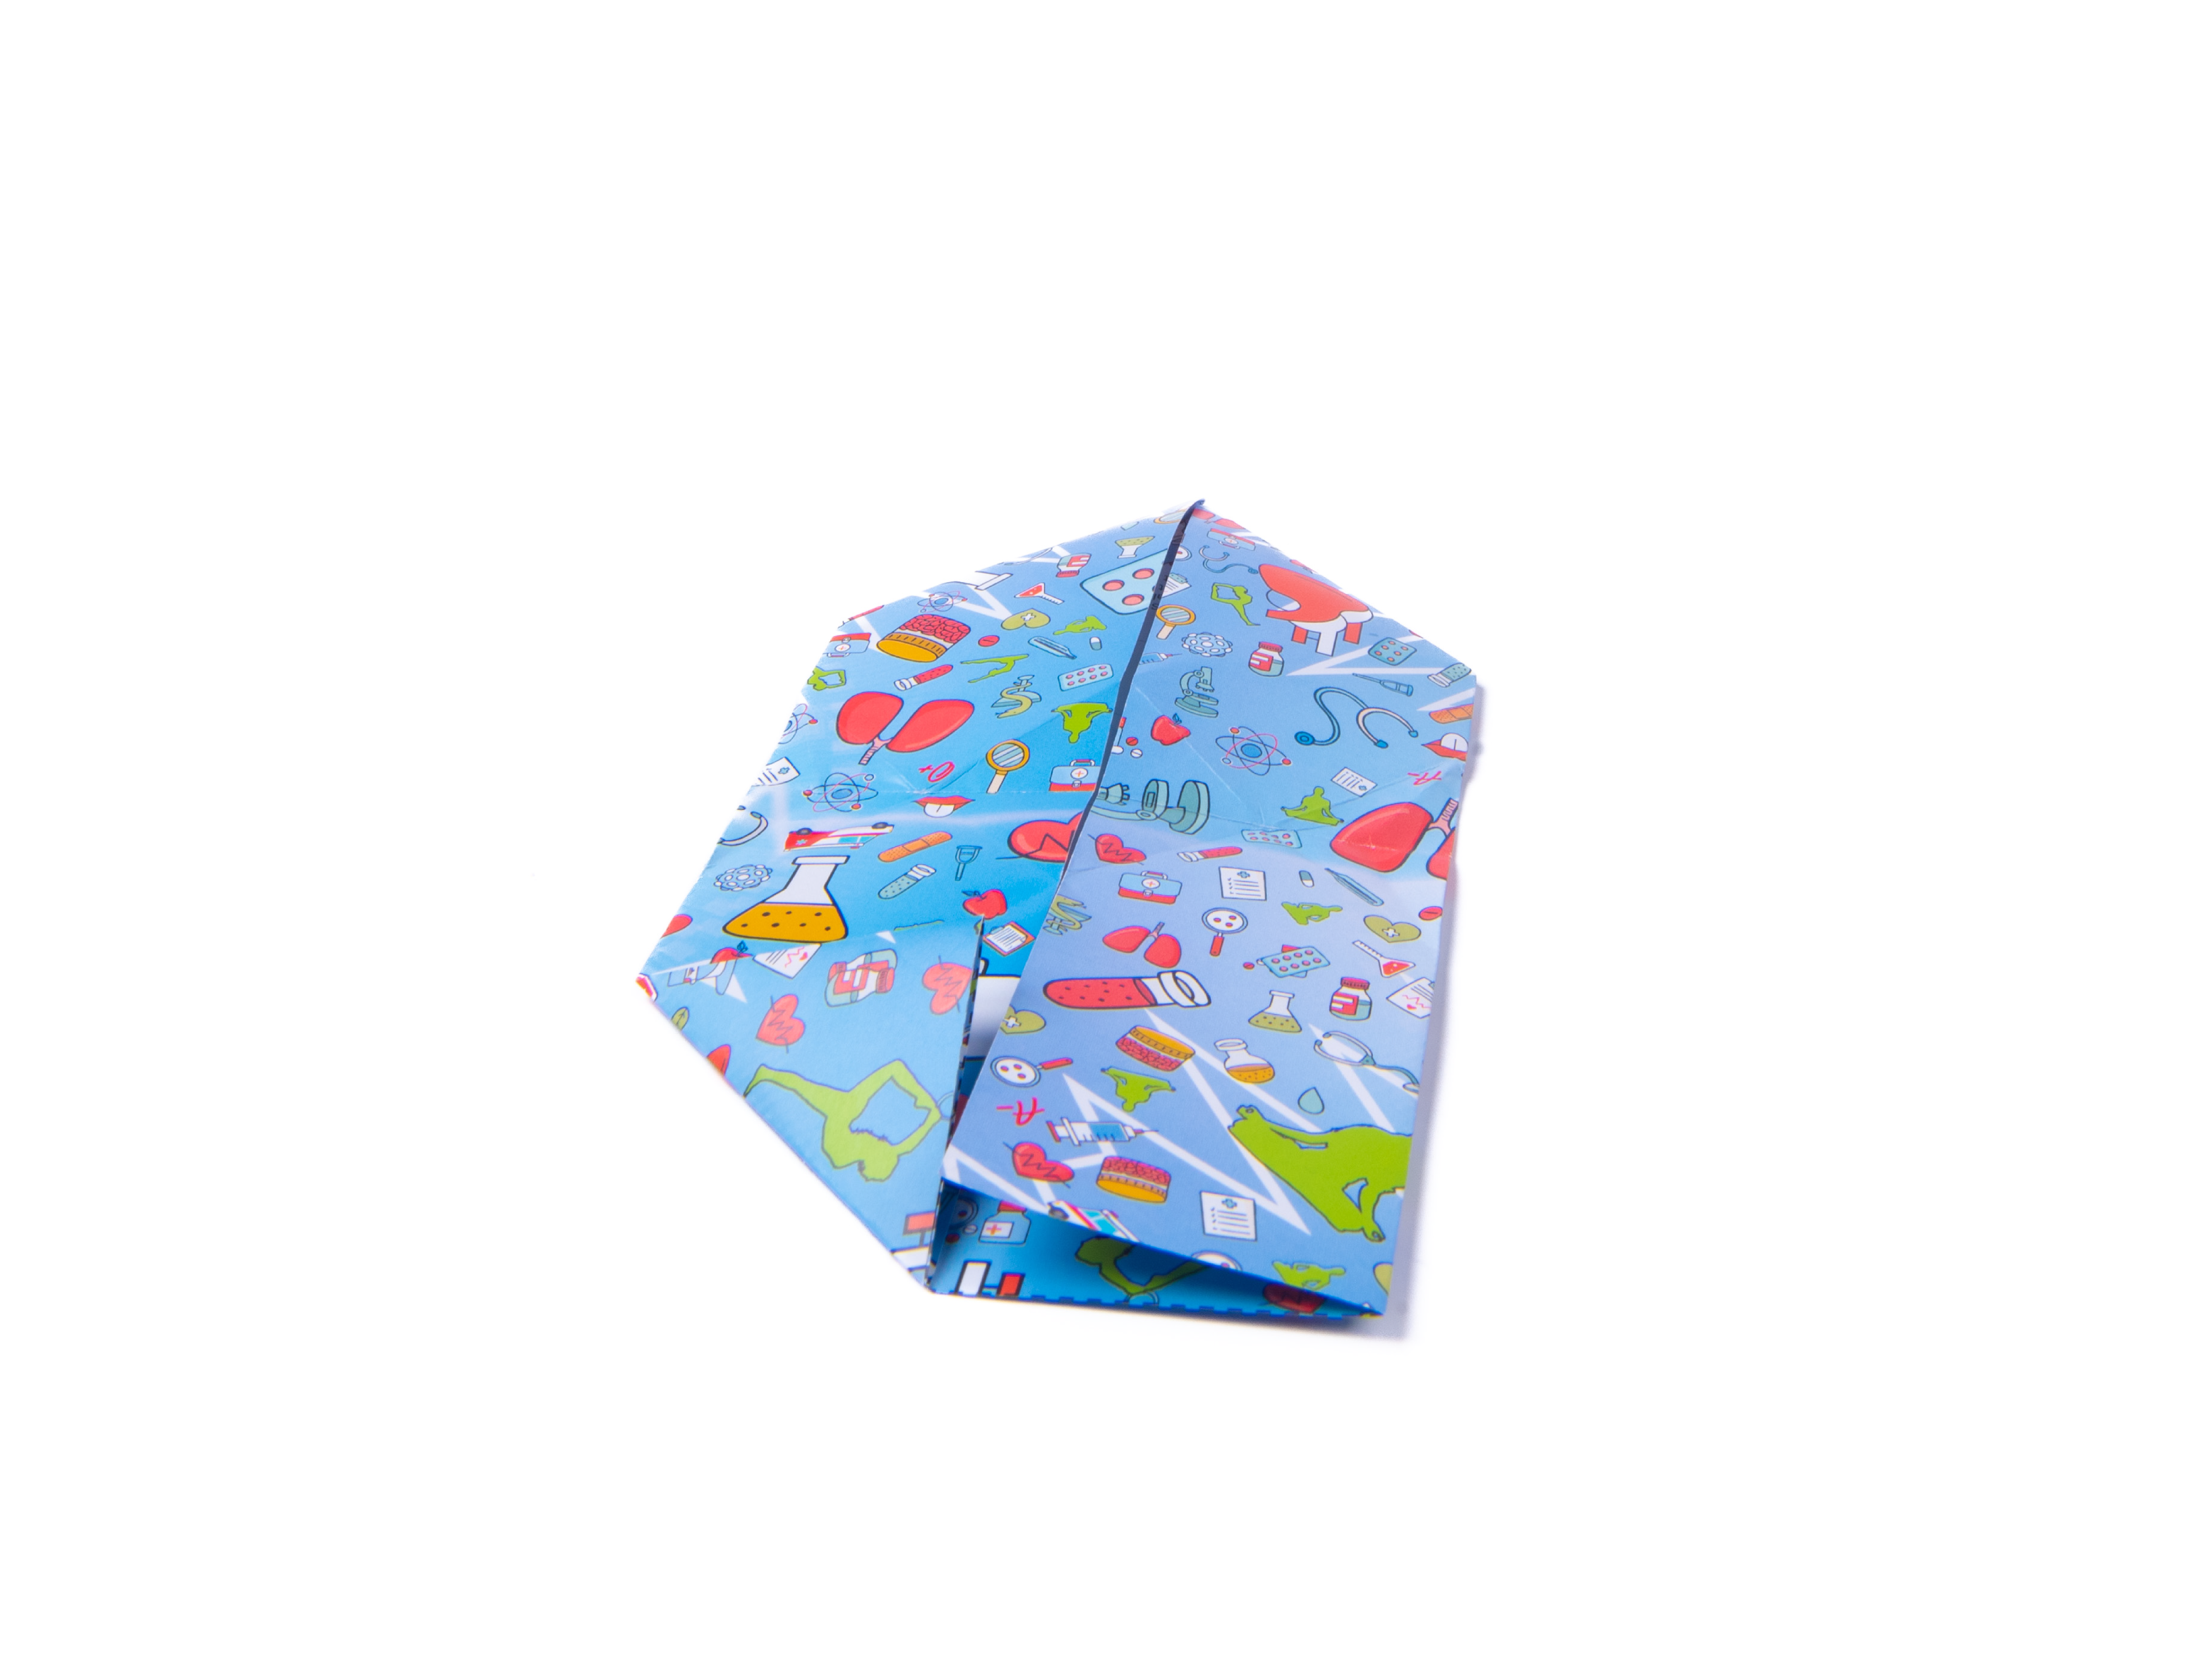
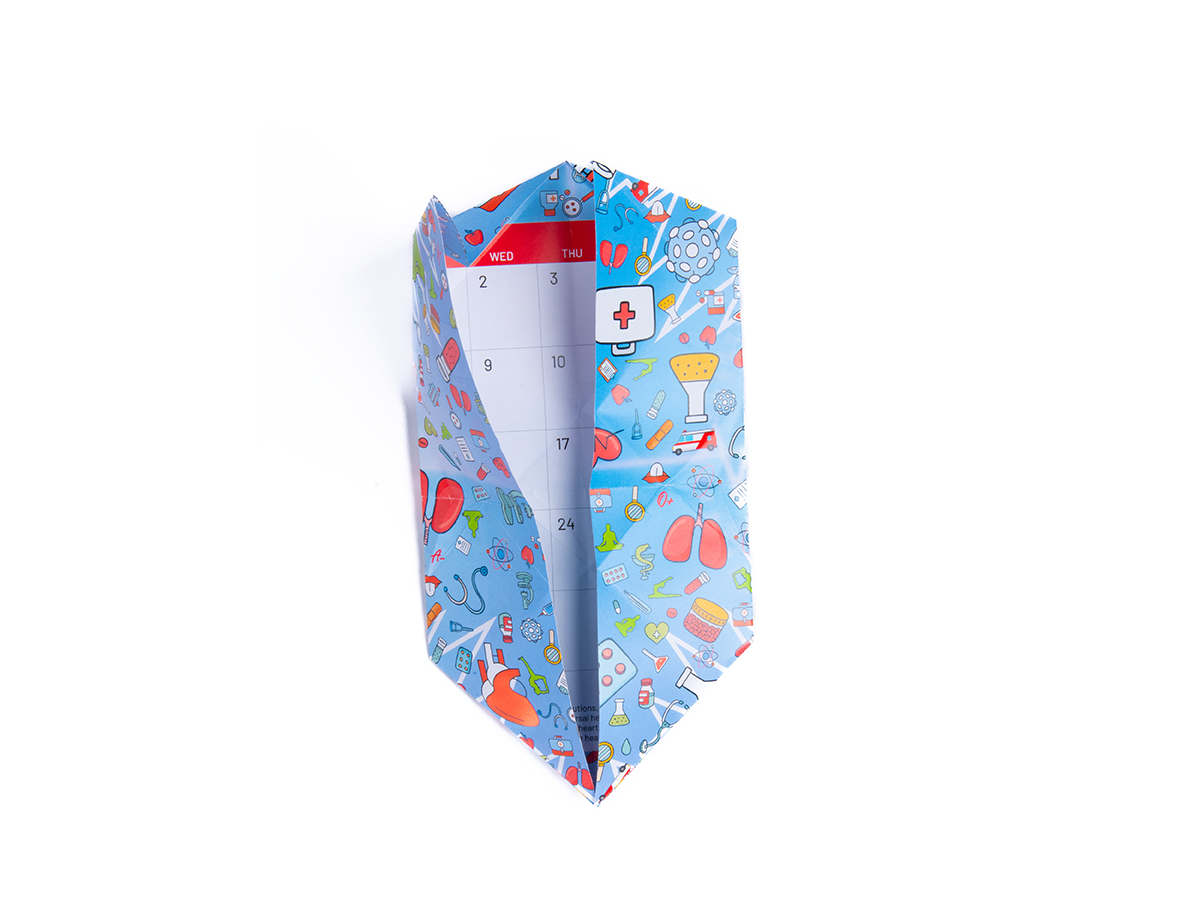
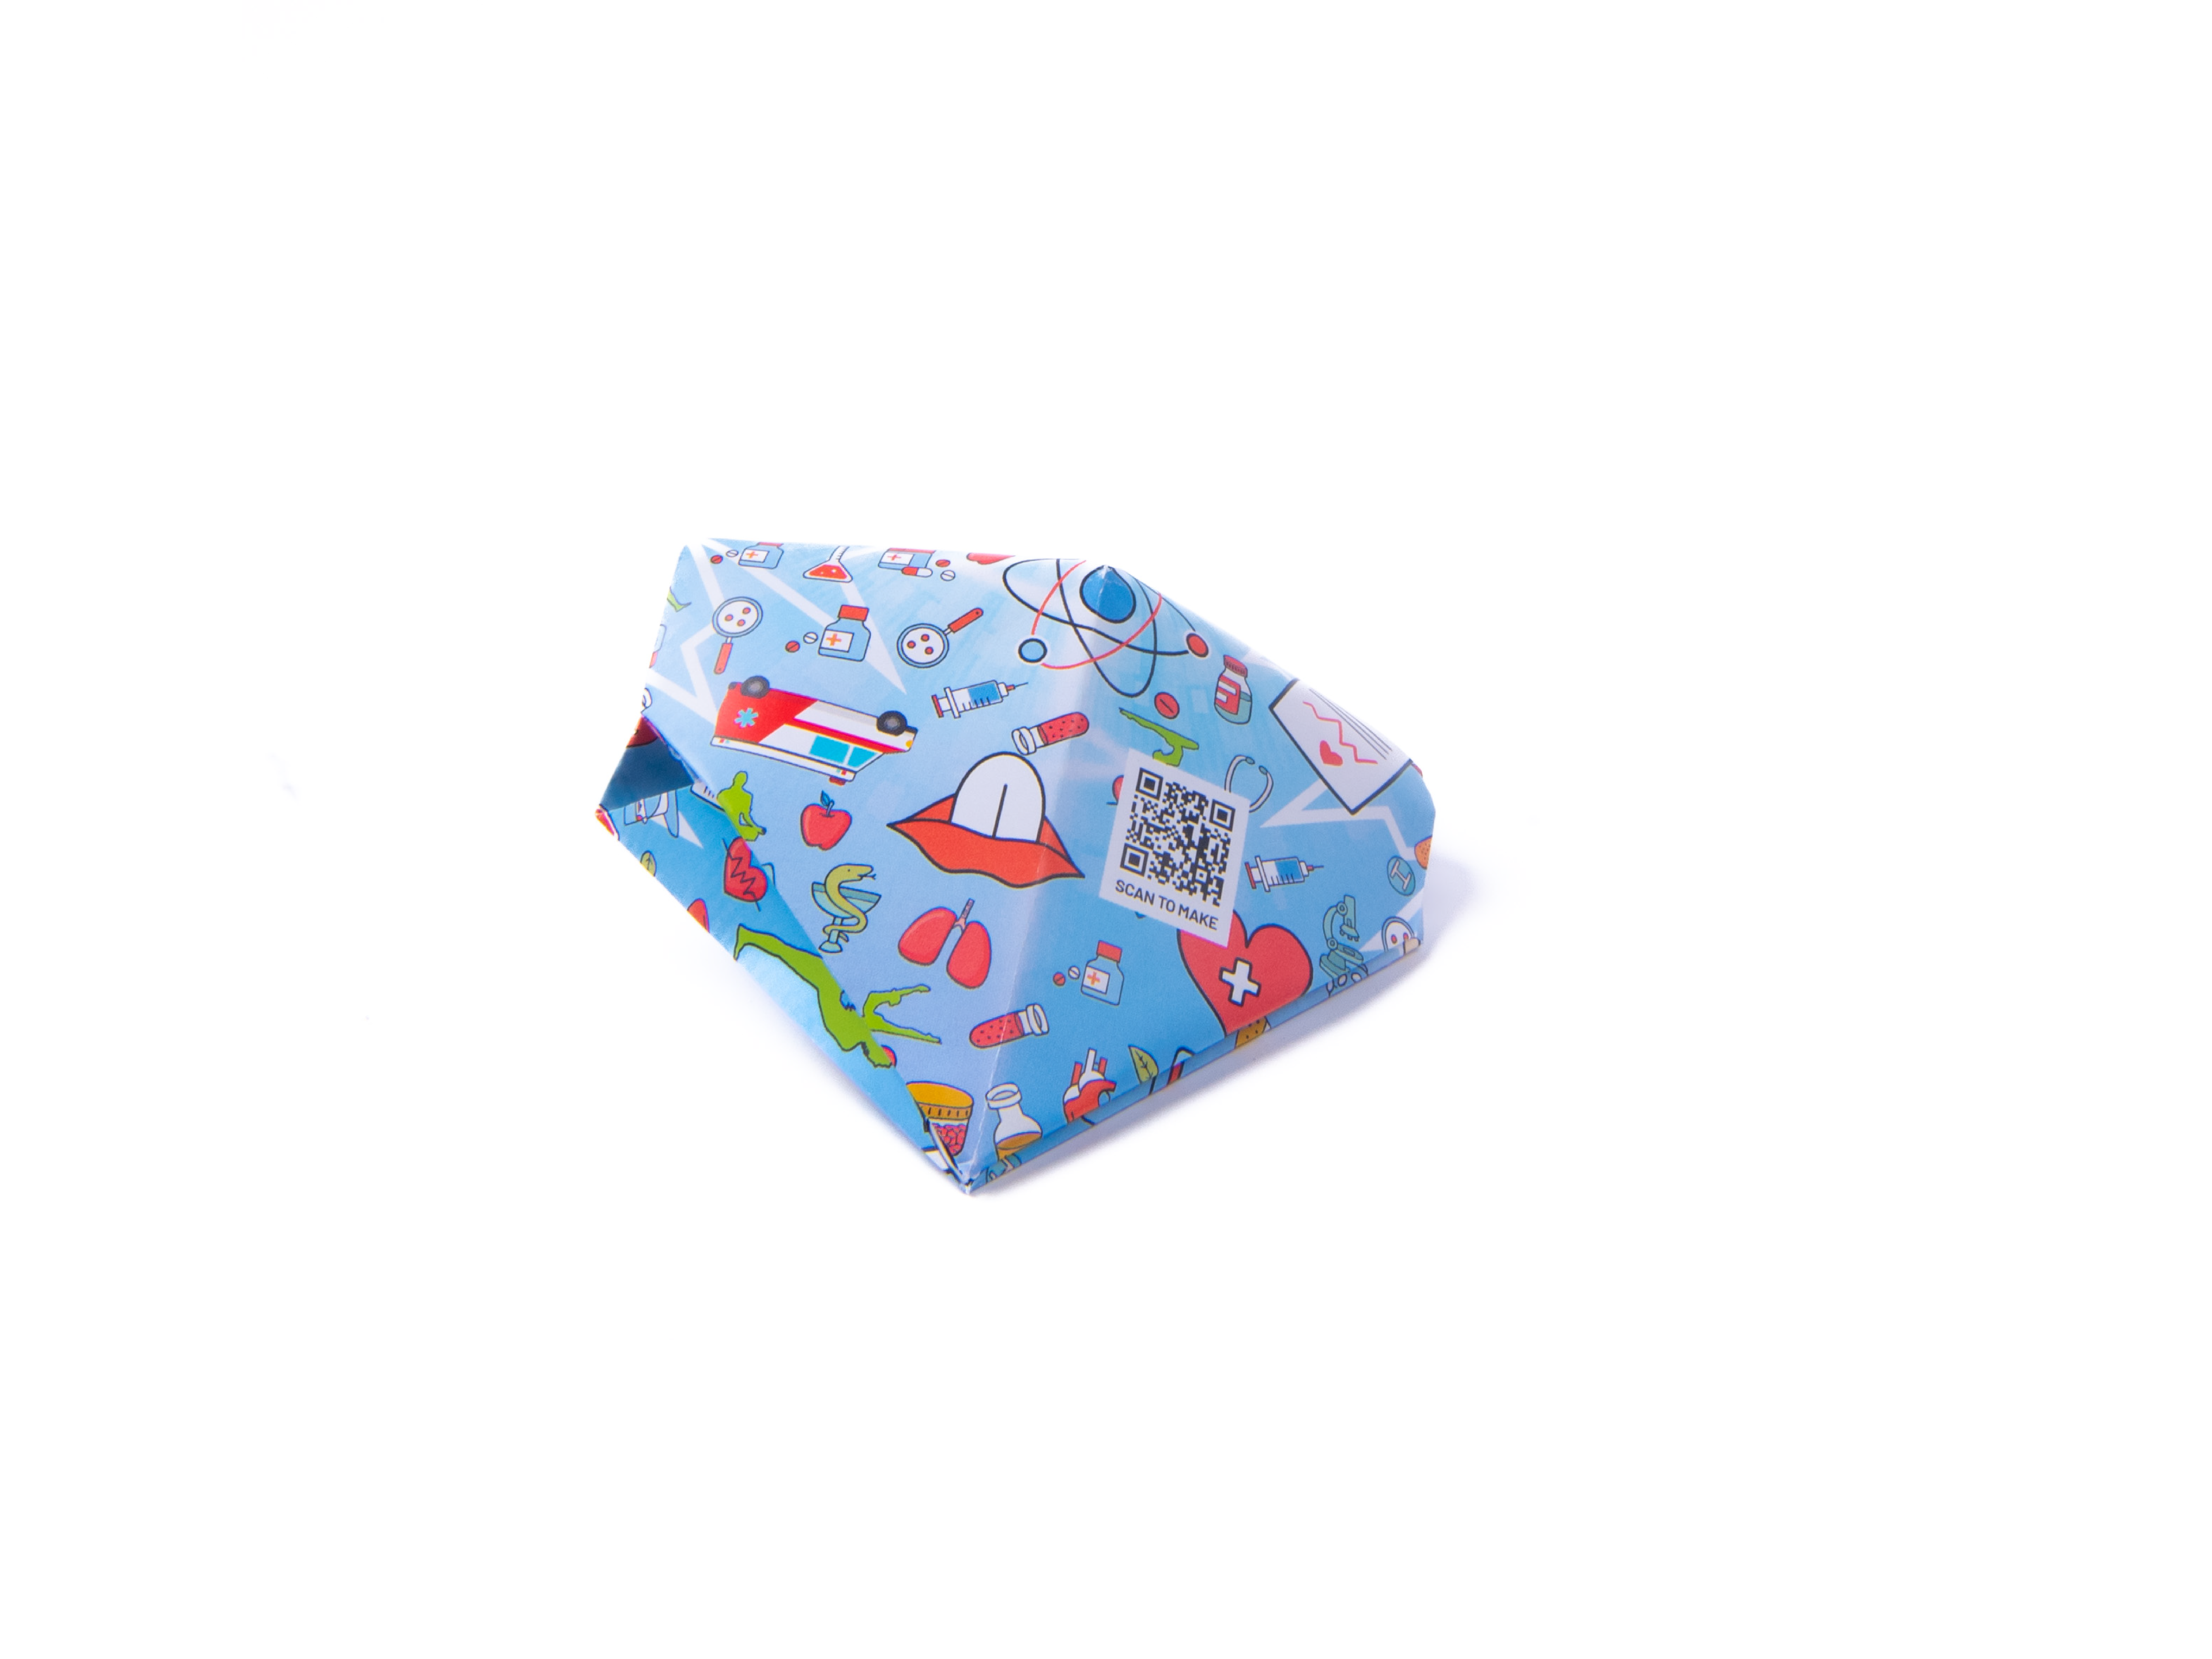
Open out the bottom right edge and fold the corner inward using the crease from step 11.
Repeat on the bottom left edge.
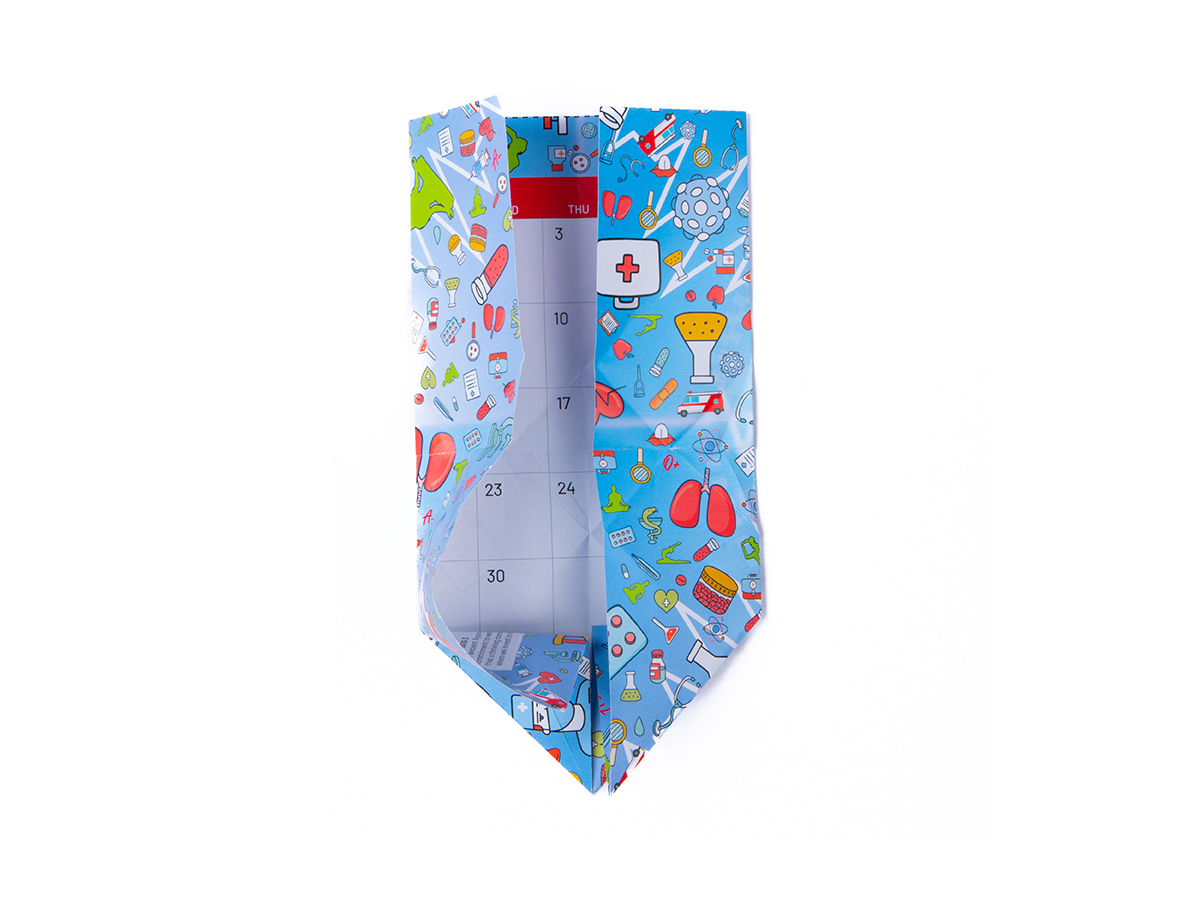
Opening out the shape slightly as shown, pinch and tuck the crease you made in step 12 backwards into the corner. This will lock the fold in place. Repeat on the other side.
Fold the top left and right corners down diagonally to meet the central line. Crease well and unfold.
Open out the bottom right edge and fold the corner inward using the crease from step 11.
Repeat on the bottom left edge.
Opening out the shape slightly as shown, pinch and tuck the crease you made in step 12 backwards into the corner. This will lock the fold in place. Repeat on the other side.
Fold the top left and right corners down diagonally to meet the central line. Crease well and unfold.
Fold the same corners down again, to meet the diagonal creases from the previous step. Crease well and unfold.
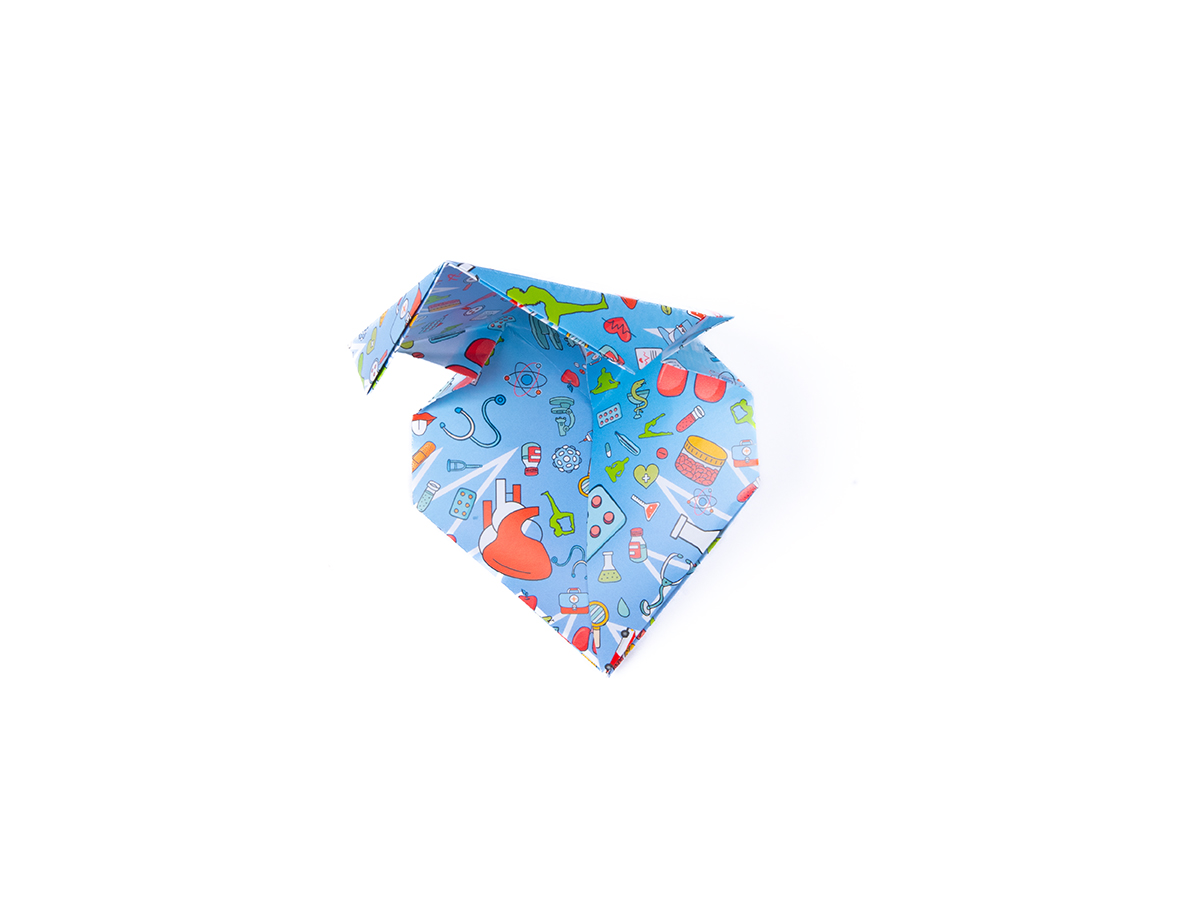
Like you did in step 15, open out the top slightly, and fold the corners inwards at the creases you made in step 17.

Refold the diagonal creases from step 17. You should now have 2 small triangular tabs at the top of your shape.
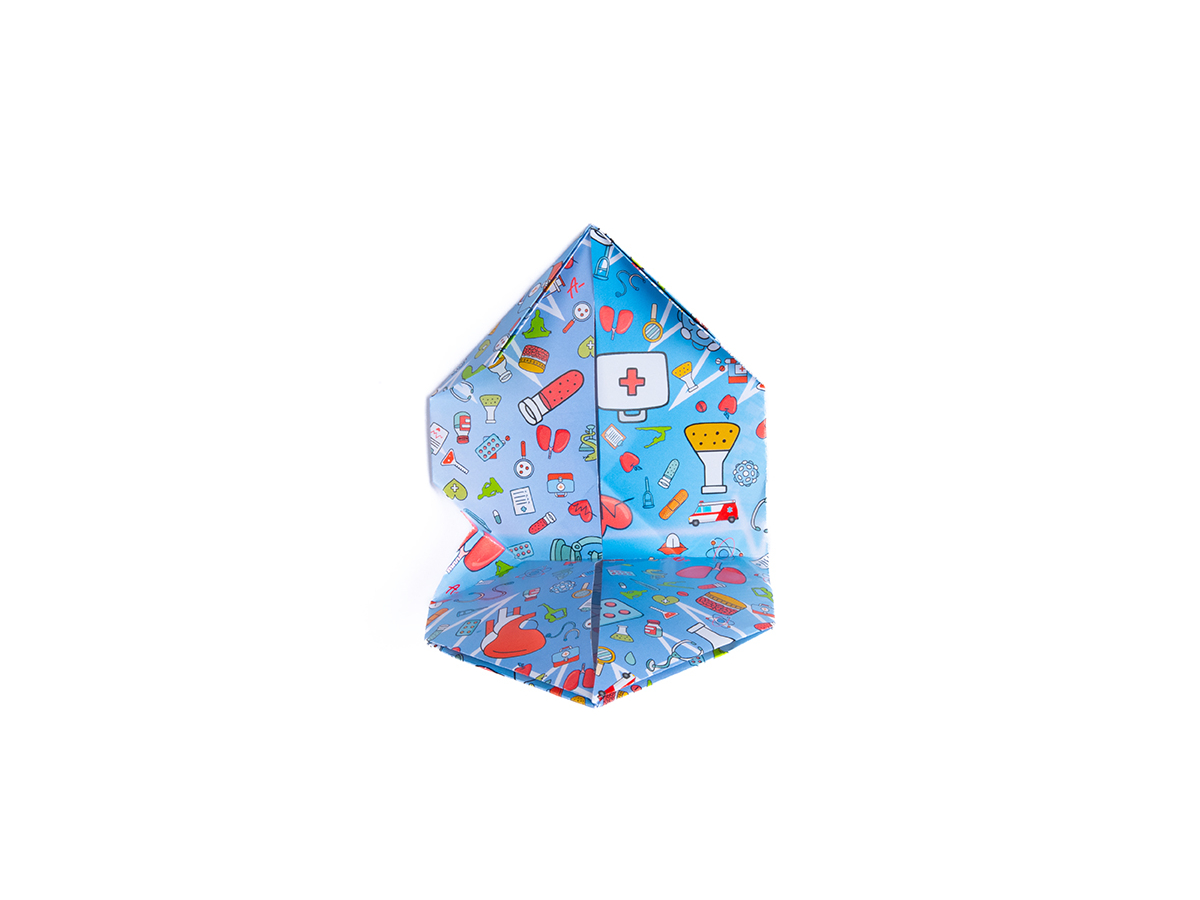
In the centre of the shape, locate the 2 triangular creases on the left and right edges. Push them inwards.
Fold the same corners down again, to meet the diagonal creases from the previous step. Crease well and unfold.
Like you did in step 15, open out the top slightly, and fold the corners inwards at the creases you made in step 17.
Refold the diagonal creases from step 17. You should now have 2 small triangular tabs at the top of your shape.
In the centre of the shape, locate the 2 triangular creases on the left and right edges. Push them inwards.
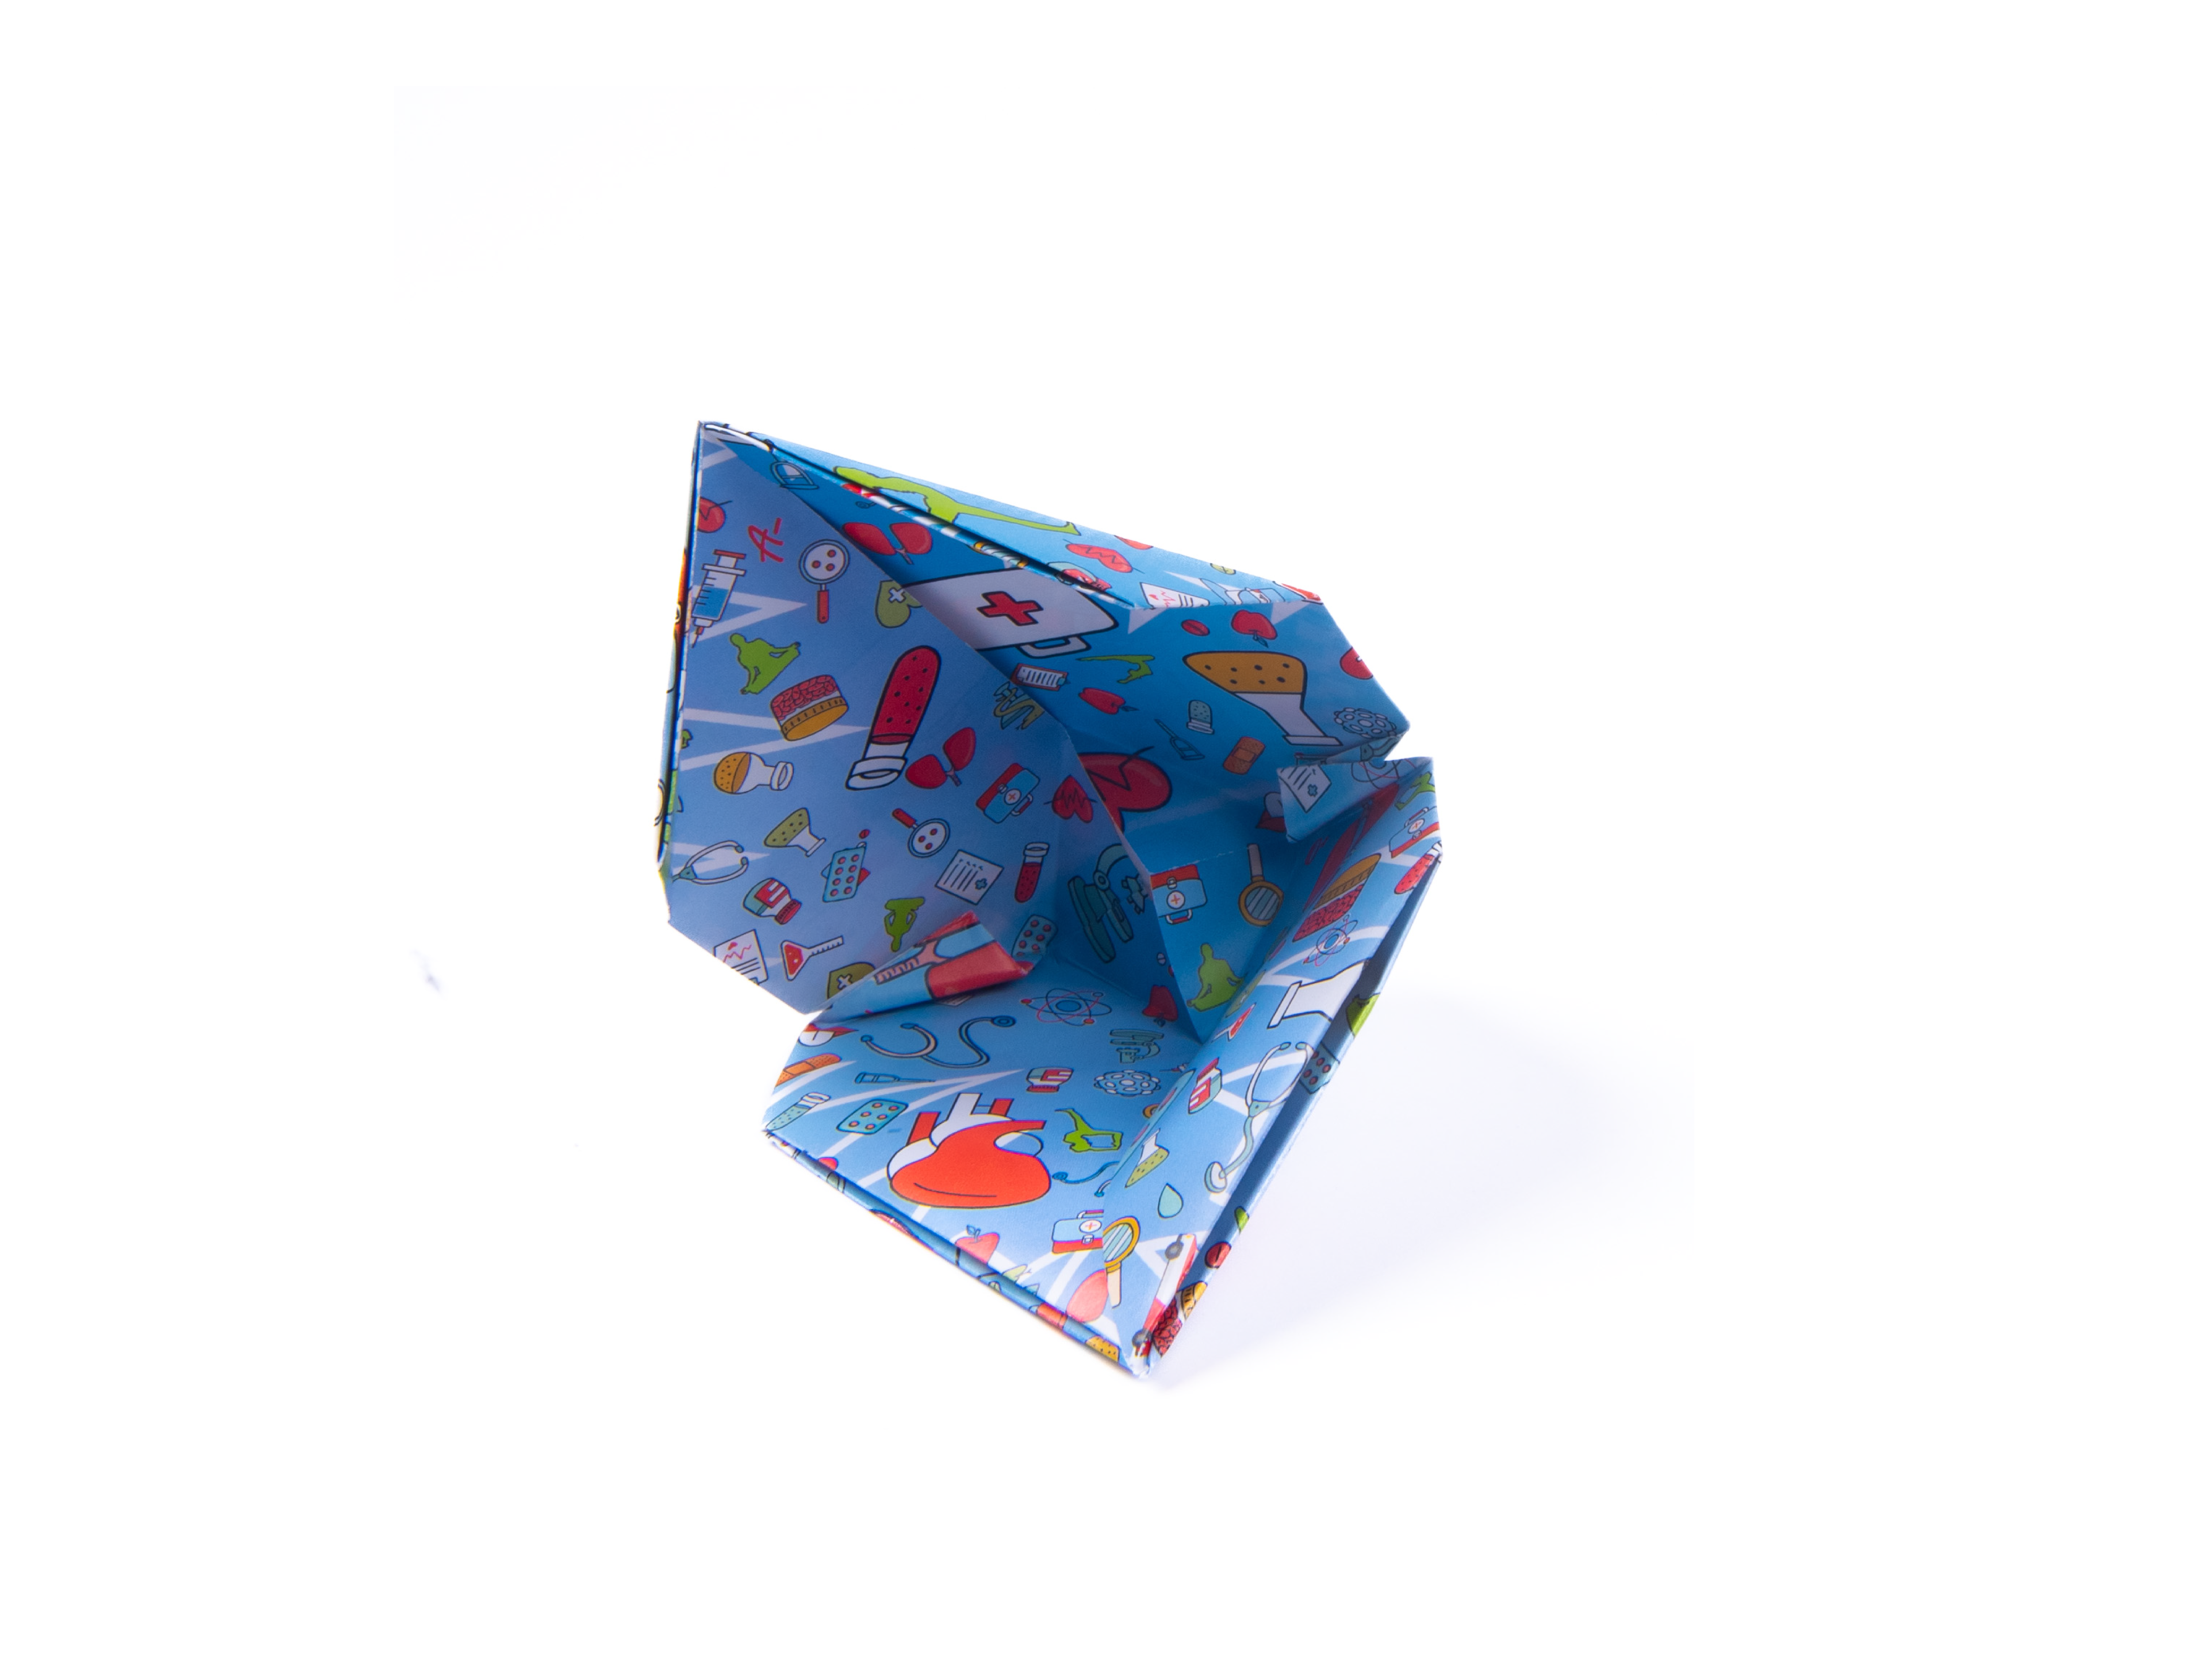
Turn the model over and re-crease the diamond shaped creases in the middle as mountain folds, and the central crease as a valley fold as shown.
The heart shape is now nearly formed. On the inside, locate the 2 triangular flaps you pushed inwards in step 20. Working on one at a time, pinch and fold them inwards to lock the corner in place.

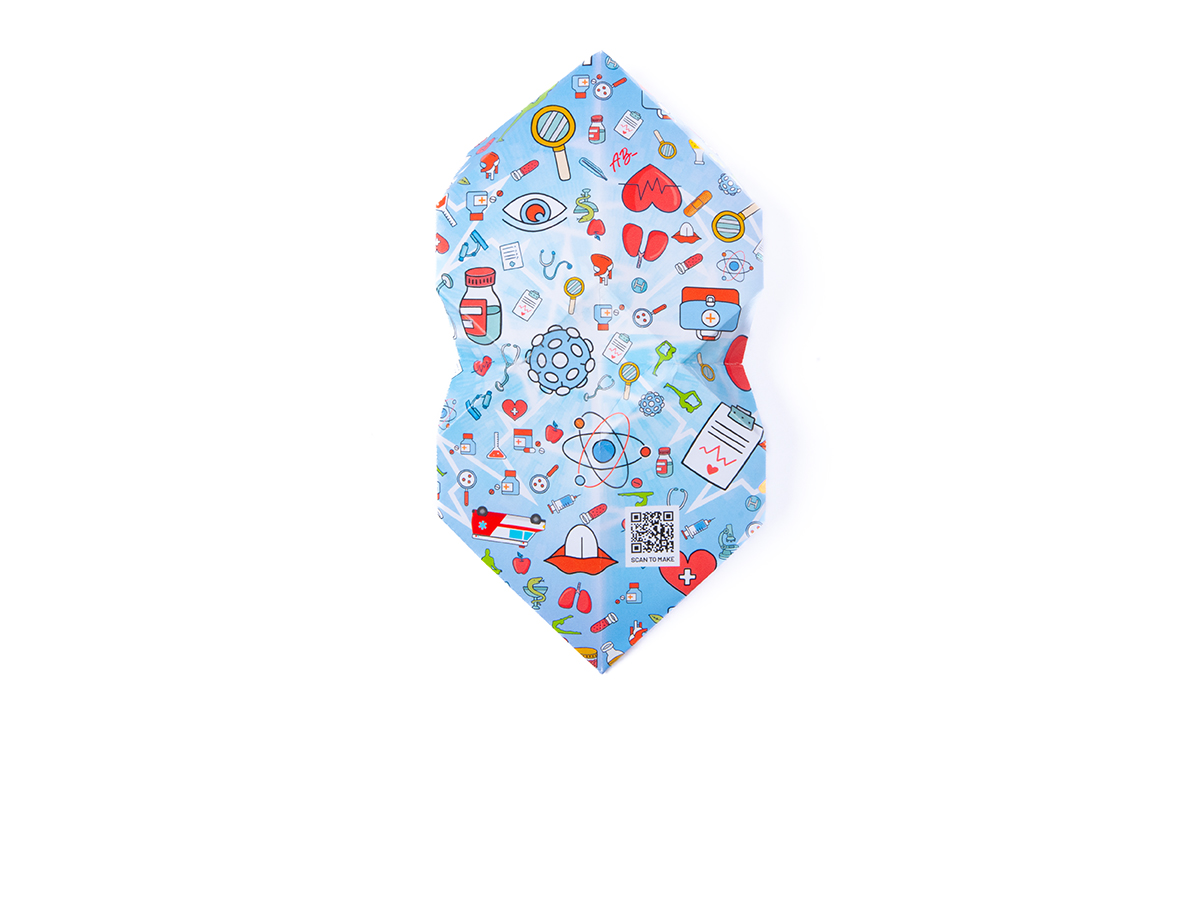
Bring the bottom of the heart together. Lock the right side in place by slotting the triangular flap on the right into the slit in the diagonal edge facing it.
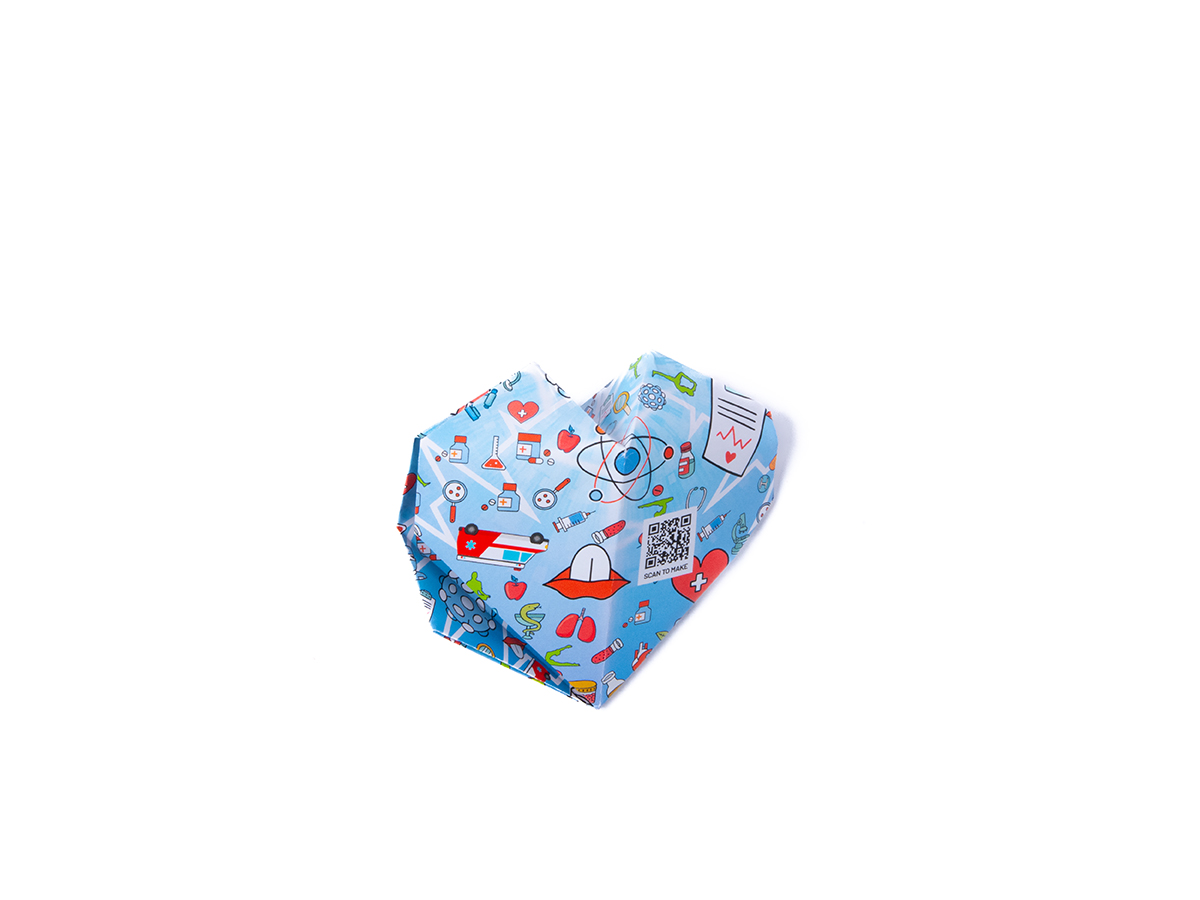
Repeat on the left and your heart is complete!
Turn the model over and re-crease the diamond shaped creases in the middle as mountain folds, and the central crease as a valley fold as shown.
The heart shape is now nearly formed. On the inside, locate the 2 triangular flaps you pushed inwards in step 20. Working on one at a time, pinch and fold them inwards to lock the corner in place.
Bring the bottom of the heart together. Lock the right side in place by slotting the triangular flap on the right into the slit in the diagonal edge facing it.
Repeat on the left and your heart is complete!


Other Origamies
Explore an exceptional range of origami artworks, where tradition meets innovation. Each piece is thoughtfully crafted, highlighting the artistry and precision of paper folding. From timeless classics to modern interpretations, our collection offers a unique insight into the versatility and beauty of origami.
©2024 National Development Bank PLC, All Rights Reserved
Design & developed by Ogilvy Martech.