Phone Number
Email Us Here
Fold to Unfold a Sustainable Future
Phone Number
Email Us Here
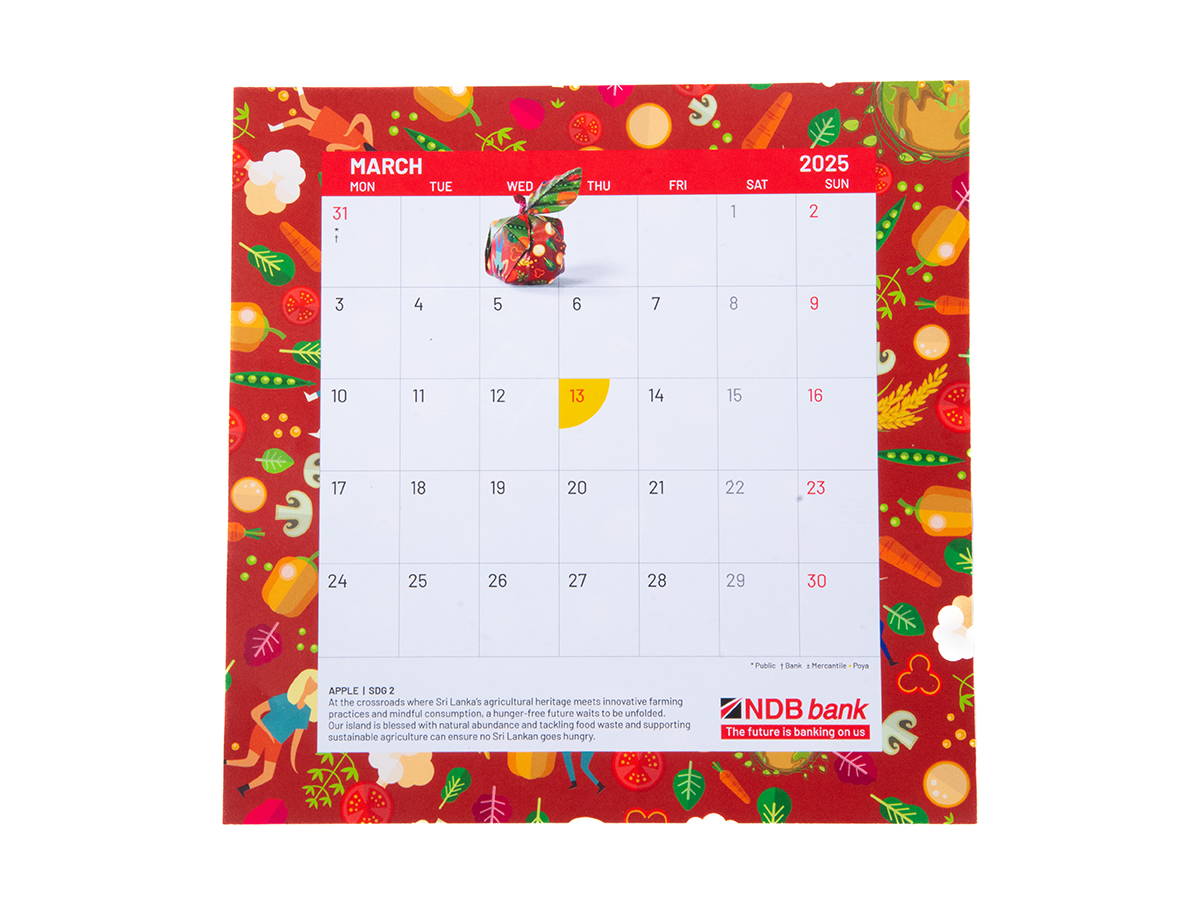
At the crossroads where Sri Lanka's agricultural heritage meets innovative farming practices and mindful consumption, a hunger-free future waits to be unfolded. Our island is blessed with natural abundance and tackling food waste and supporting sustainable agriculture can ensure no Sri Lankan goes hungry.
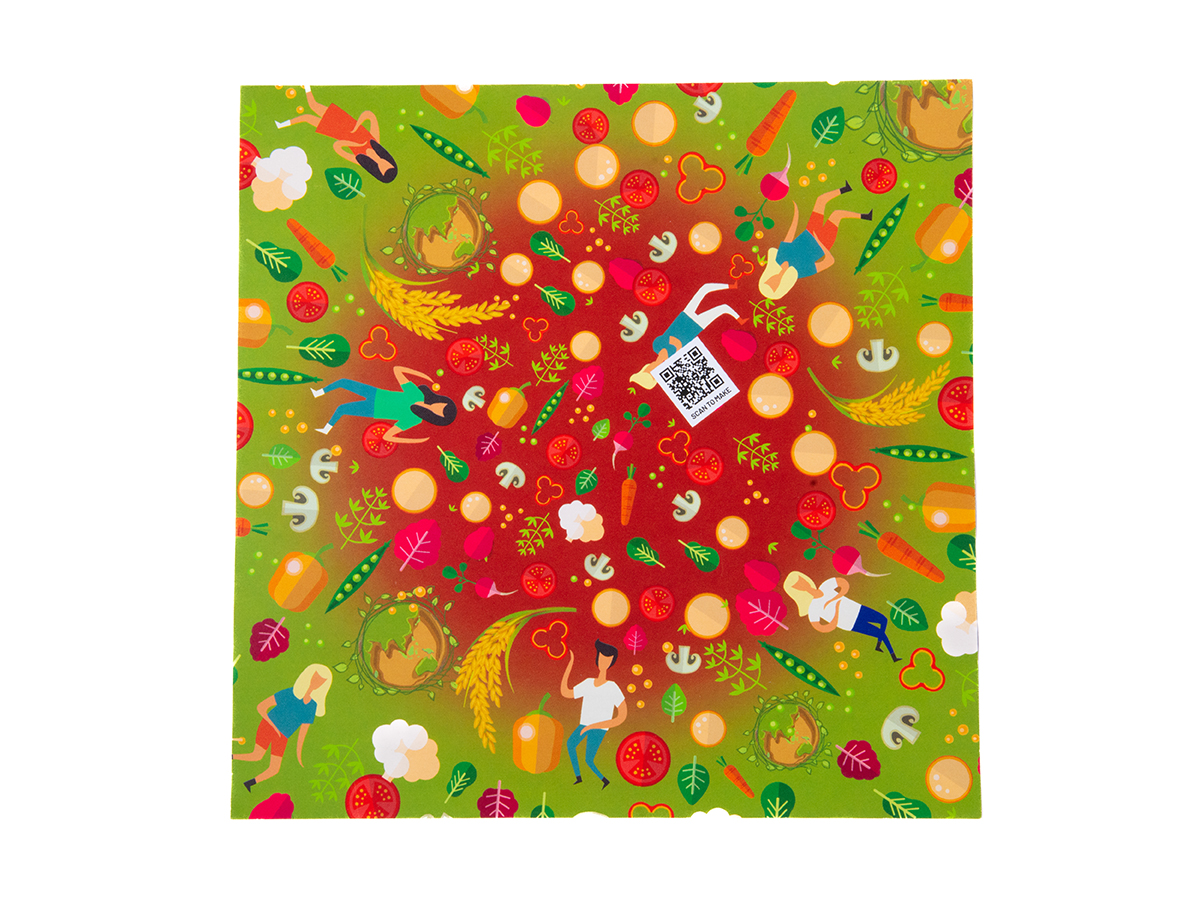
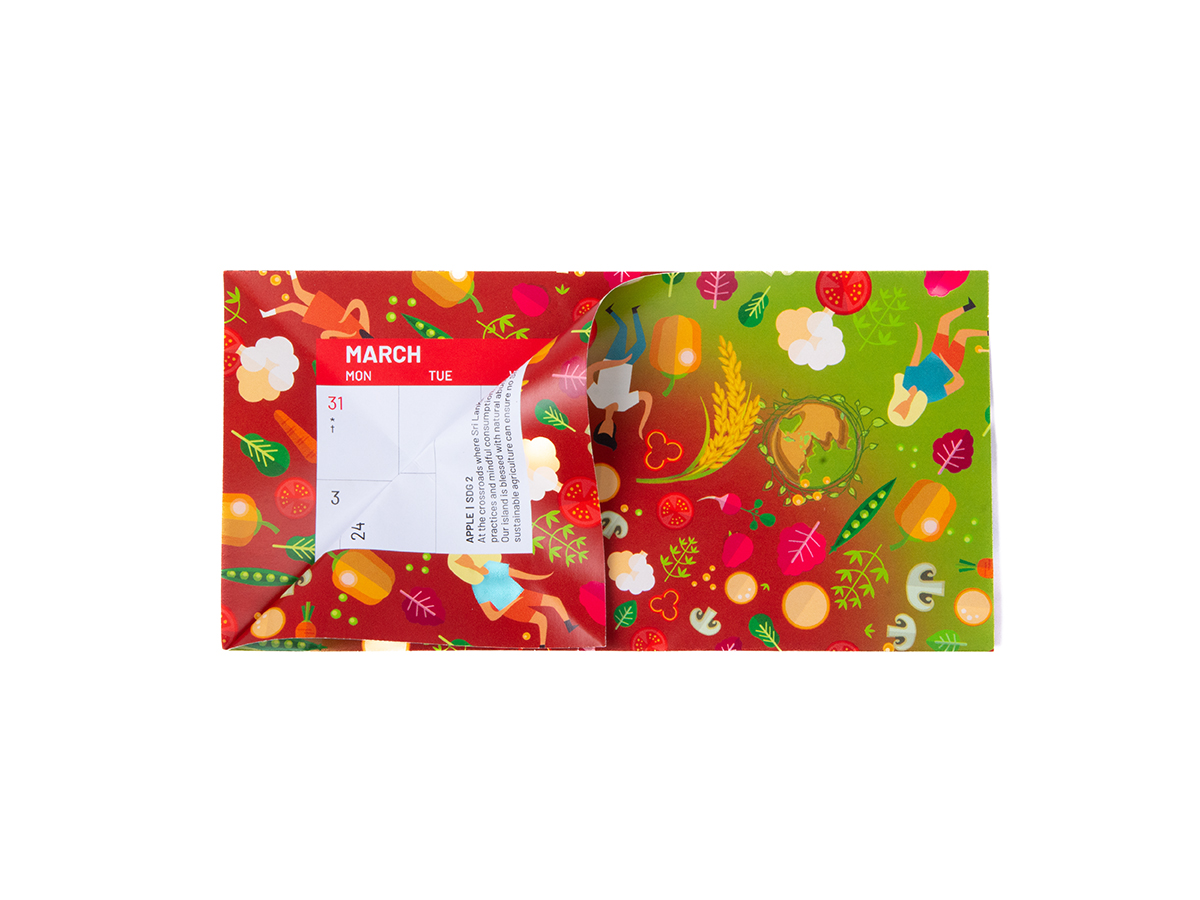
Place the March origami sheet in front of you on a flat surface.
Turn the sheet over so that the dated side is facing up. Make sure you don't turn the sheet unnecessarily when making this model as the orientation of the paper is very important.
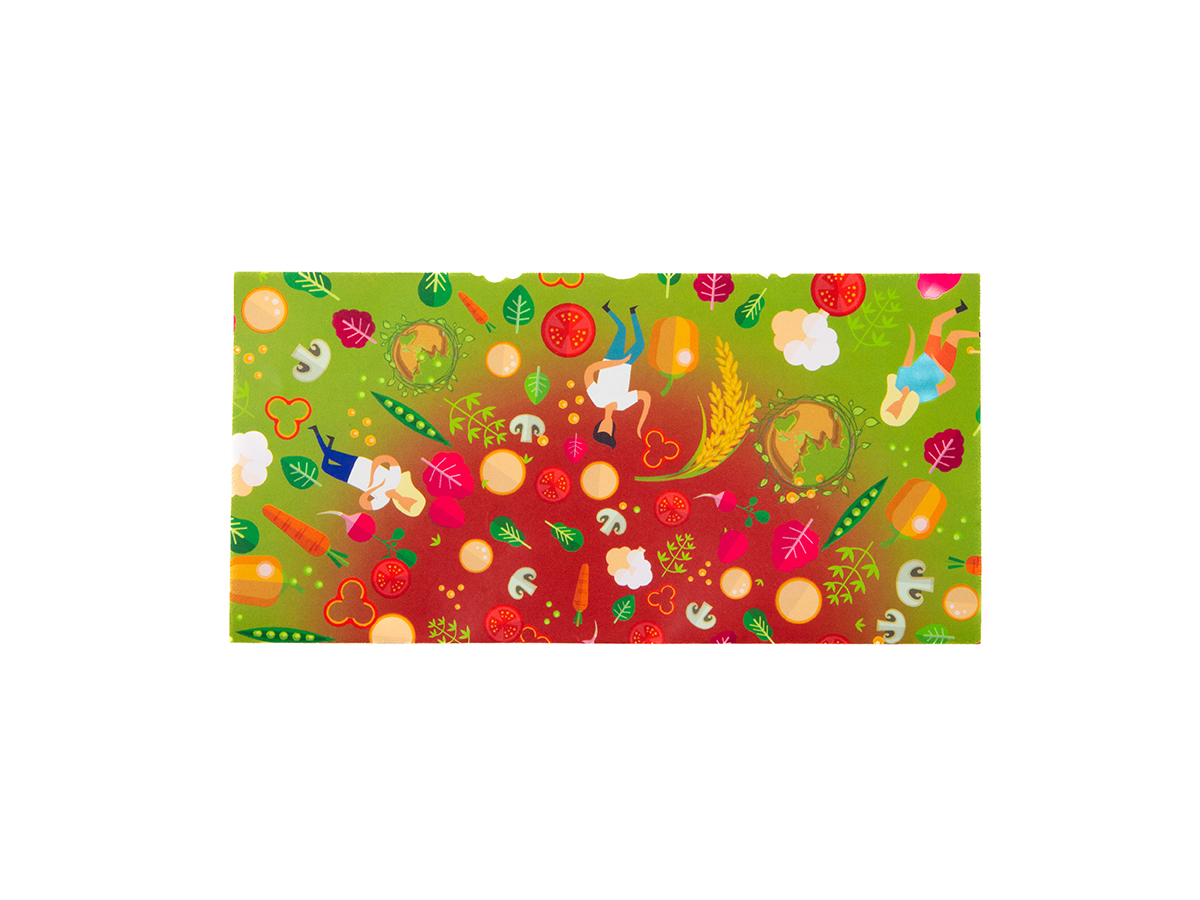
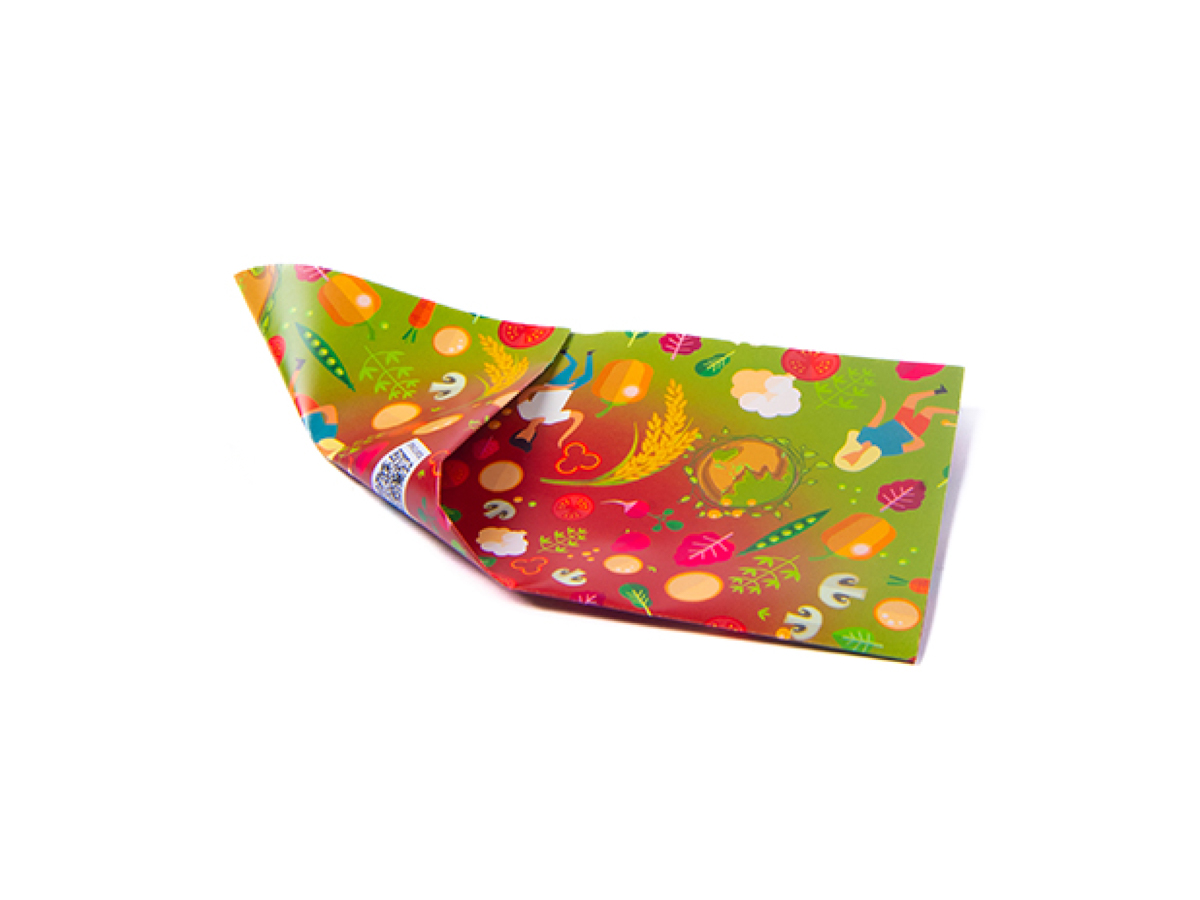
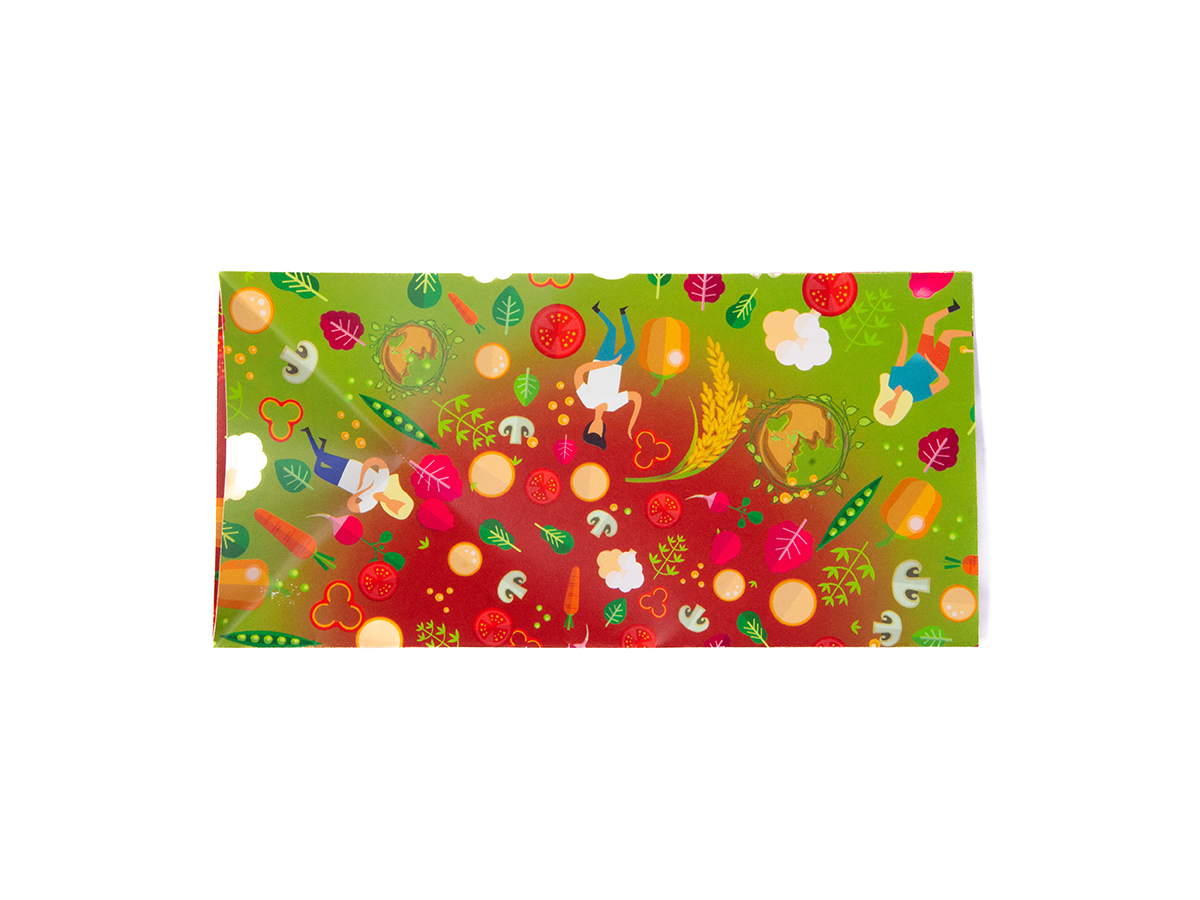
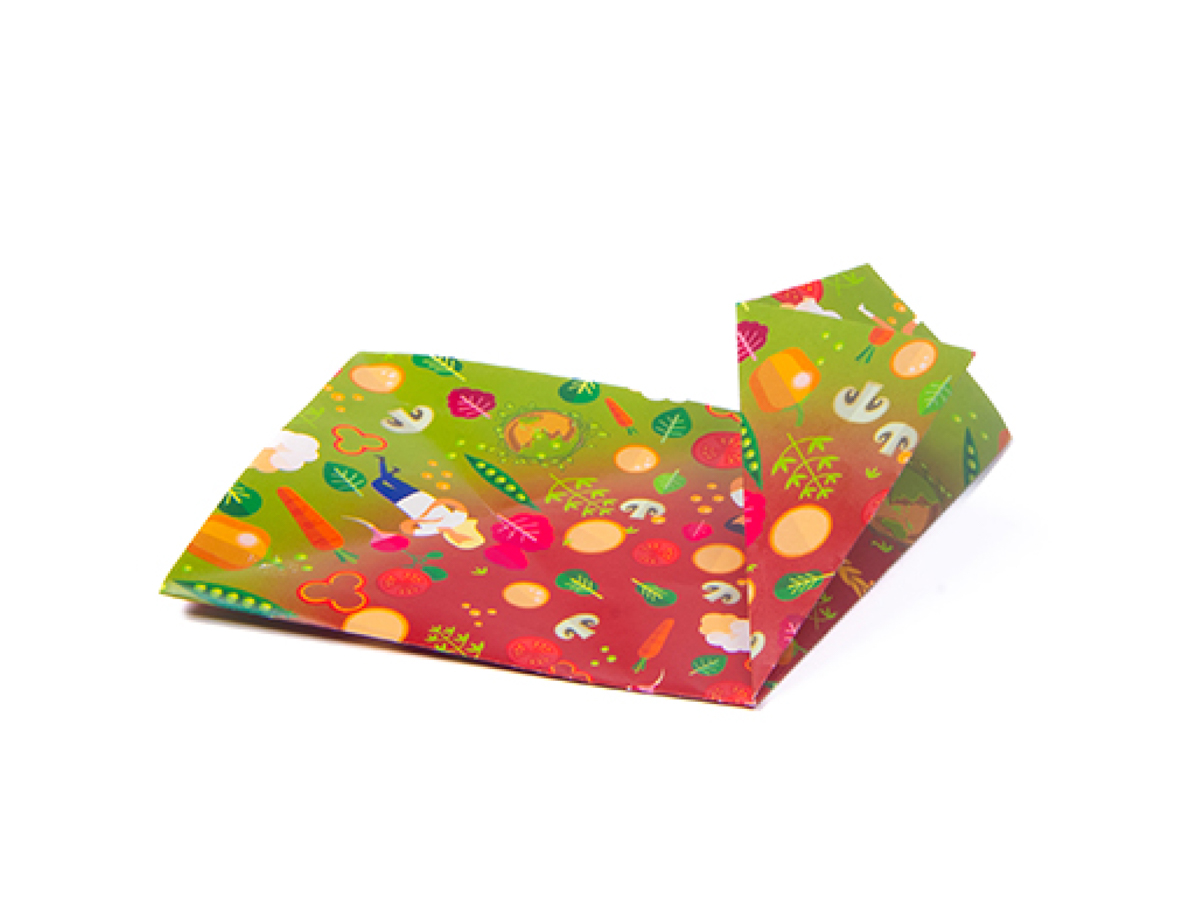
Fold the bottom edge of the sheet horizontally up to meet the top edge, and crease well.
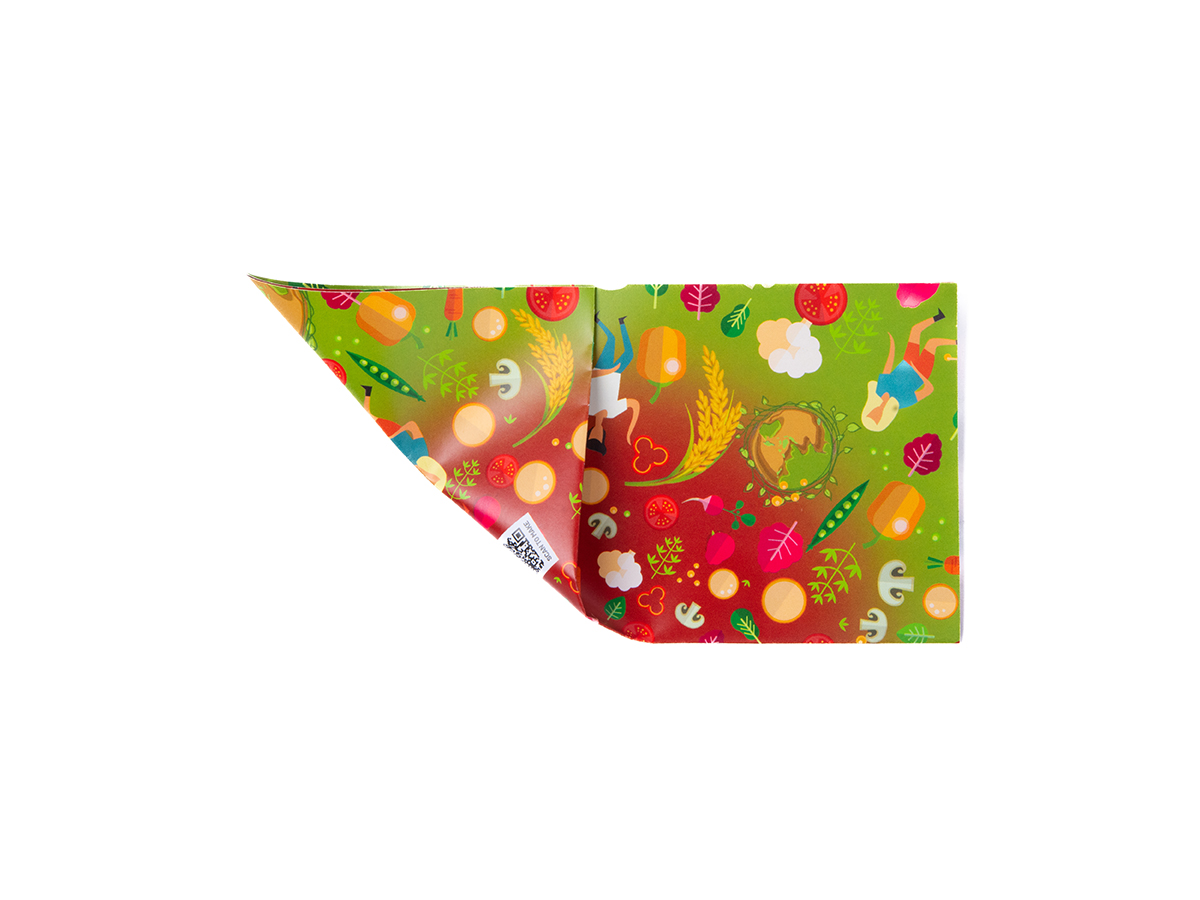
Bring the bottom left corner of the rectangle you've just made, upwards at a diagonal to meet the top edge, and crease ONLY the middle of the fold.
Place the March origami sheet in front of you on a flat surface.
Turn the sheet over so that the dated side is facing up. Make sure you don't turn the sheet unnecessarily when making this model as the orientation of the paper is very important.
Fold the bottom edge of the sheet horizontally up to meet the top edge, and crease well.
Bring the bottom left corner of the rectangle you've just made, upwards at a diagonal to meet the top edge, and crease ONLY the middle of the fold.
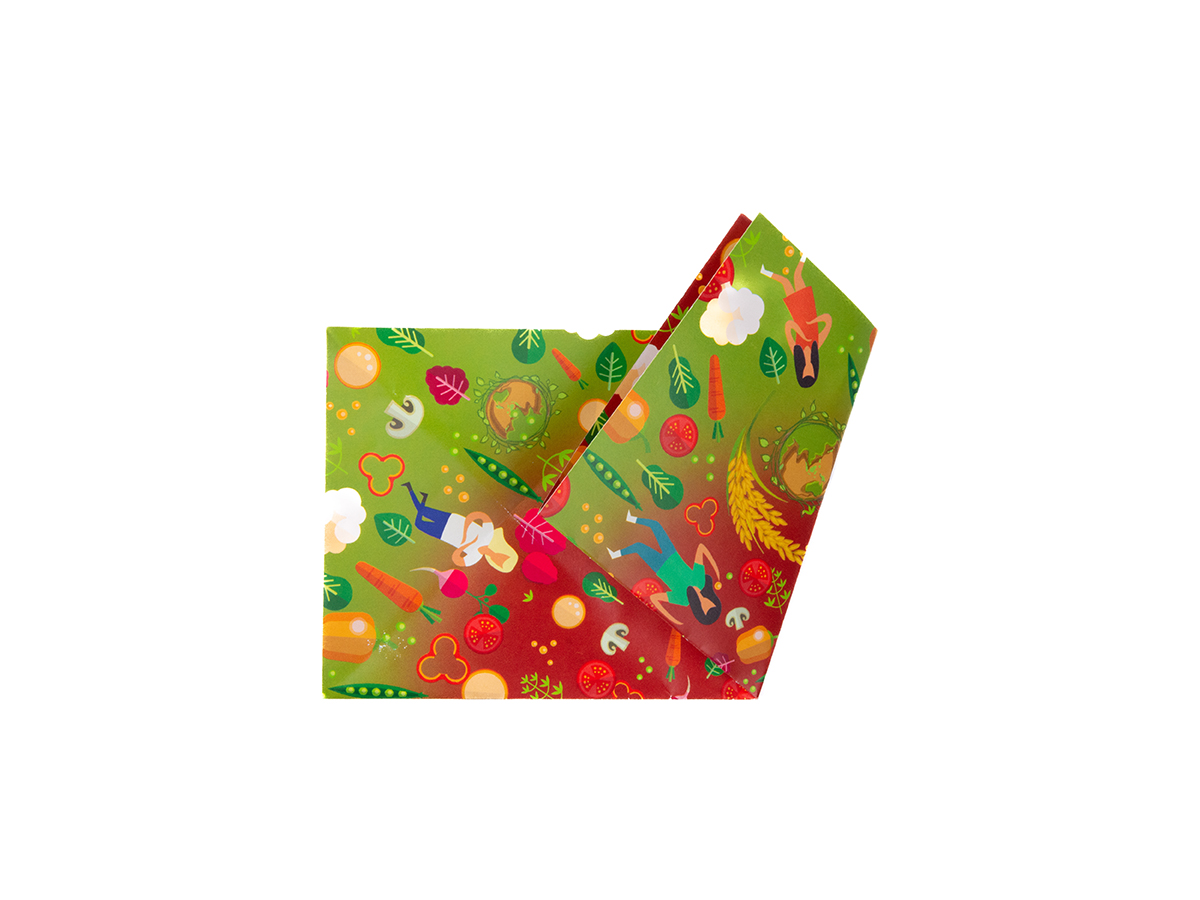
Unfold, then bring the top left corner down to meet the bottom edge. Once again, crease ONLY the middle of the fold.
Unfold, and you will see an X-shaped guide crease on the left side of your rectangle. Make sure the open side of the rectangle is at the top.
Fold the bottom right corner of the rectangle up diagonally to meet the centre of your guide crease. Crease well.

Bring the same corner back to meet the crease from step 7, creating pleat-like fold. Make sure the edges meet properly.
Unfold, then bring the top left corner down to meet the bottom edge. Once again, crease ONLY the middle of the fold.
Unfold, and you will see an X-shaped guide crease on the left side of your rectangle. Make sure the open side of the rectangle is at the top.
Fold the bottom right corner of the rectangle up diagonally to meet the centre of your guide crease. Crease well.
Bring the same corner back to meet the crease from step 7, creating pleat-like fold. Make sure the edges meet properly.
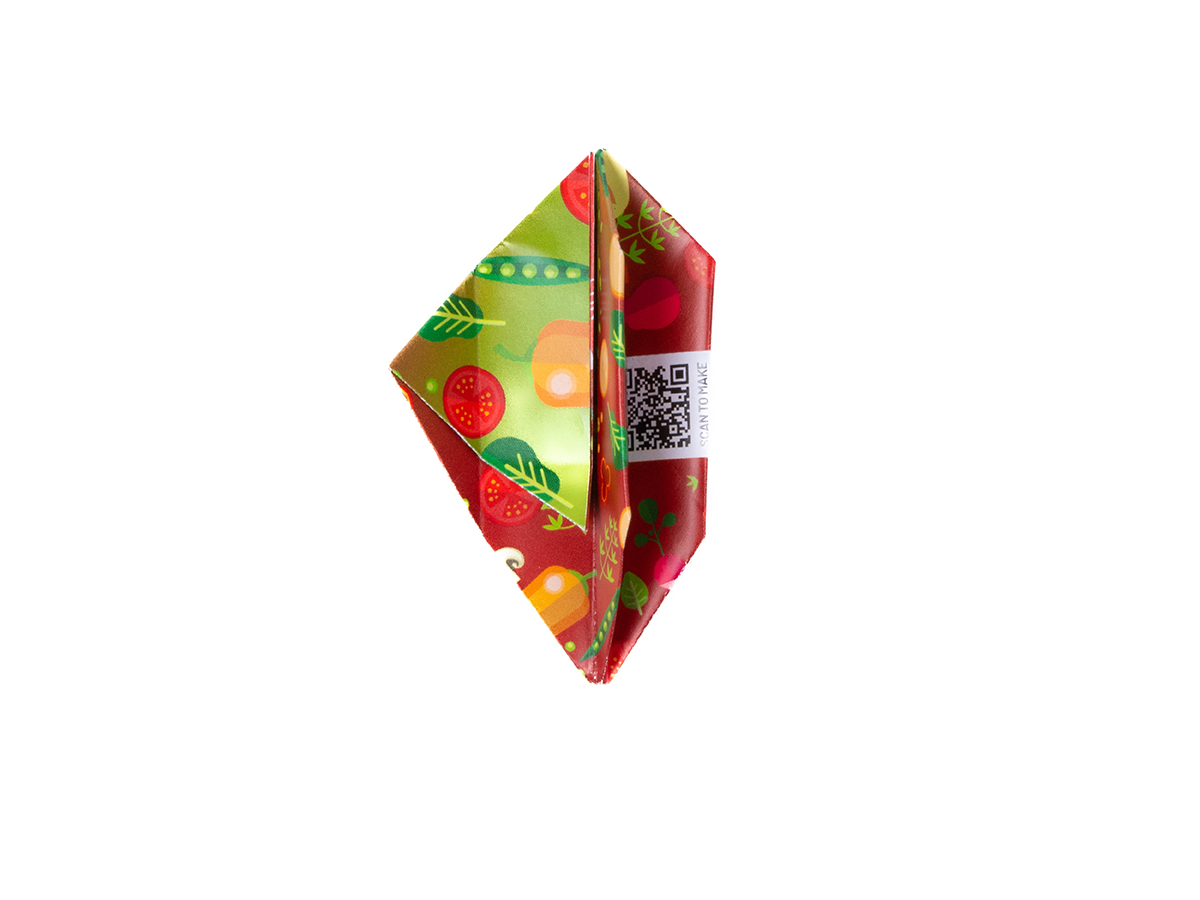
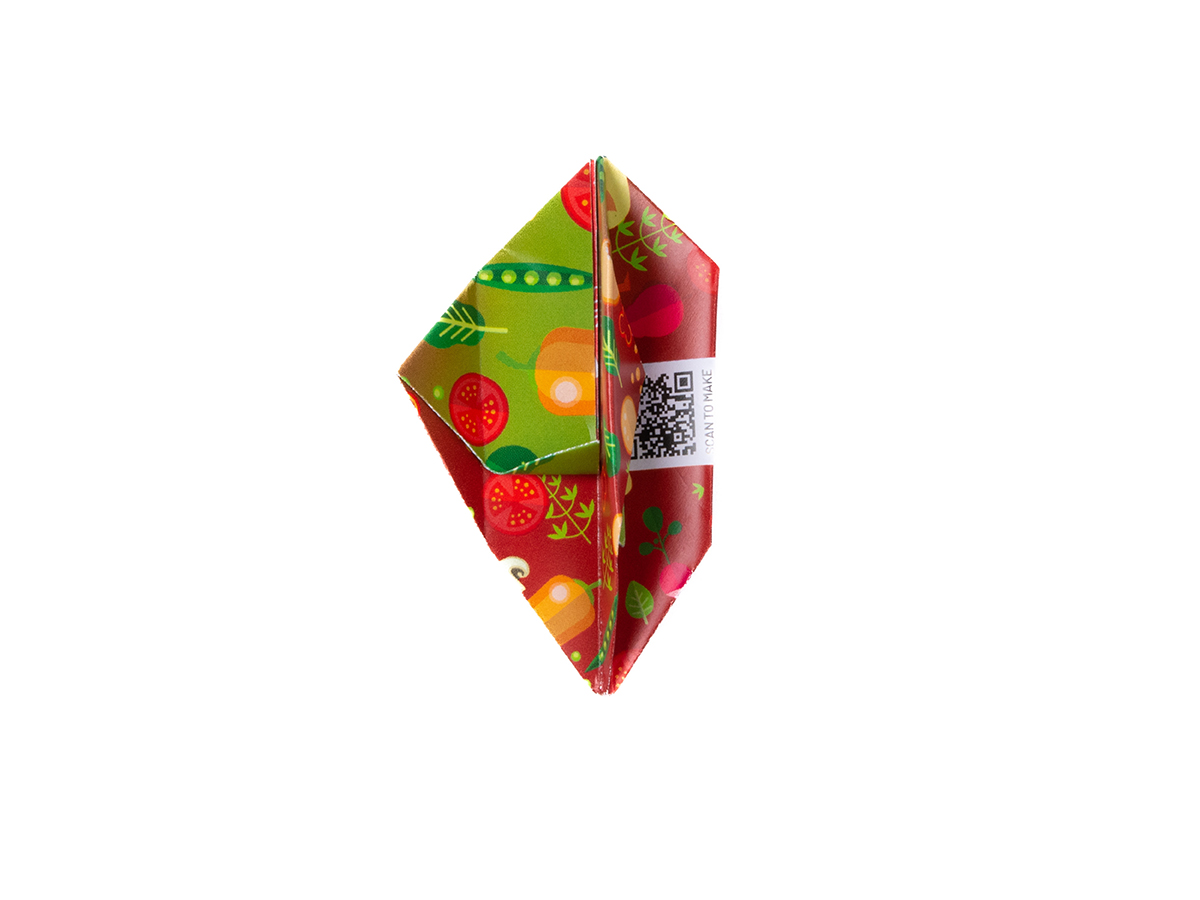
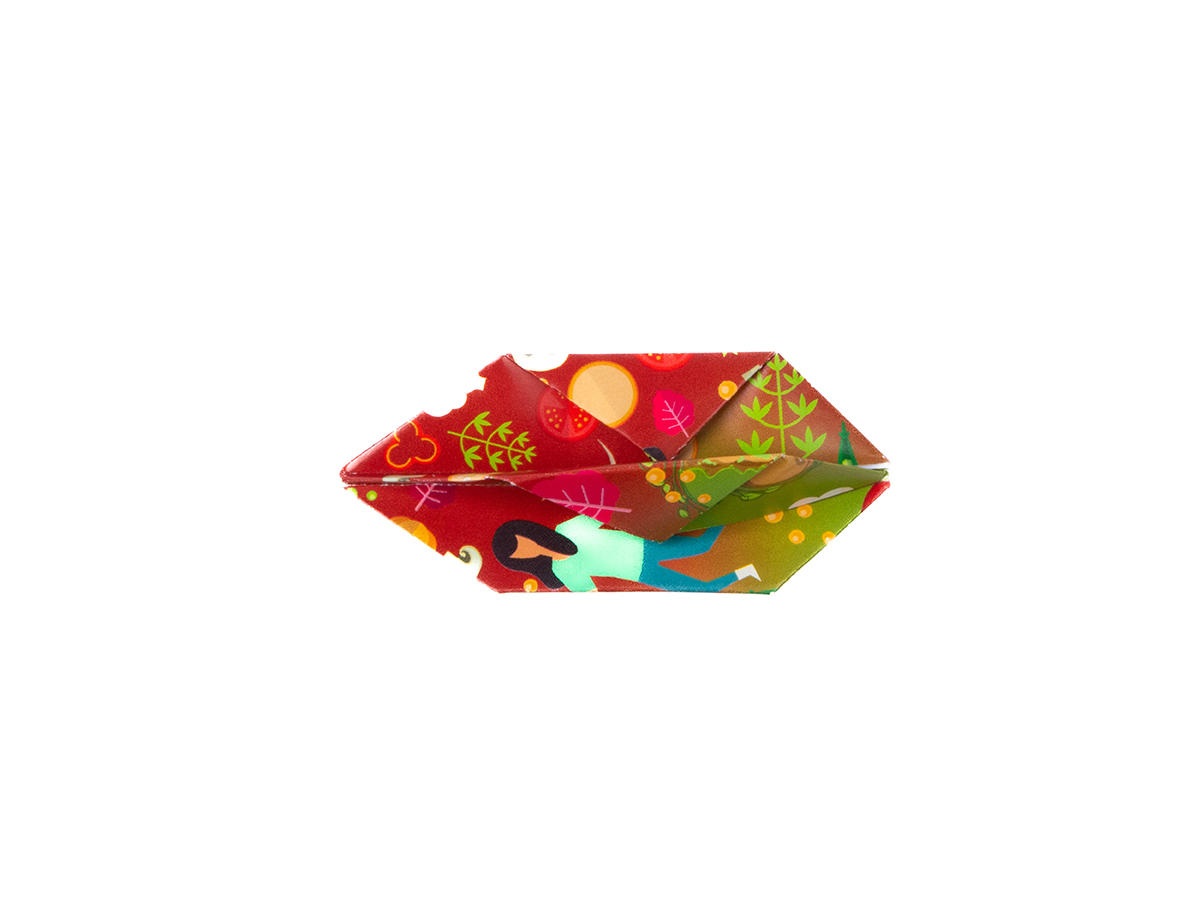
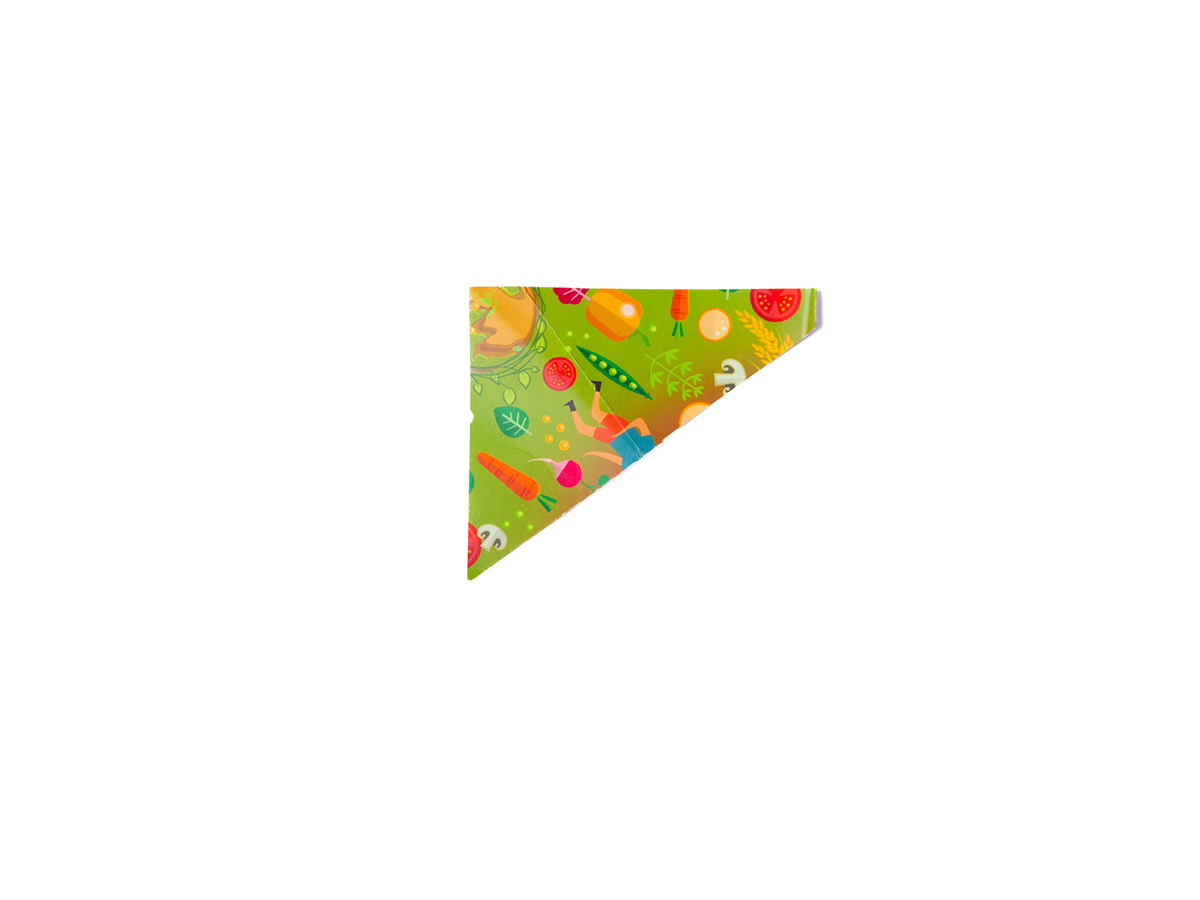
Fold the bottom left corner up to meet the crease from the previous step. you should have a neat point at the bottom of the shape.
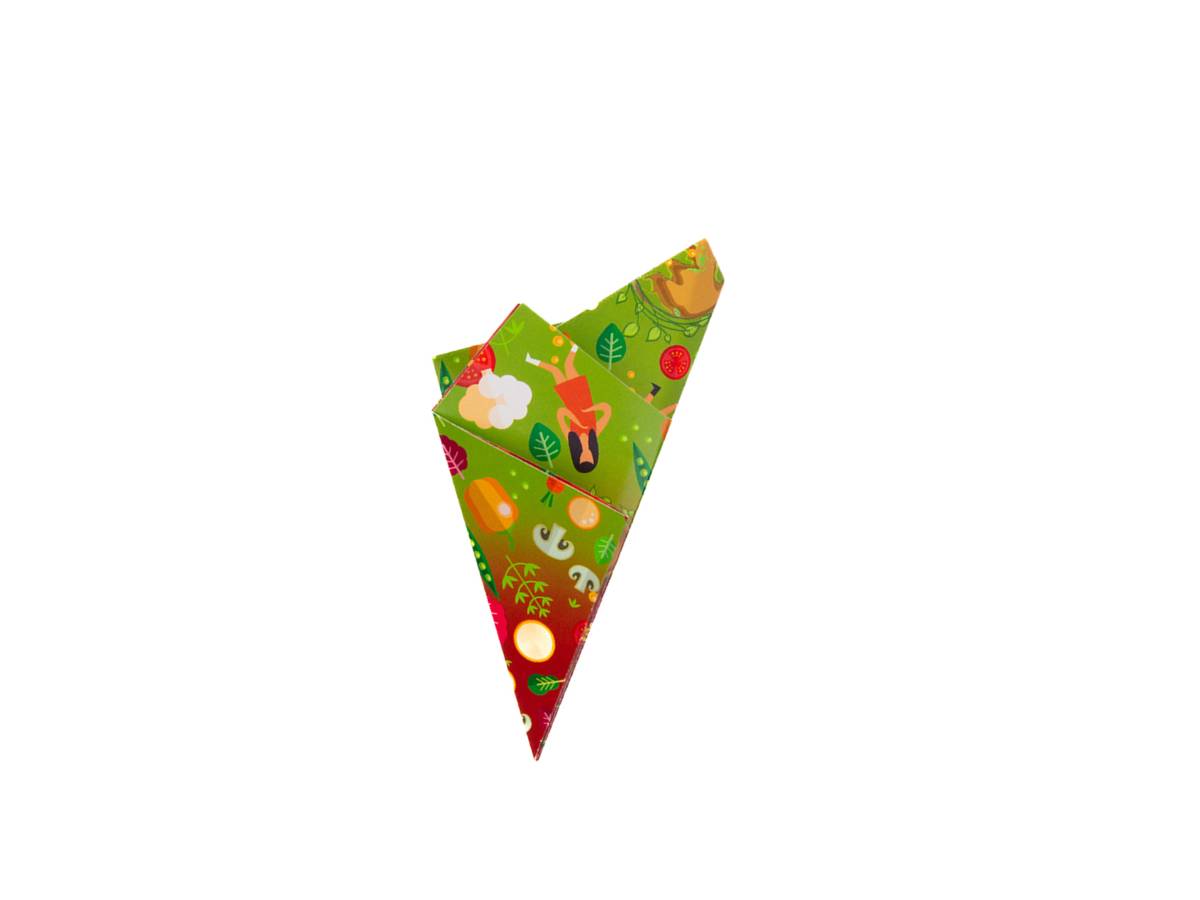
Fold the left side of the shape backward to create this cone-like shape.
Using scissors, cut off the uneven top part of the cone shape along the top edge of the triangle in front. Keep the cut-off paper, we will use it in the last few steps.
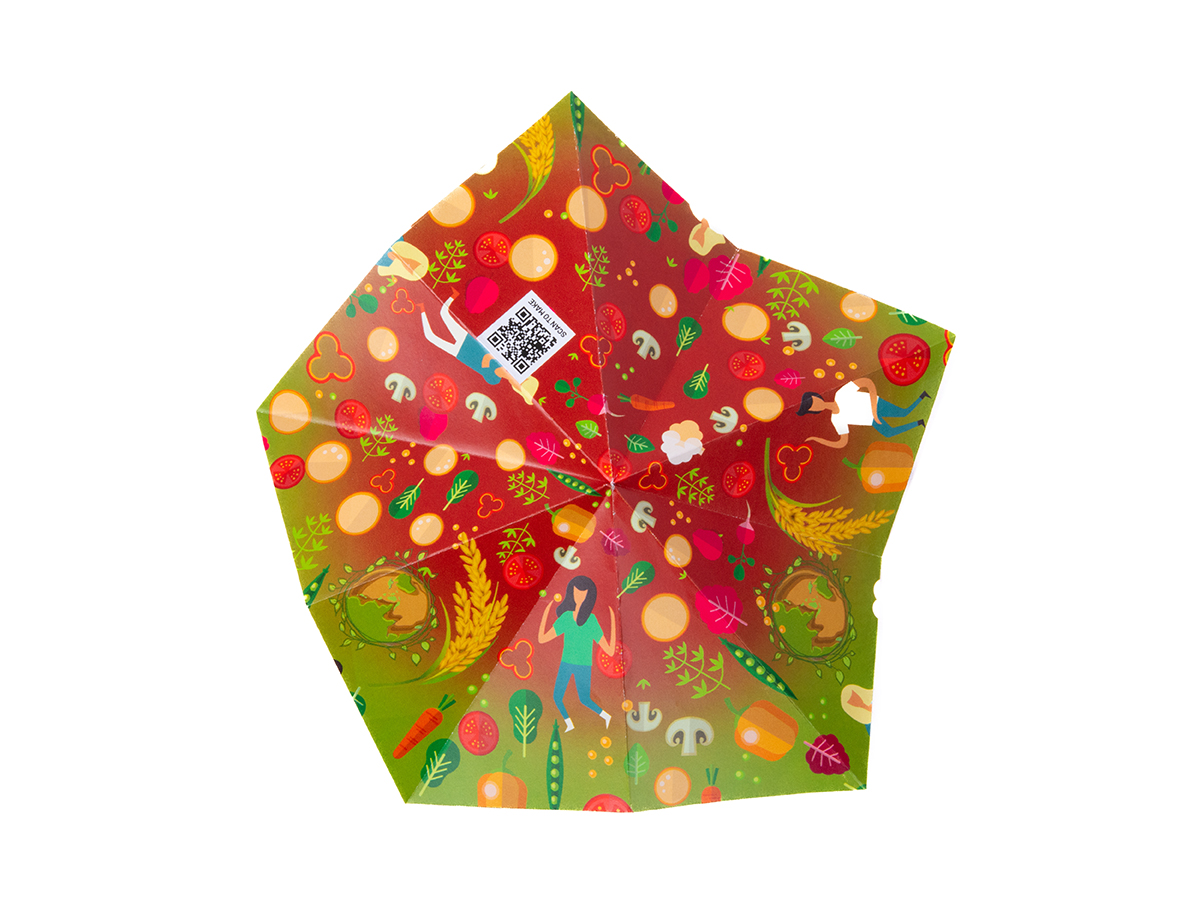
Unfold the triangle shape and you'll see that you're left with a perfect pentagon.
Fold the bottom left corner up to meet the crease from the previous step. you should have a neat point at the bottom of the shape.
Fold the left side of the shape backward to create this cone-like shape.
Using scissors, cut off the uneven top part of the cone shape along the top edge of the triangle in front. Keep the cut-off paper, we will use it in the last few steps.
Unfold the triangle shape and you'll see that you're left with a perfect pentagon.


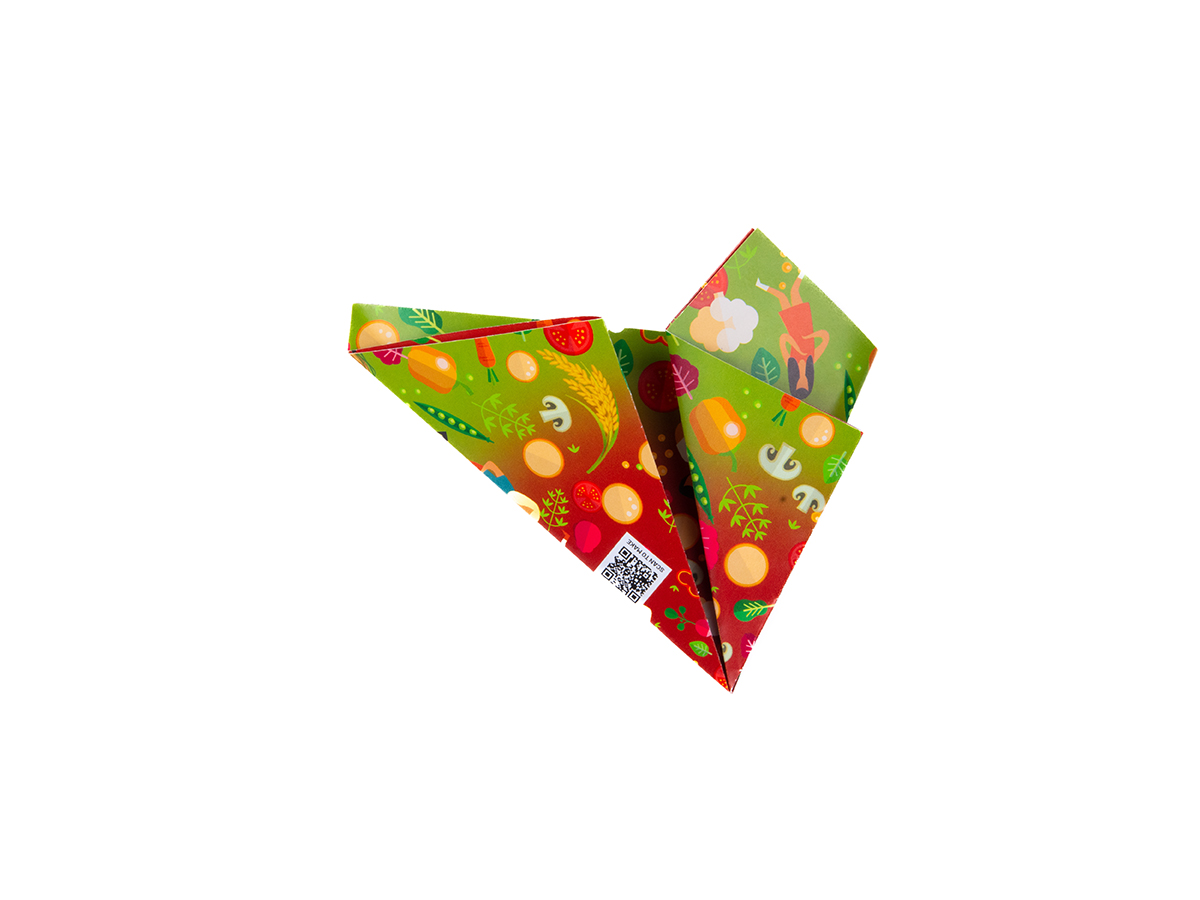
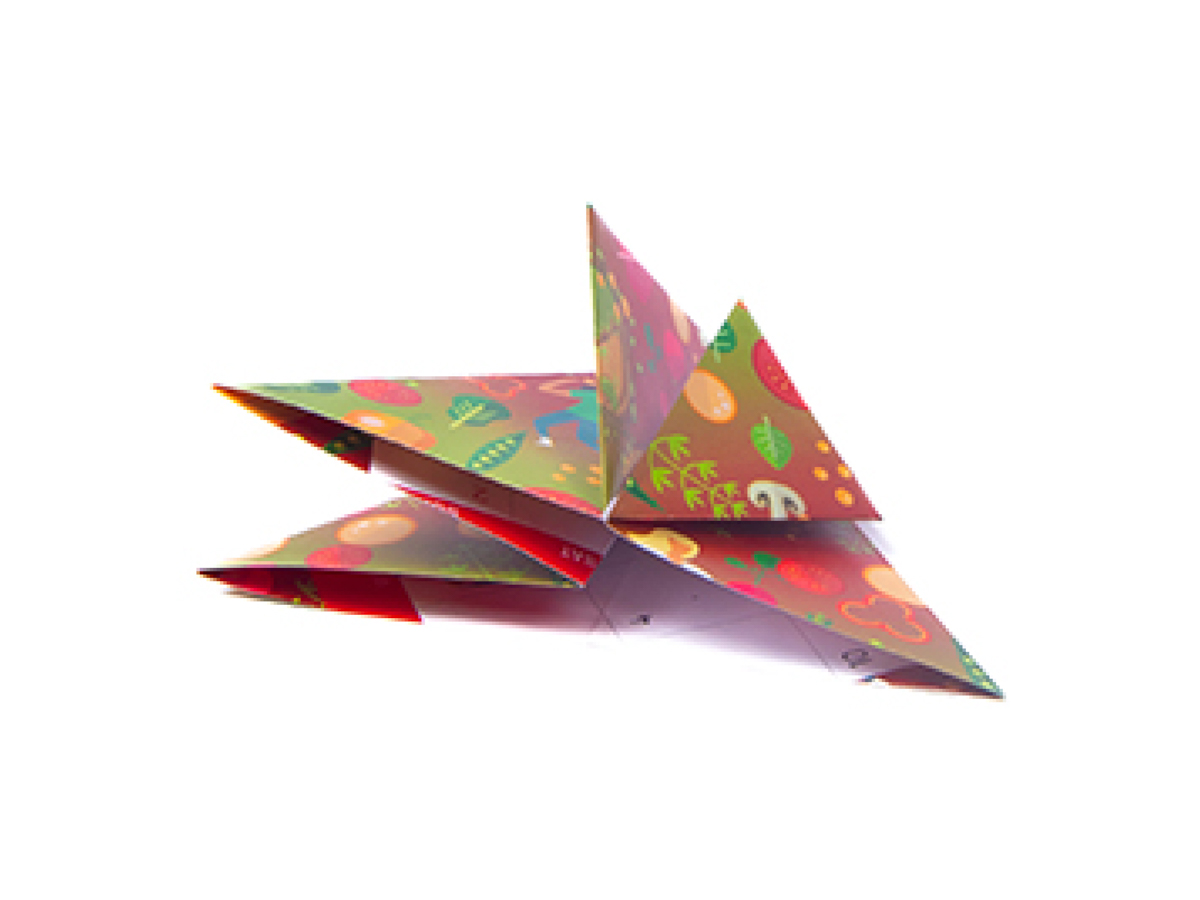
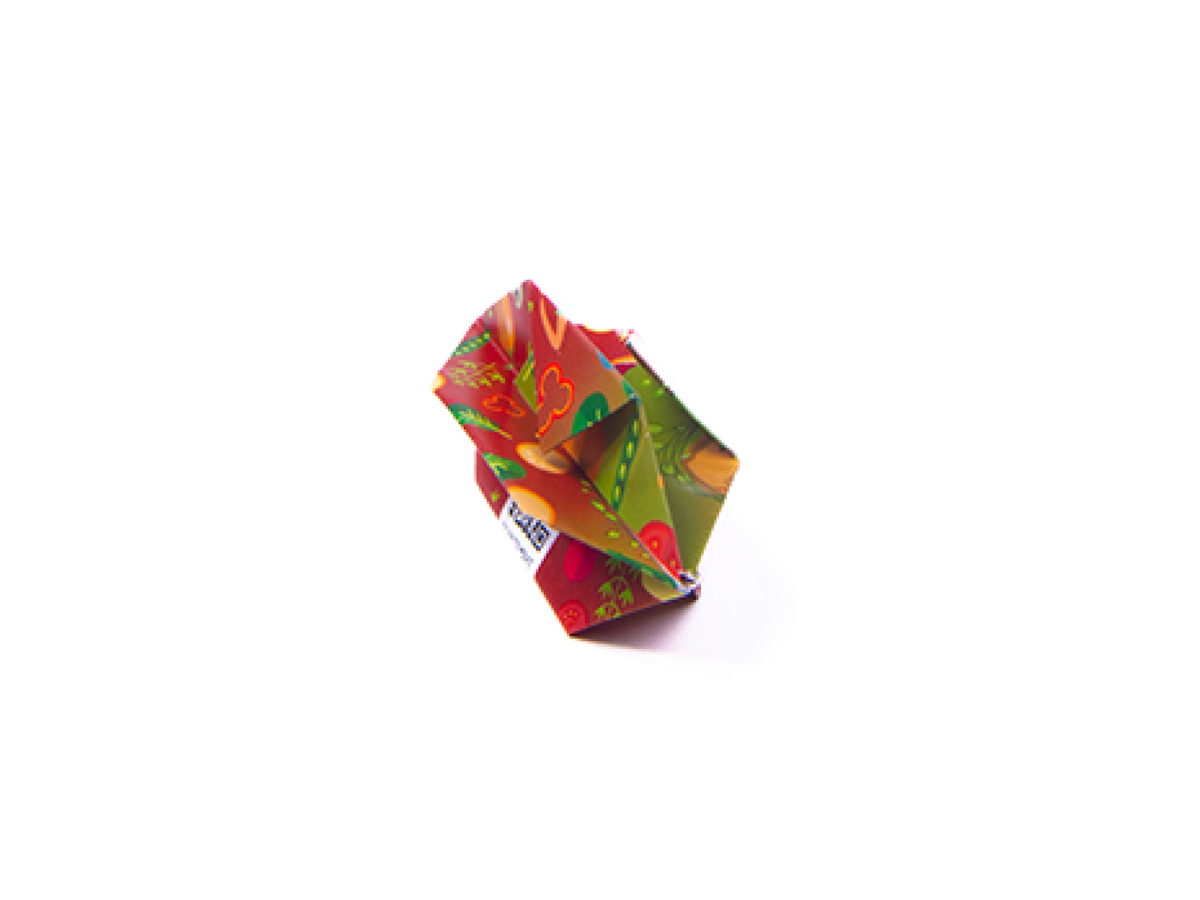
Refold the existing creases so the the folds running to the 5 corners face outwards (these are called mountain folds), and the folds running in between the 5 corners face inwards (these are called valley folds).
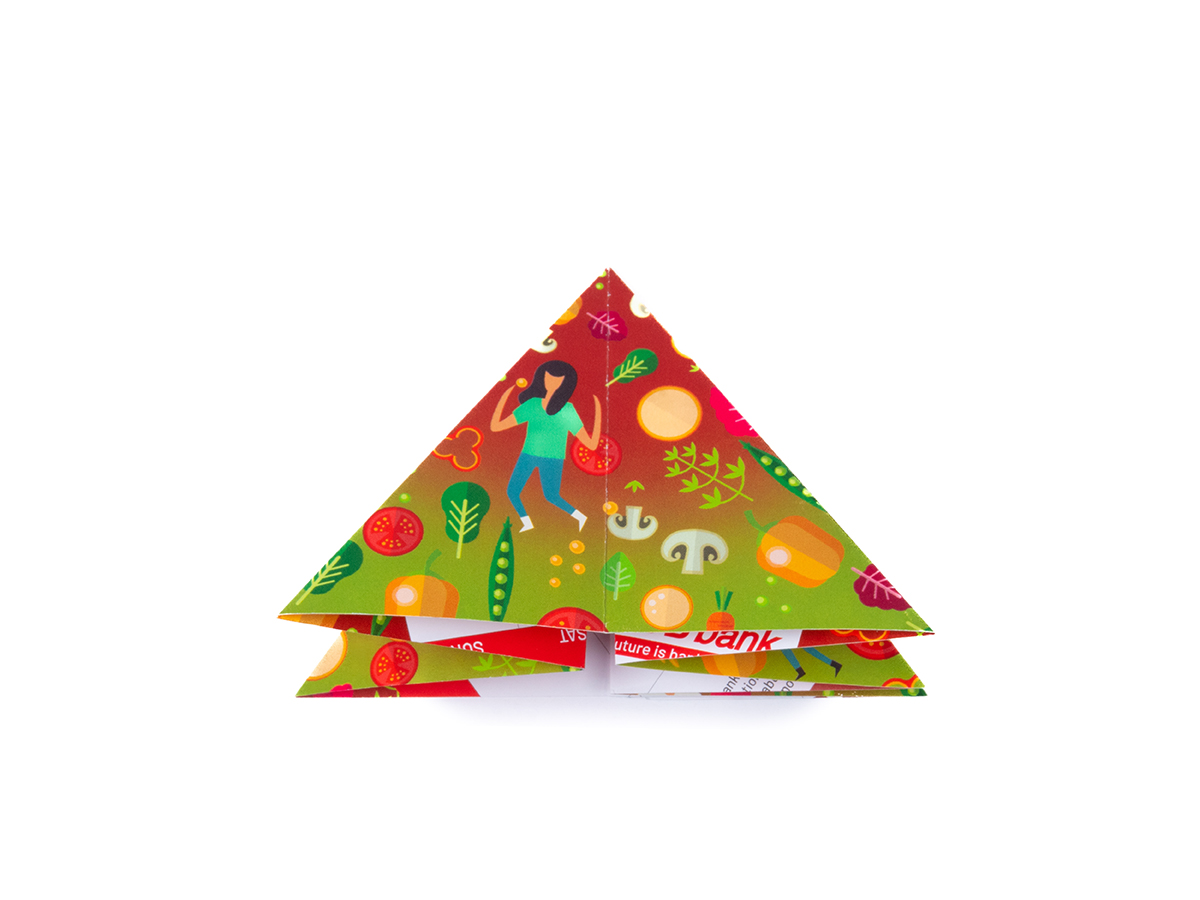
Collapse the shape along the creases, pressing it down to a triangular form. There will be 2 flaps on one side and 3 flaps on the other.
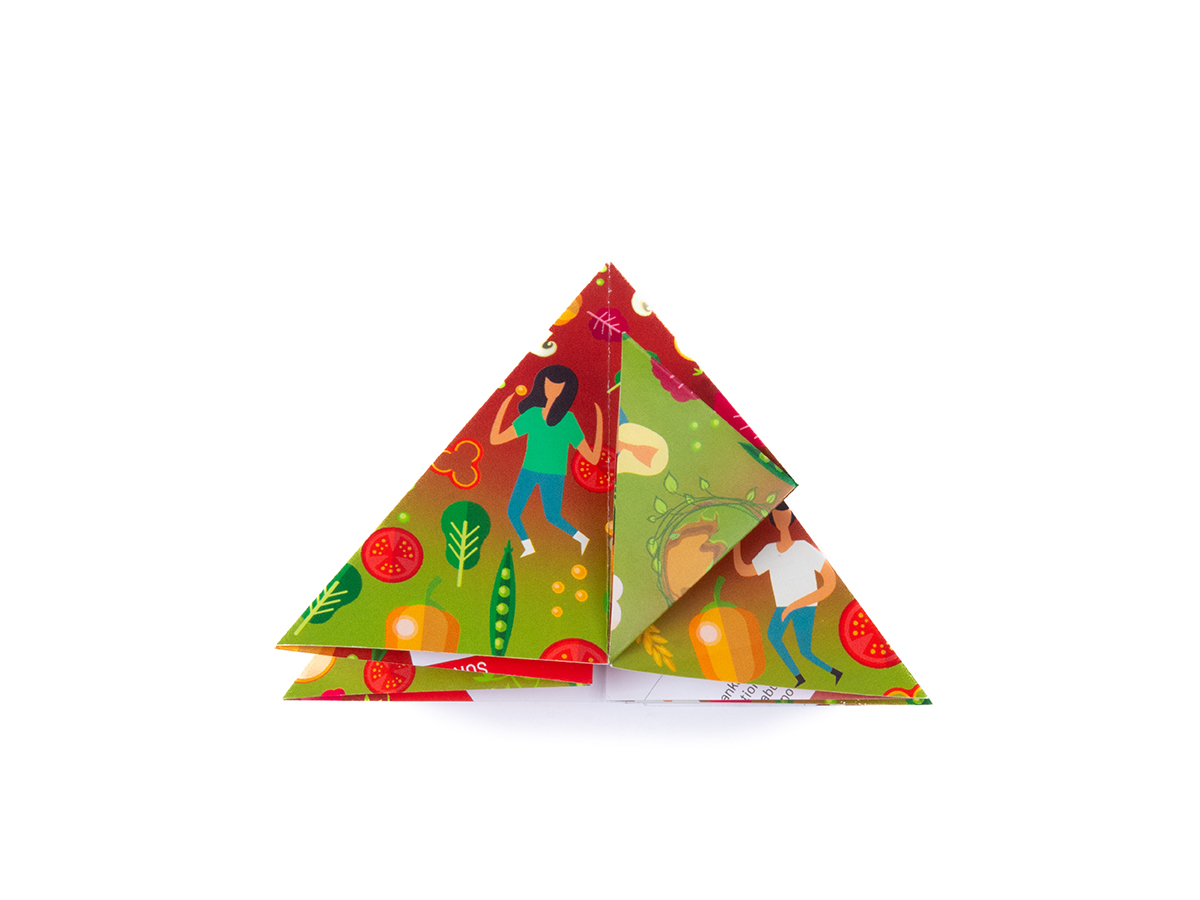
Fold the bottom corner of the first flap on the right up to the middle crease.
Keep working your way around the shape, maintaining the direction as you fold each corner inwards.
Refold the existing creases so the the folds running to the 5 corners face outwards (these are called mountain folds), and the folds running in between the 5 corners face inwards (these are called valley folds).
Collapse the shape along the creases, pressing it down to a triangular form. There will be 2 flaps on one side and 3 flaps on the other.
Fold the bottom corner of the first flap on the right up to the middle crease.
Keep working your way around the shape, maintaining the direction as you fold each corner inwards.
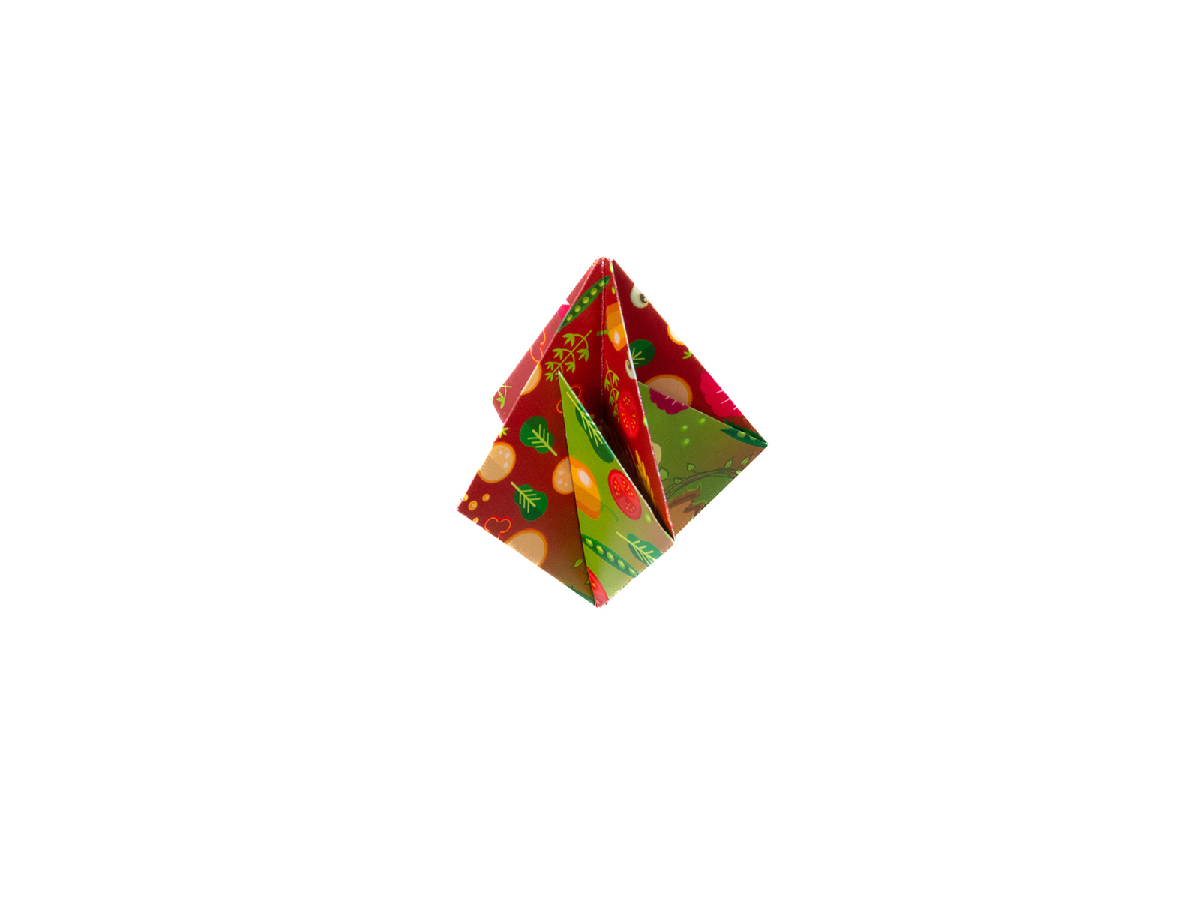
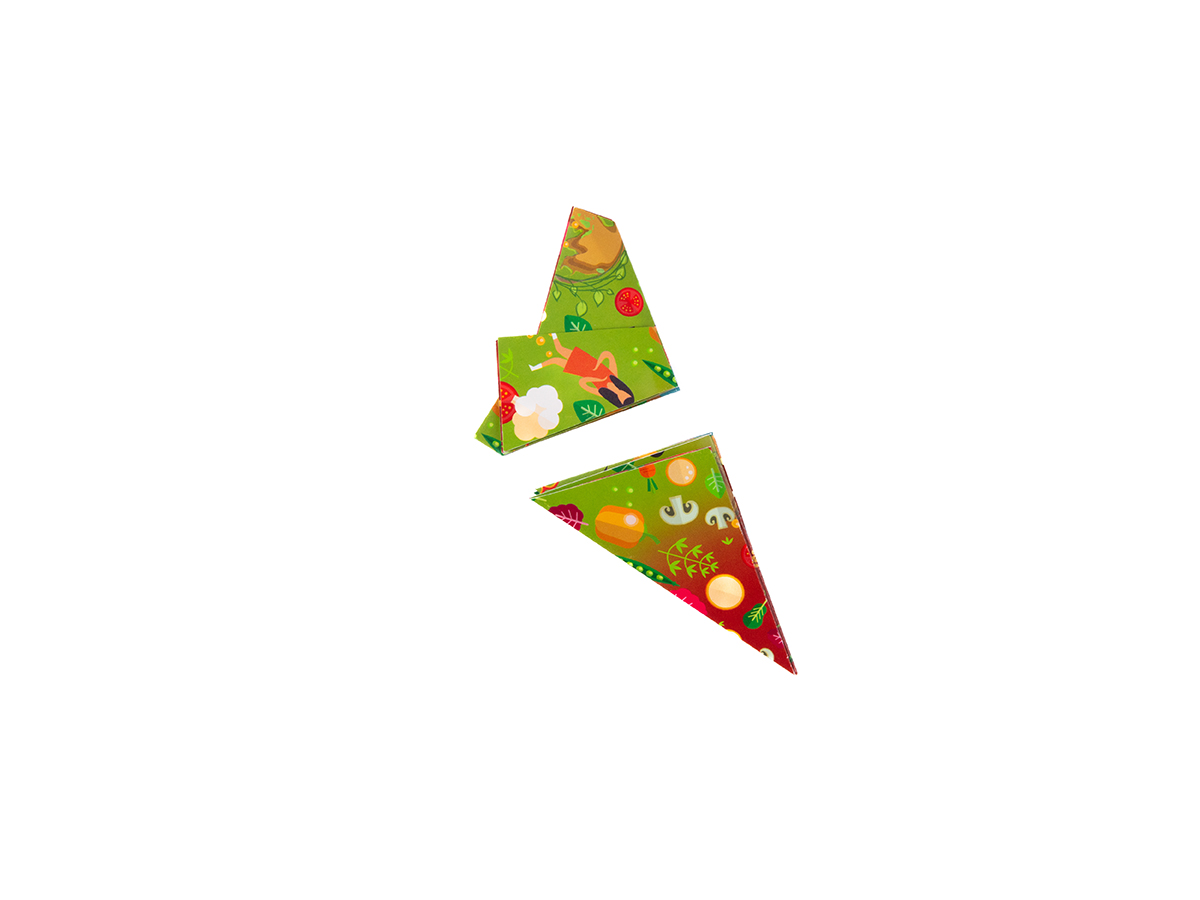
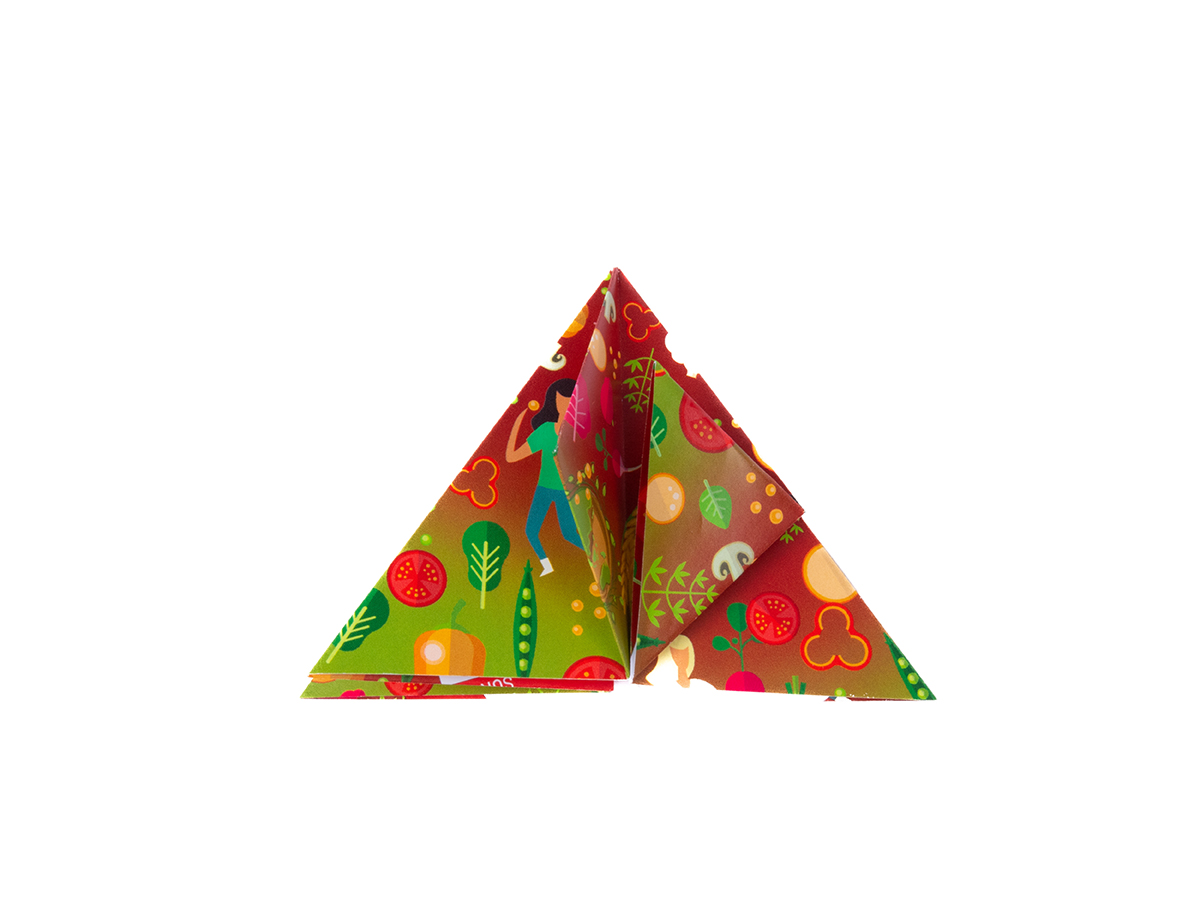
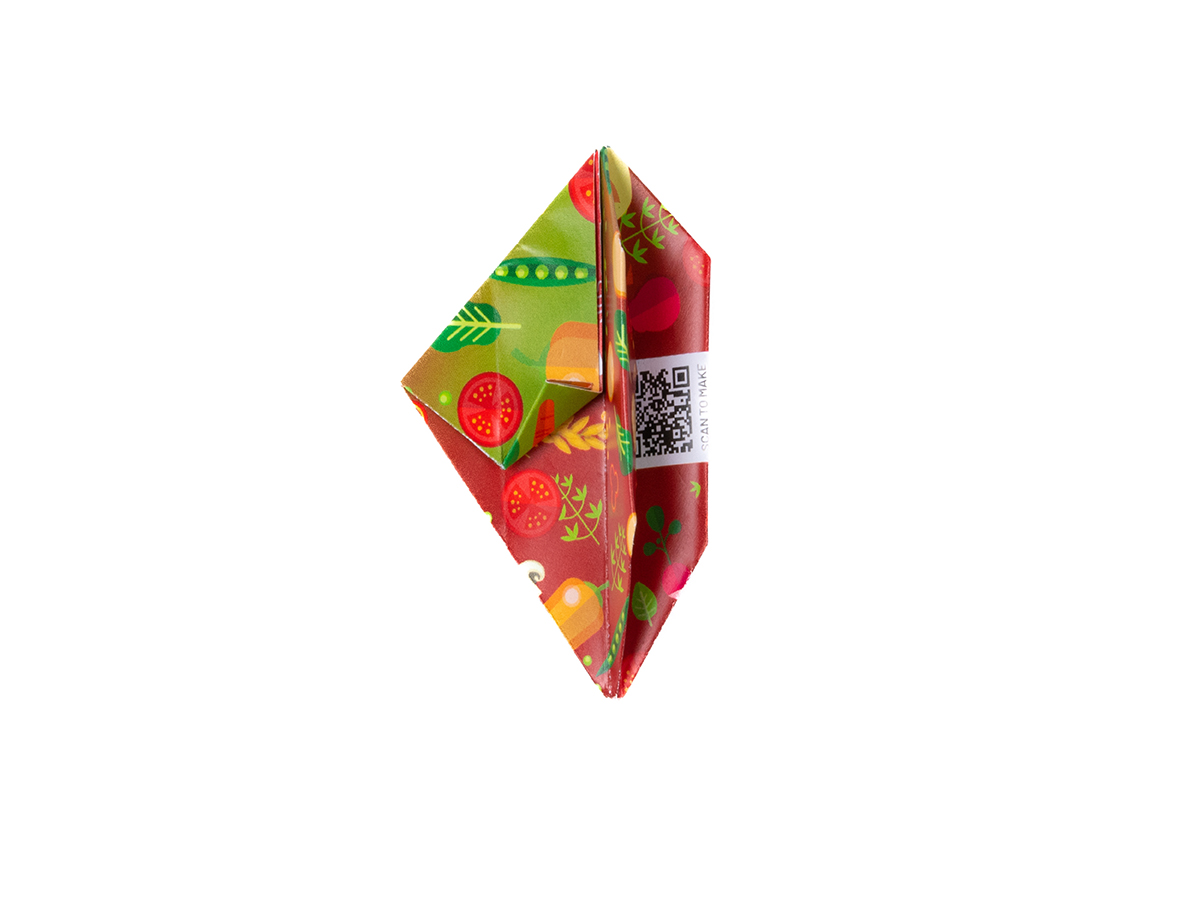
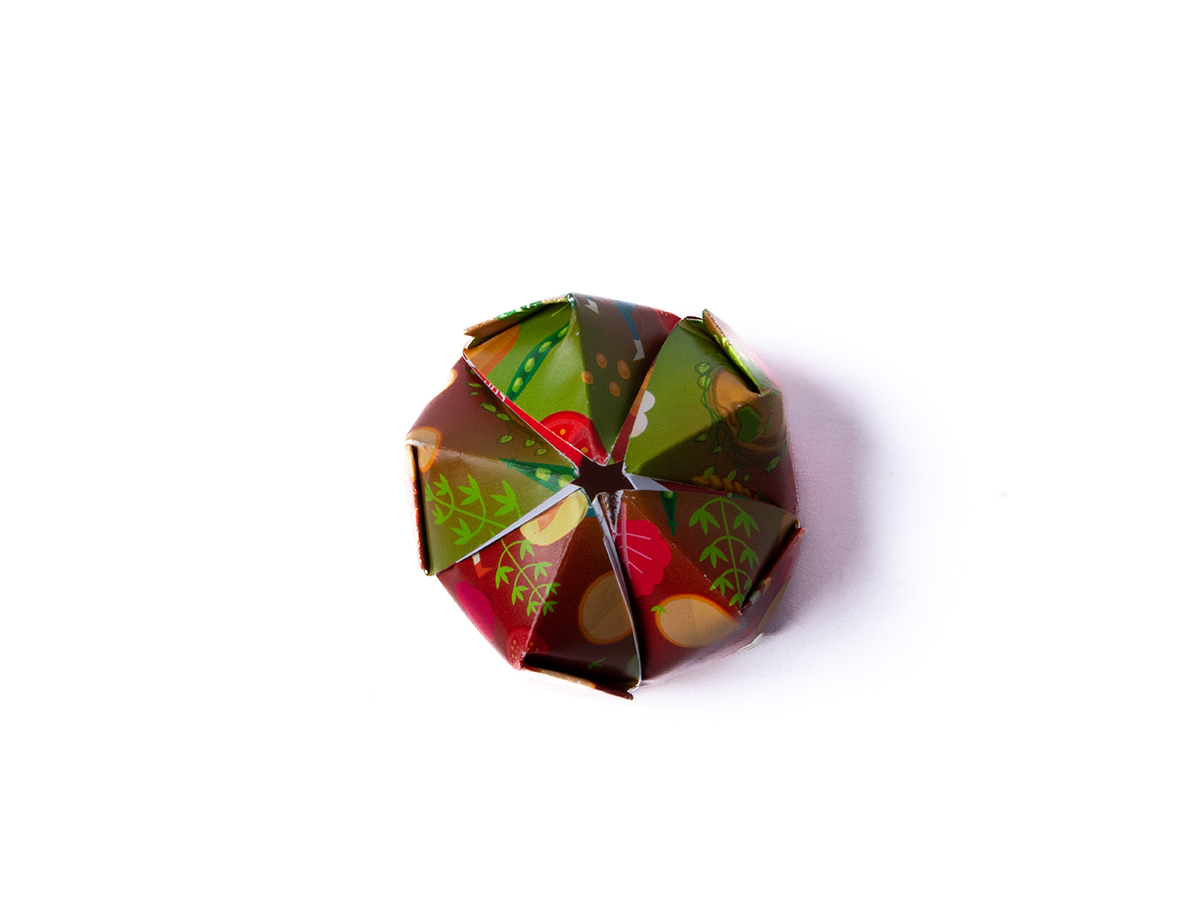
You should now have a shape like a diamond with 5 flaps
Keeping the model flat as you work, fold one of the sides inwards to meet the centre of the shape. Make sure your fold is parallel to the middle line, and crease well.
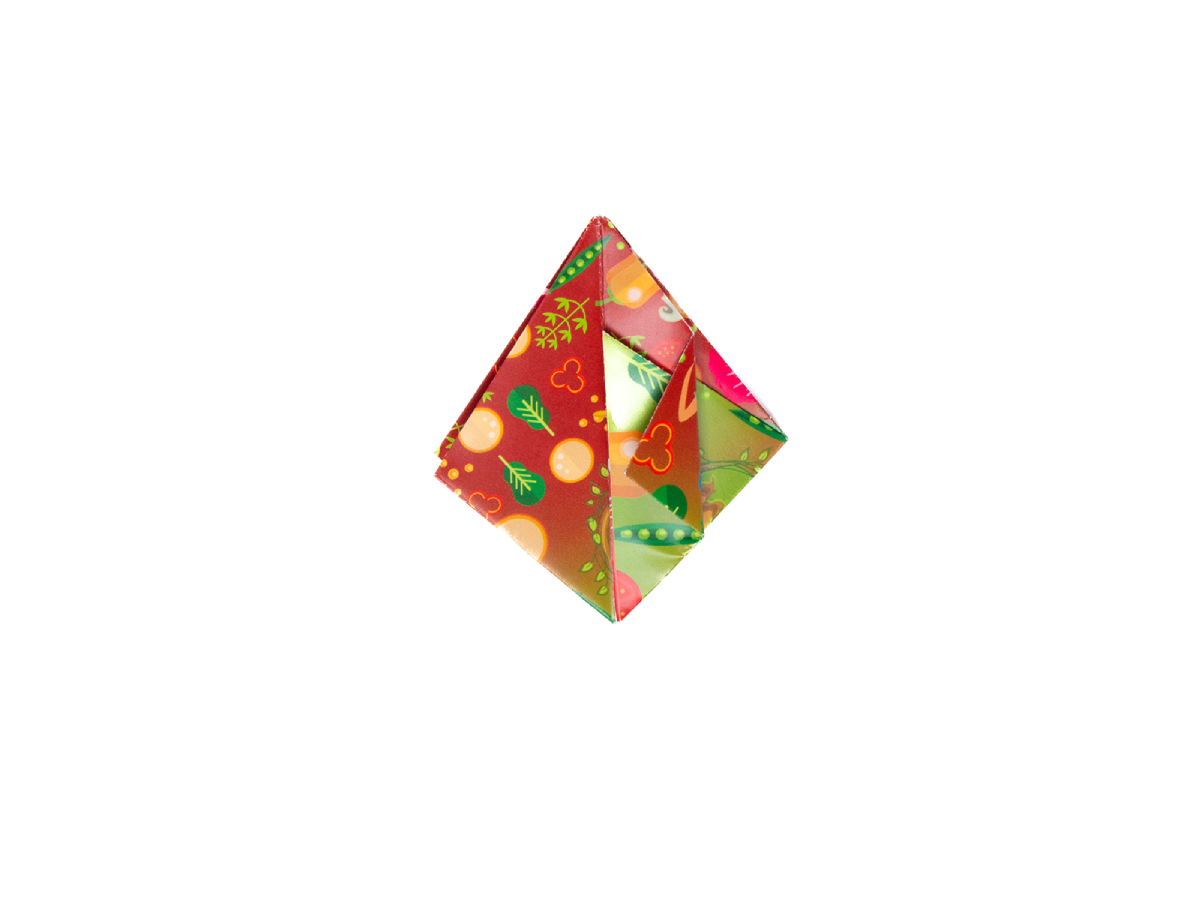
Like before, keep working your way around the remaining corners of the shape, always folding in the same direction.
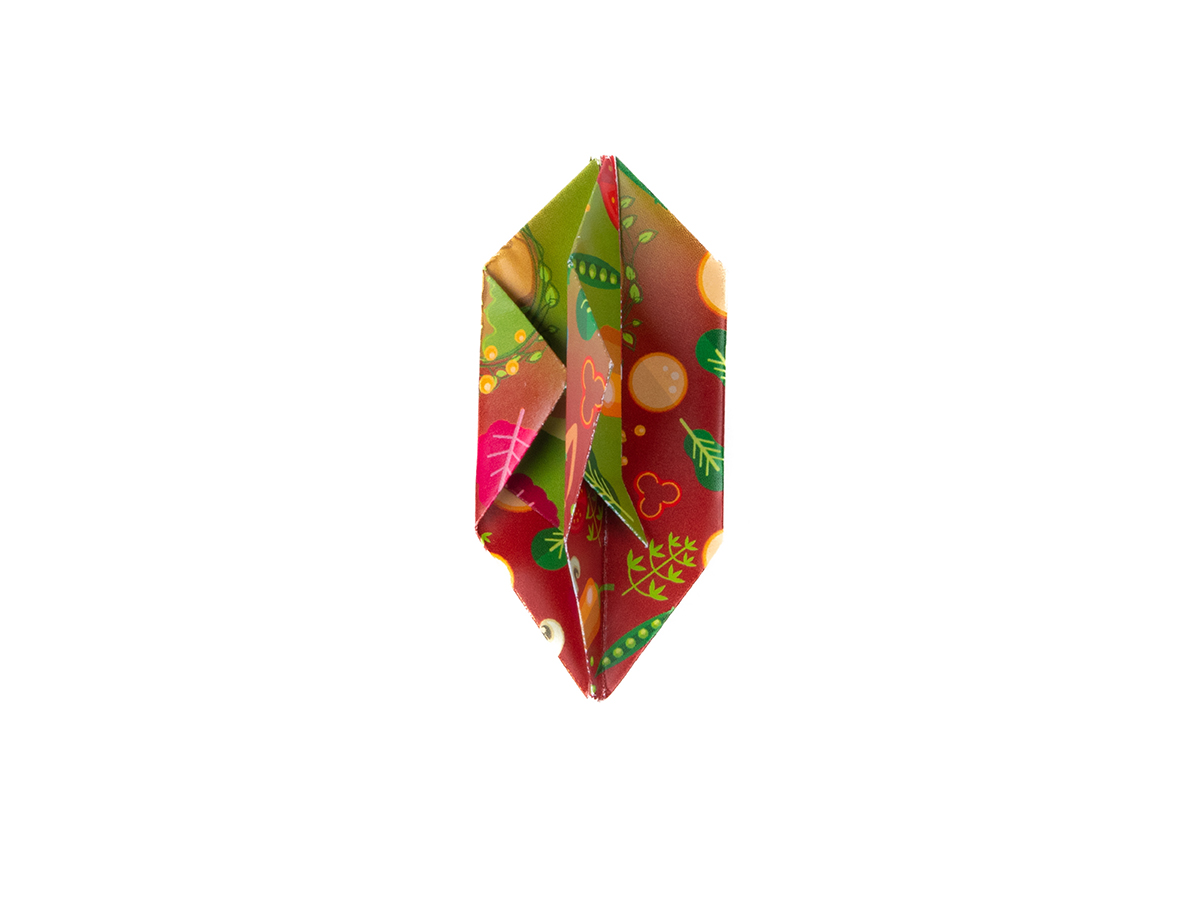
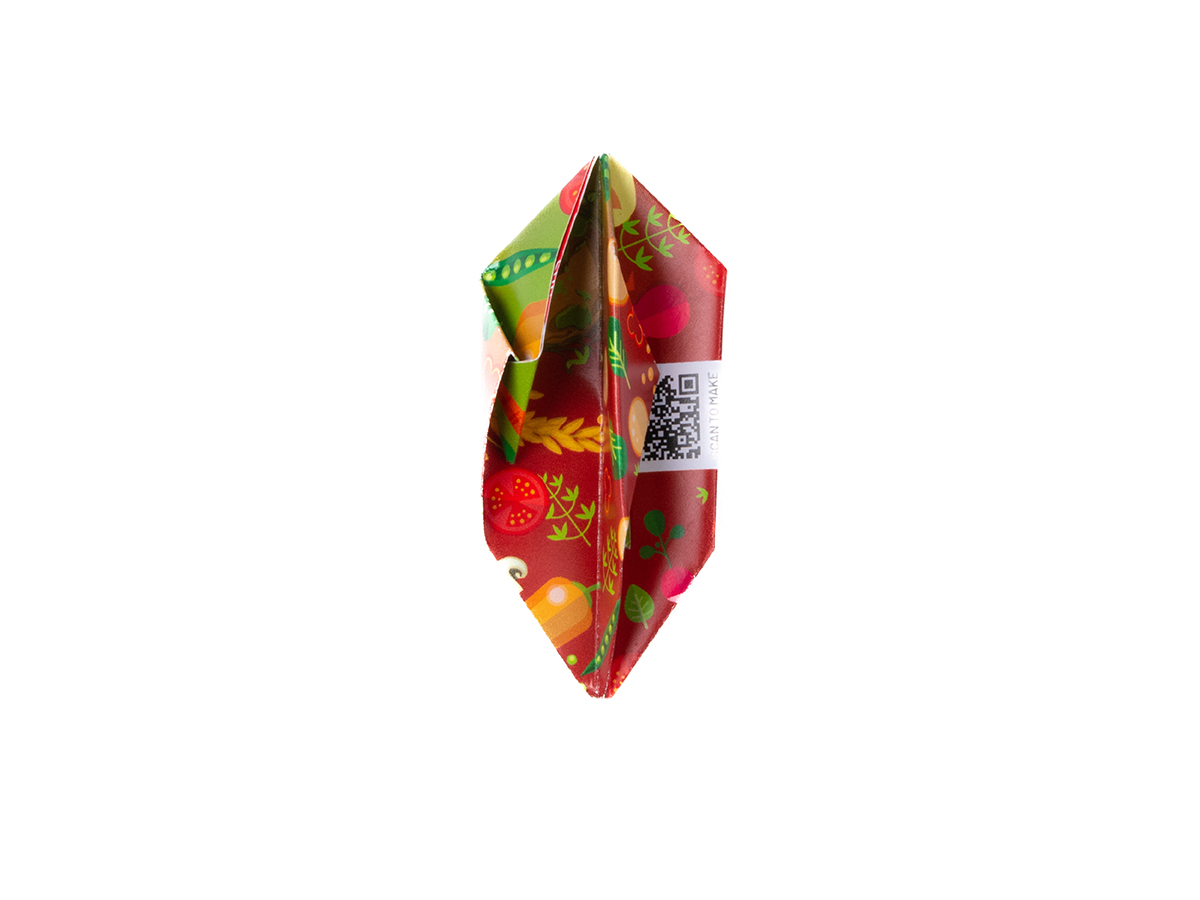
You should now have a shape like a crystal-like shape. Turn it upside down (see picture).
You should now have a shape like a diamond with 5 flaps
Keeping the model flat as you work, fold one of the sides inwards to meet the centre of the shape. Make sure your fold is parallel to the middle line, and crease well.
Like before, keep working your way around the remaining corners of the shape, always folding in the same direction.
You should now have a shape like a crystal-like shape. Turn it upside down (see picture).
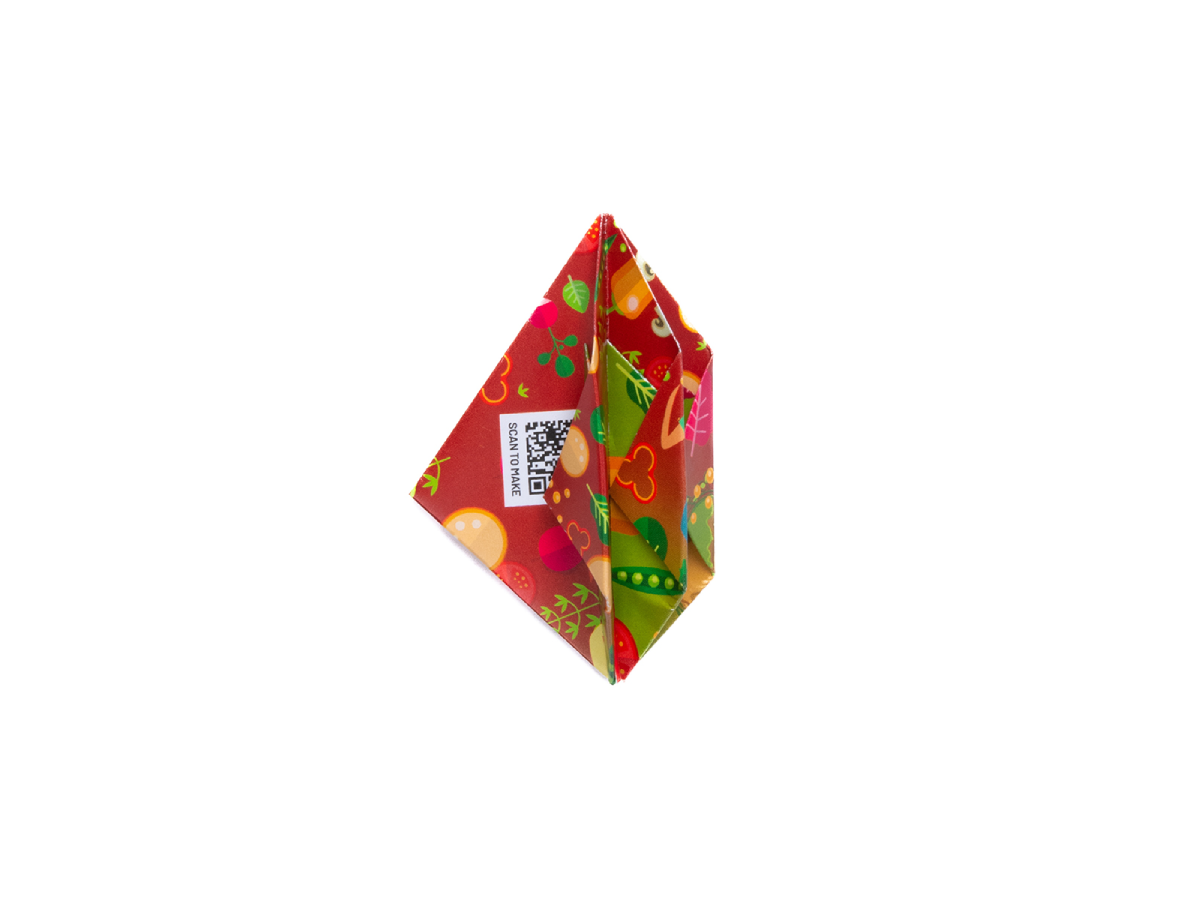
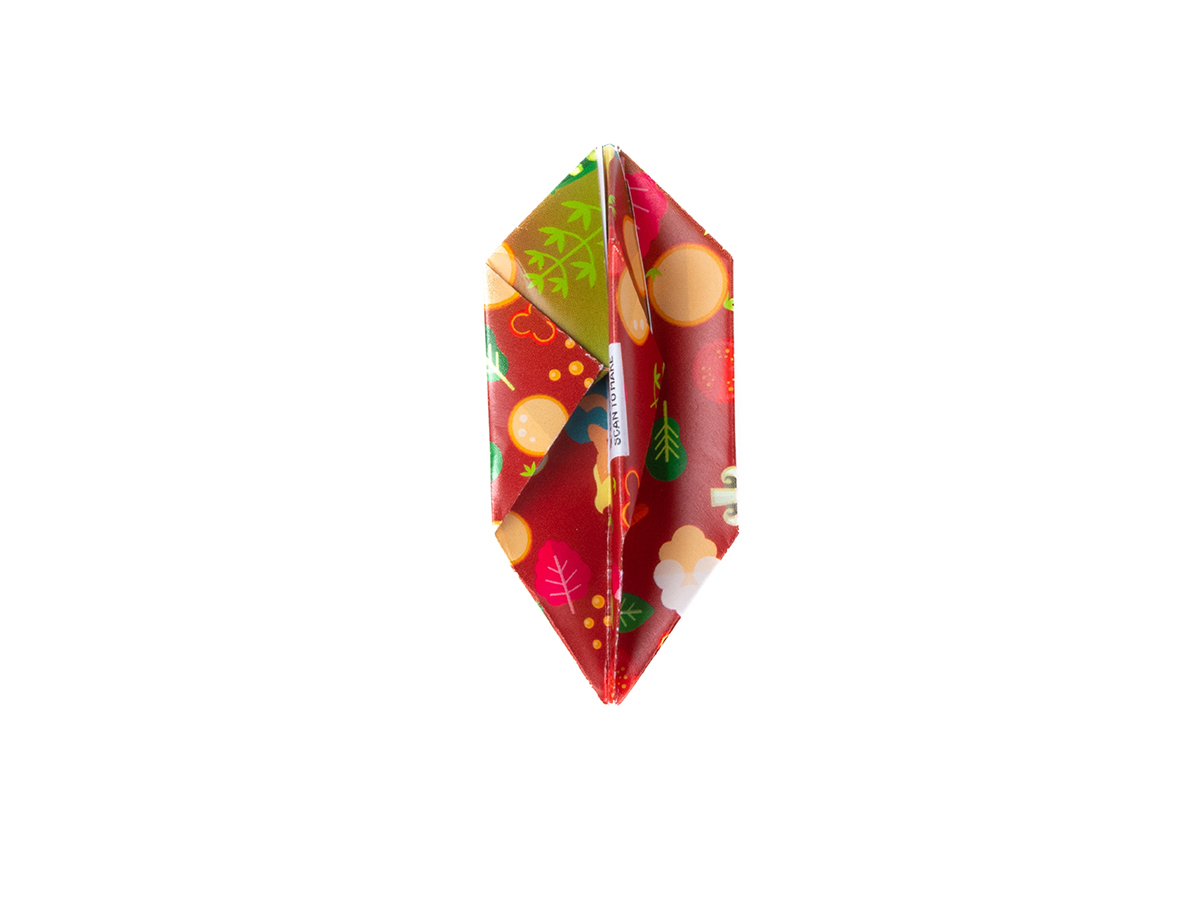
Starting on one side, unfold the corner you folded inwards in steps 18 and 19
Fold the tip of the inner triangle upwards, perpendicular to the middle crease.
Fold the small you just created over on itself again.
This step is a little difficult so work slowly and carefully. Tuck the small flap you just created into the pocket-like space next to it. It should lock into place.
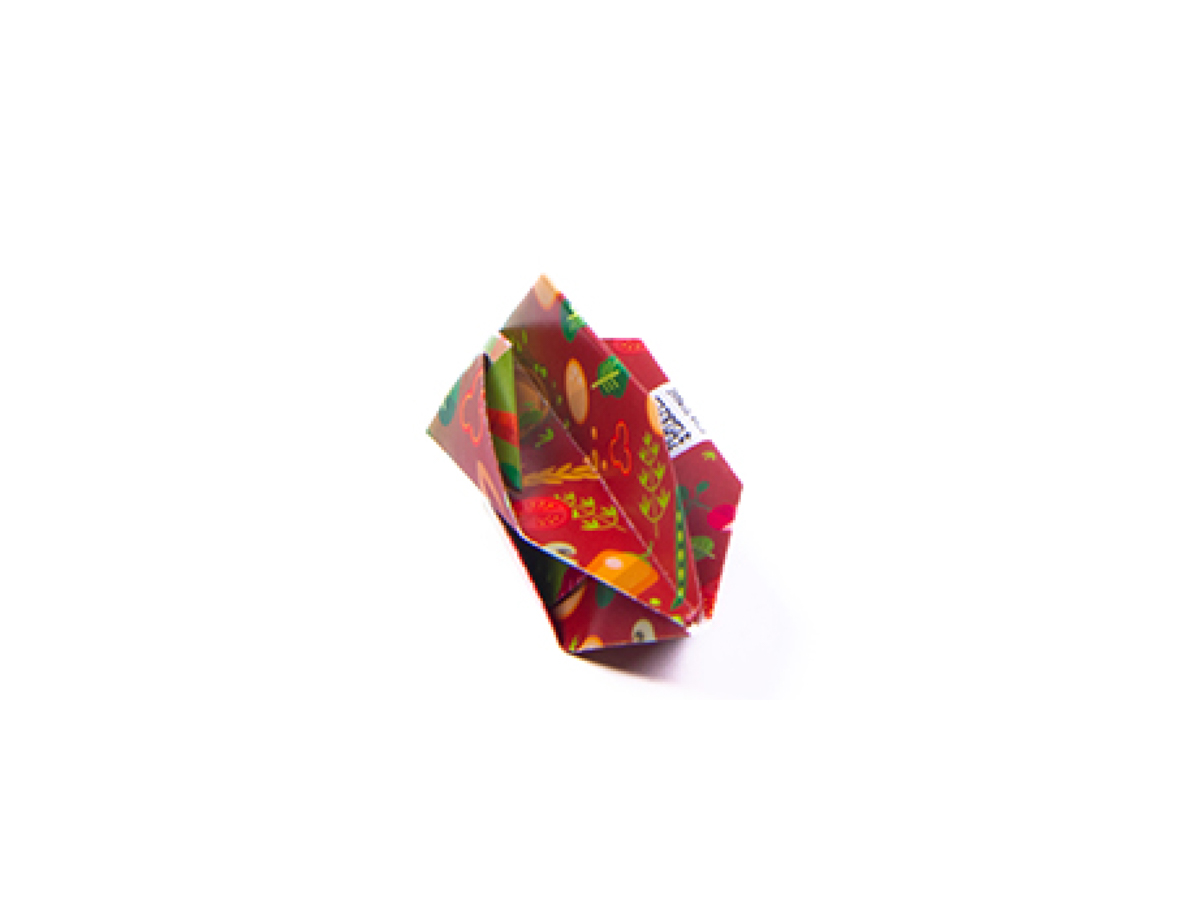
Work your way around each side of the shape, repeating steps 21-24 until all the sides are locked into place.

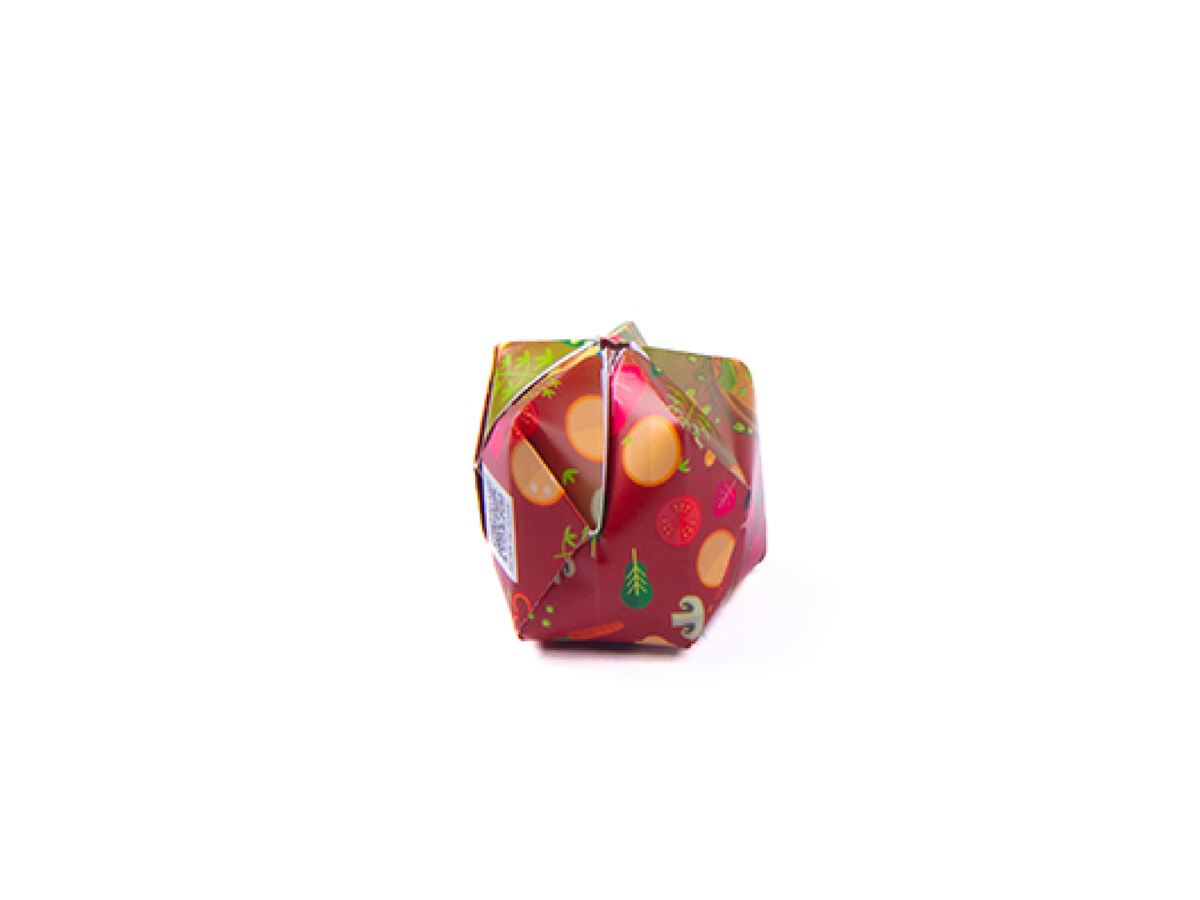
Turn the shape towards you, with the open end of it facing you.
Blow into the opening to inflate your shape. You may need to blow a little hard for this to expand into the apple shape.
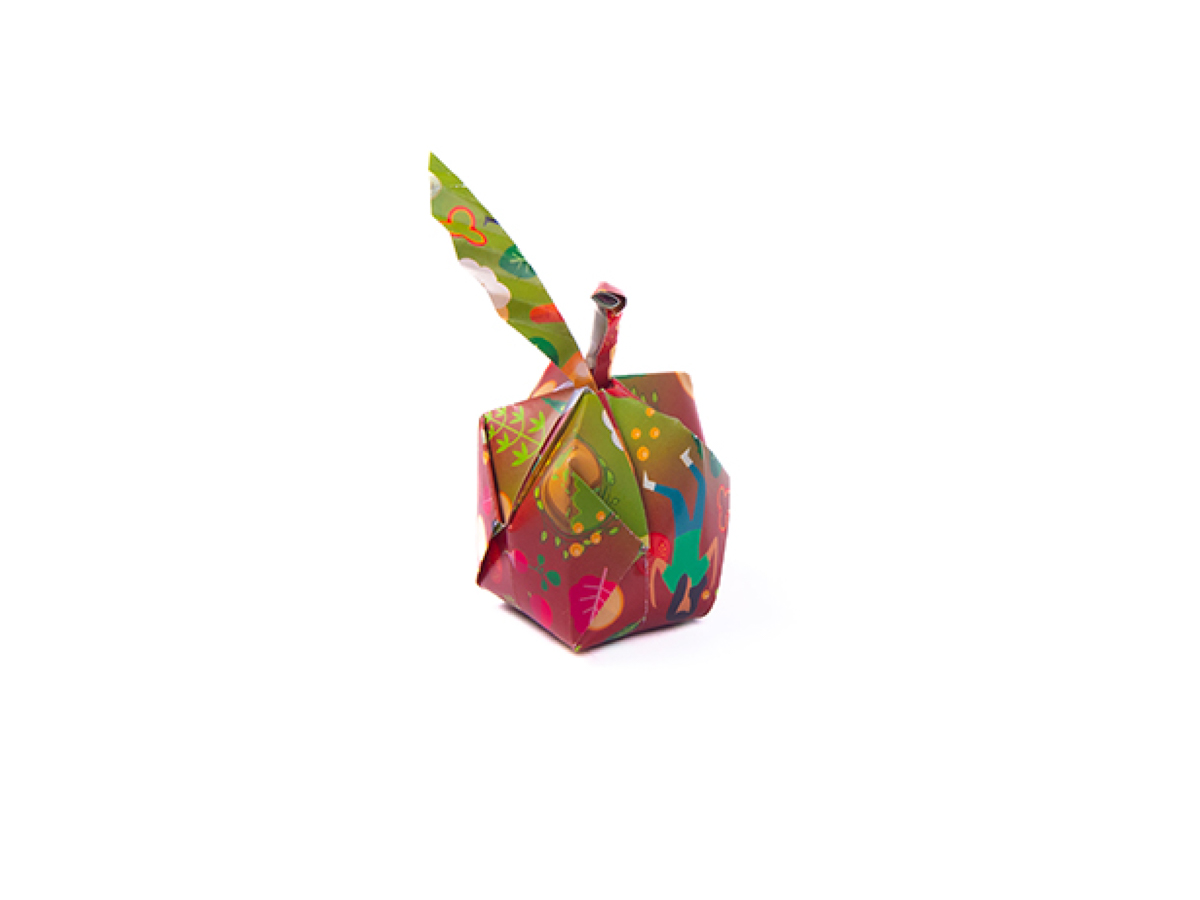
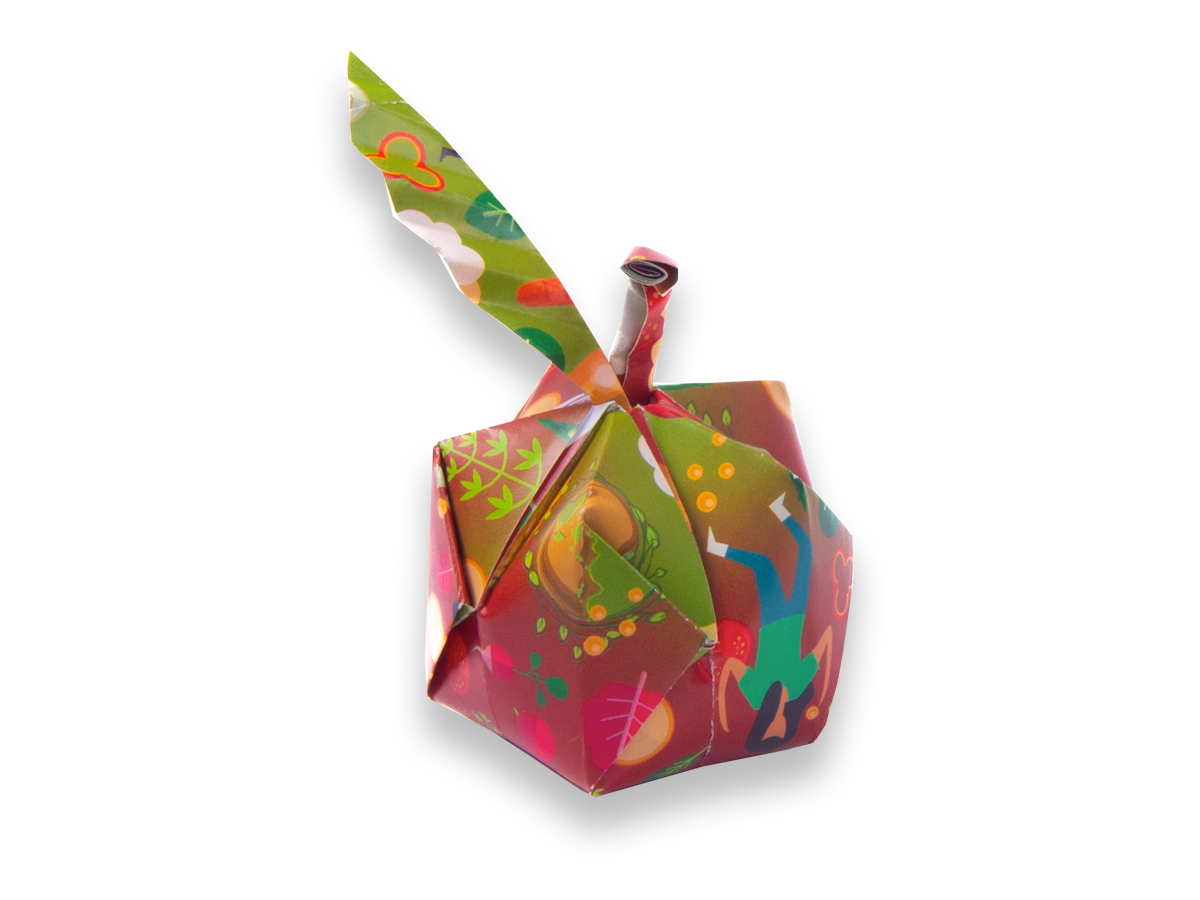
You should now have a nice round apple with a small star-shaped hole on top - this is where the stem and leaf will go.
Work your way around each side of the shape, repeating steps 21-24 until all the sides are locked into place.
Turn the shape towards you, with the open end of it facing you.
Blow into the opening to inflate your shape. You may need to blow a little hard for this to expand into the apple shape.
You should now have a nice round apple with a small star-shaped hole on top - this is where the stem and leaf will go.
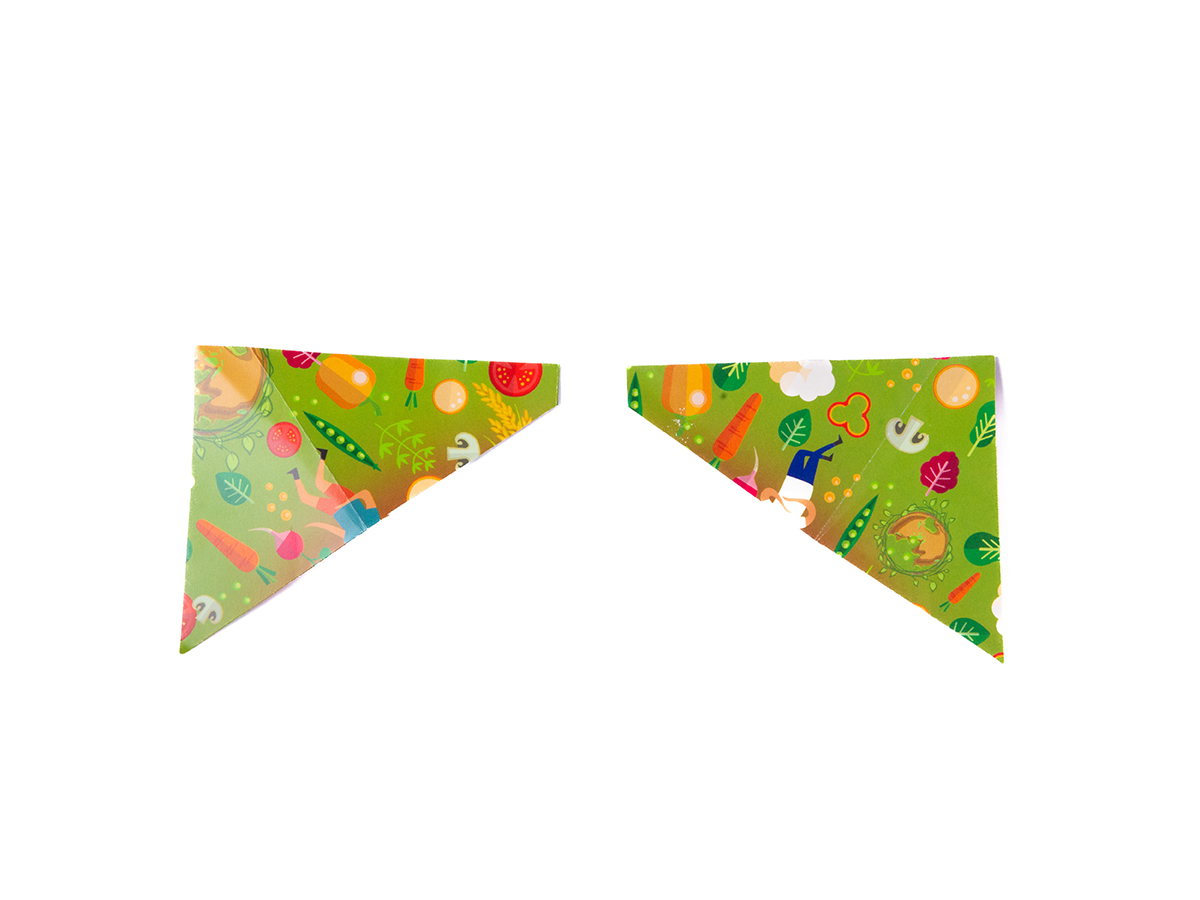
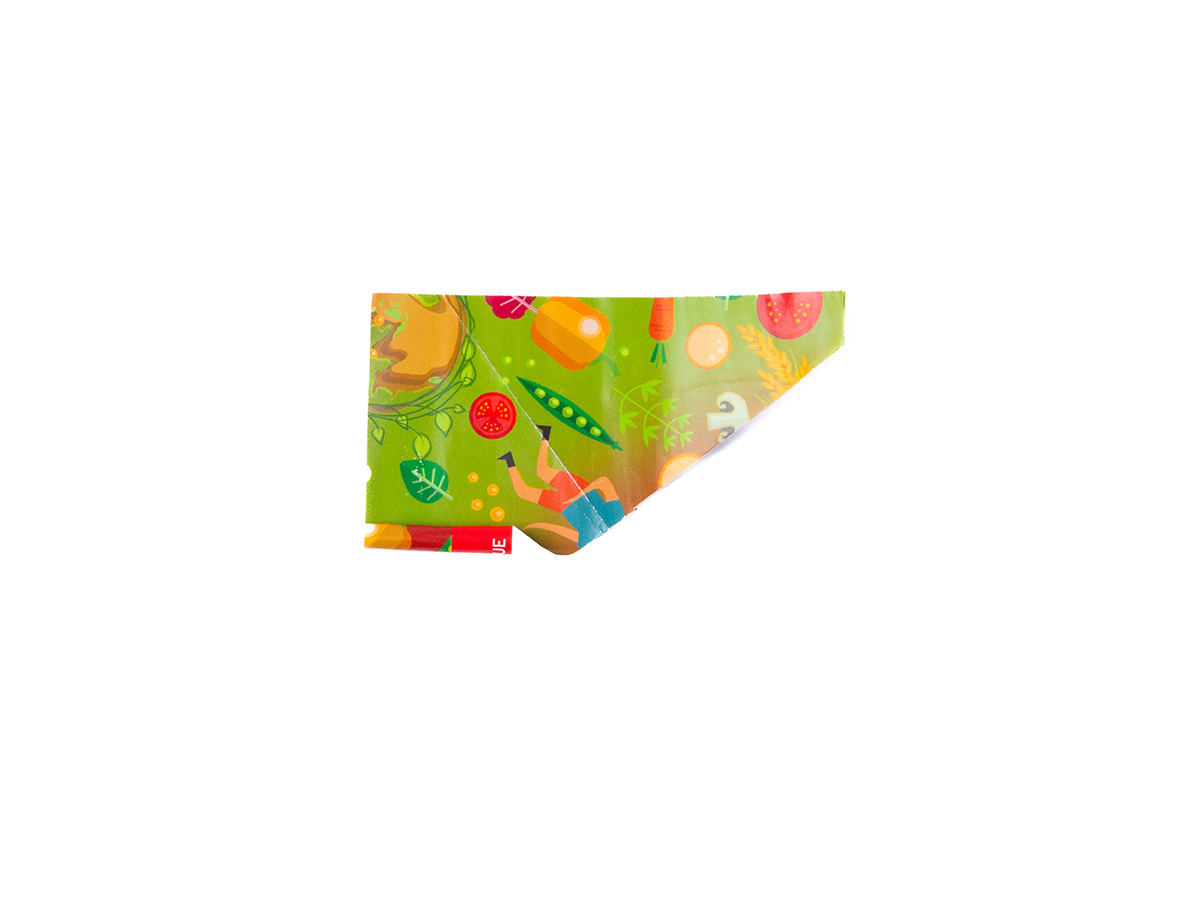
Take the larger piece of paper that was cut off in step 11, and separate it into 2 pieces.
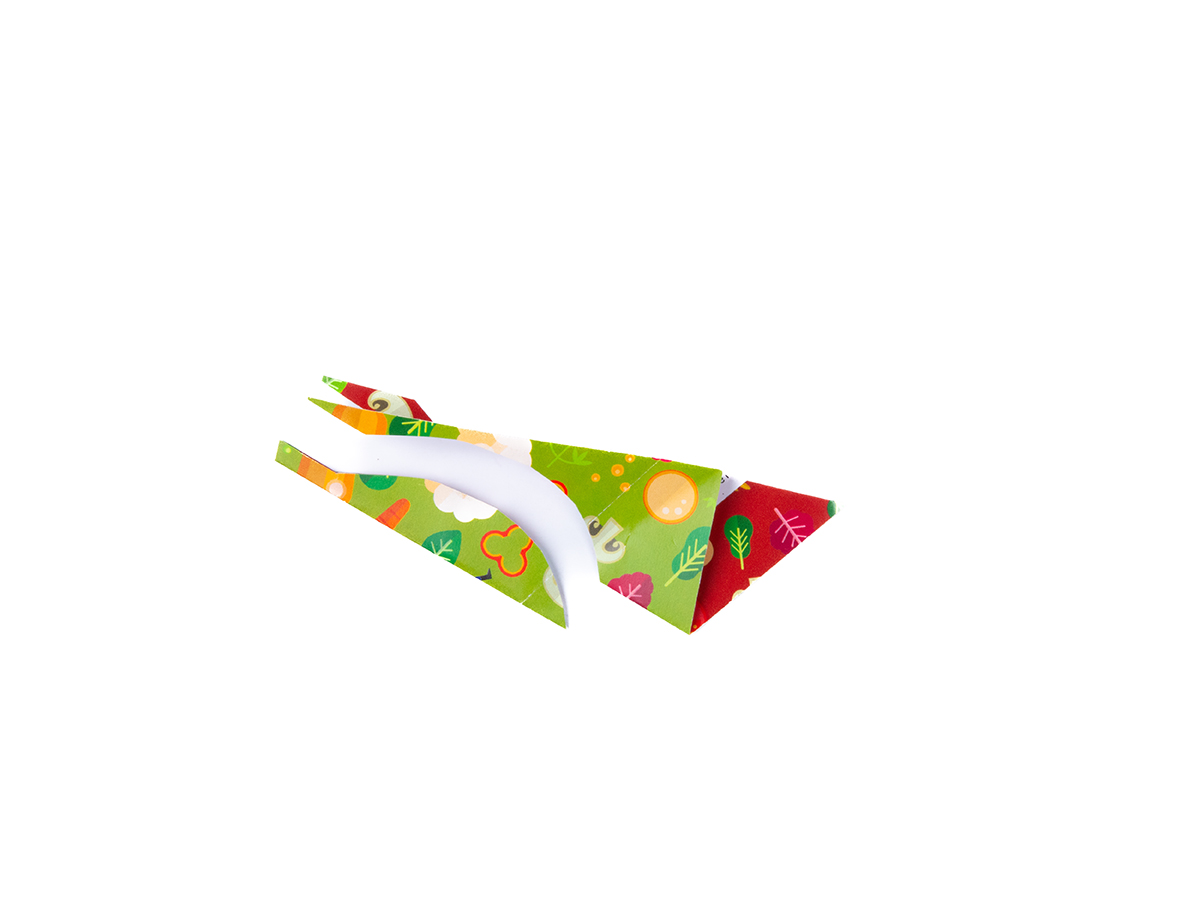
To make the leaf, fold one of the pieces lengthways down the middle with the green colour on the outside. Cut a half-leaf shape out of the folded edge (see picture). It's important to include the stem part as well so that you can attach this to the apple.
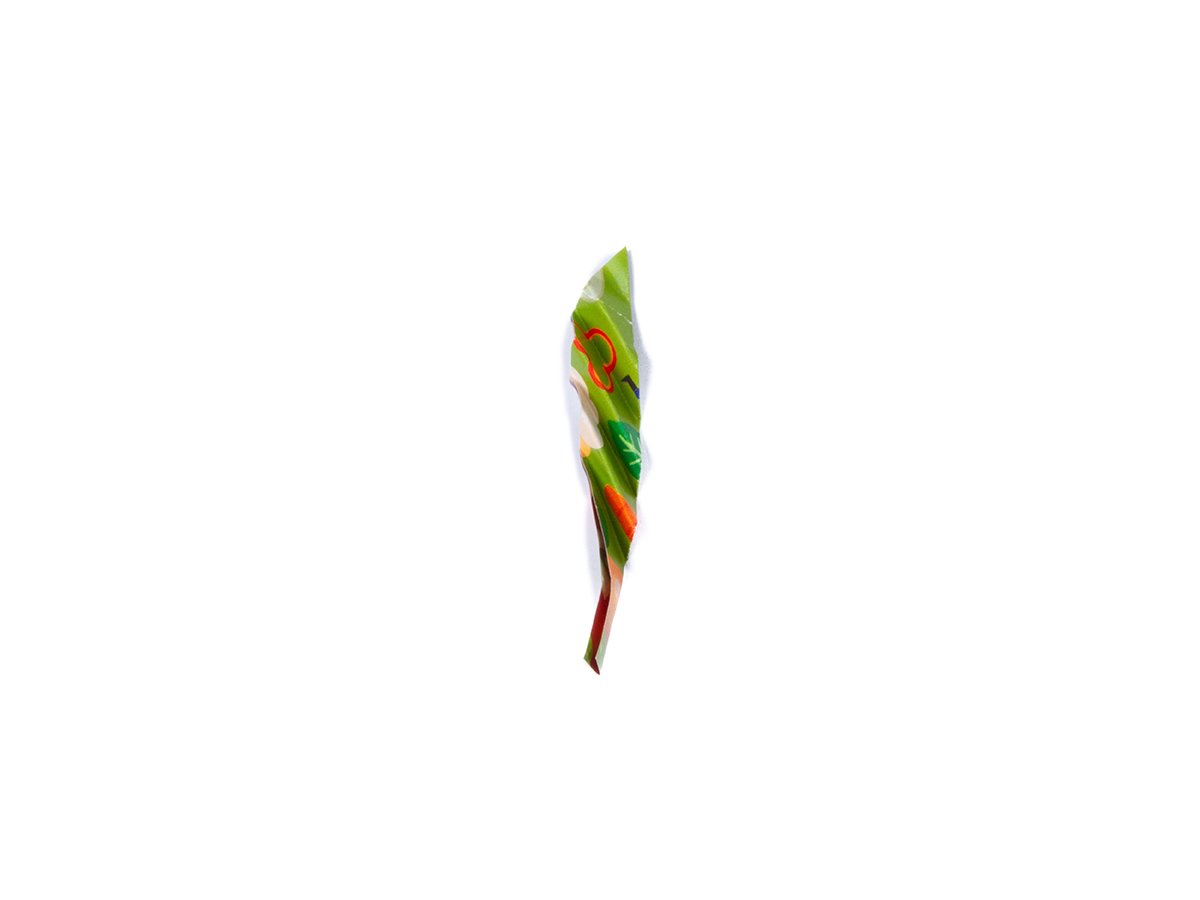
Without unfolding the leaf, make diagonal fan folds along its length (see picture). This step is optional but will make your leaf look nice.
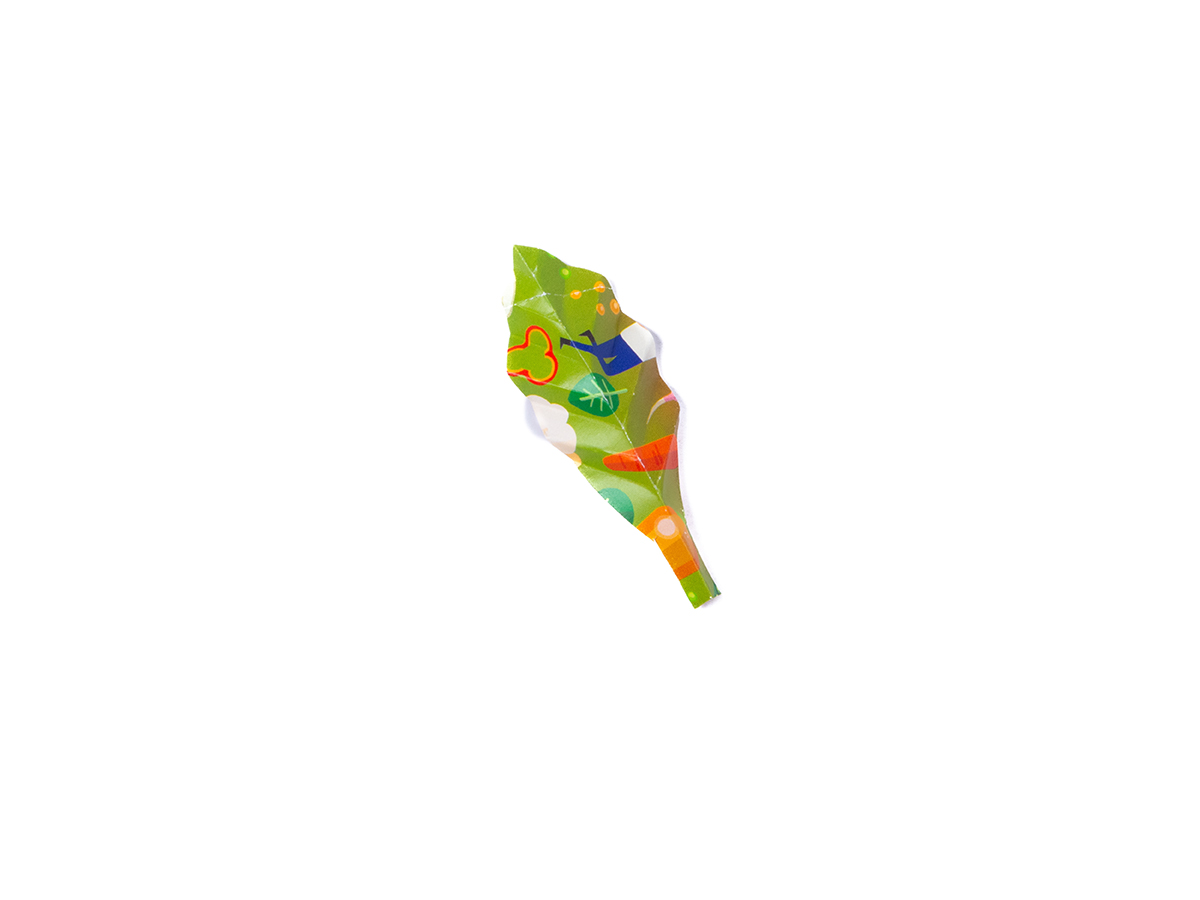
Unfold your leaf. It should have a nice wavy texture.
Take the larger piece of paper that was cut off in step 11, and separate it into 2 pieces.
To make the leaf, fold one of the pieces lengthways down the middle with the green colour on the outside. Cut a half-leaf shape out of the folded edge (see picture). It's important to include the stem part as well so that you can attach this to the apple.
Without unfolding the leaf, make diagonal fan folds along its length (see picture). This step is optional but will make your leaf look nice.
Unfold your leaf. It should have a nice wavy texture.
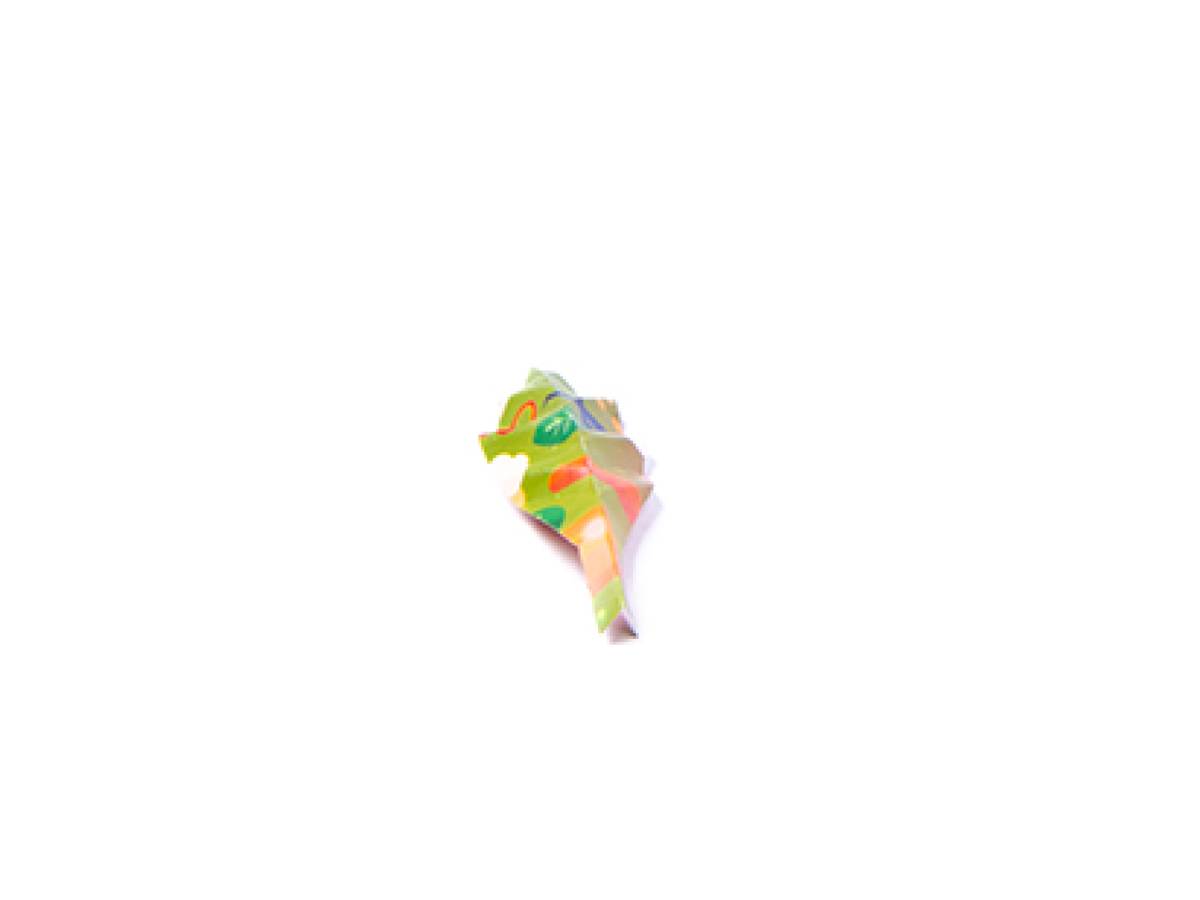
Take the second piece of paper and position it in front of you like this.
Start rolling it up tightly so that the red side faces up as you roll.
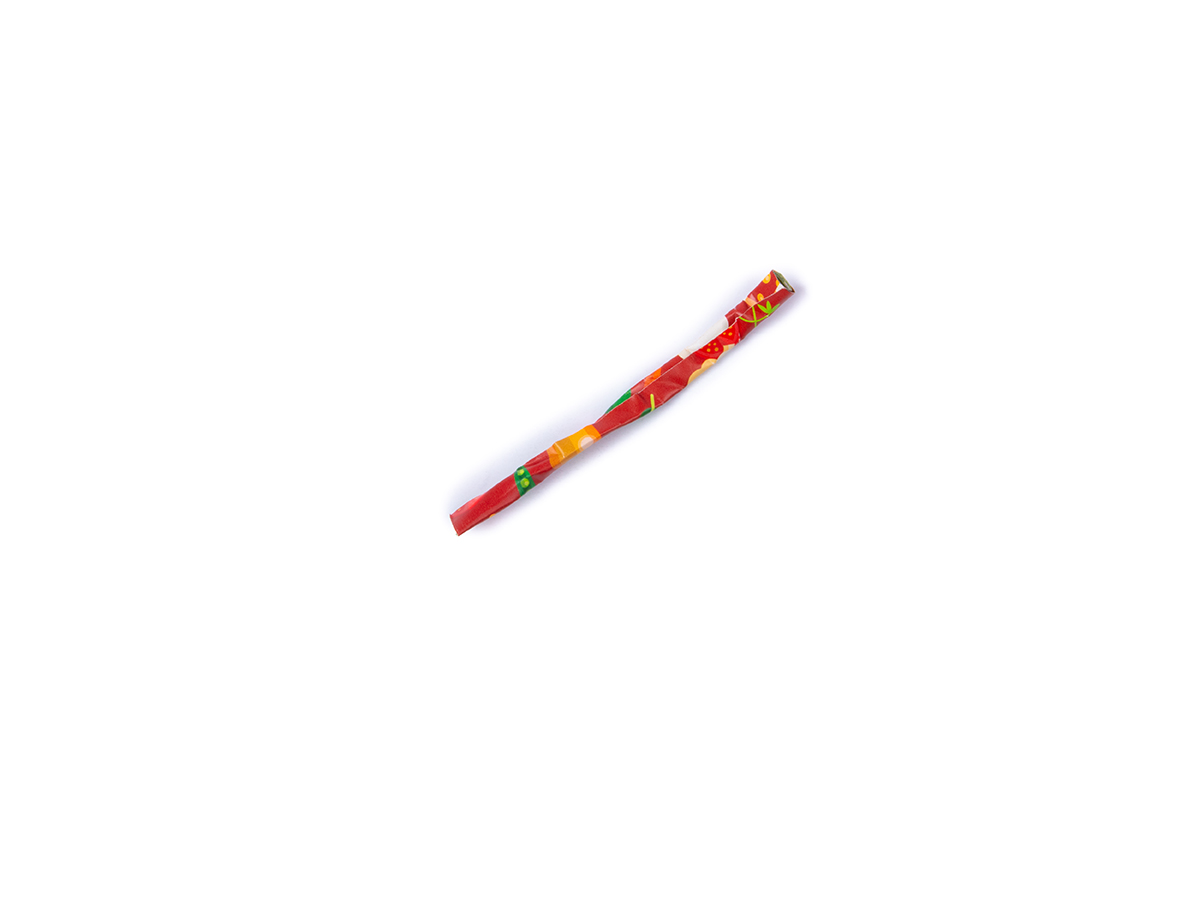
You should now have a long rolled up tube-like shape, which you can twist lightly to look more like a natural stem.
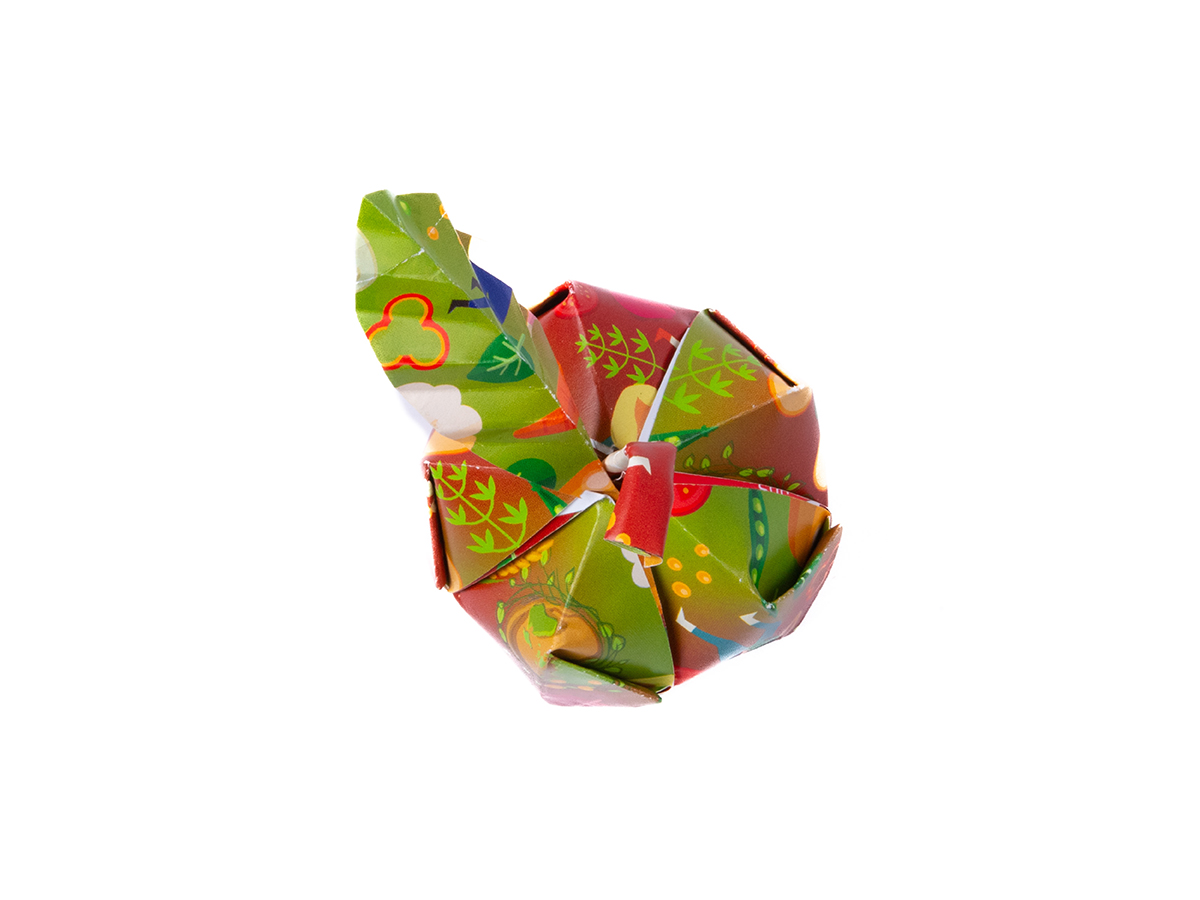
You can now insert your stem and leaf into the opening on top of the apple, and it's complete!
Take the second piece of paper and position it in front of you like this.
Start rolling it up tightly so that the red side faces up as you roll.
You should now have a long rolled up tube-like shape, which you can twist lightly to look more like a natural stem.
You can now insert your stem and leaf into the opening on top of the apple, and it's complete!

Other Origamies
Explore an exceptional range of origami artworks, where tradition meets innovation. Each piece is thoughtfully crafted, highlighting the artistry and precision of paper folding. From timeless classics to modern interpretations, our collection offers a unique insight into the versatility and beauty of origami.
©2024 National Development Bank PLC, All Rights Reserved
Design & developed by Ogilvy Martech.