Phone Number
Email Us Here
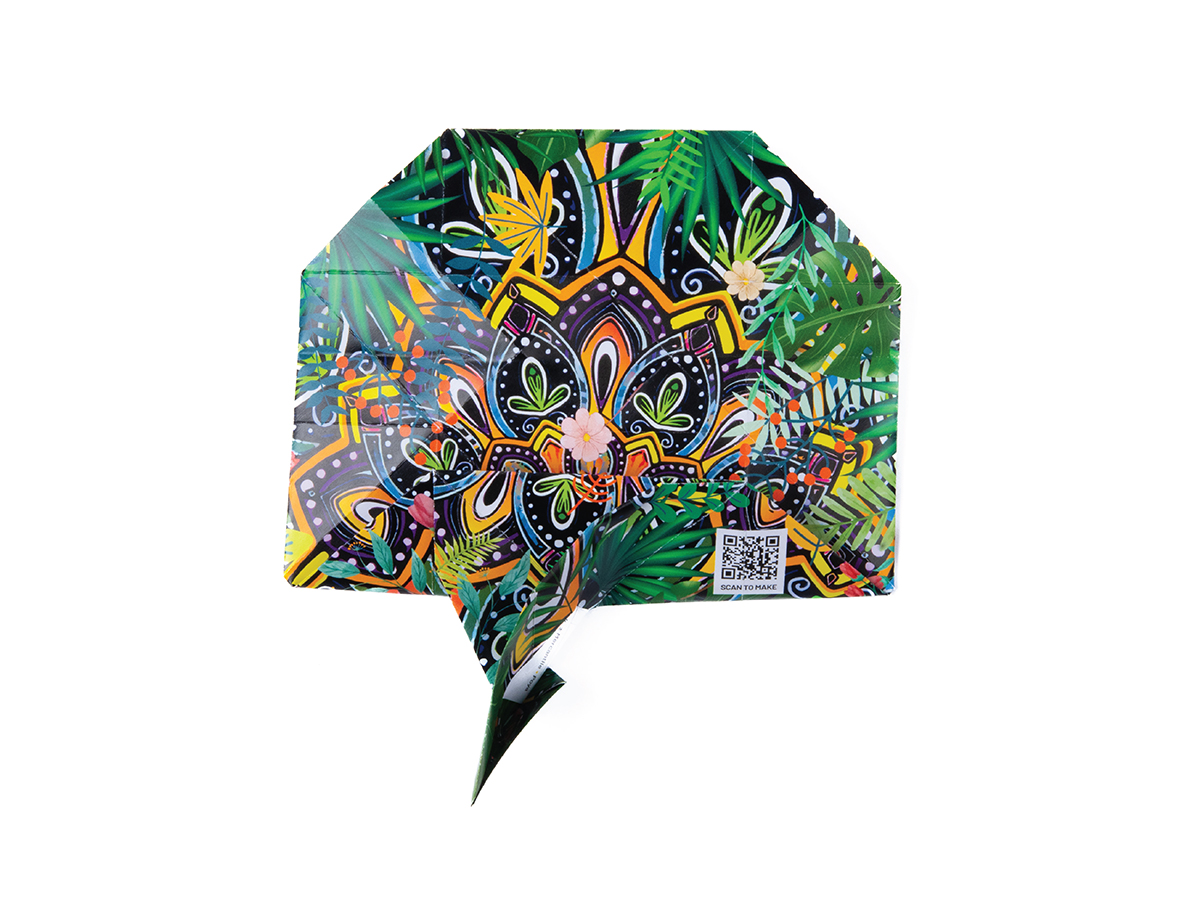
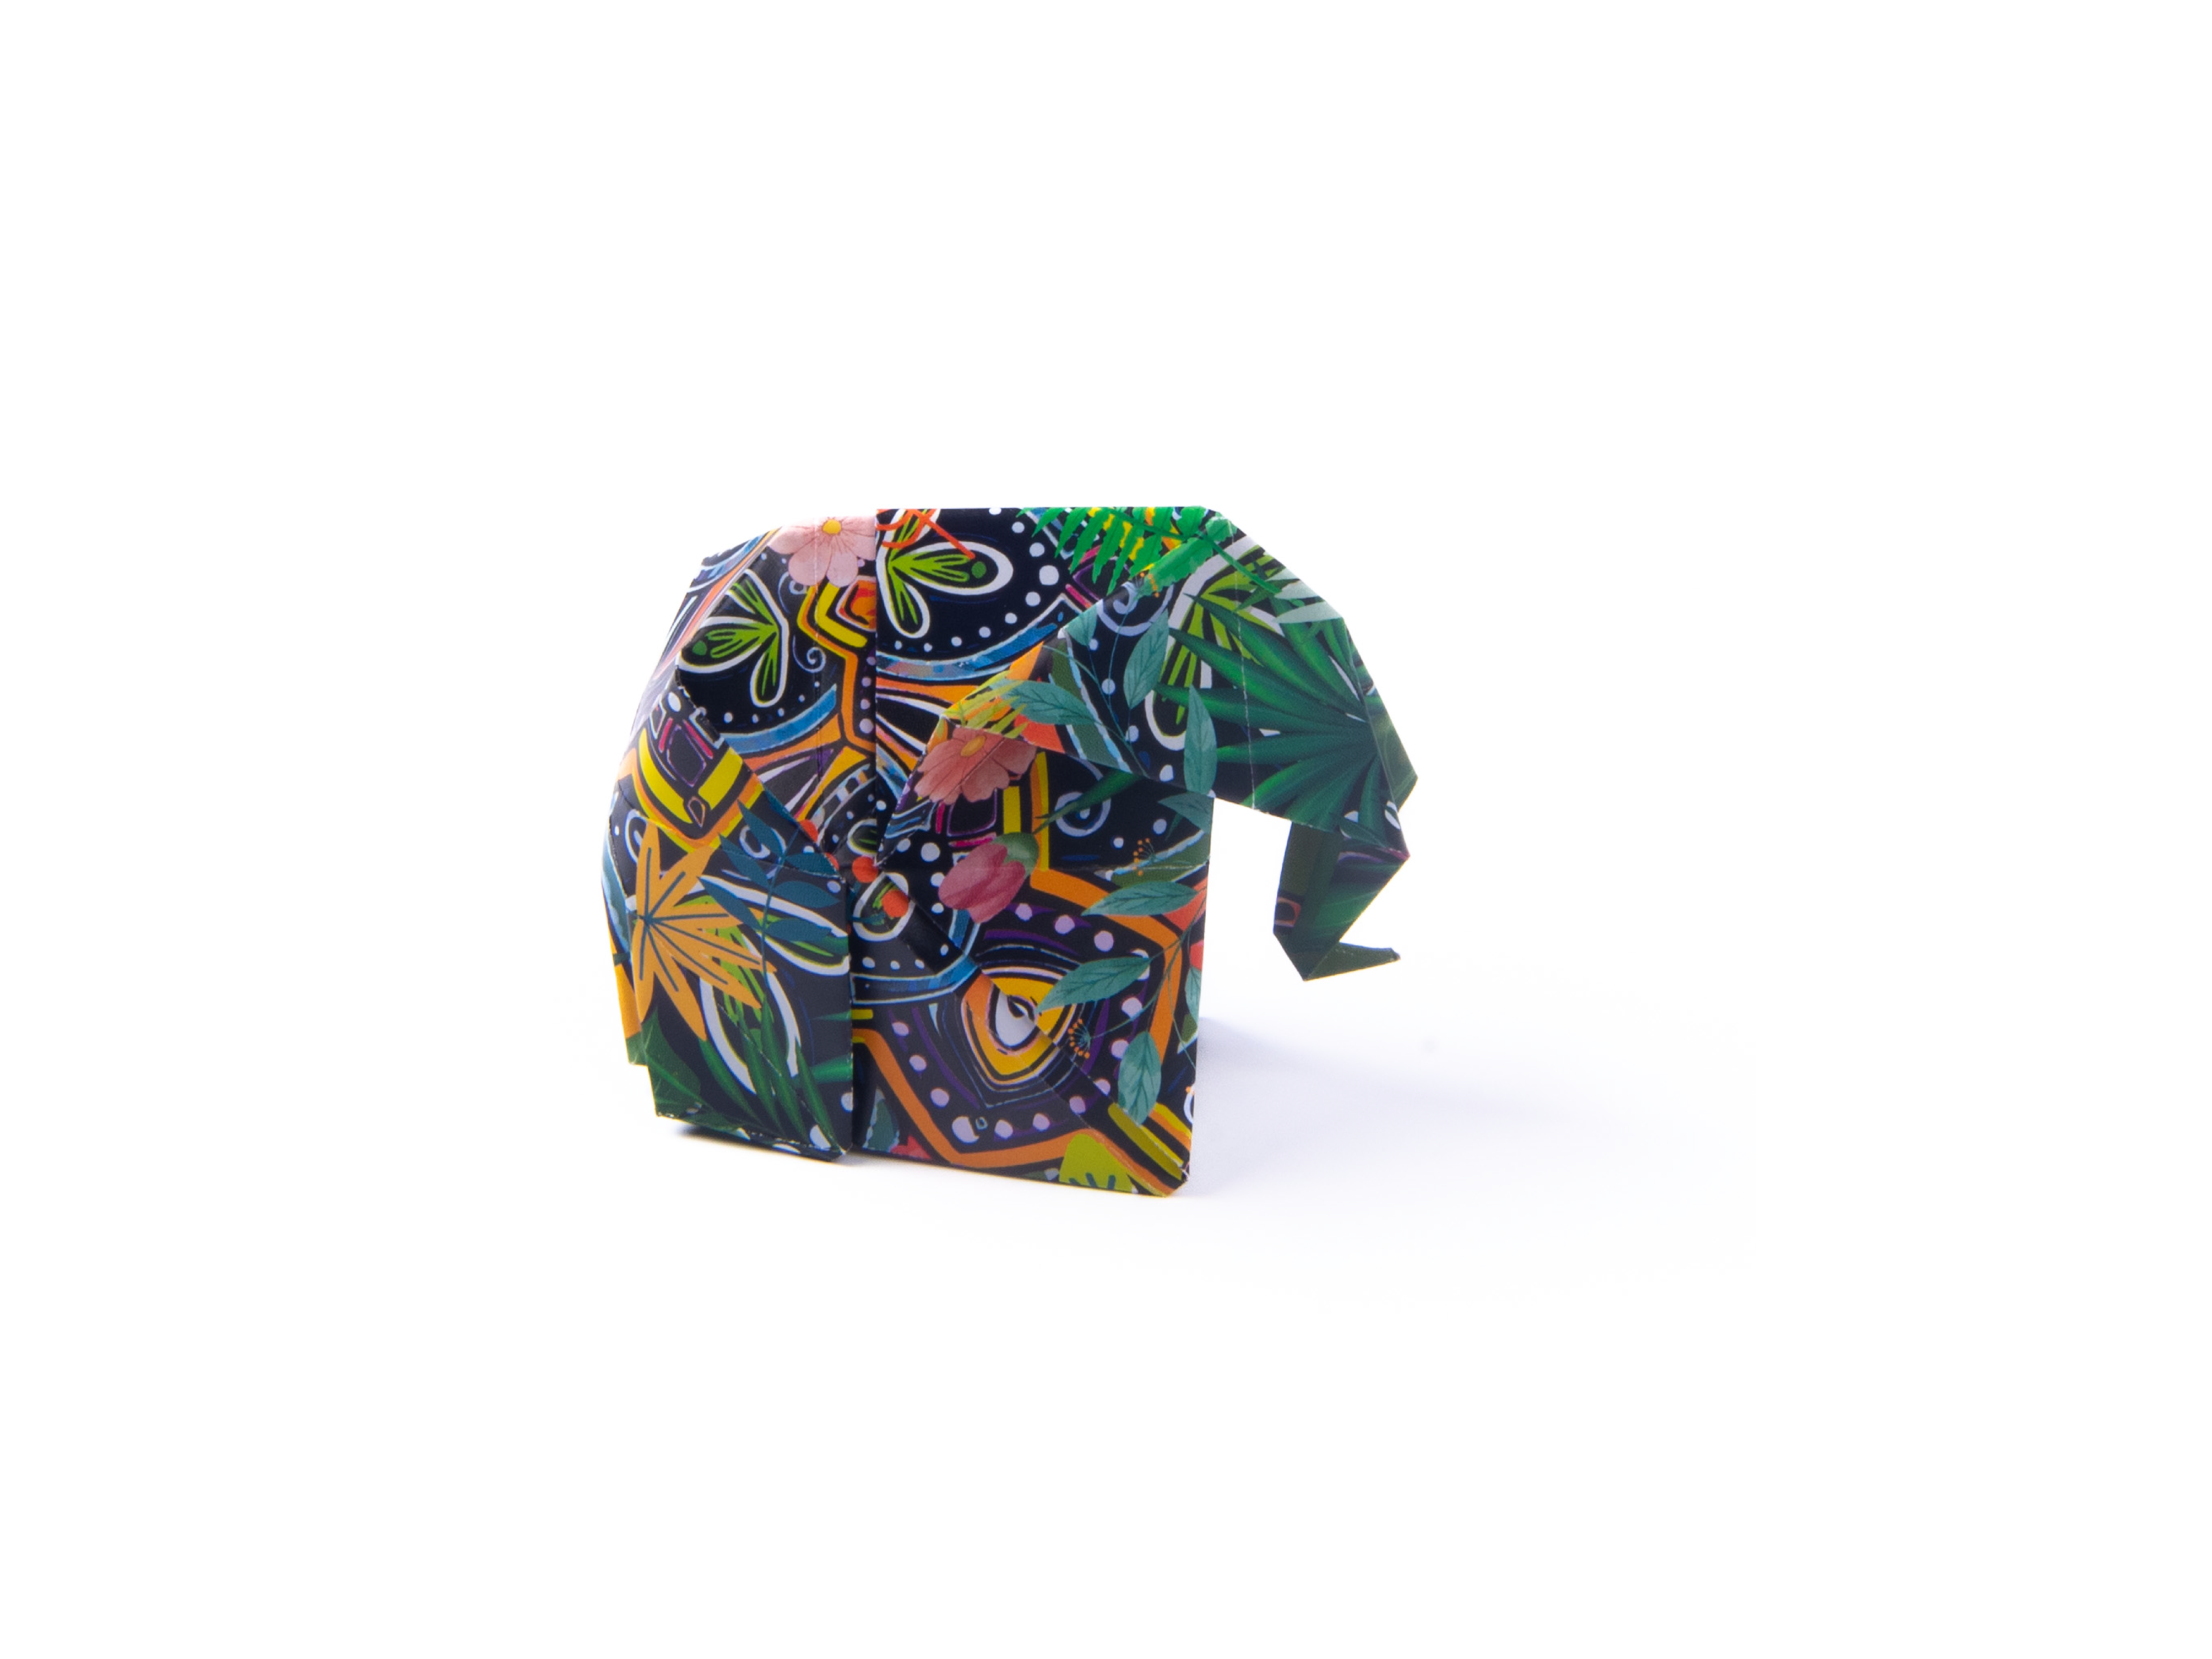
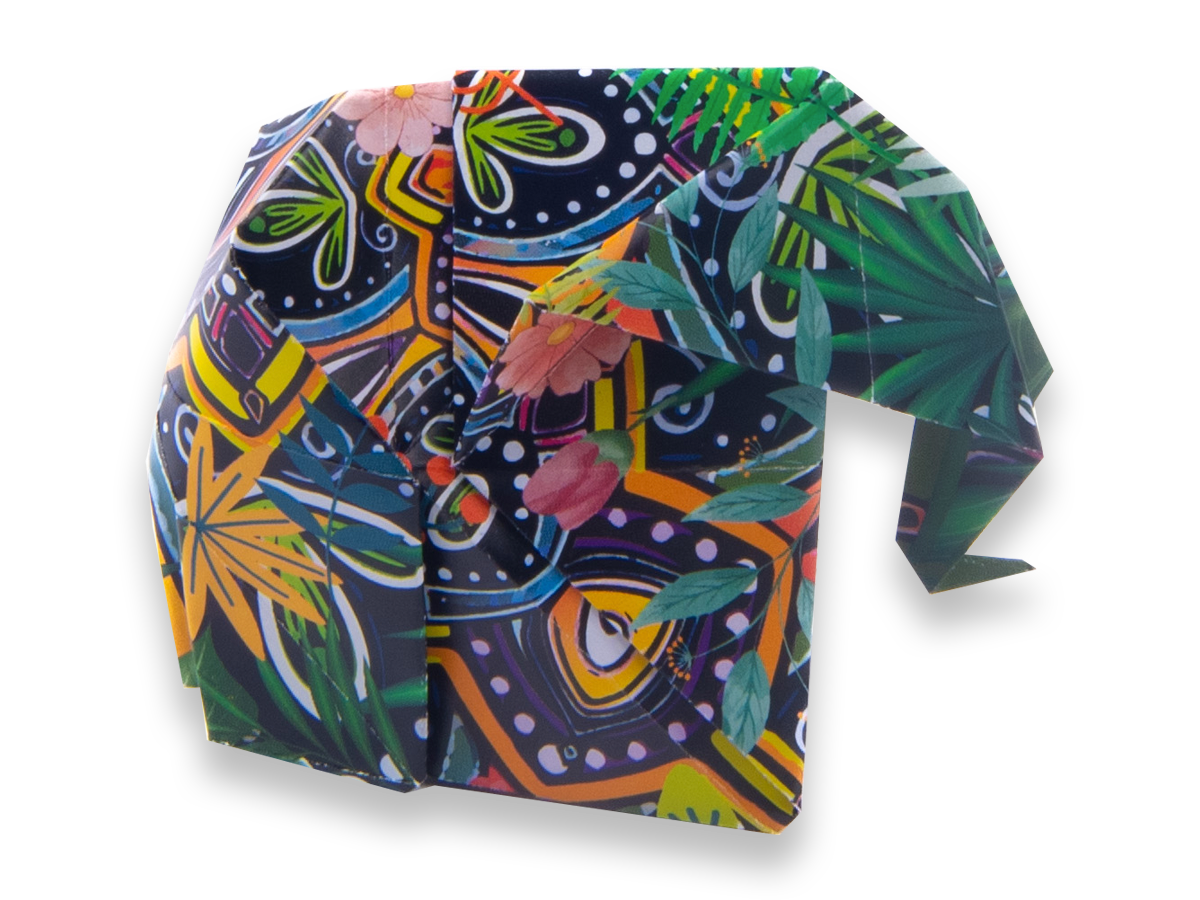
Fold to Unfold a Sustainable Future
Phone Number
Email Us Here

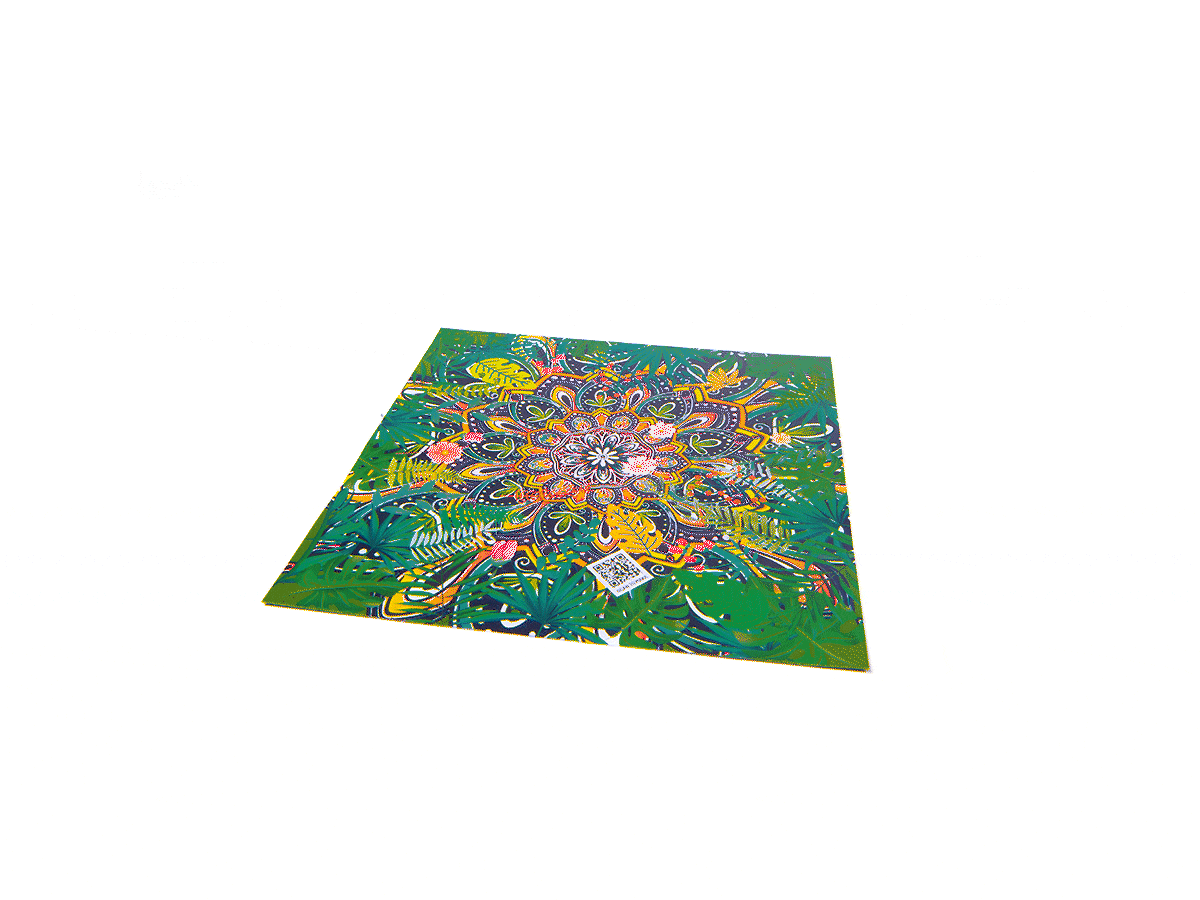
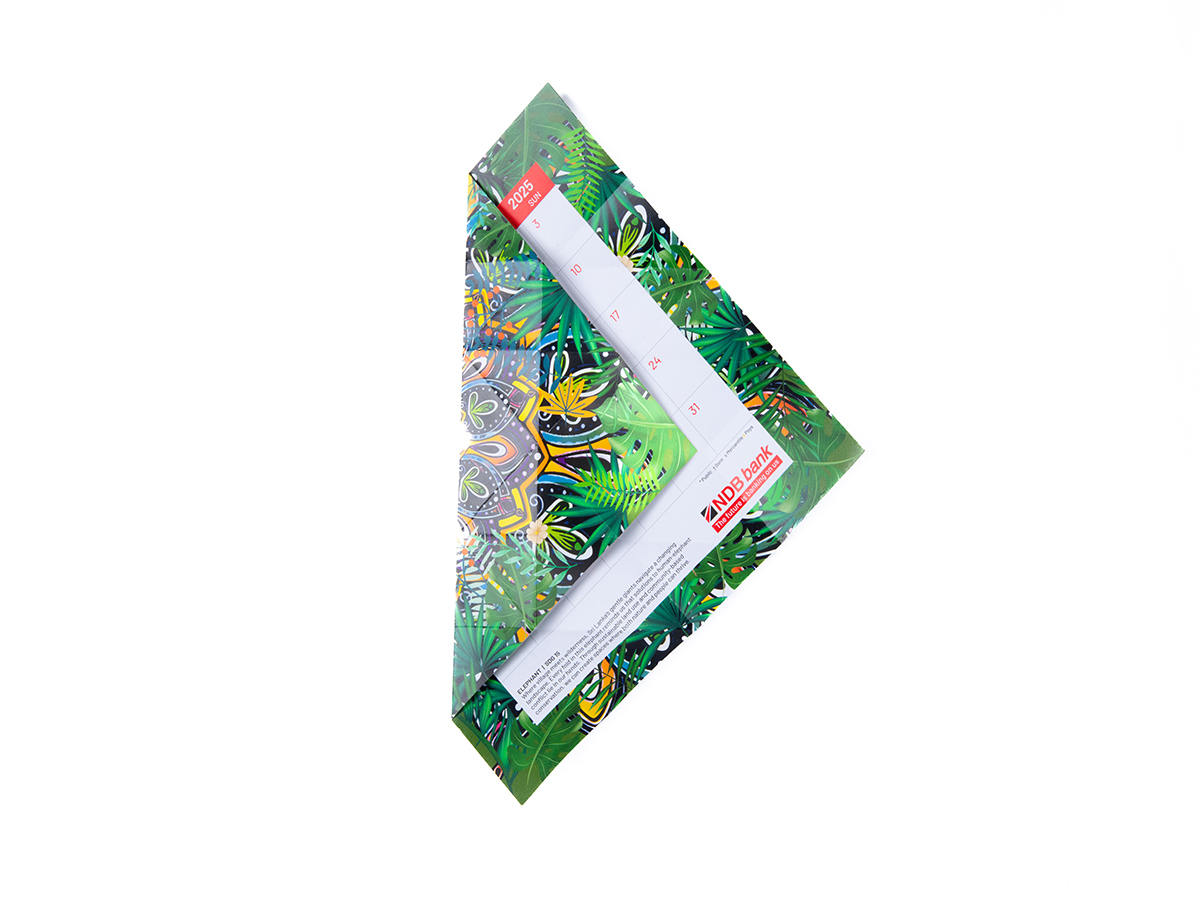
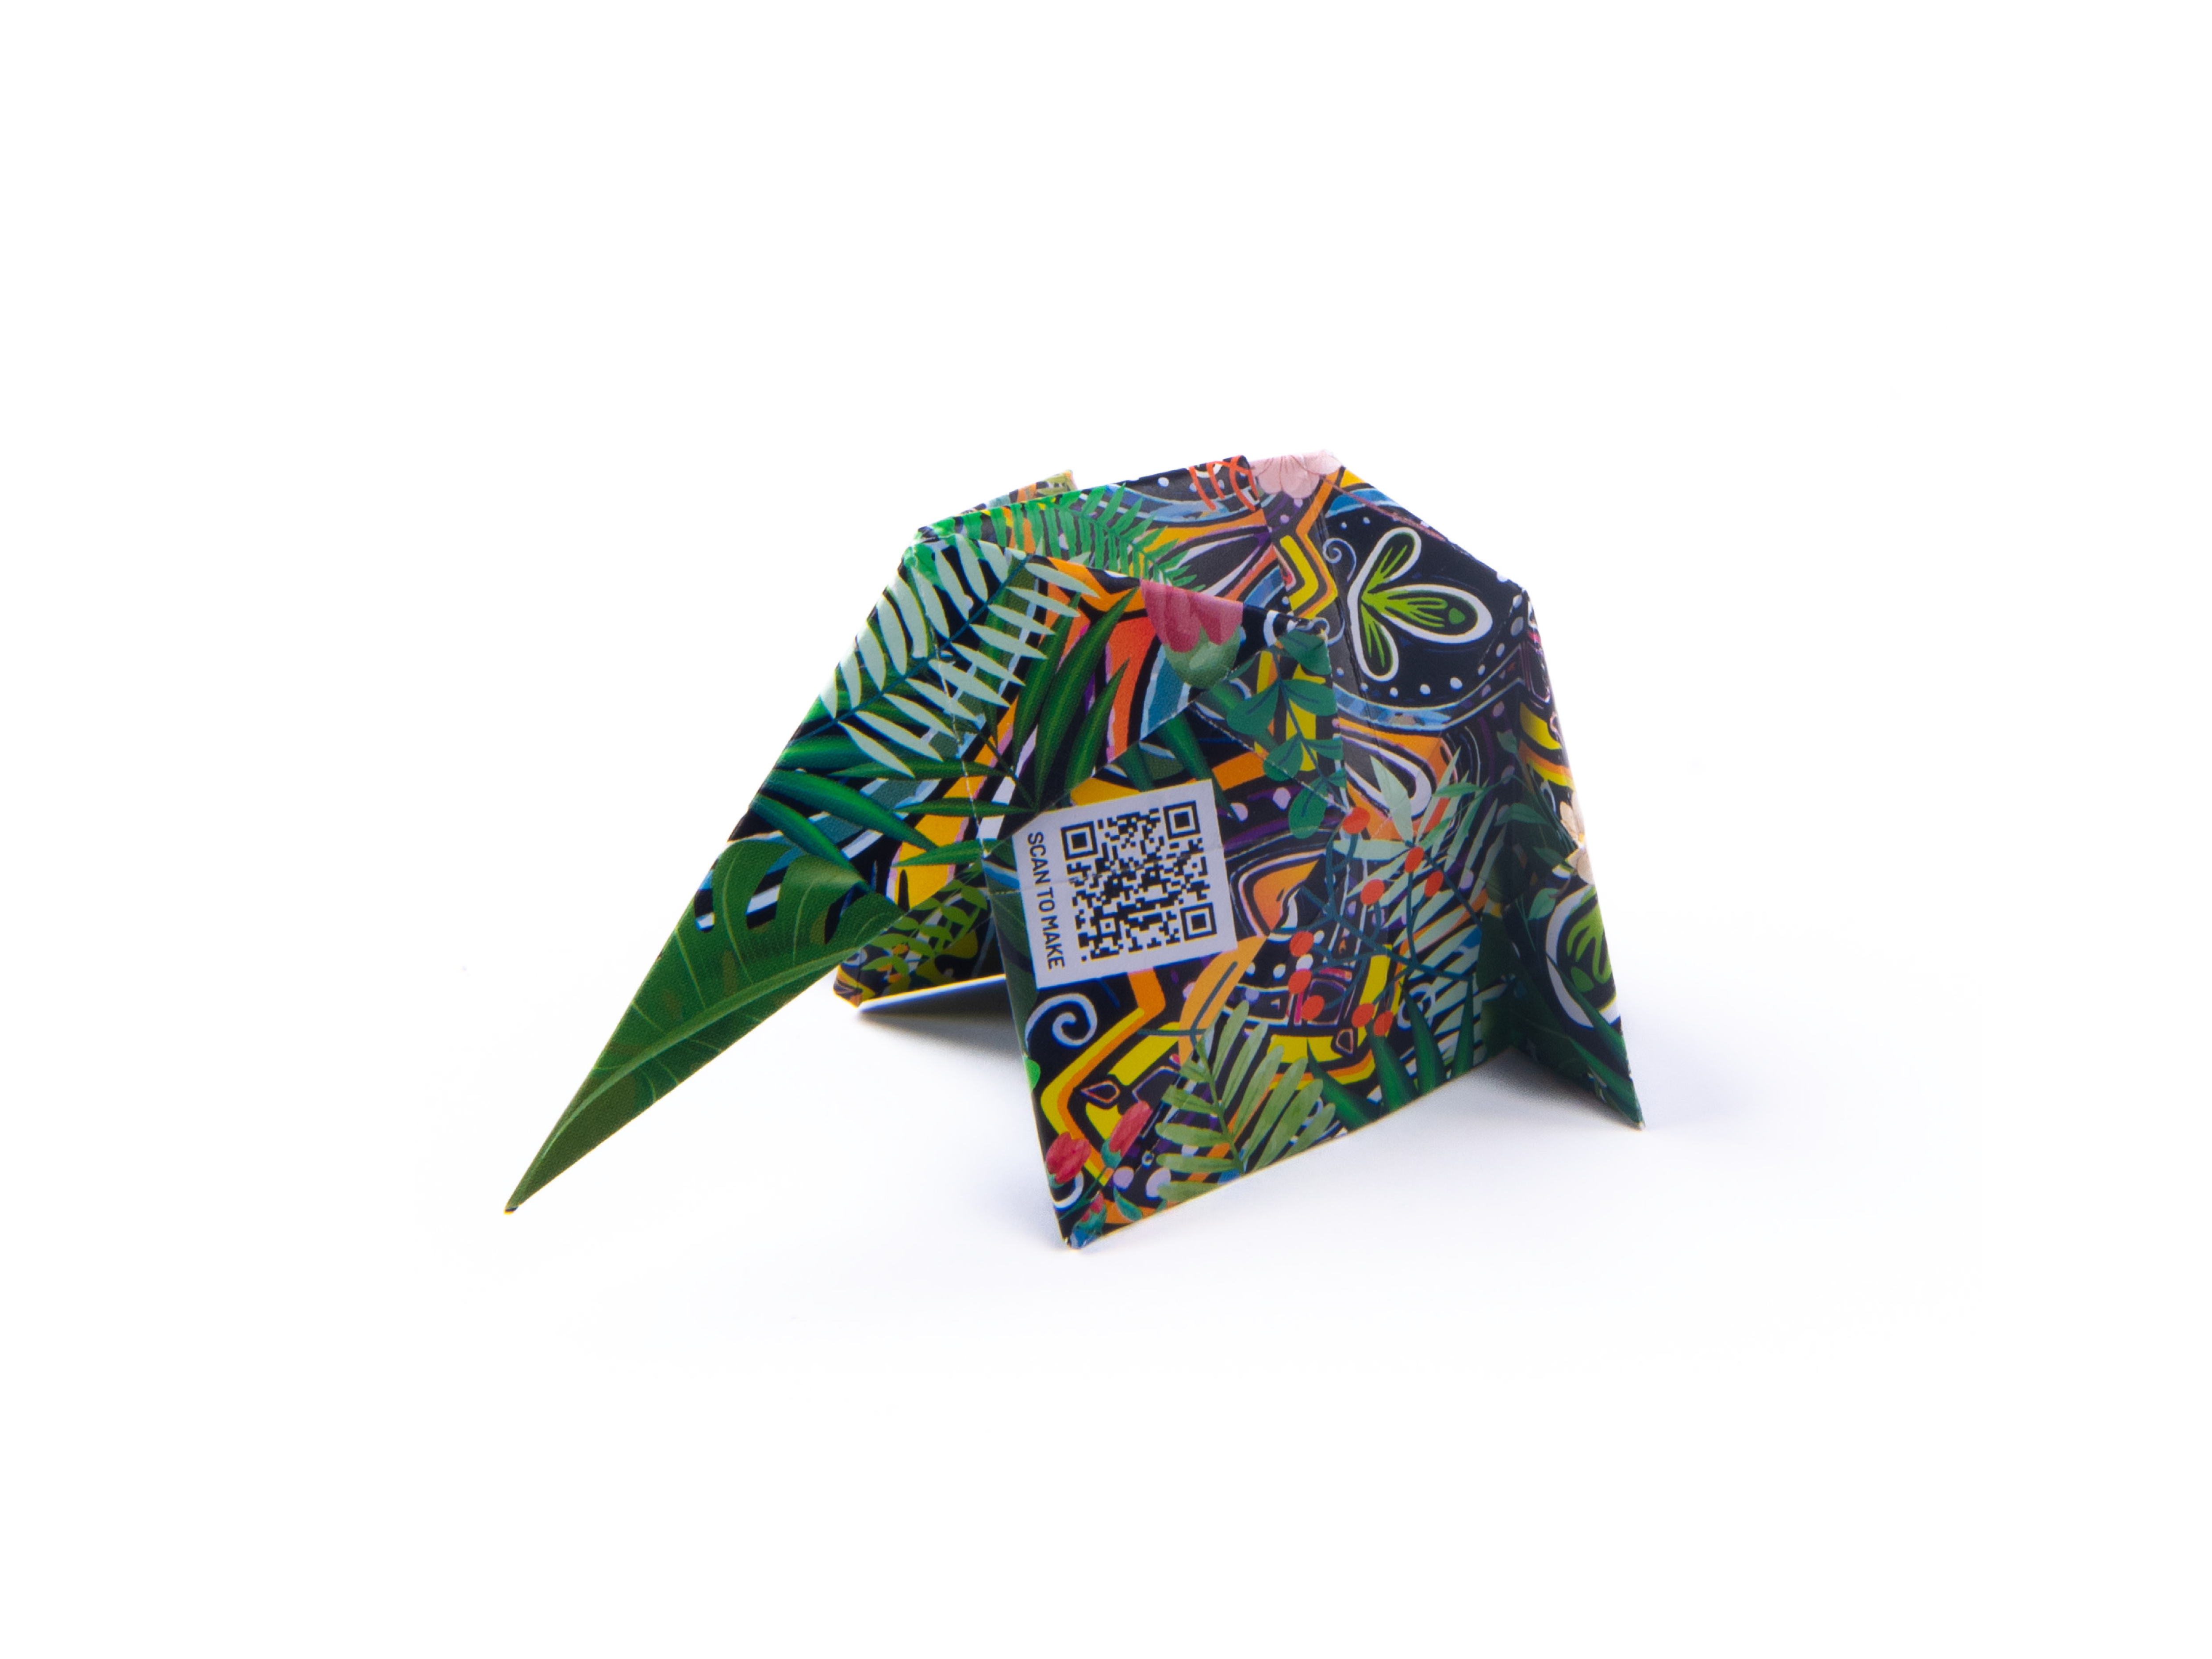
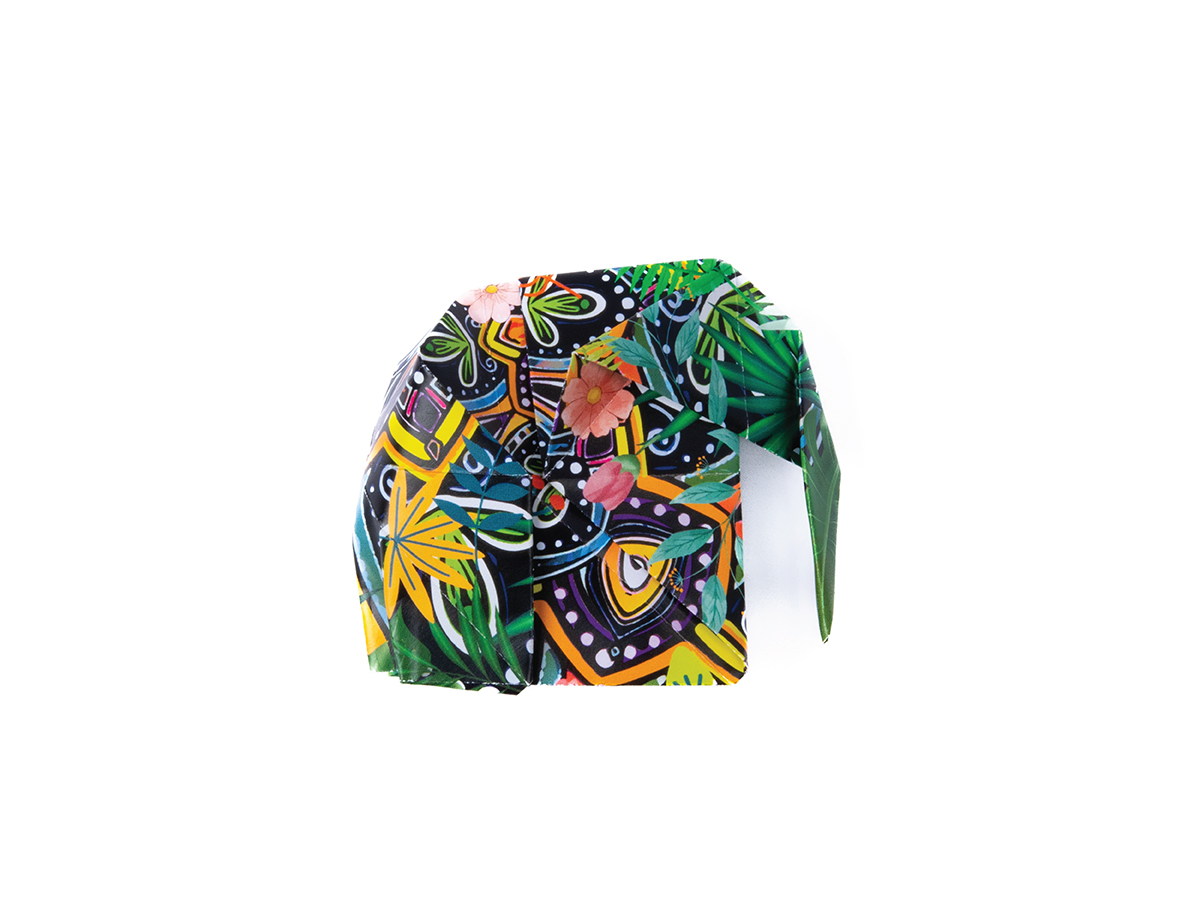
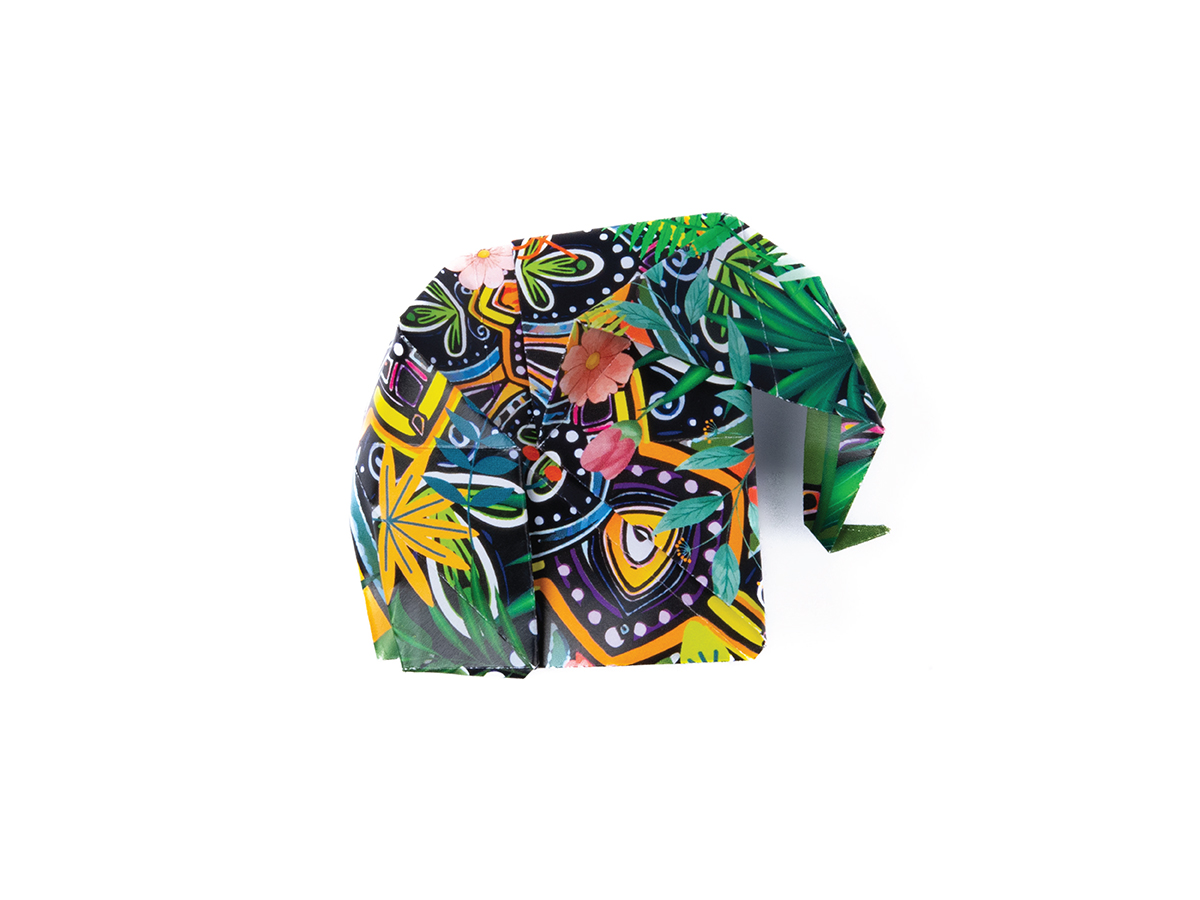
Where village meets wilderness, Sri Lanka's gentle giants navigate a changing landscape. Every fold in this elephant reminds us that solutions to human-elephant conflict lie in our hands. Through sustainable land use and community-based conservation, we can create spaces where both nature and people can thrive.


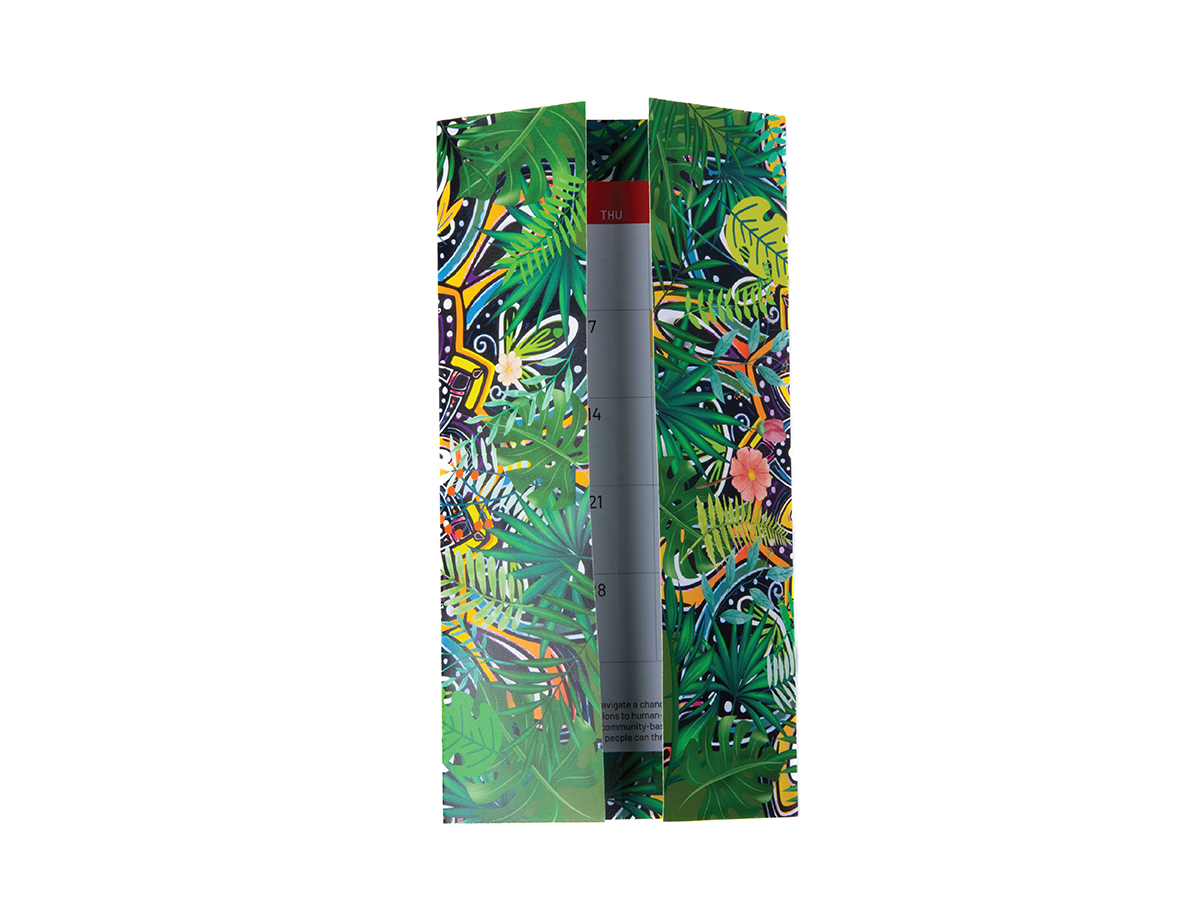
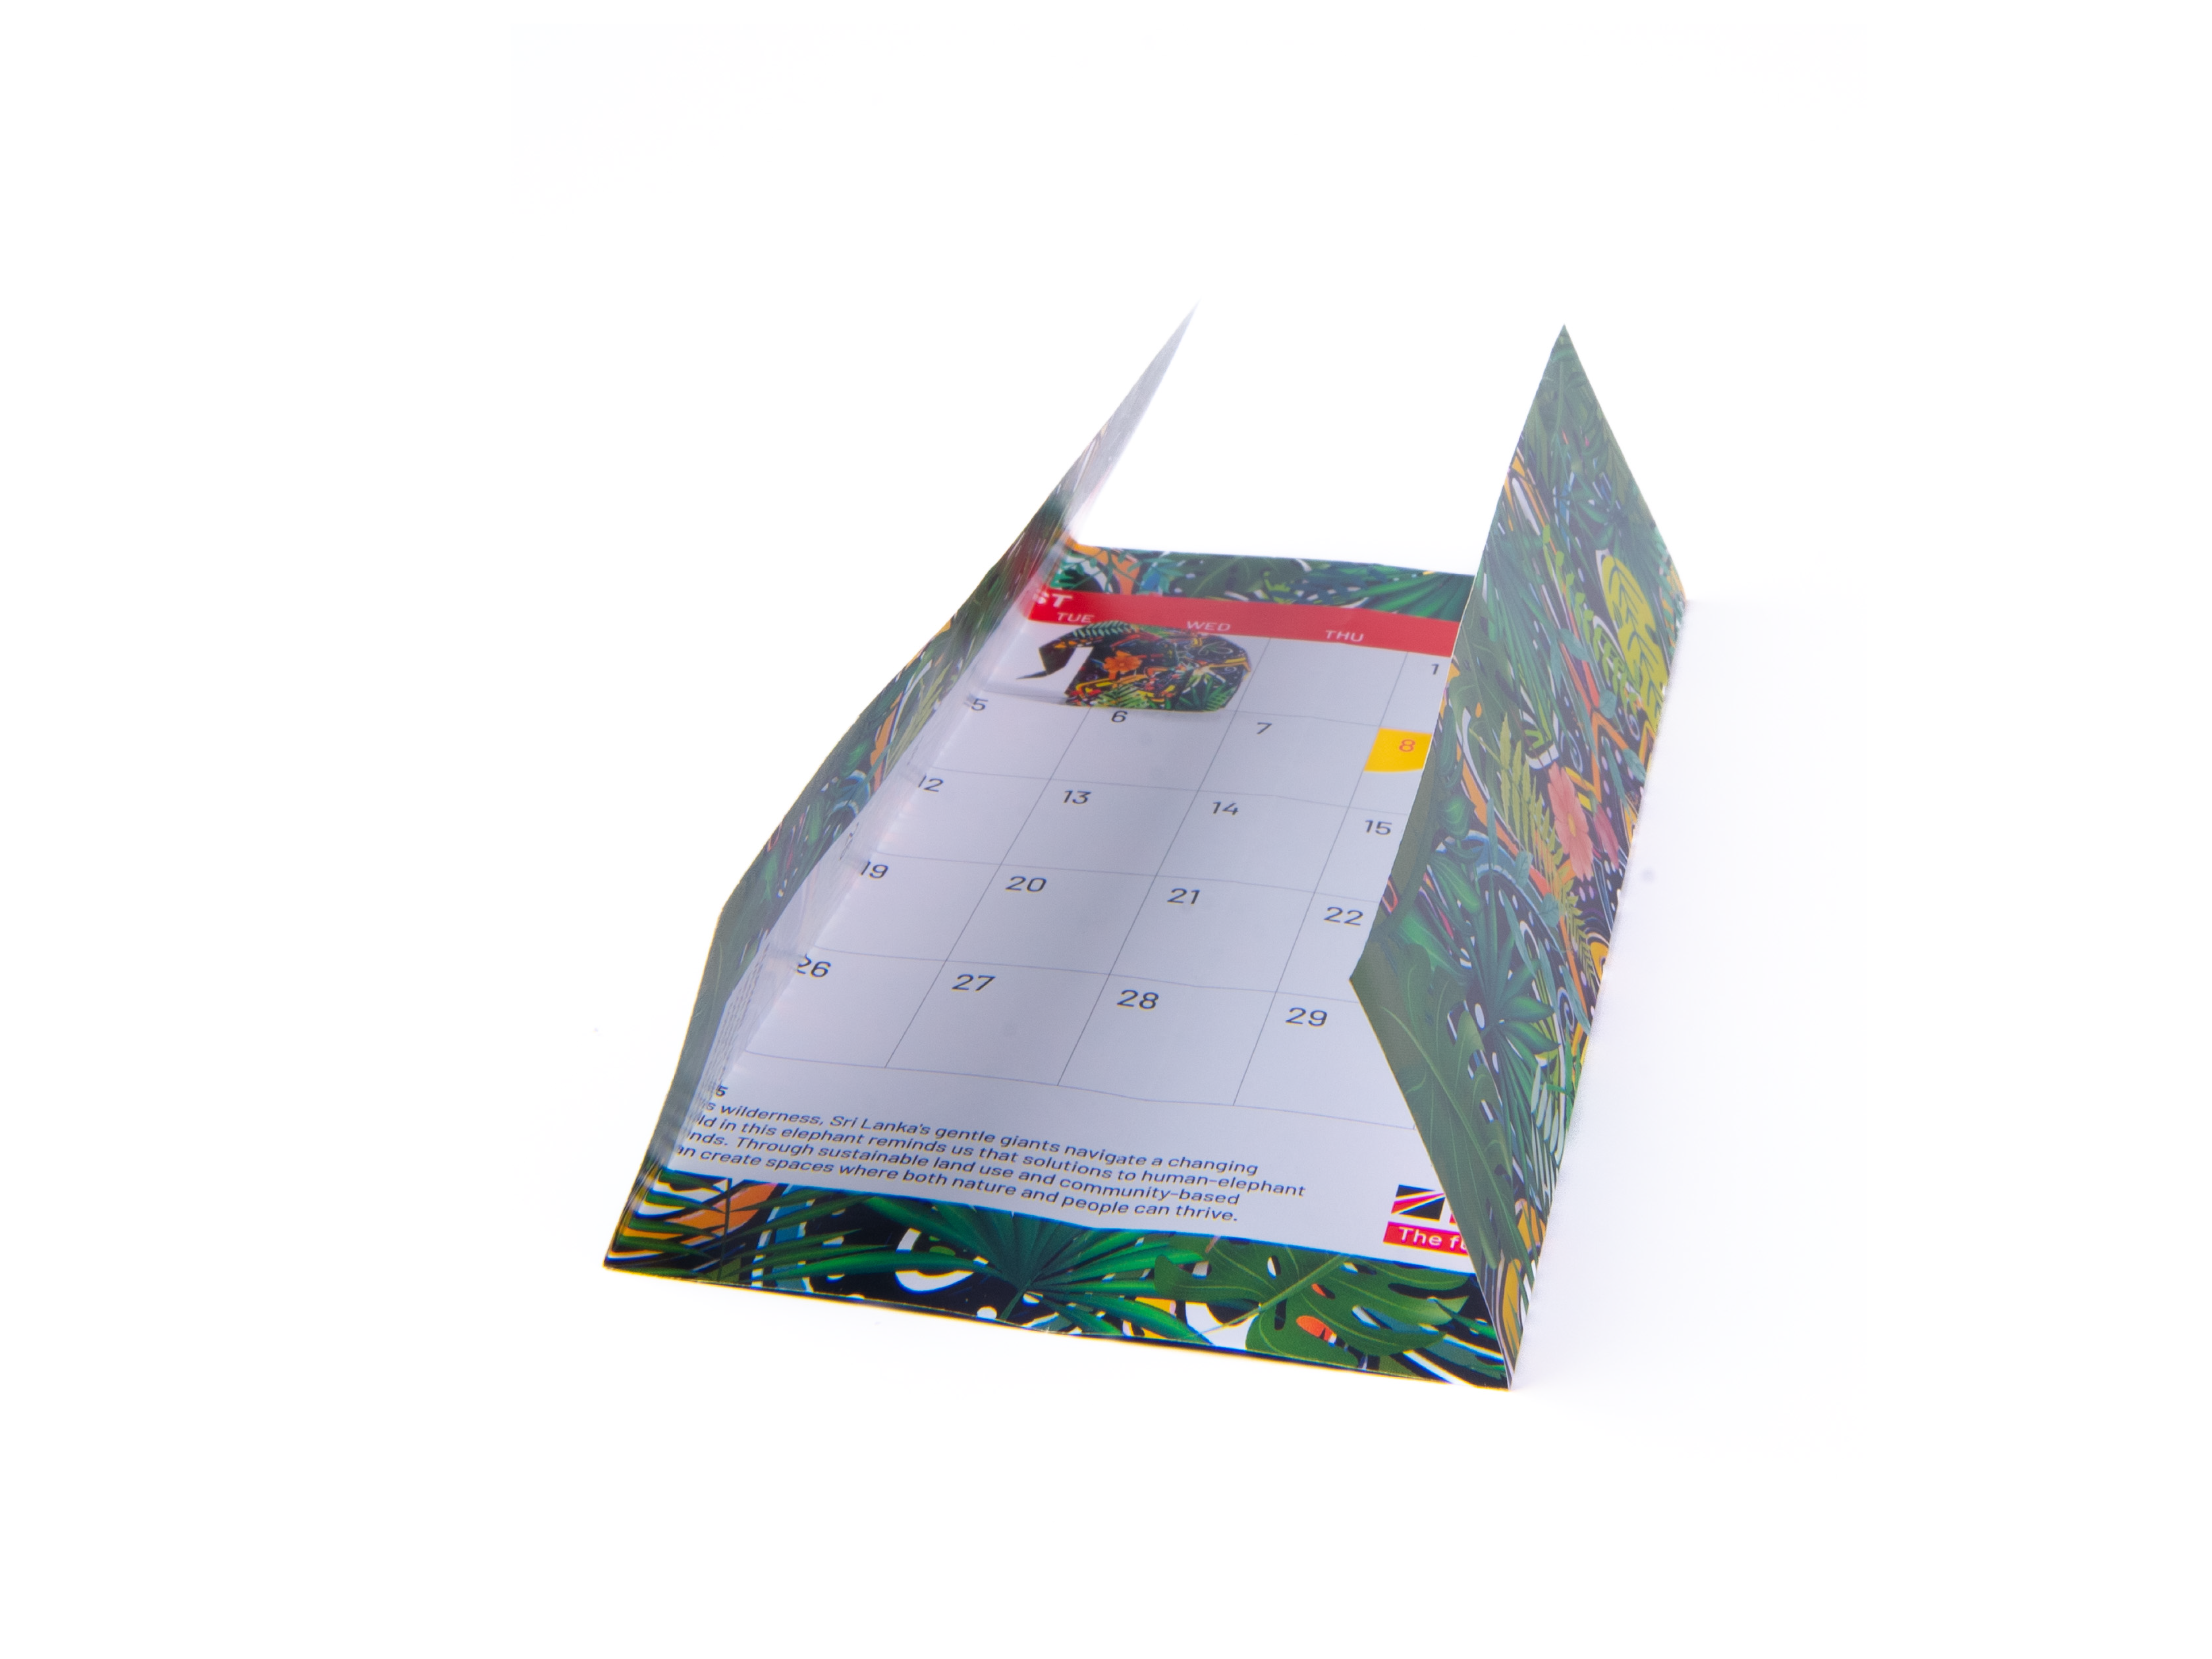
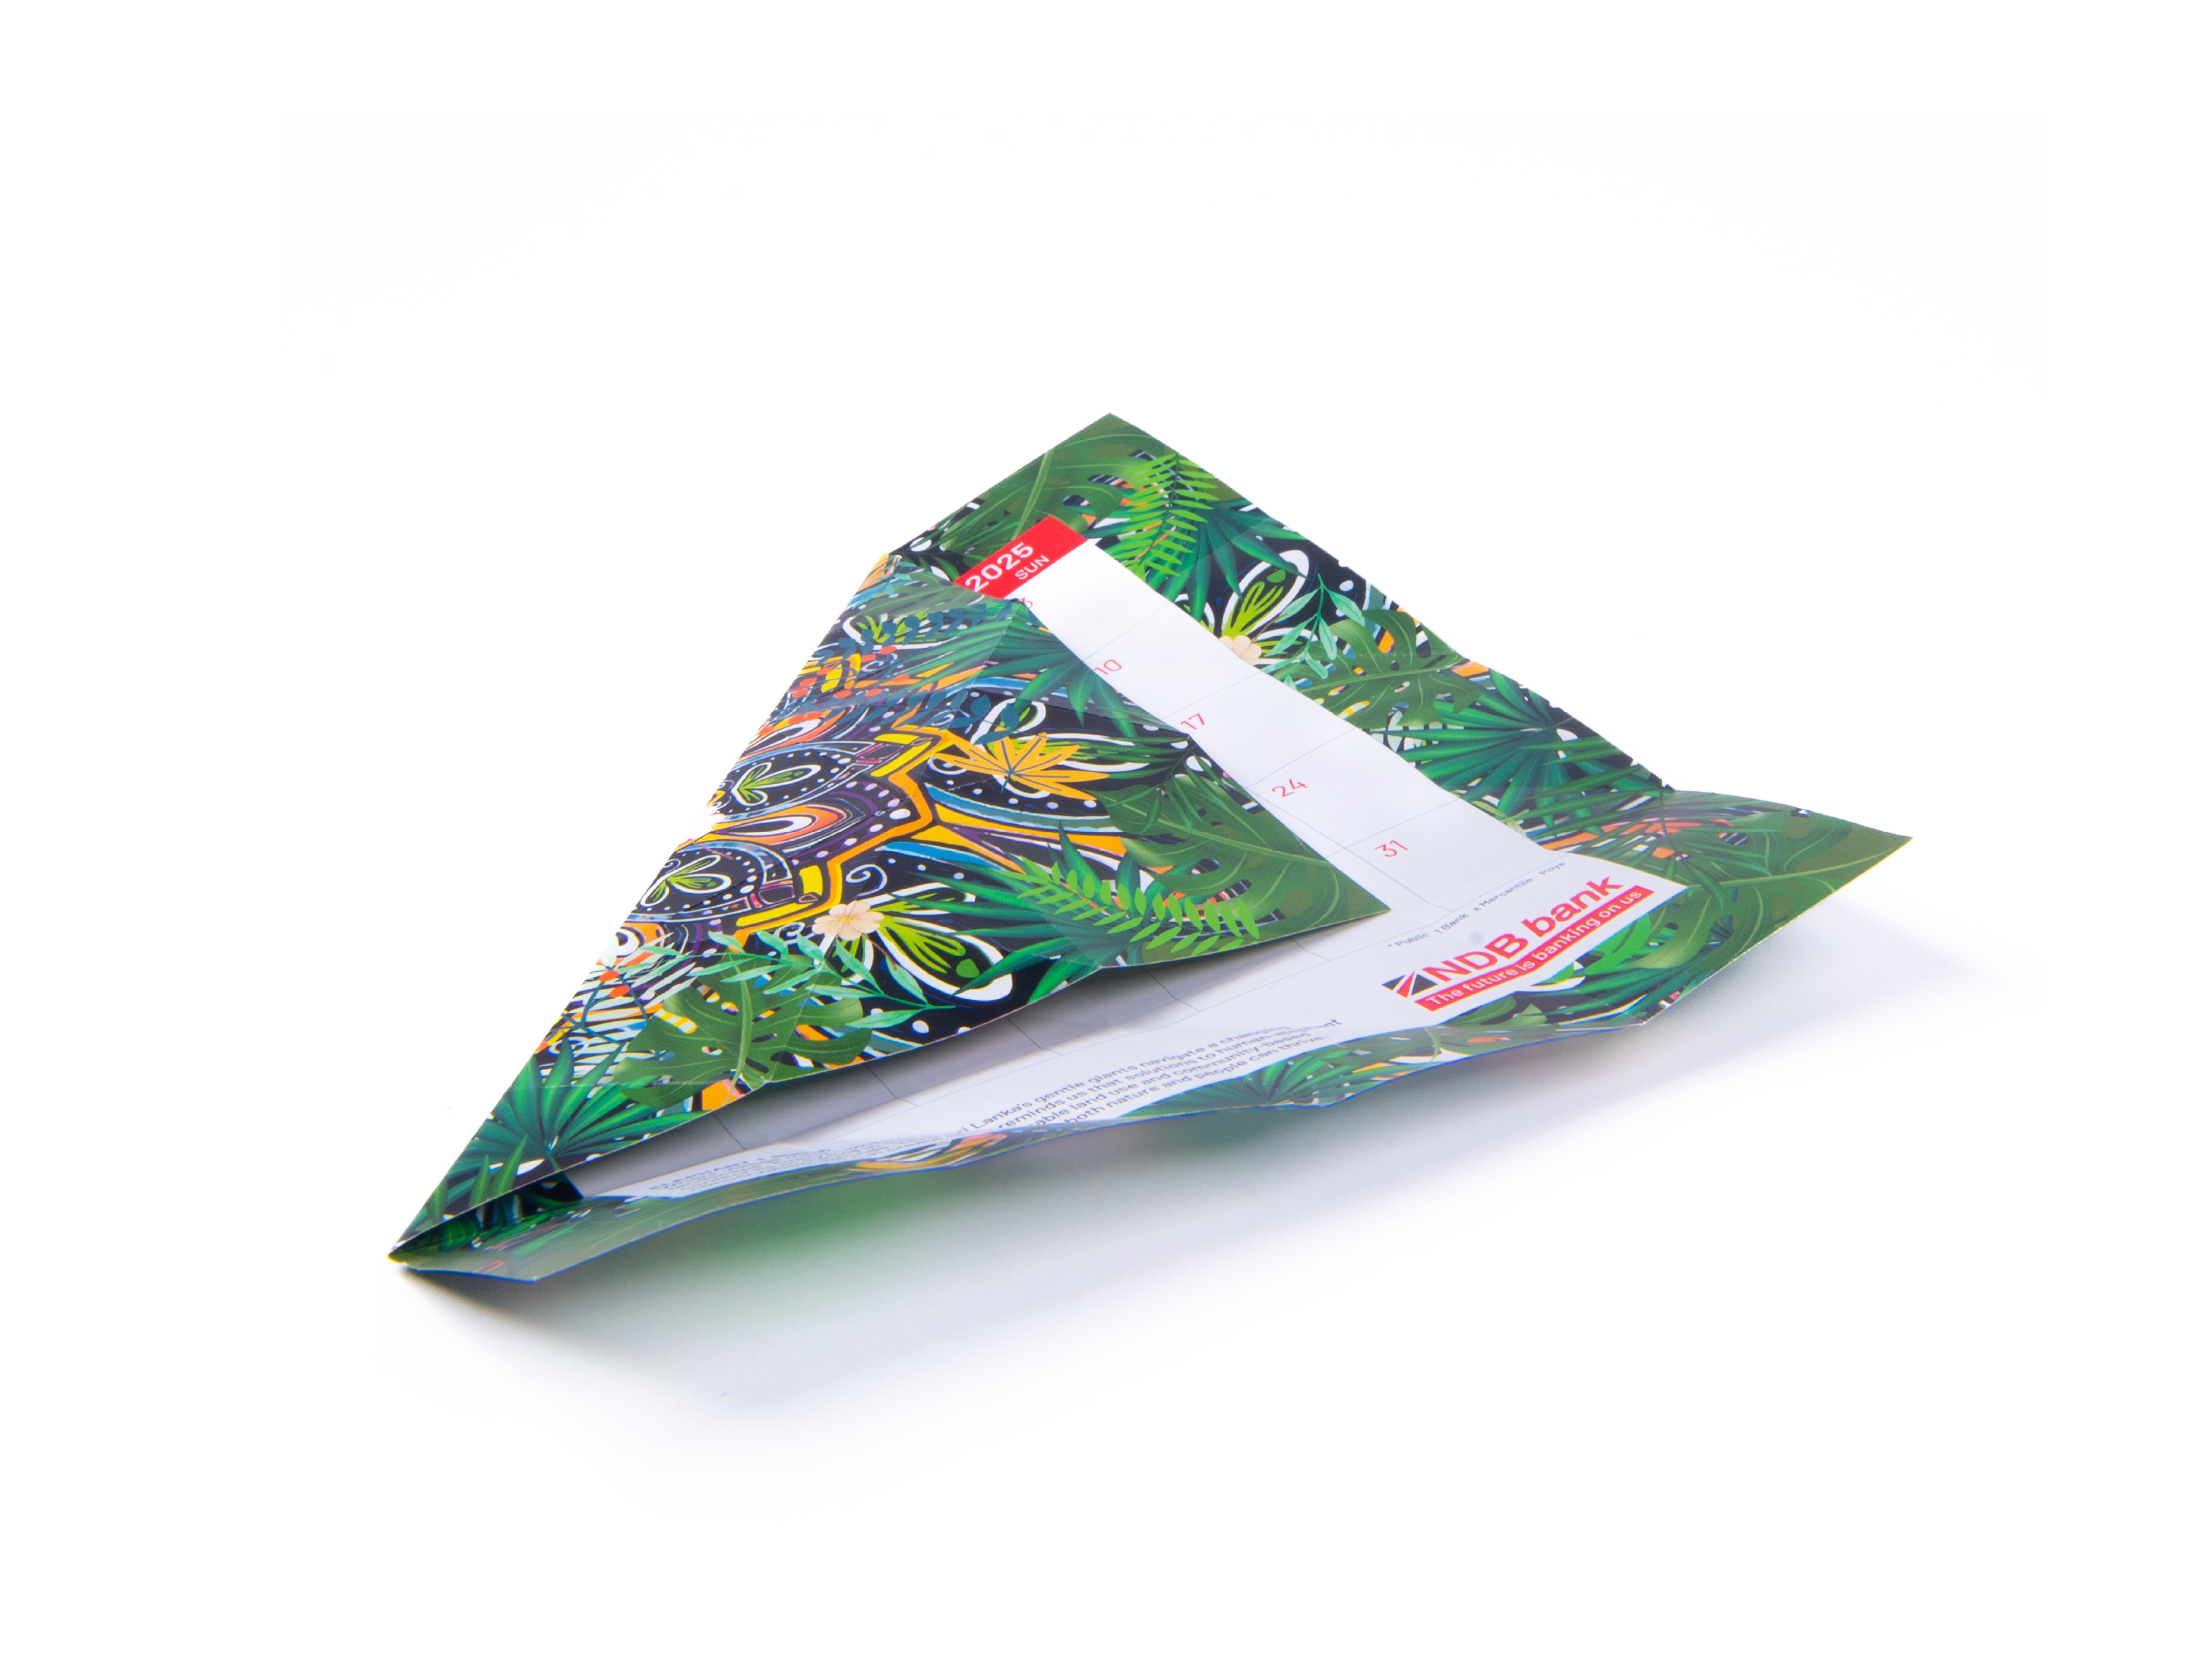
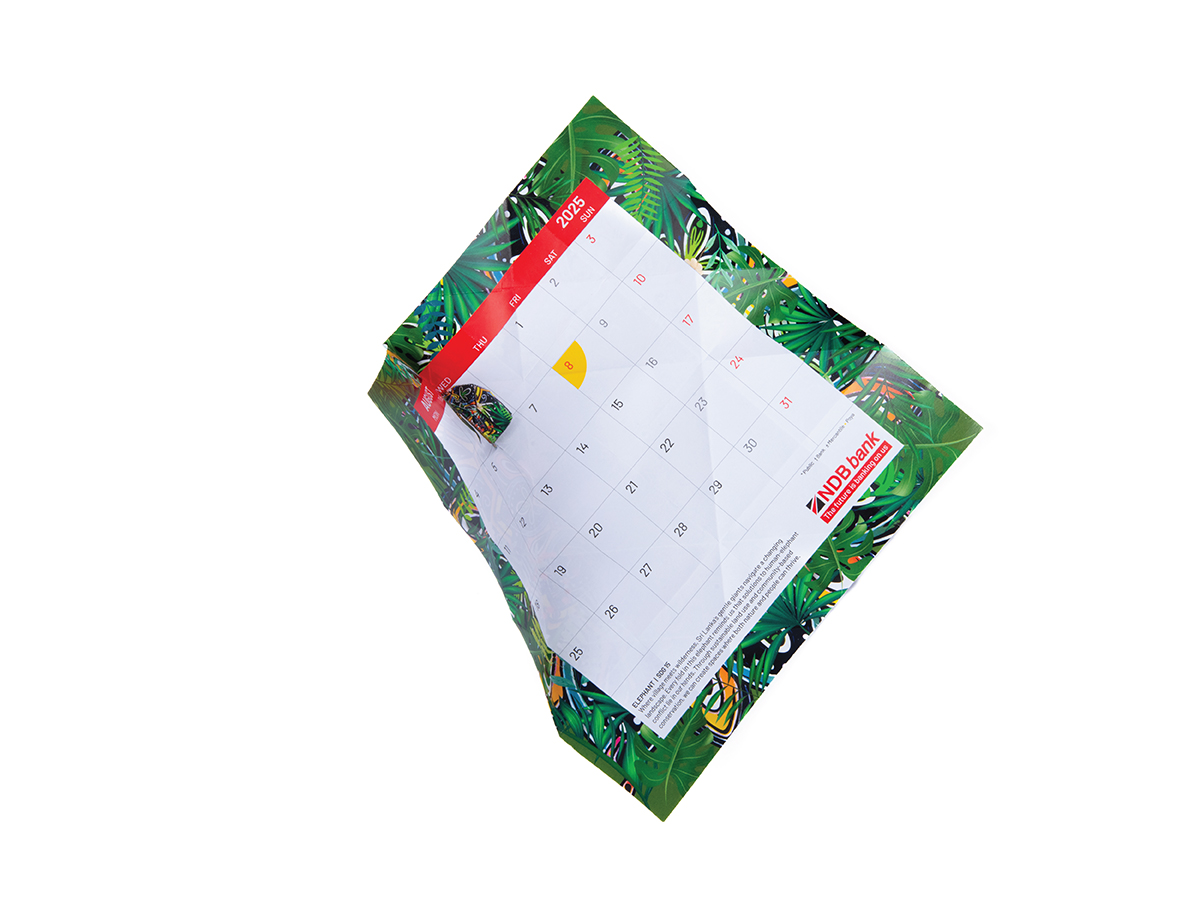
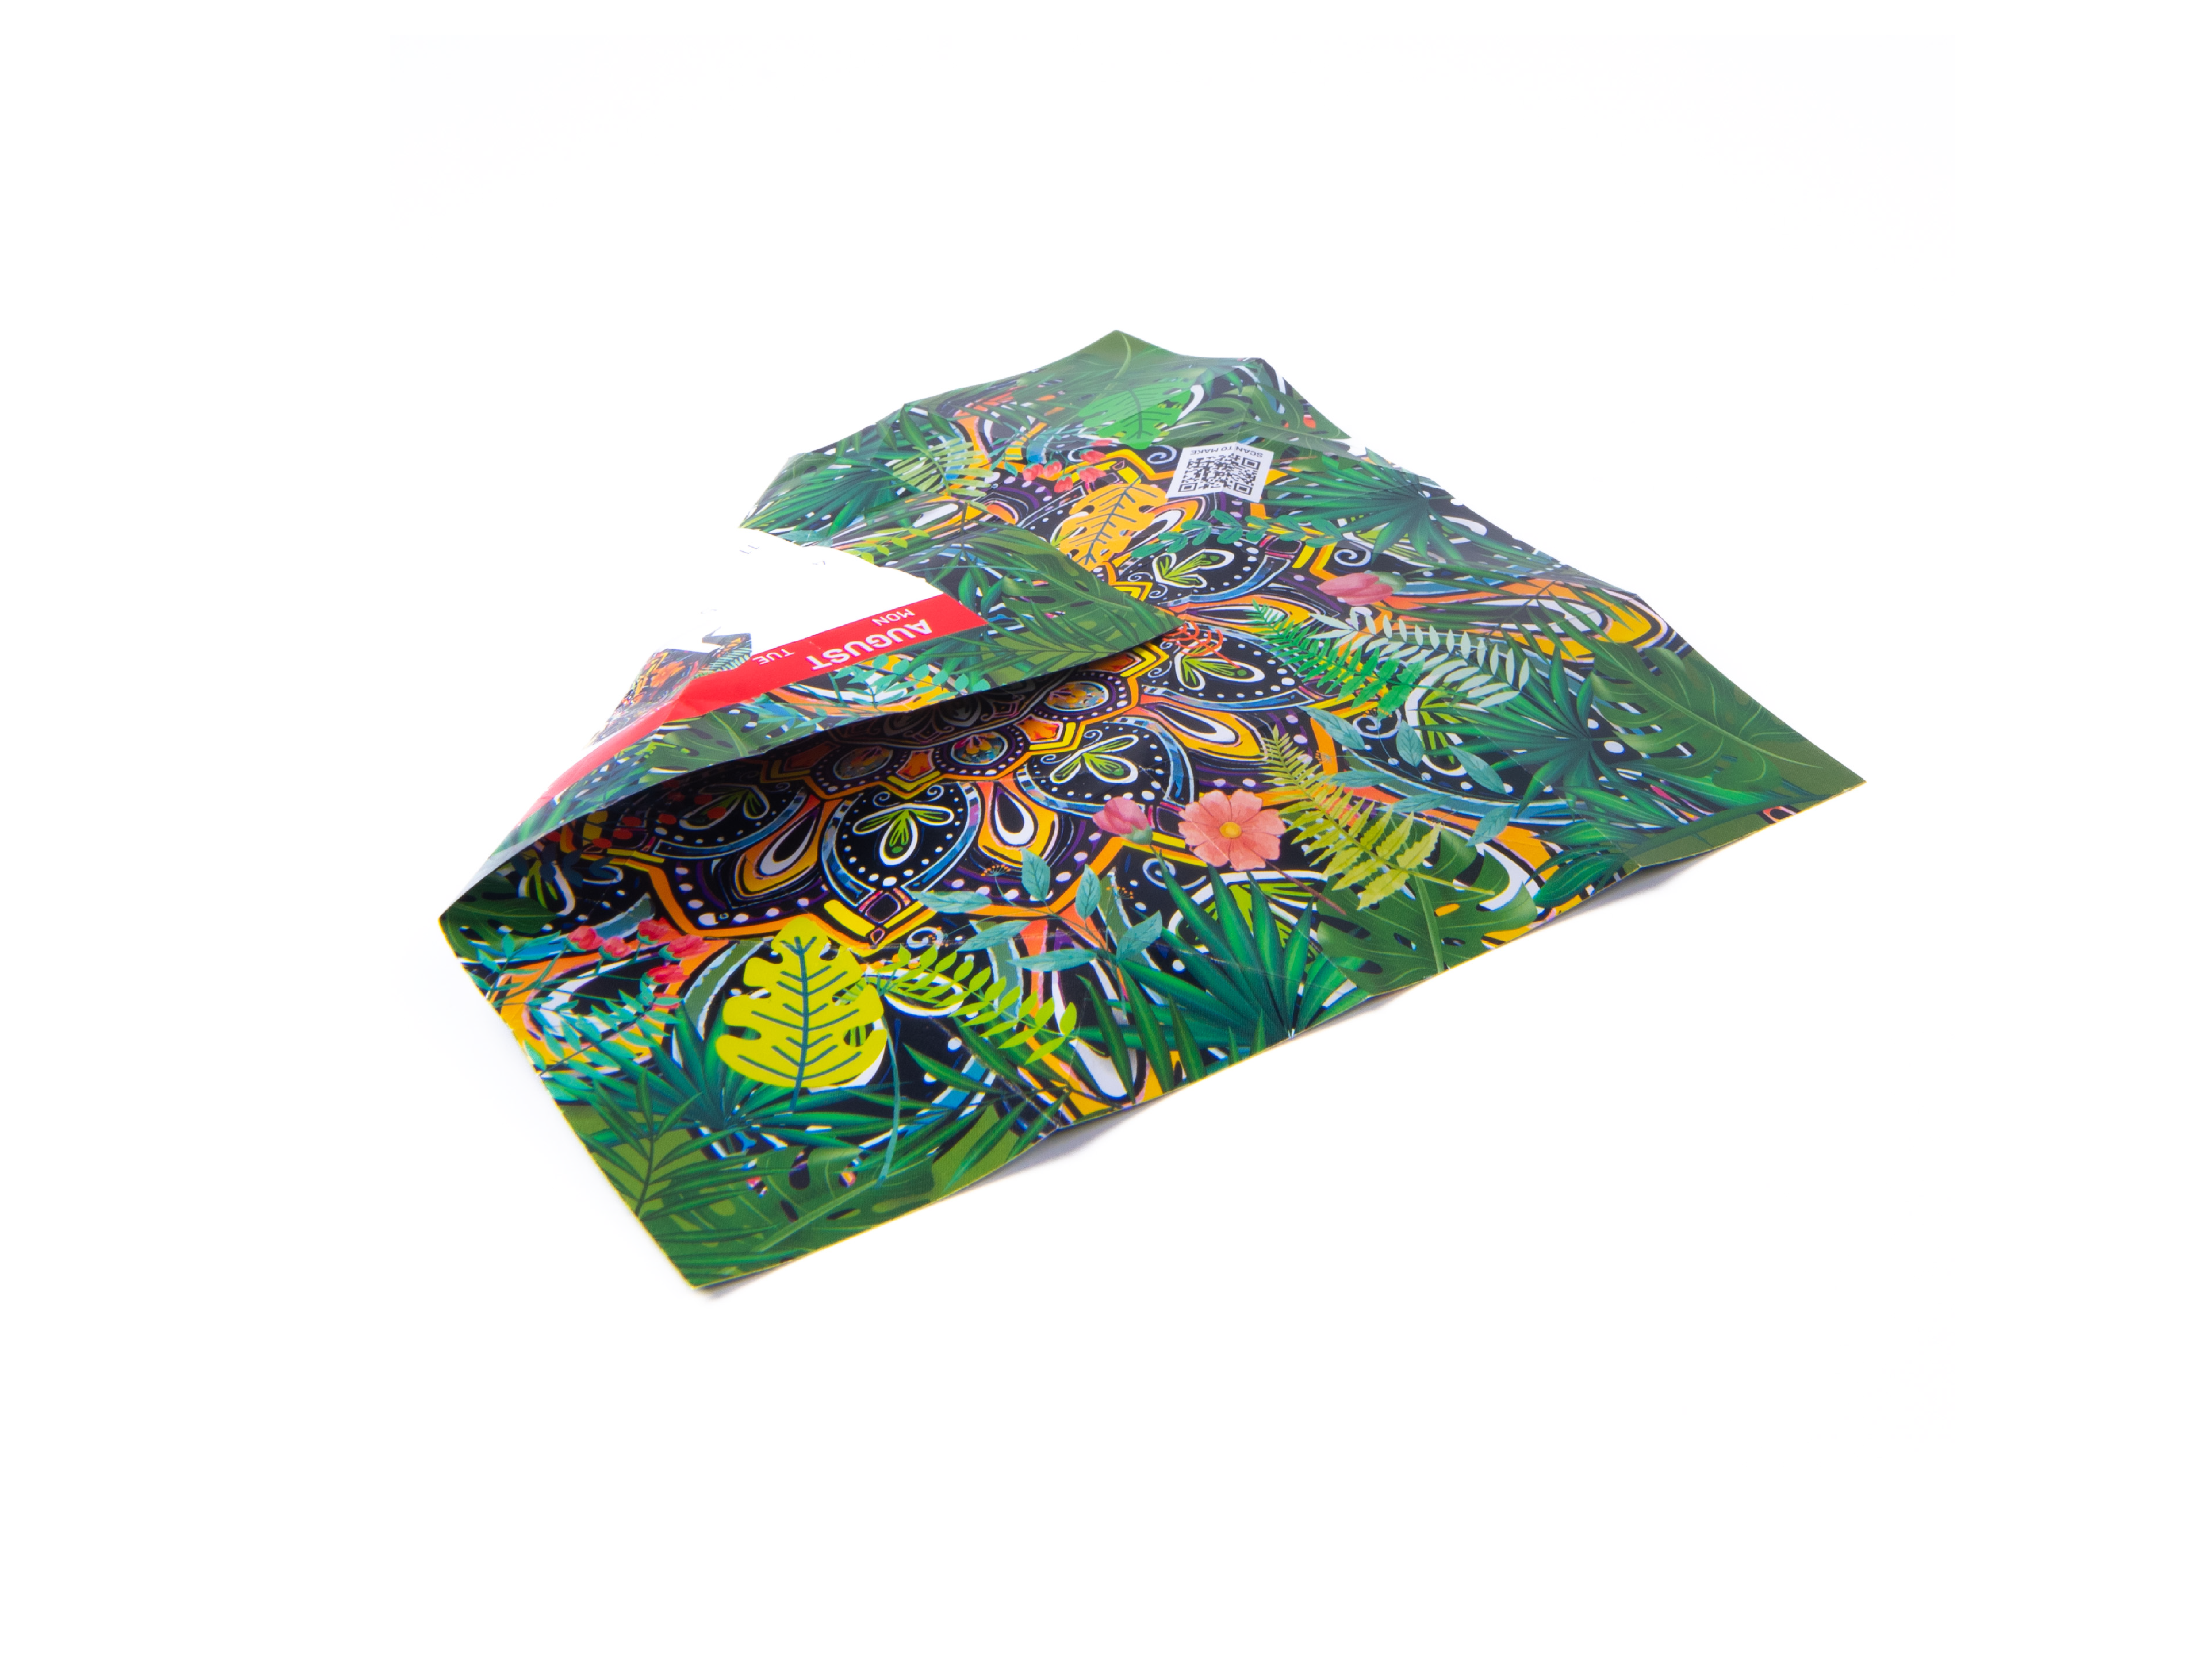
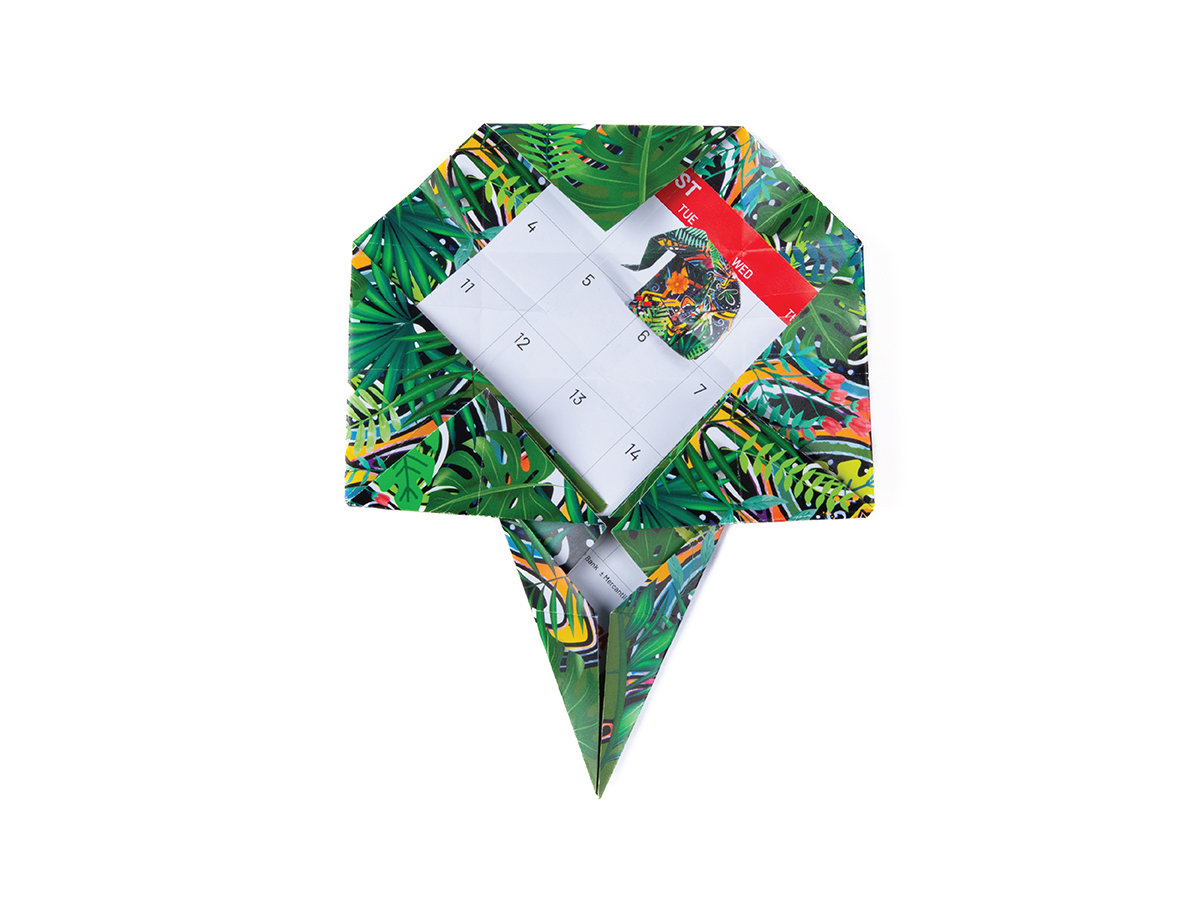
Start with the August origami sheet in front of you on a flat surface, with the dated side facing up.

Fold the paper in half from left to right, unfold, and repeat from bottom to top. You should have a grid of 4 equal squares.
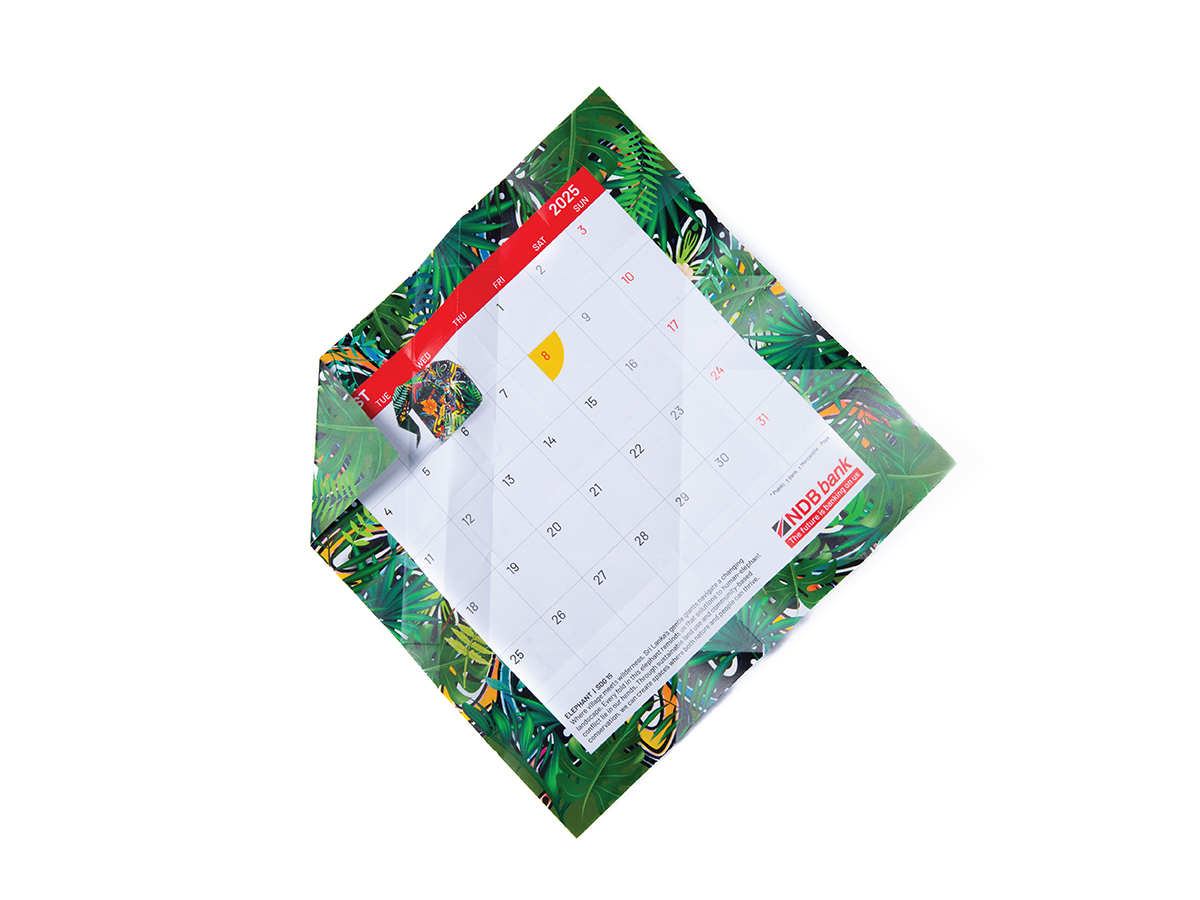
Fold both the left and right edges to the vertical central crease (this is called a gate fold), crease well and unfold.
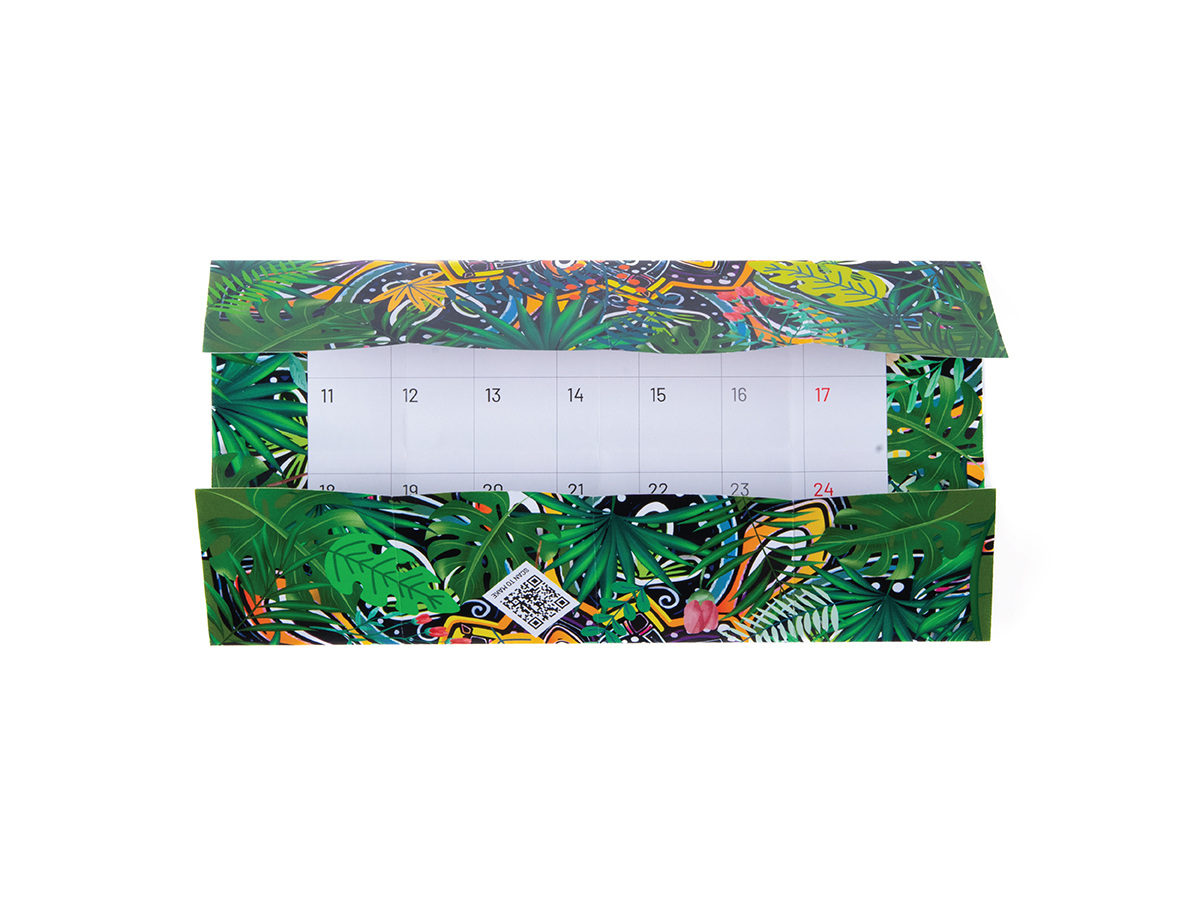
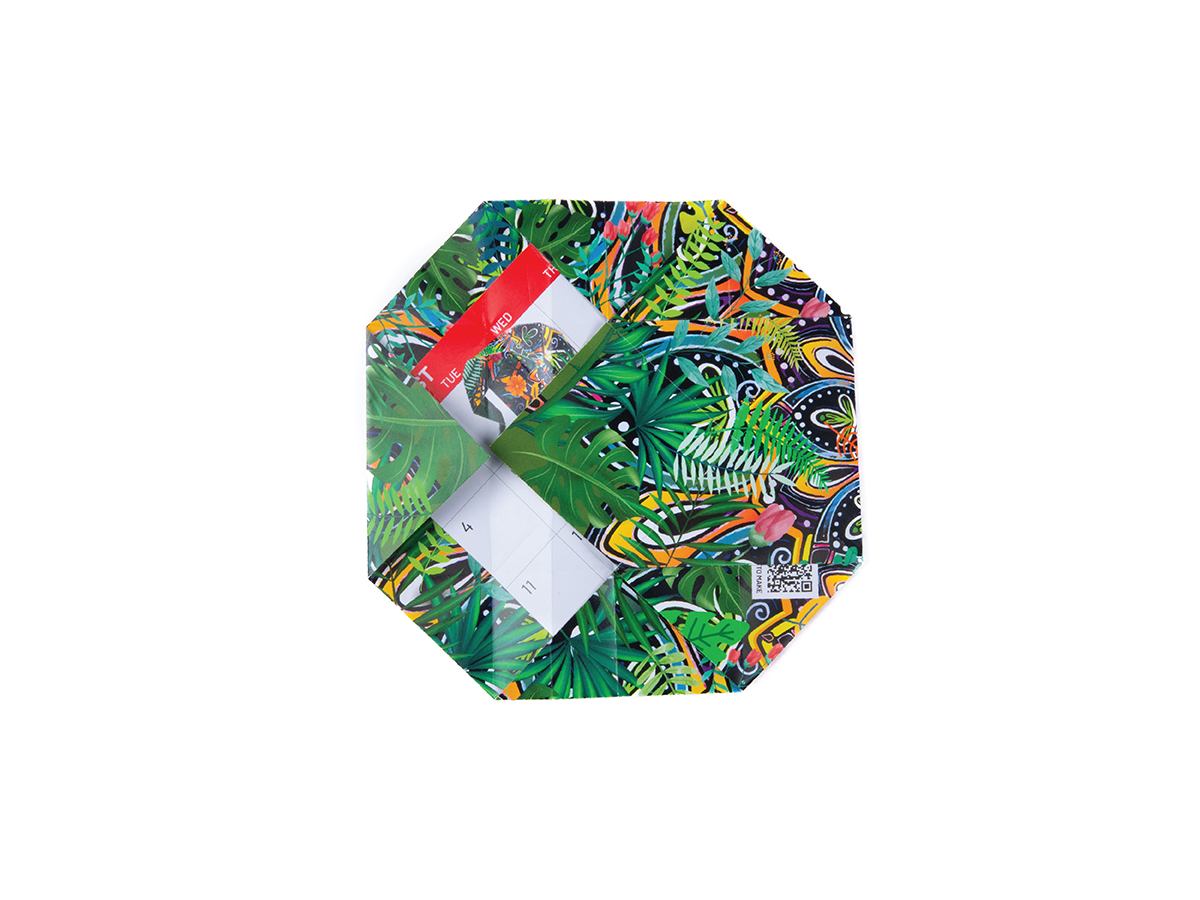
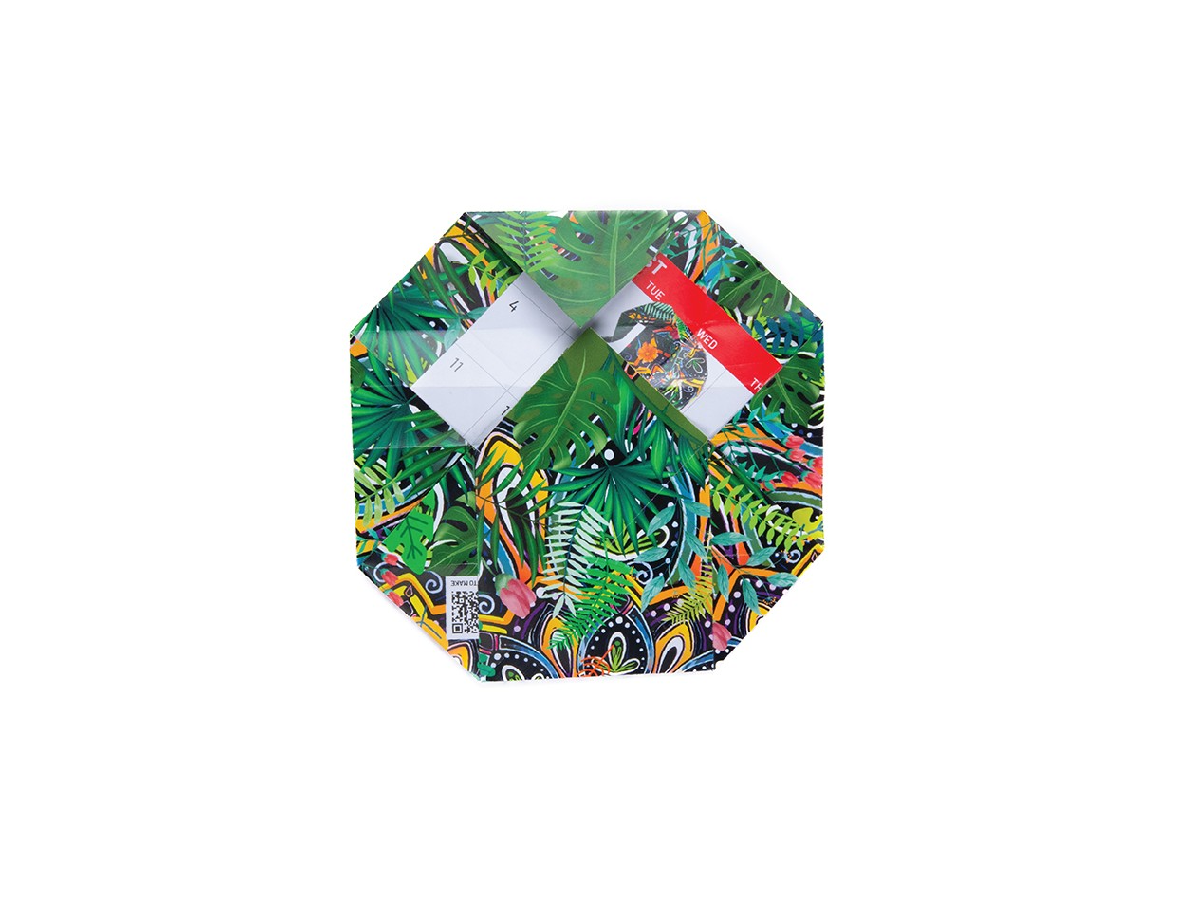
Next, fold the top and bottom edge to the horizontal central crease to create another gatefold. Crease well and unfold. You now have a neat grid of 16 equal sections.
Start with the August origami sheet in front of you on a flat surface, with the dated side facing up.
Fold the paper in half from left to right, unfold, and repeat from bottom to top. You should have a grid of 4 equal squares.
Fold both the left and right edges to the vertical central crease (this is called a gate fold), crease well and unfold.
Next, fold the top and bottom edge to the horizontal central crease to create another gatefold. Crease well and unfold. You now have a neat grid of 16 equal sections.
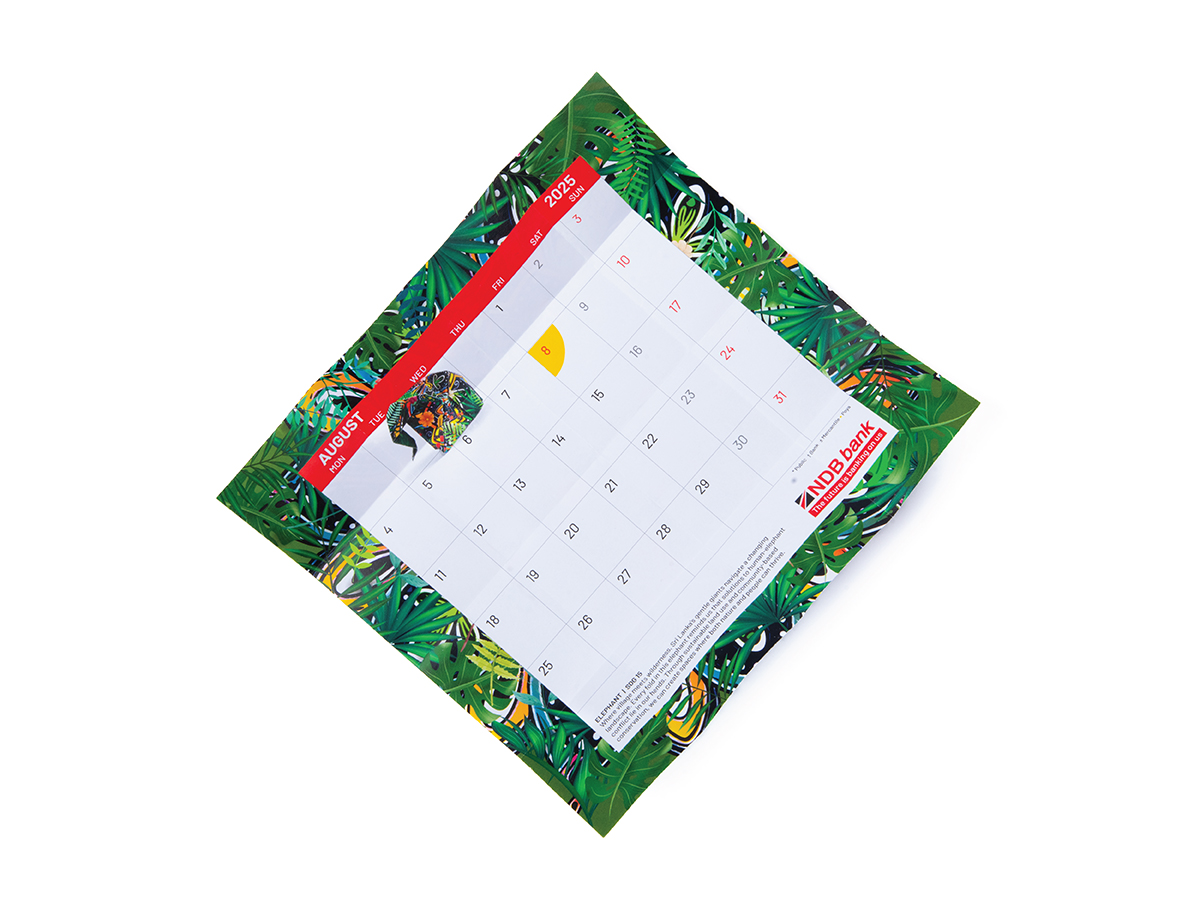
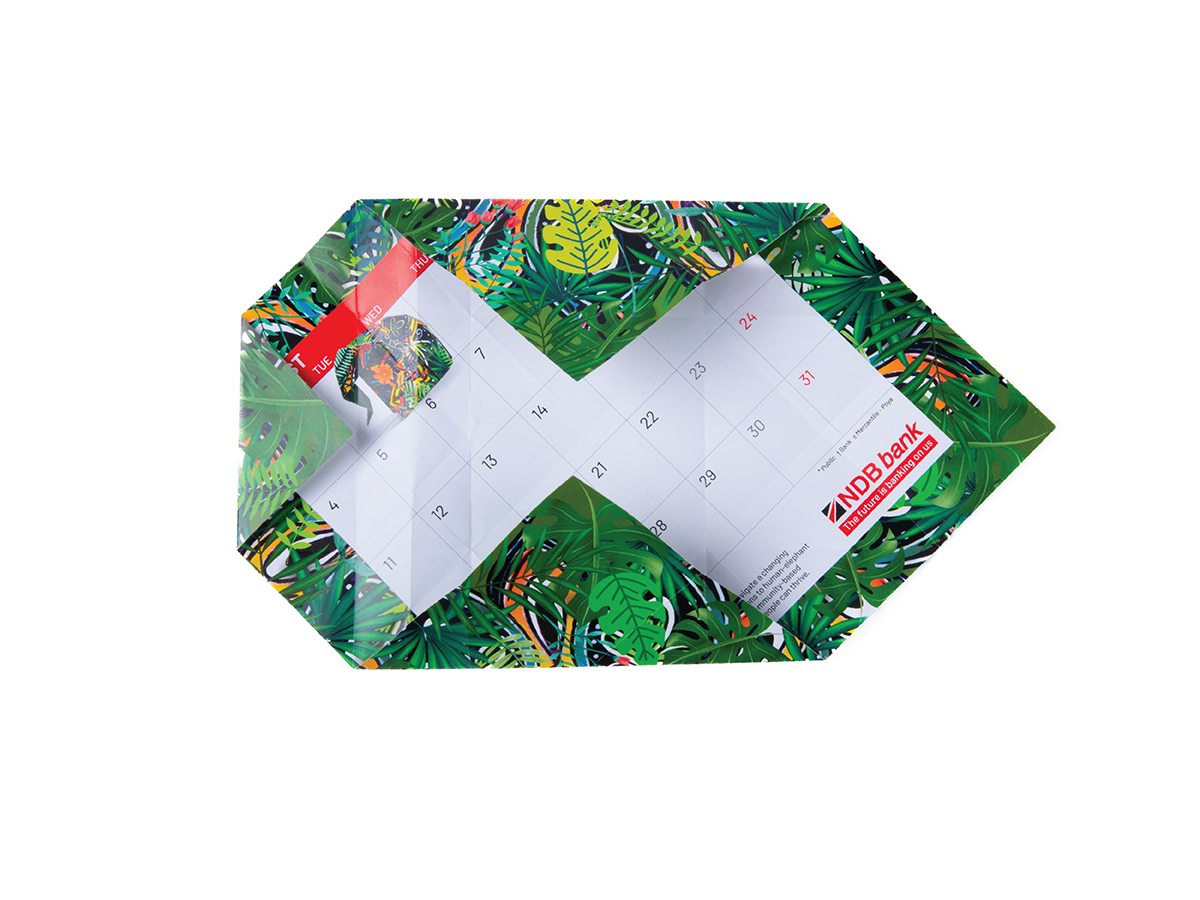
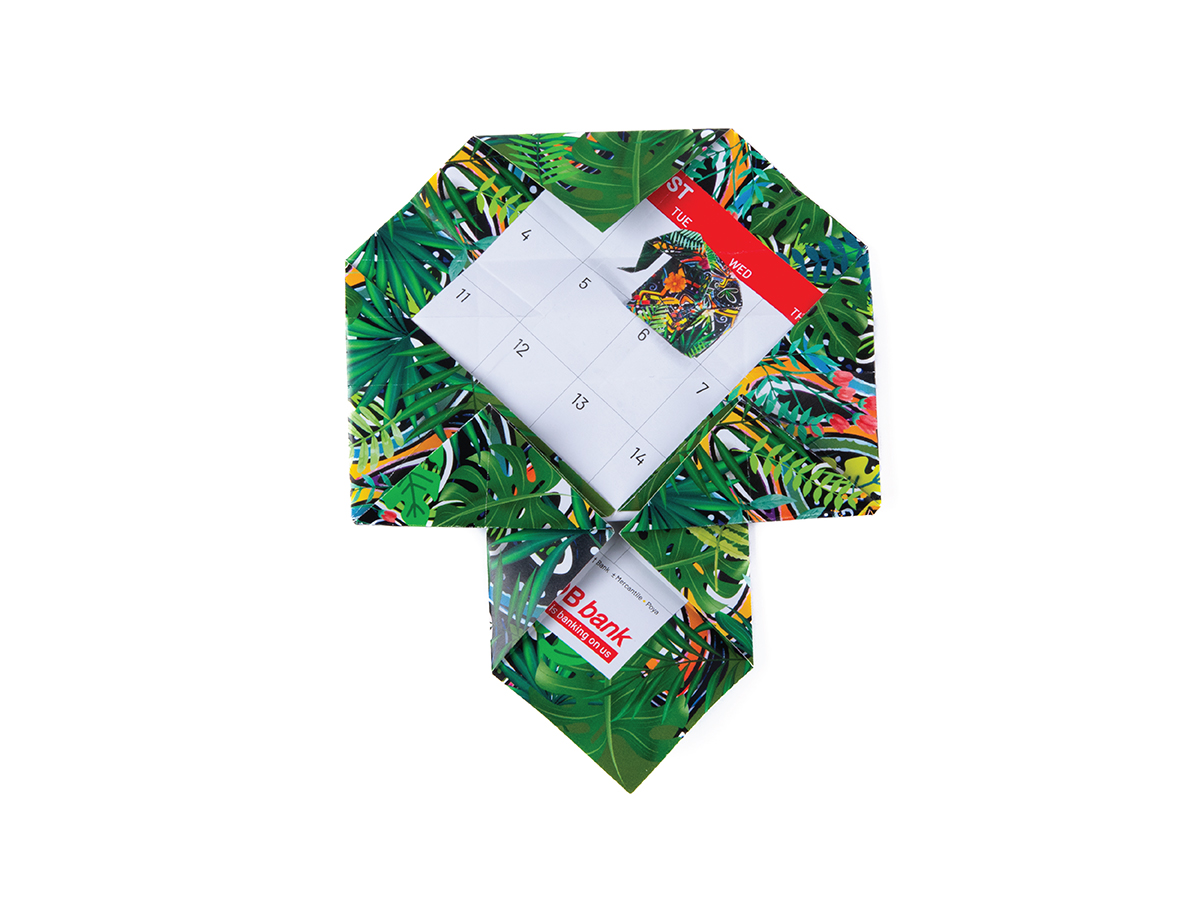
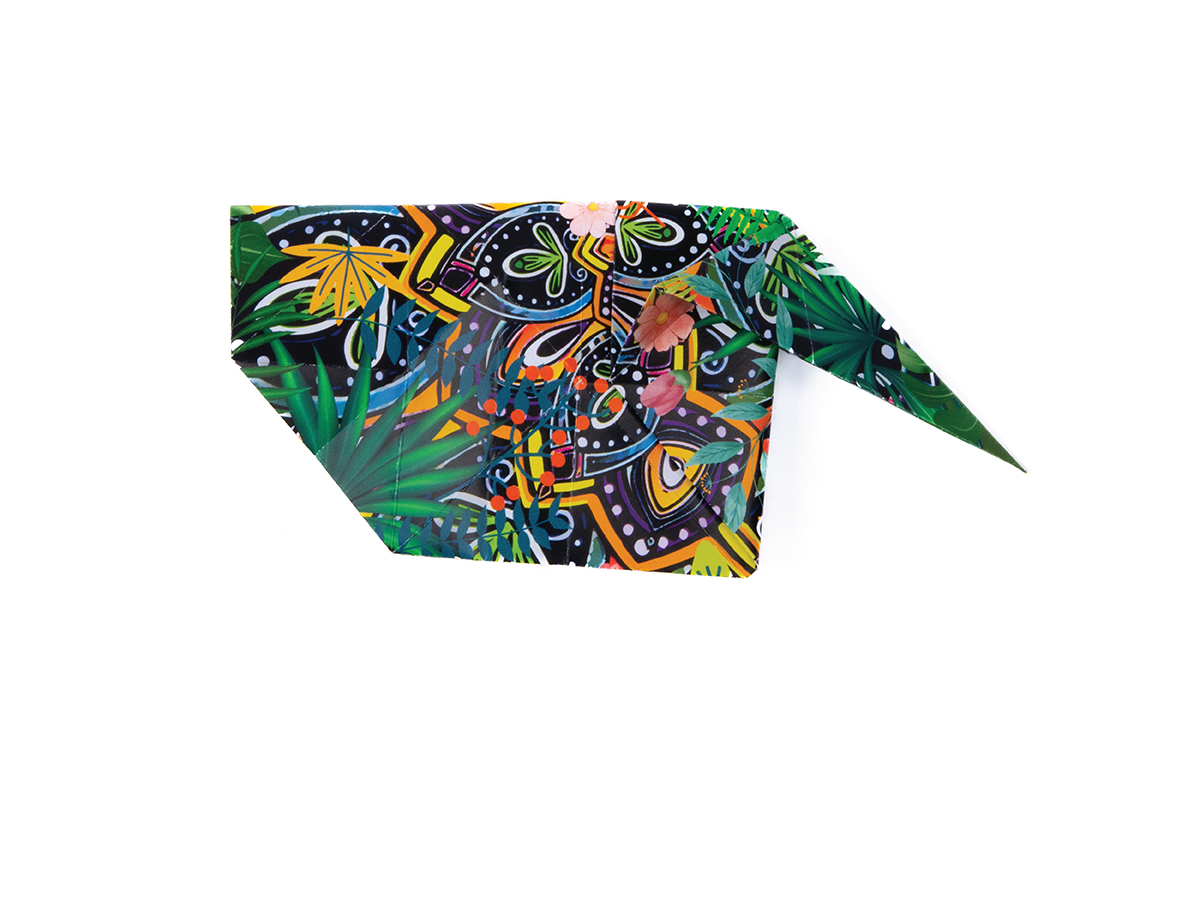
Rotate the paper so that it is diagonal, with "August" on the left and the NDB logo on the right
Fold the top, bottom and left corner to the central crease–not the right corner (keep this corner on the right side–this will become the elephant's head). Crease well and unfold.
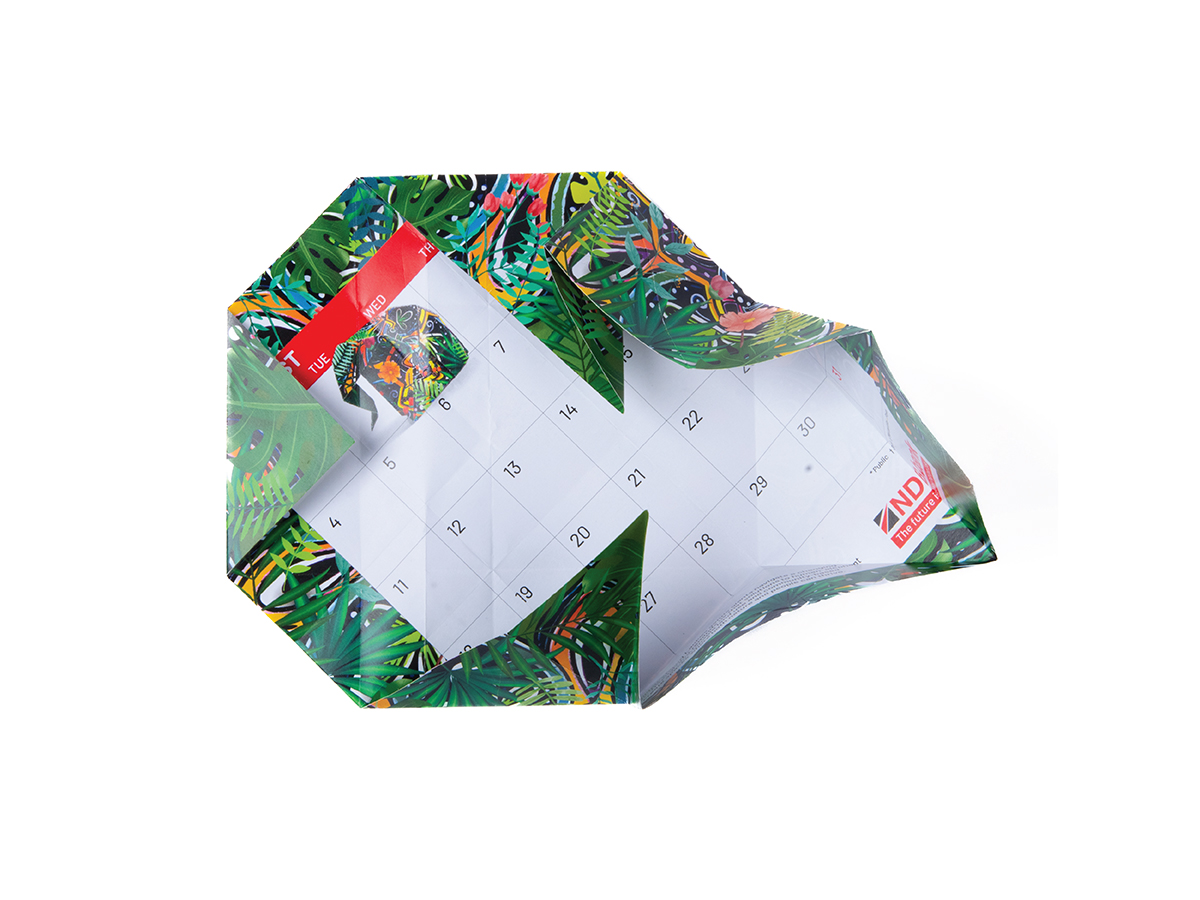
Fold the top corner down to meet the lowest horizontal crease. Crease well and unfold.
Repeat the last step on all sides, folding the bottom corner up to the top-most horizontal crease, and the right and left corners to their opposing creases.
Rotate the paper so that it is diagonal, with "August" on the left and the NDB logo on the right
Fold the top, bottom and left corner to the central crease–not the right corner (keep this corner on the right side–this will become the elephant's head). Crease well and unfold.
Fold the top corner down to meet the lowest horizontal crease. Crease well and unfold.
Repeat the last step on all sides, folding the bottom corner up to the top-most horizontal crease, and the right and left corners to their opposing creases.

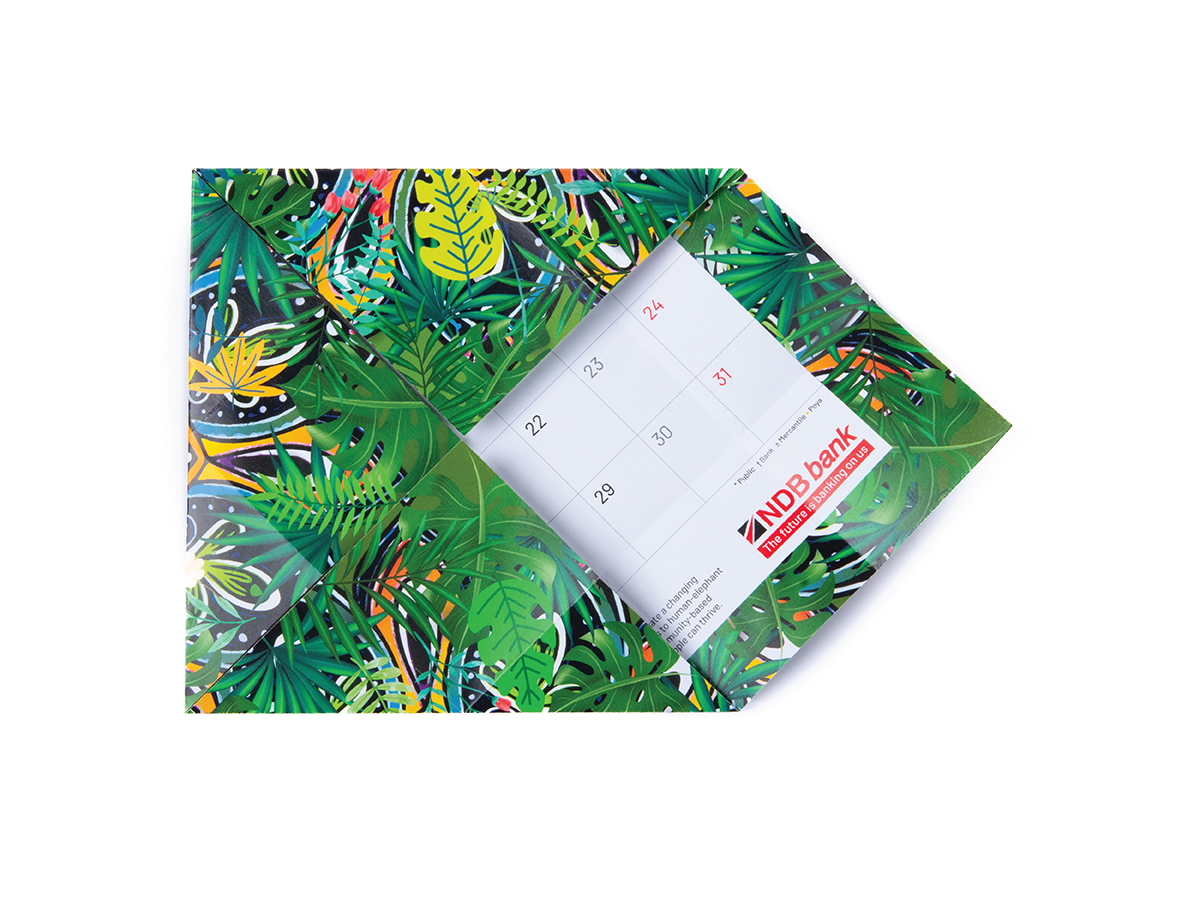
For the next step, locate the midpoint of the left vertical crease - you're going to be creating a diamond-shaped crease from the left corner of the sheet to this point.
Fold along the two diagonal lines creasing just enough to create the diamond.
Flip the paper over, from top to bottom, keeping the right (uncreased) corner on the right, then bring the left corner to the right vertical crease you created in step 8.

Crease the top and bottom of the fold, avoiding the middle diamond.
For the next step, locate the midpoint of the left vertical crease - you're going to be creating a diamond-shaped crease from the left corner of the sheet to this point.
Fold along the two diagonal lines creasing just enough to create the diamond.
Flip the paper over, from top to bottom, keeping the right (uncreased) corner on the right, then bring the left corner to the right vertical crease you created in step 8.
Crease the top and bottom of the fold, avoiding the middle diamond.
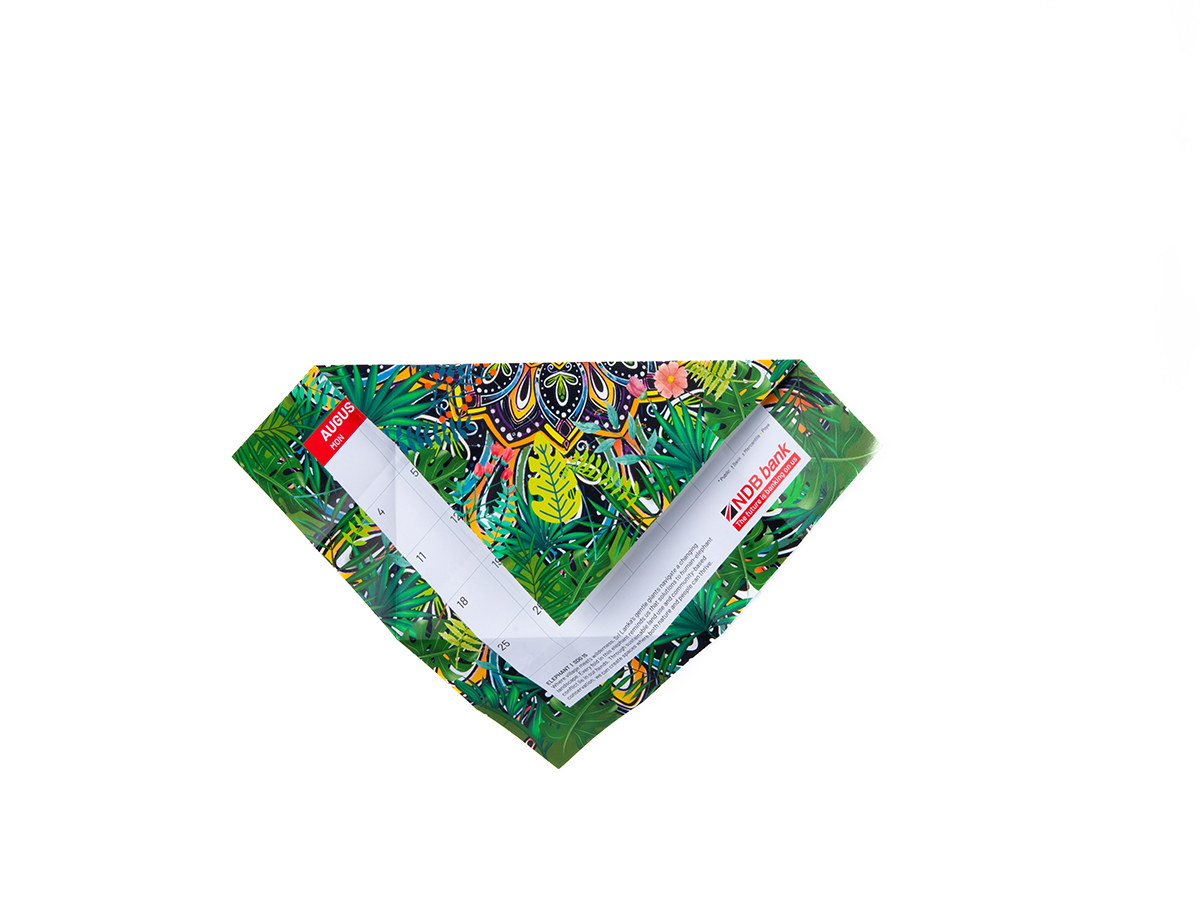
Flip the paper over again, from top to bottom, and fold the left corner in as shown.
Fold the top and bottom corners in to meet in the middle. Locate the 2 marked creases - you're going to use these two creases to make your swivel folds in the next step.
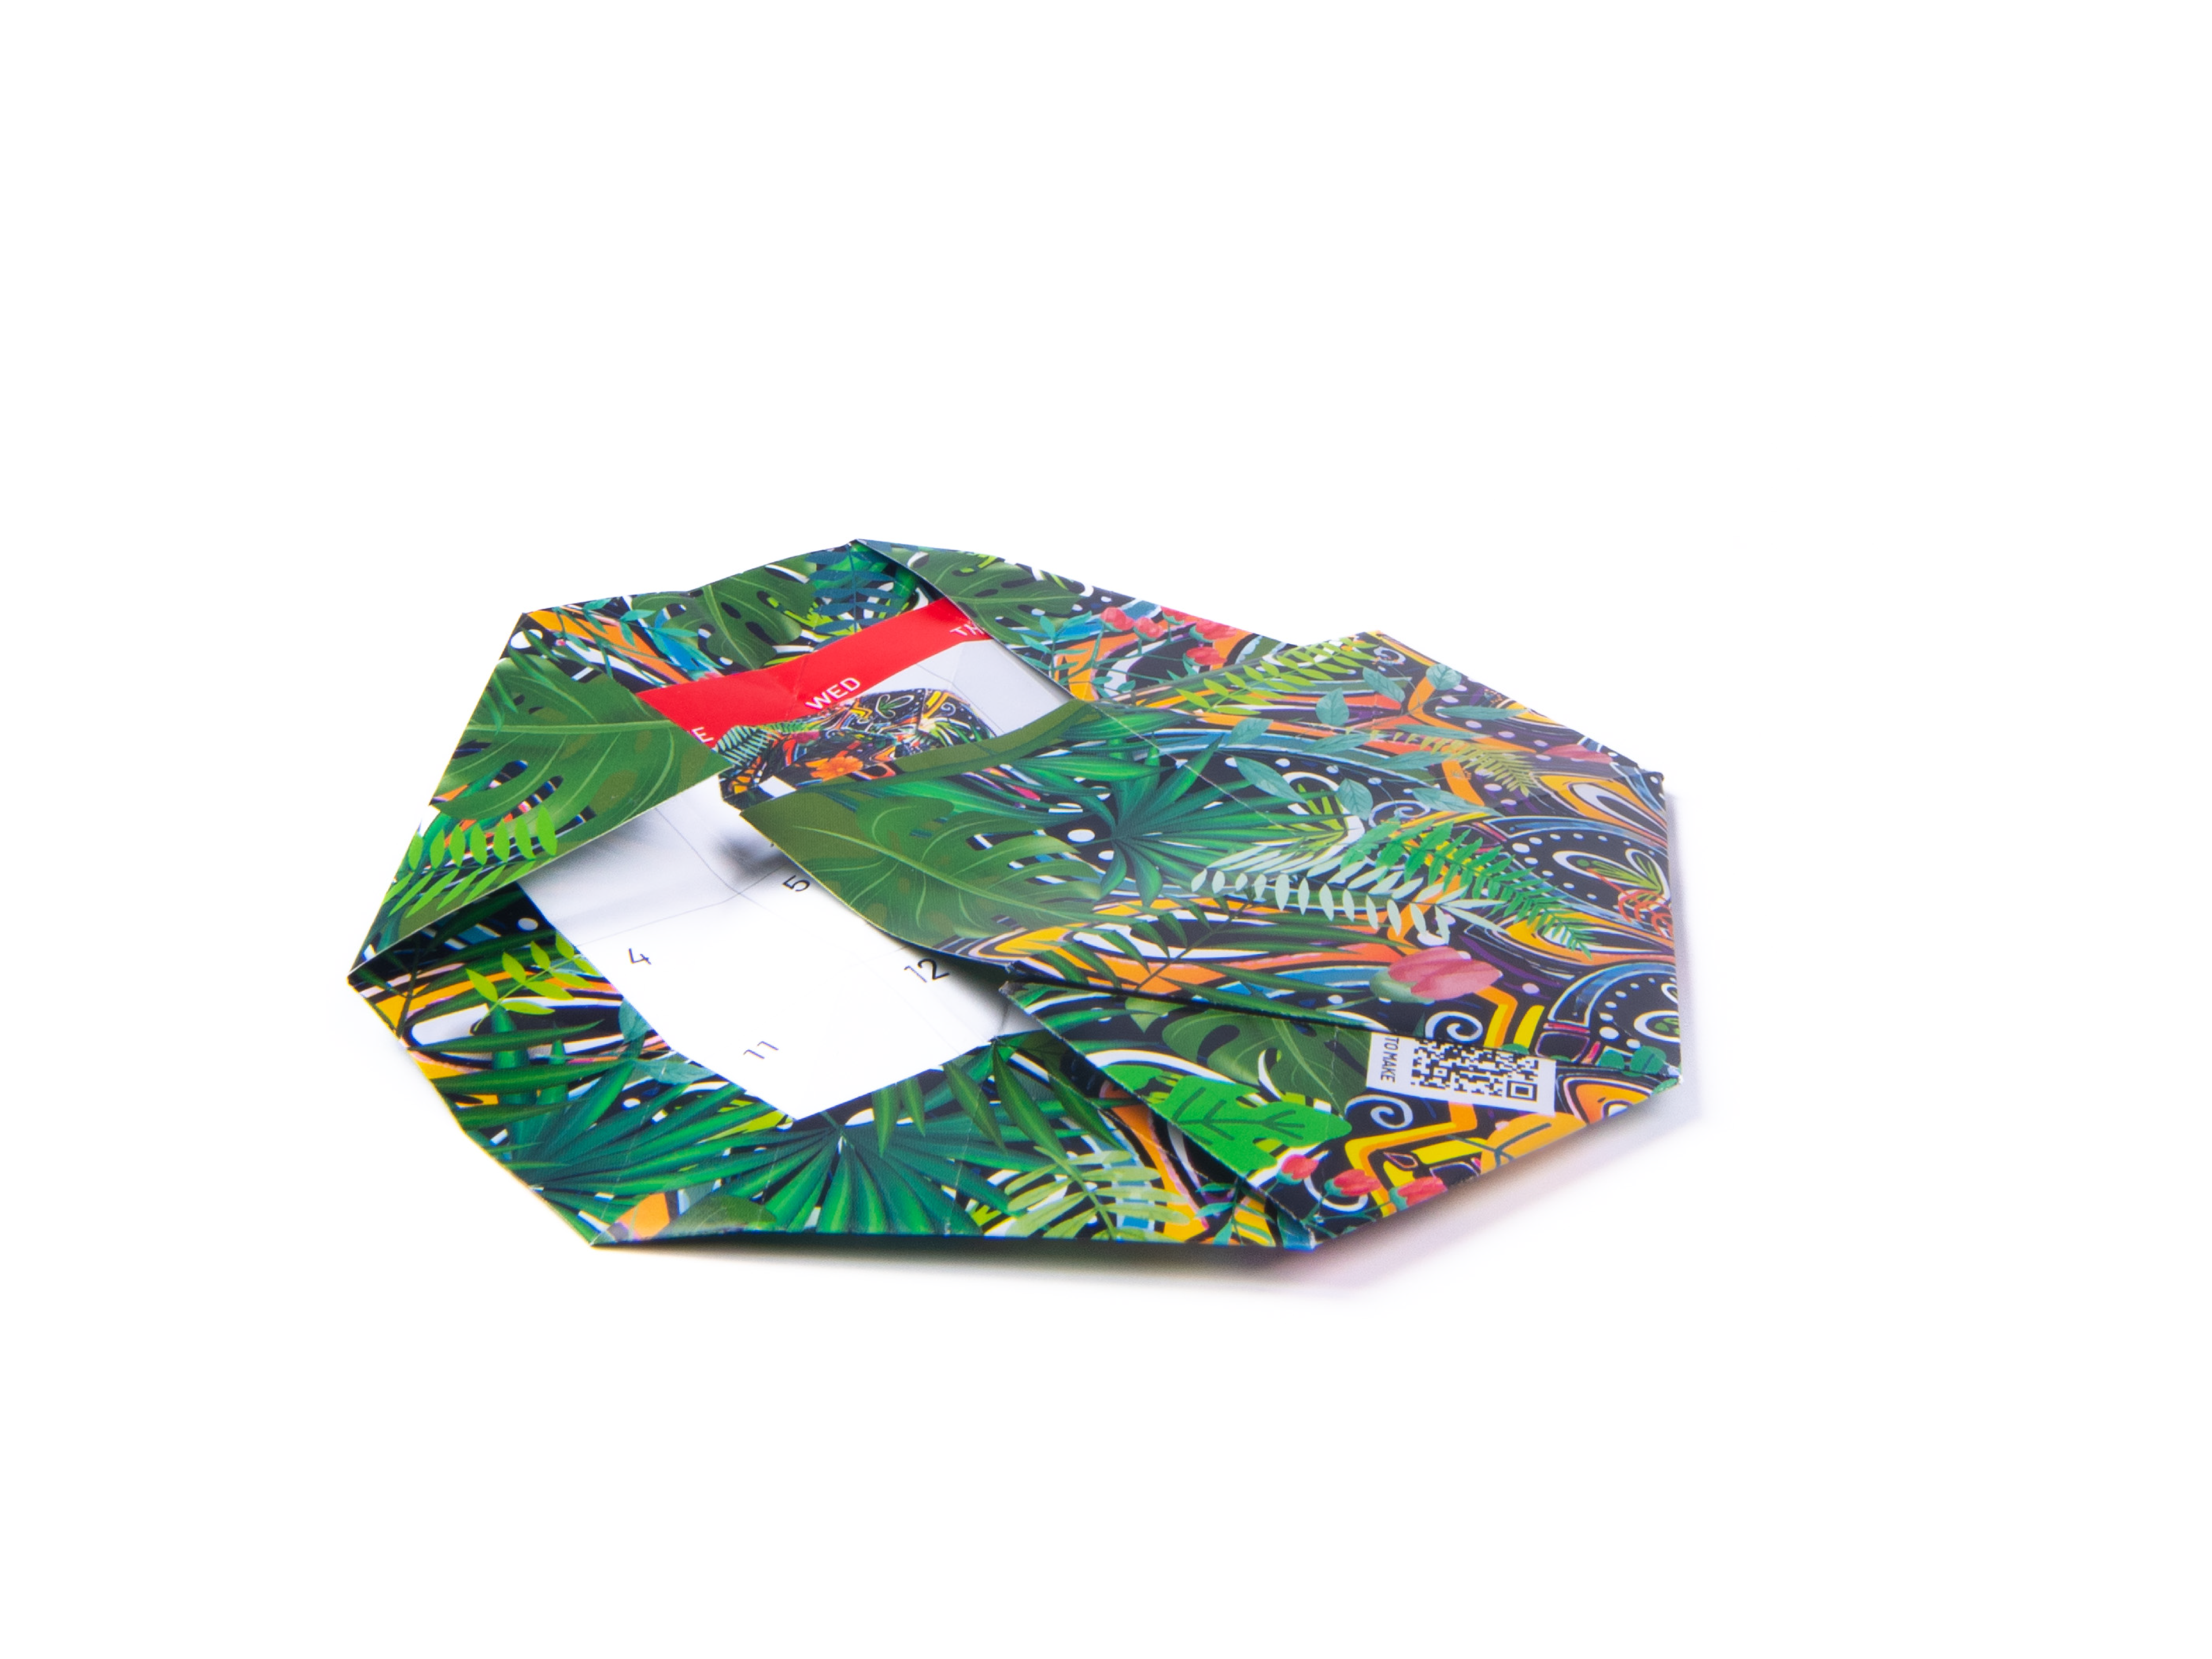
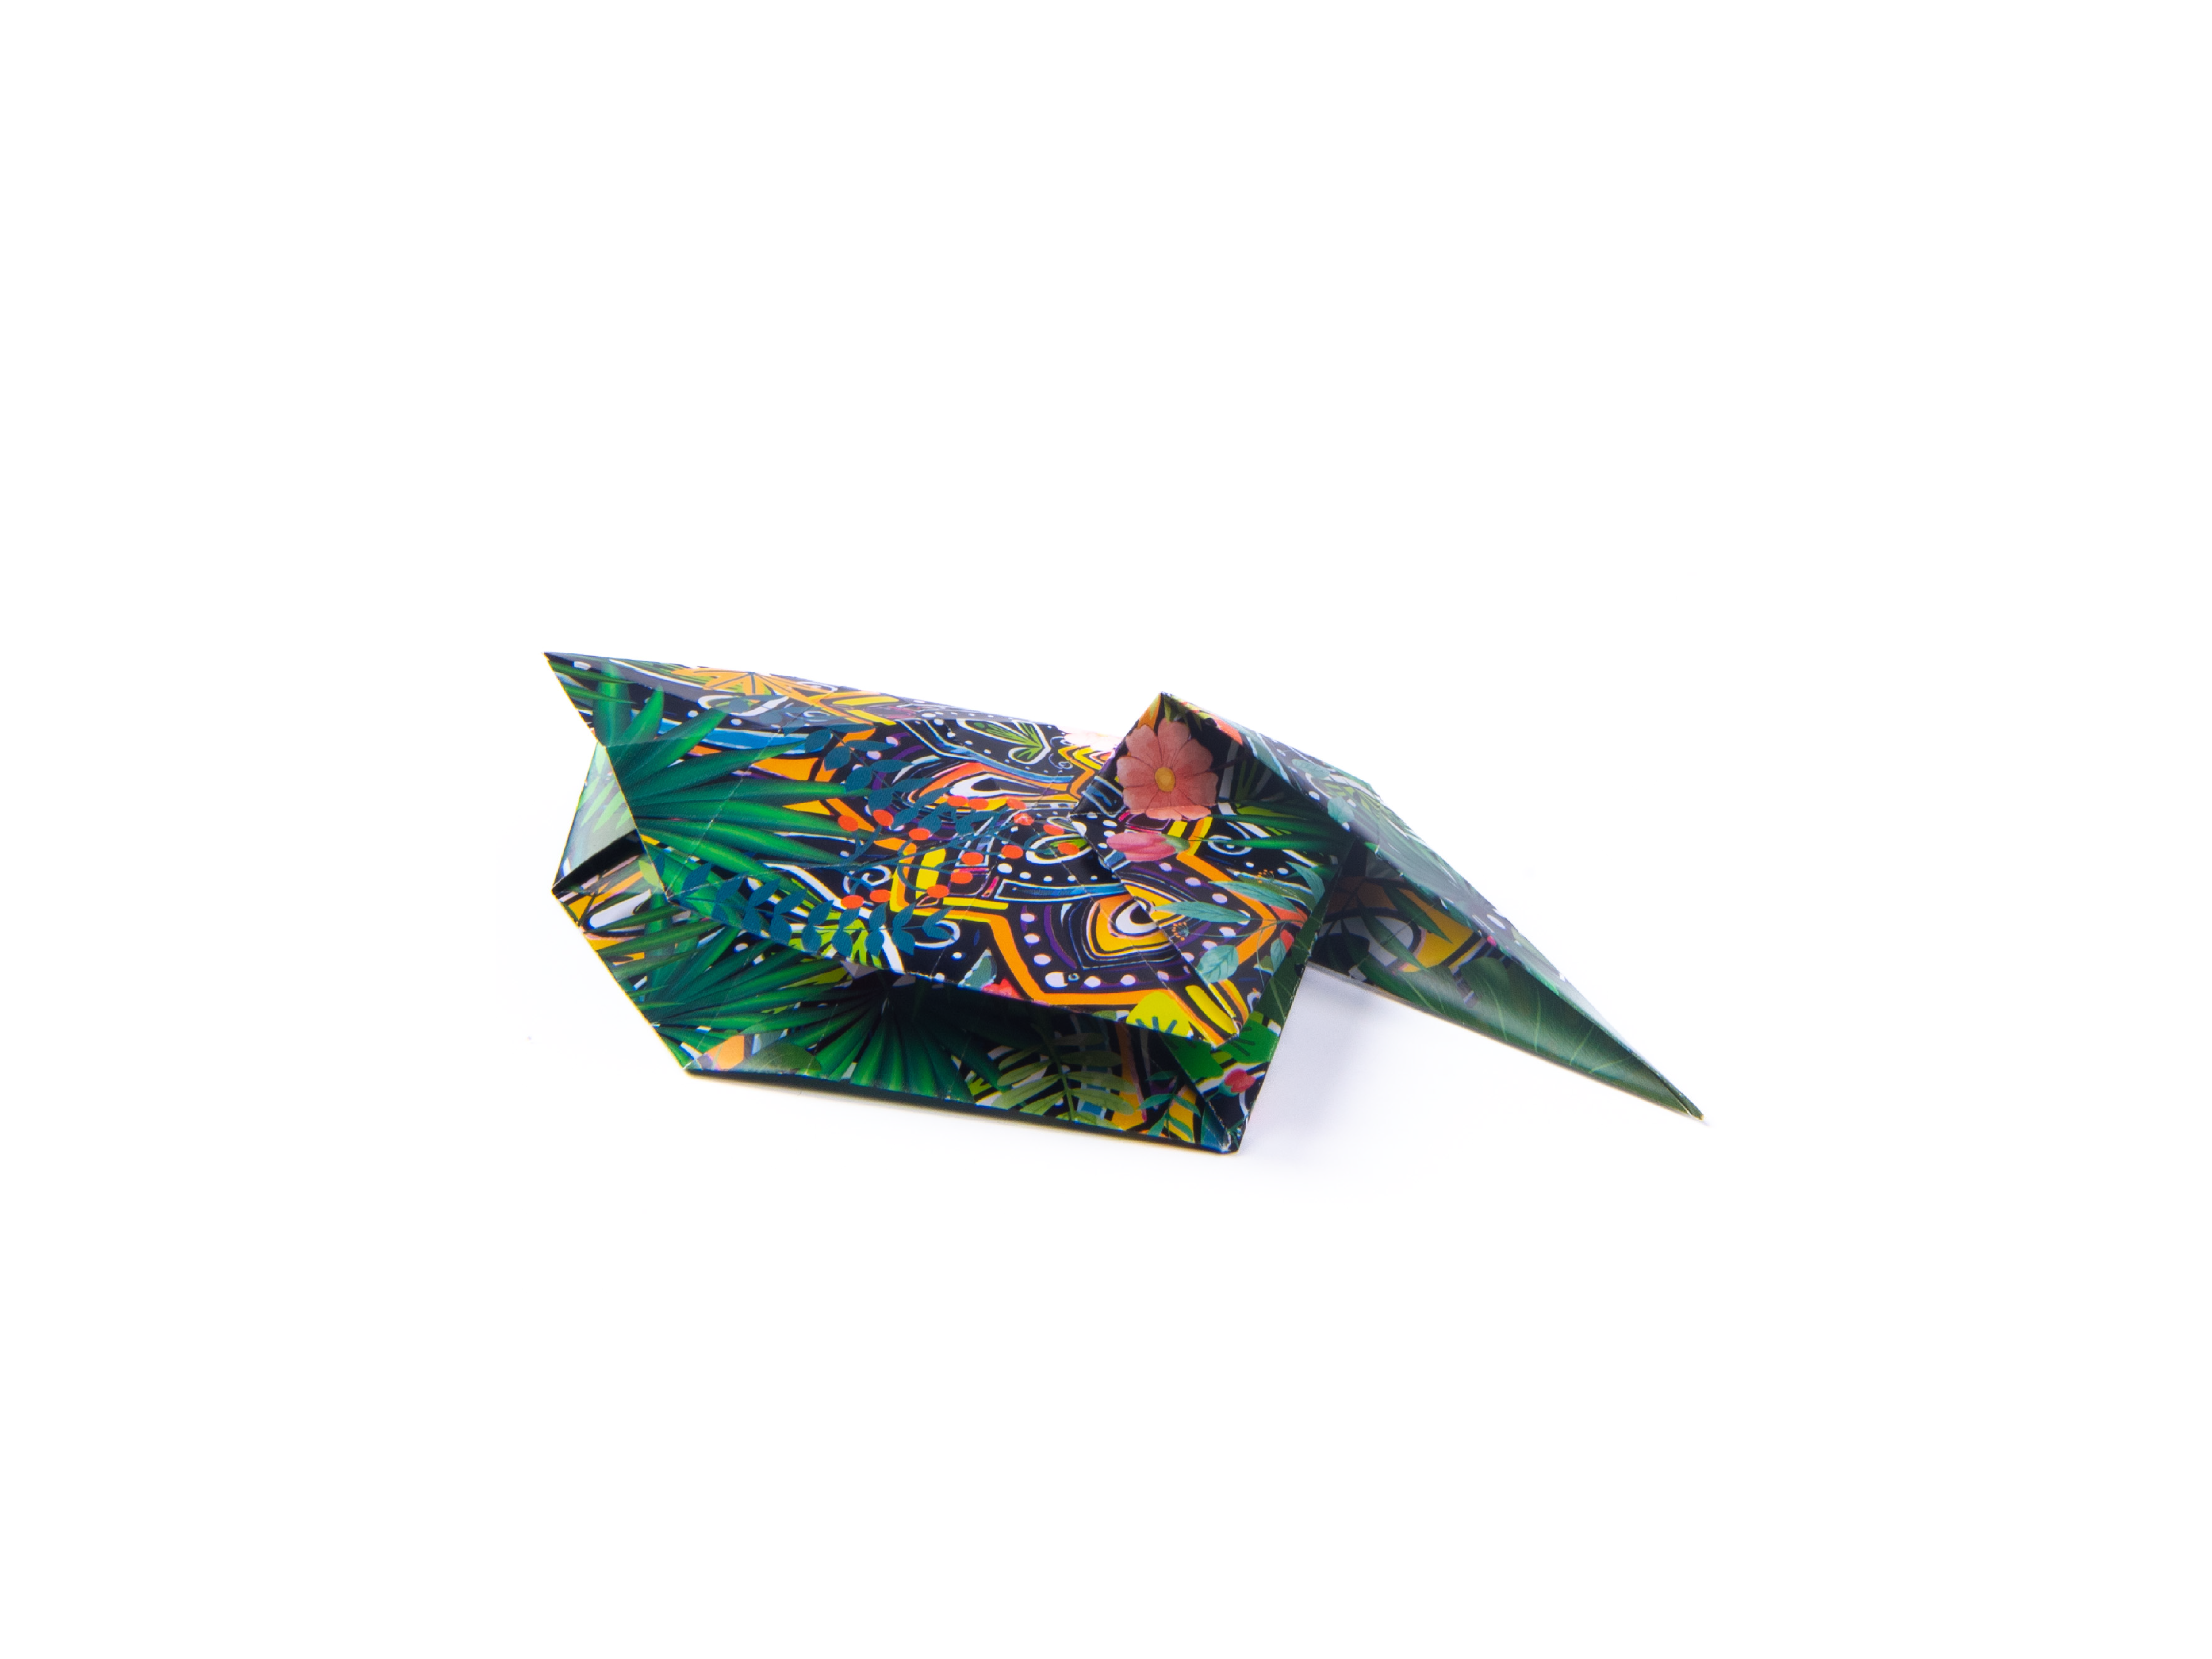
This step is a little complicated, but the creases you've made so far are there to help you so work with them. Swivel fold the top and bottom corners inwards diagonally as shown, using the creases there. The right corner should naturally collapse into a shape that looks like the bottom of a tie.
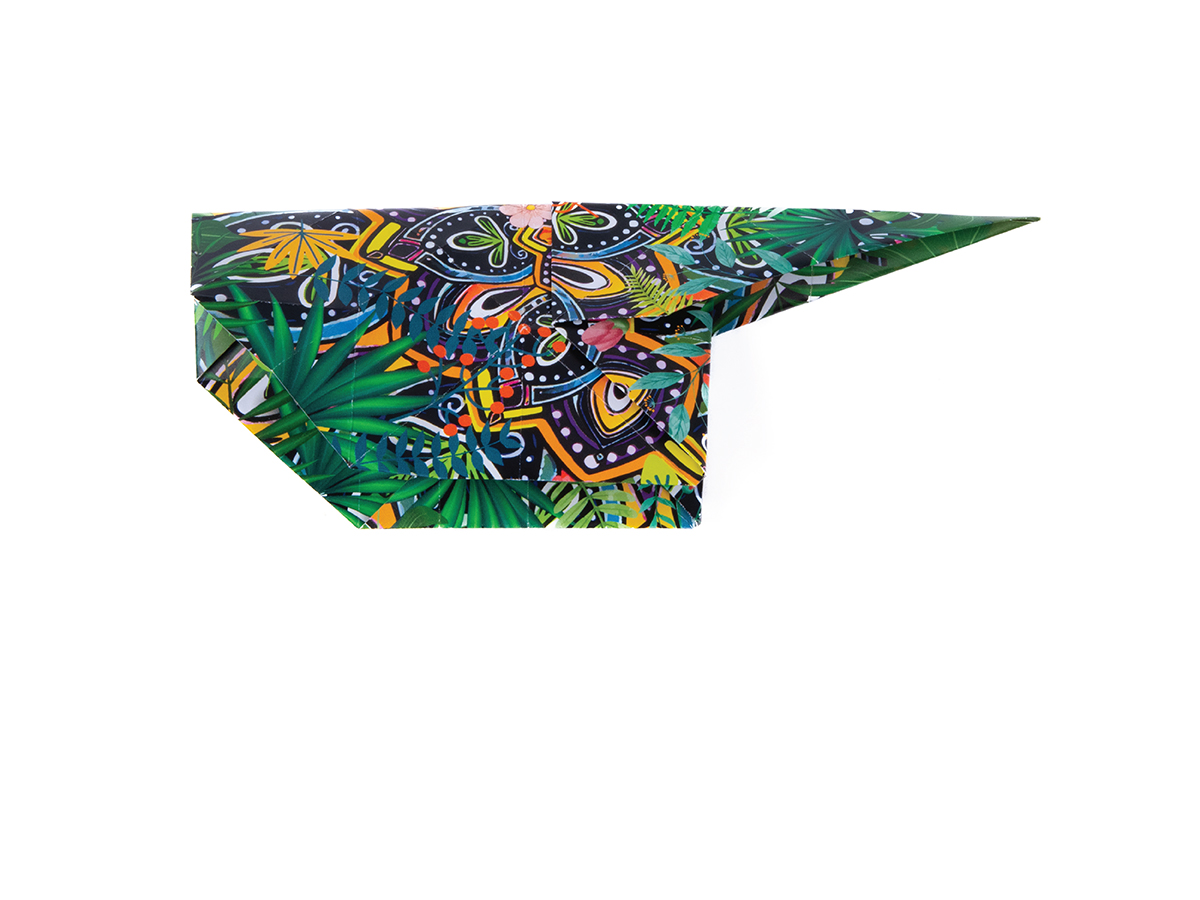
Bring the tie-shaped right corner to the left to lie flat. You should now have an octagon shape like this.
Flip the paper over again, from top to bottom, and fold the left corner in as shown.
Fold the top and bottom corners in to meet in the middle. Locate the 2 marked creases - you're going to use these two creases to make your swivel folds in the next step.
This step is a little complicated, but the creases you've made so far are there to help you so work with them. Swivel fold the top and bottom corners inwards diagonally as shown, using the creases there. The right corner should naturally collapse into a shape that looks like the bottom of a tie.
Bring the tie-shaped right corner to the left to lie flat. You should now have an octagon shape like this.
Rotate the paper 90 degrees to the right. Locate the crease shown in the picture - you will use this in the next step.
Take the section below the crease, and flip it under and behind. The top flap will naturally flip over and point to the bottom.

Next, fold the left and right corners of the lower section to the central crease. You can flip the flaps up to make it easier to see.
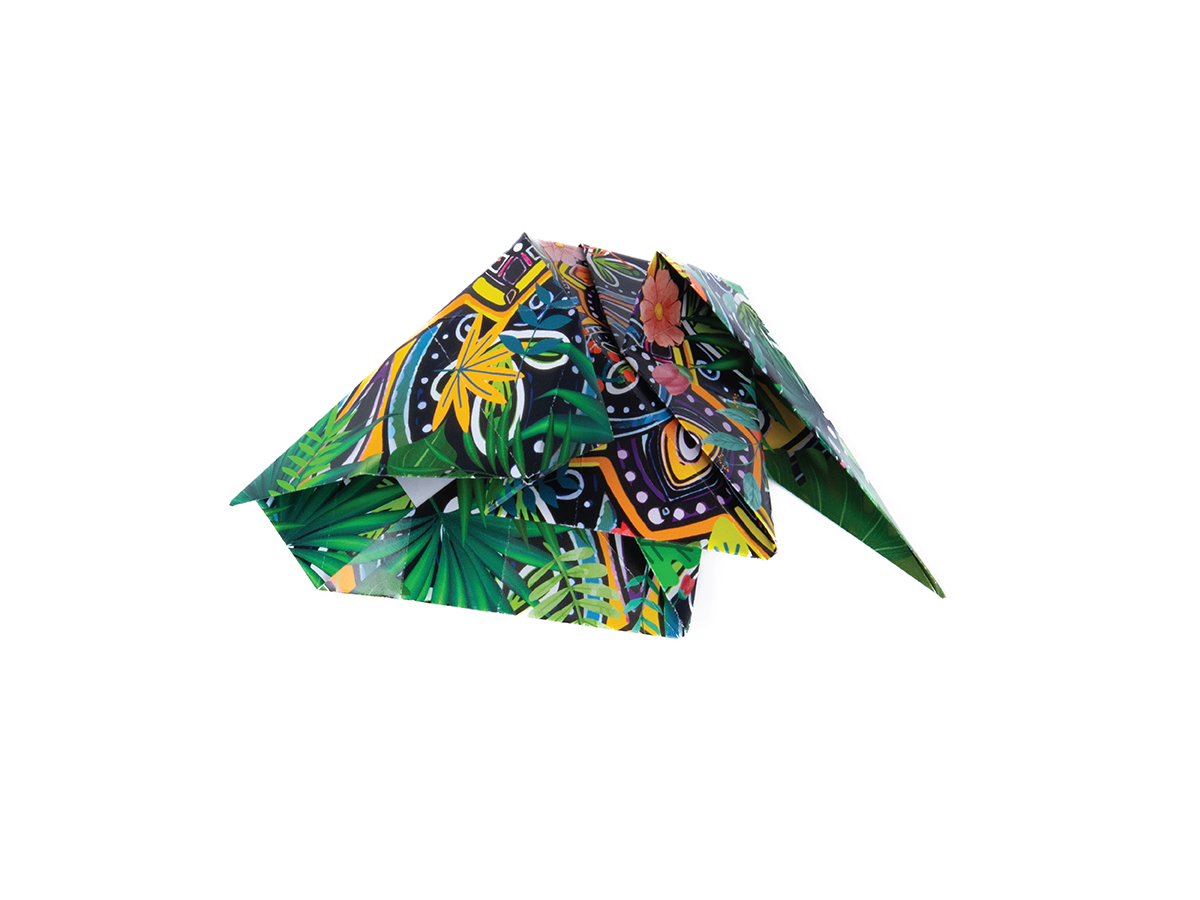
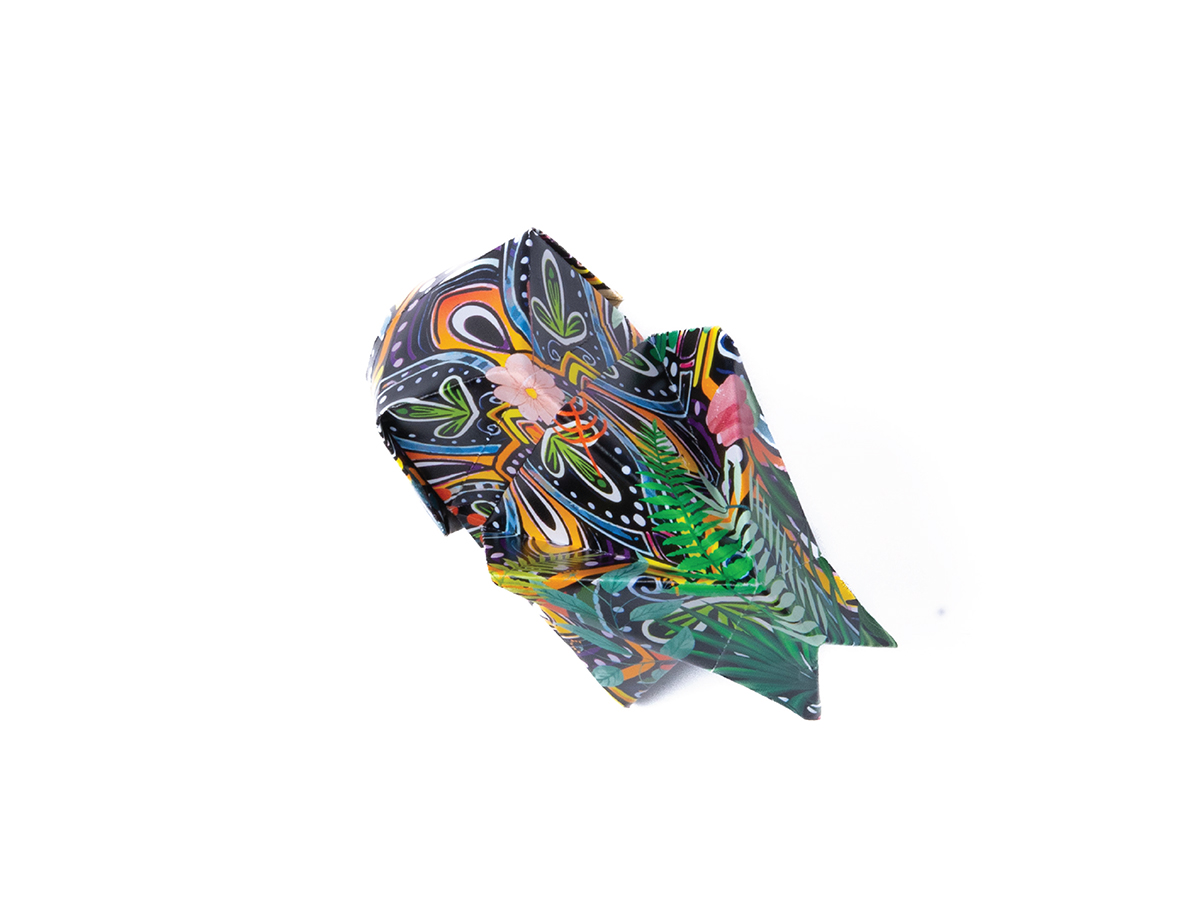
The shape should now look like this - the pointed bottom section will soon become your elephant's head and trunk.
Rotate the paper 90 degrees to the right. Locate the crease shown in the picture - you will use this in the next step.
Take the section below the crease, and flip it under and behind. The top flap will naturally flip over and point to the bottom.
Next, fold the left and right corners of the lower section to the central crease. You can flip the flaps up to make it easier to see.
The shape should now look like this - the pointed bottom section will soon become your elephant's head and trunk.
Flip the shape over. There is a V-shaped crease on the top of the front flap - these creases need to be re-folded in the other direction as valley creases.

Flip the model over and rotate as shown.
Fold the model in half, from top to bottom.
Hold onto the elephant's trunk and the back of its head, and push the trunk gently towards the body. The creases you re-folded into valley creases in step 21 will come into play here, and your elephant's trunk should now be at an angle as shown.
Flip the shape over. There is a V-shaped crease on the top of the front flap - these creases need to be re-folded in the other direction as valley creases.
Flip the model over and rotate as shown.
Fold the model in half, from top to bottom.
Hold onto the elephant's trunk and the back of its head, and push the trunk gently towards the body. The creases you re-folded into valley creases in step 21 will come into play here, and your elephant's trunk should now be at an angle as shown.

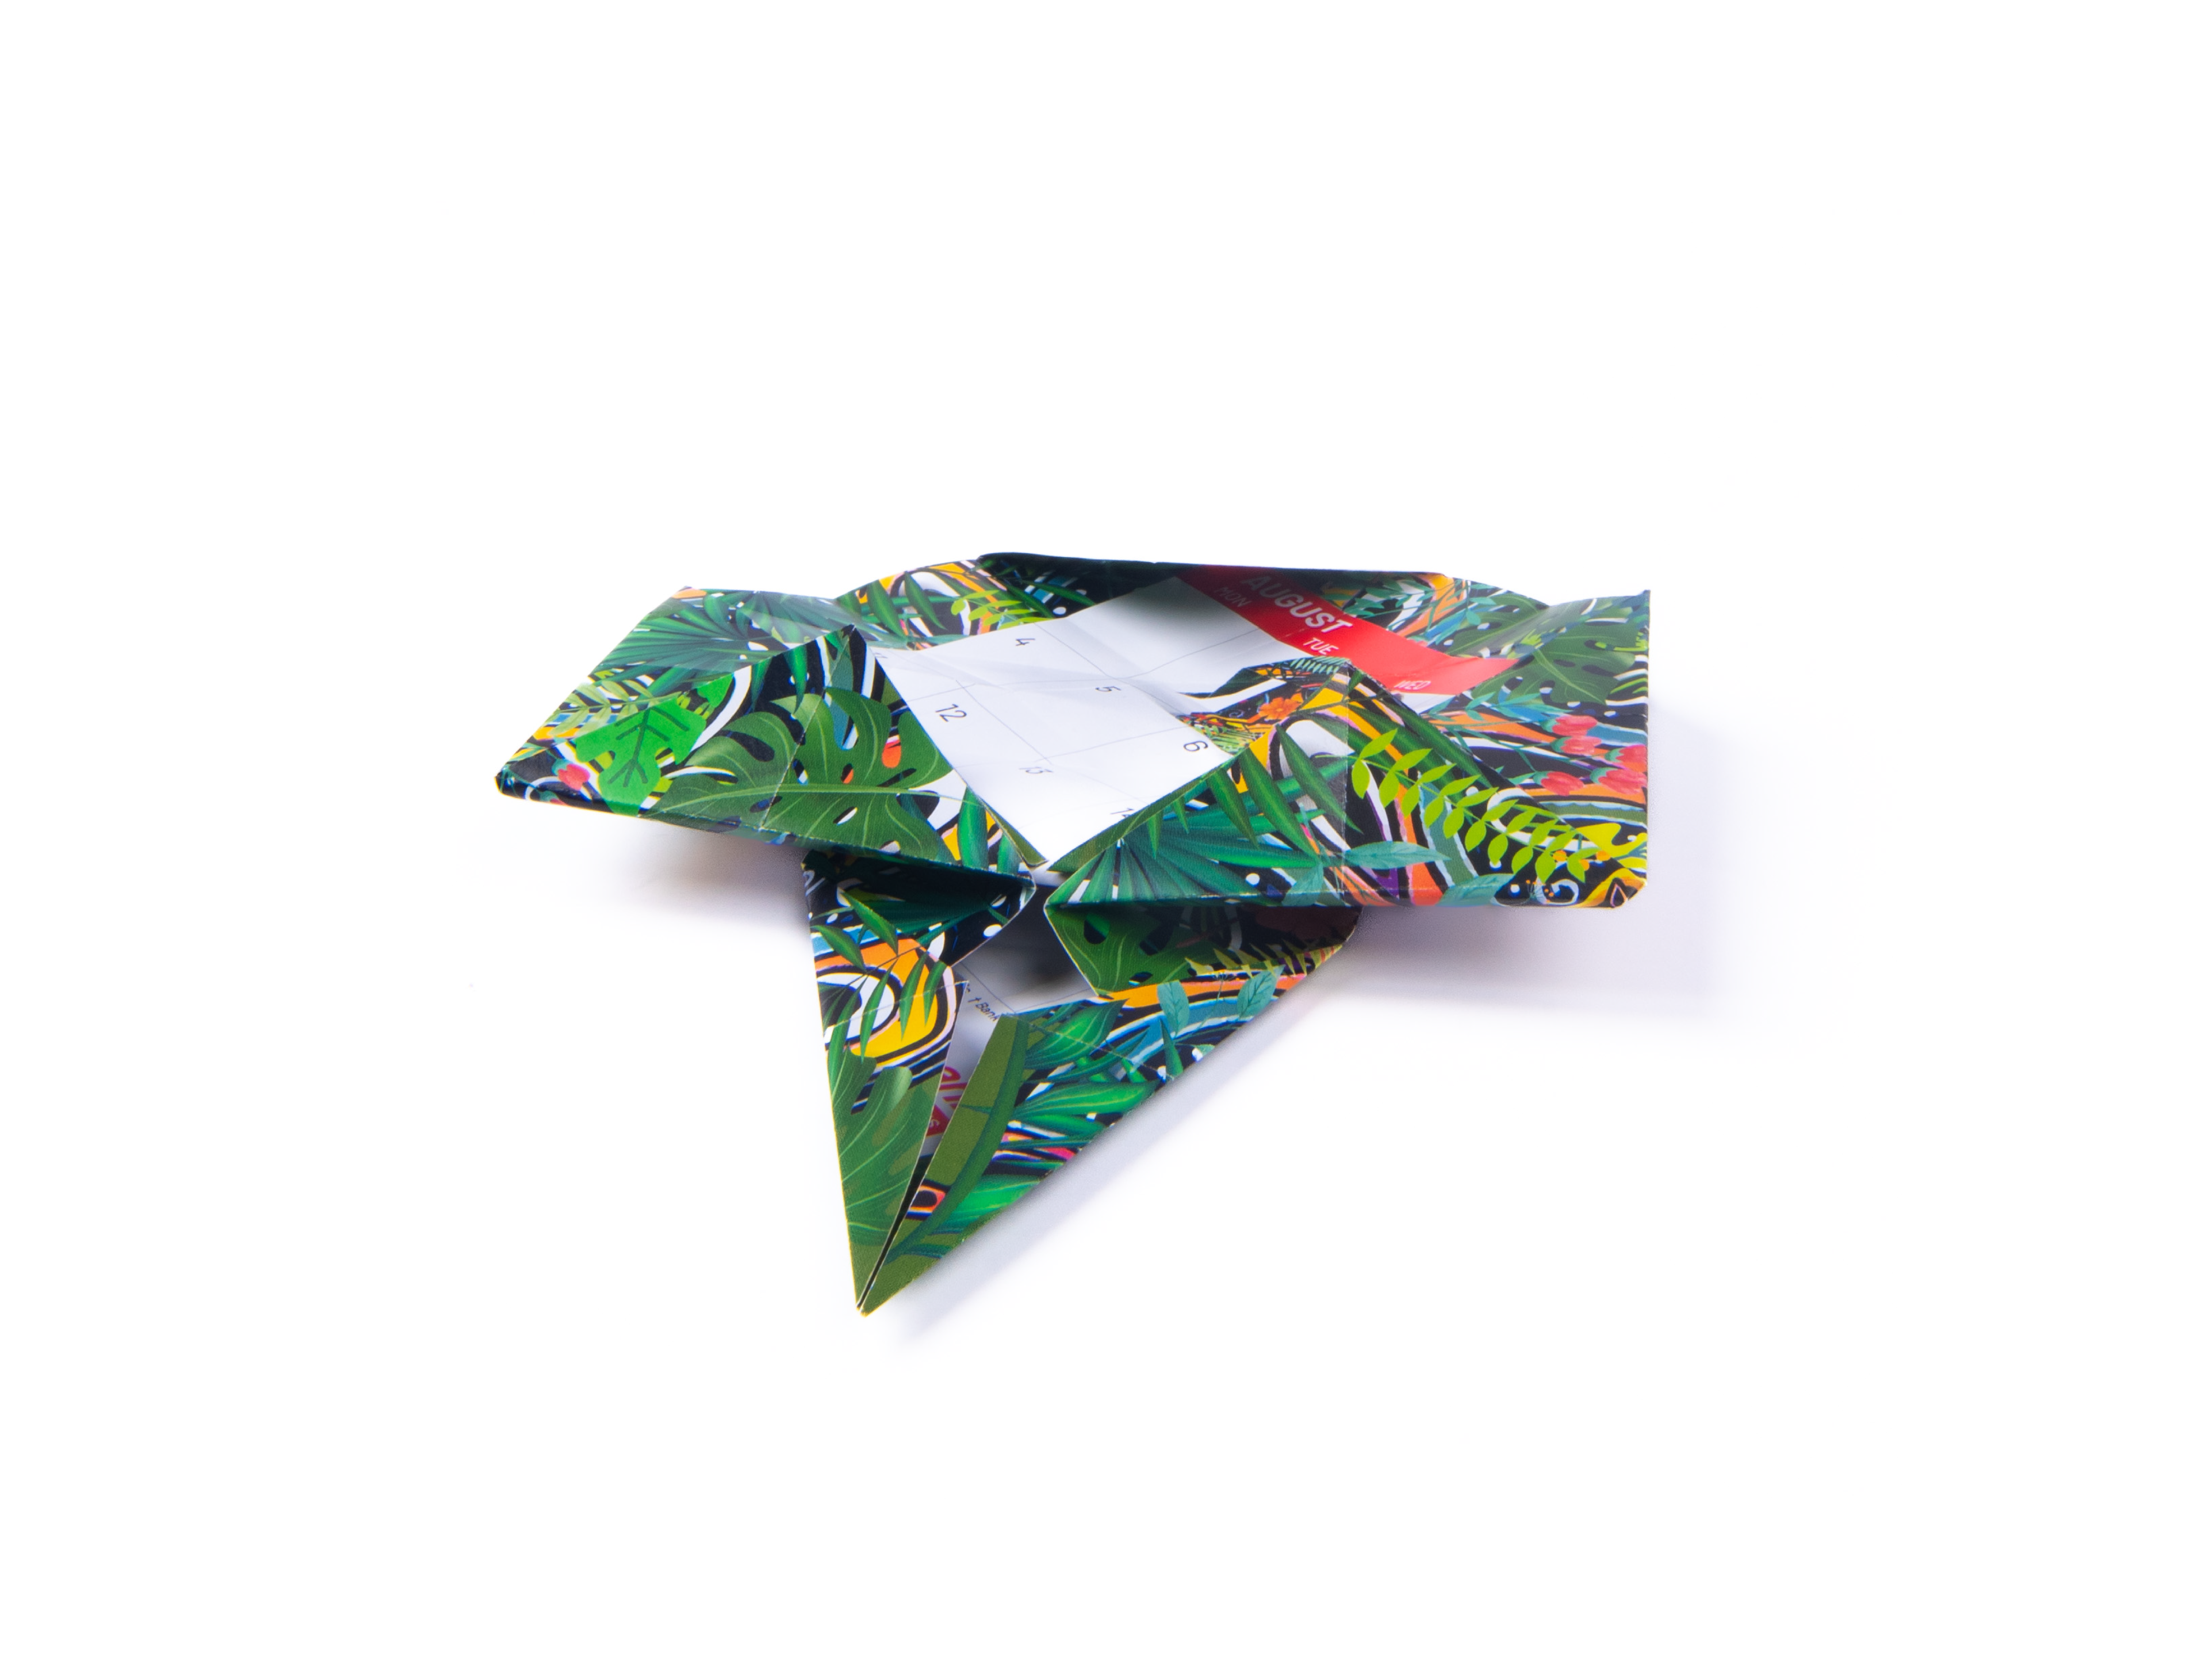
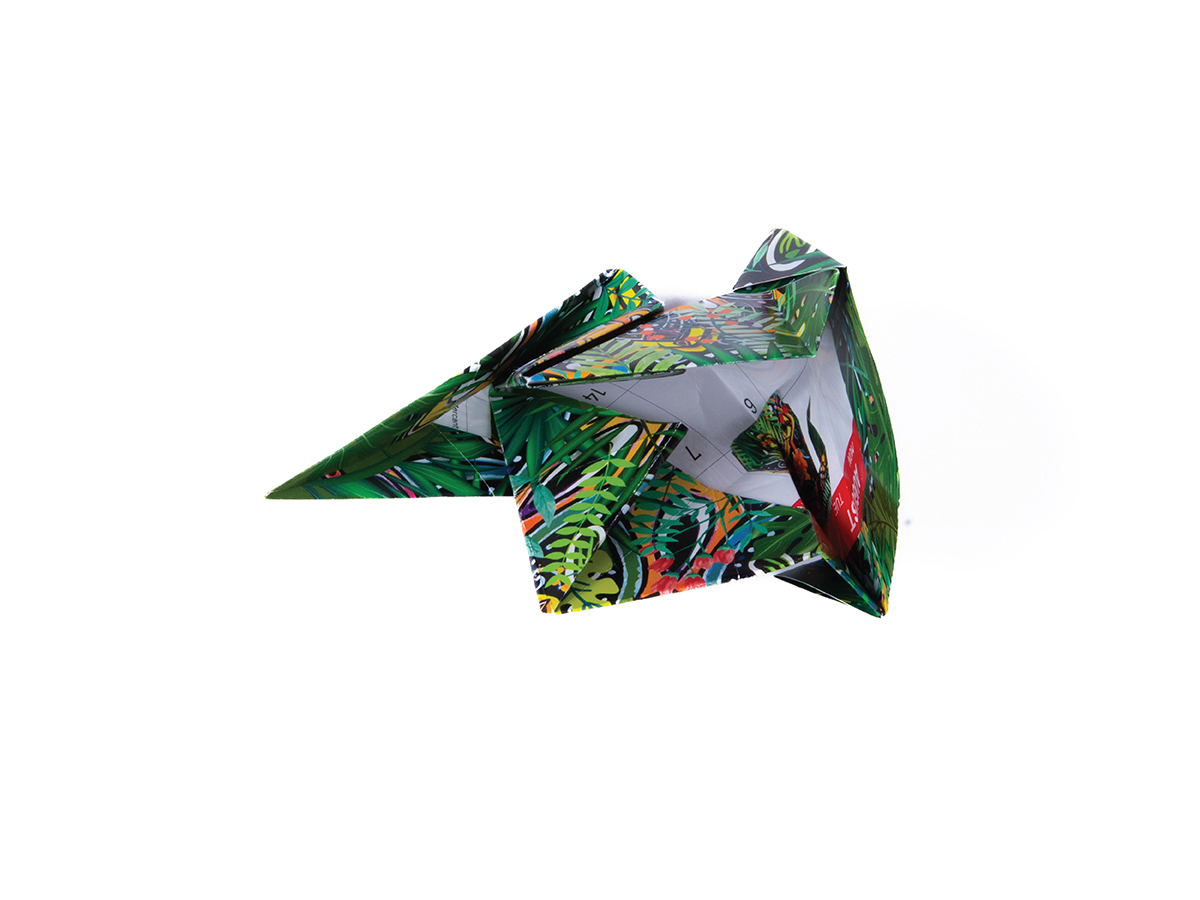
Hold the shape from the bottom and locate the diamond shape on top of the elephant.

Open out the bottom of the model and push on that diamond, flattening it as shown in the picture.
On both sides of the elephant's body, pinch flat the diagonal edges that are jutting out.
Fold the triangular flaps created by the previous creasing in on themselves as shown in the image. These are the elephant's back legs.
Hold the shape from the bottom and locate the diamond shape on top of the elephant.
Open out the bottom of the model and push on that diamond, flattening it as shown in the picture.
On both sides of the elephant's body, pinch flat the diagonal edges that are jutting out.
Fold the triangular flaps created by the previous creasing in on themselves as shown in the image. These are the elephant's back legs.
Pull out the flap that was under the tail-end of the elephant.
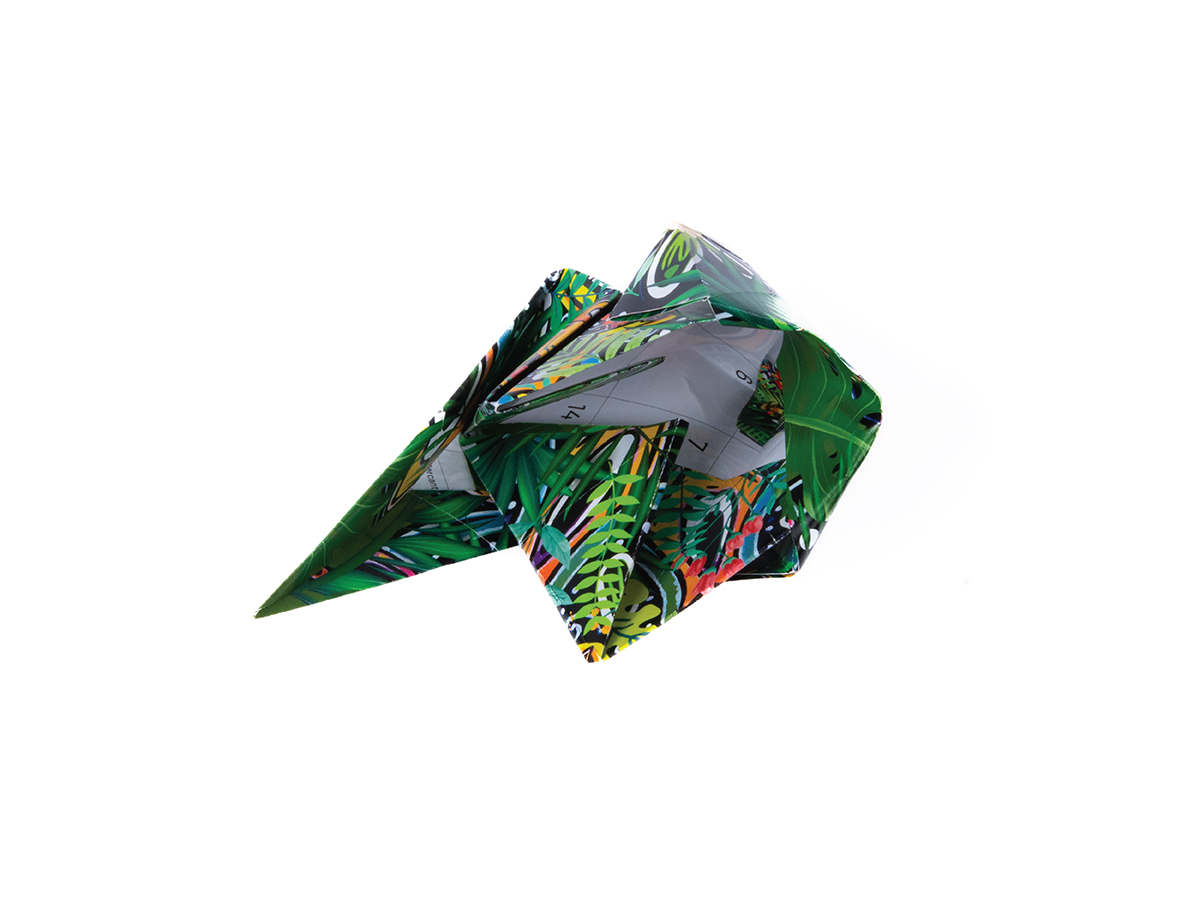
Holding the back legs you created in step 27 against the body, refold the flap you just pulled out inwards. This should lock the back legs in place.
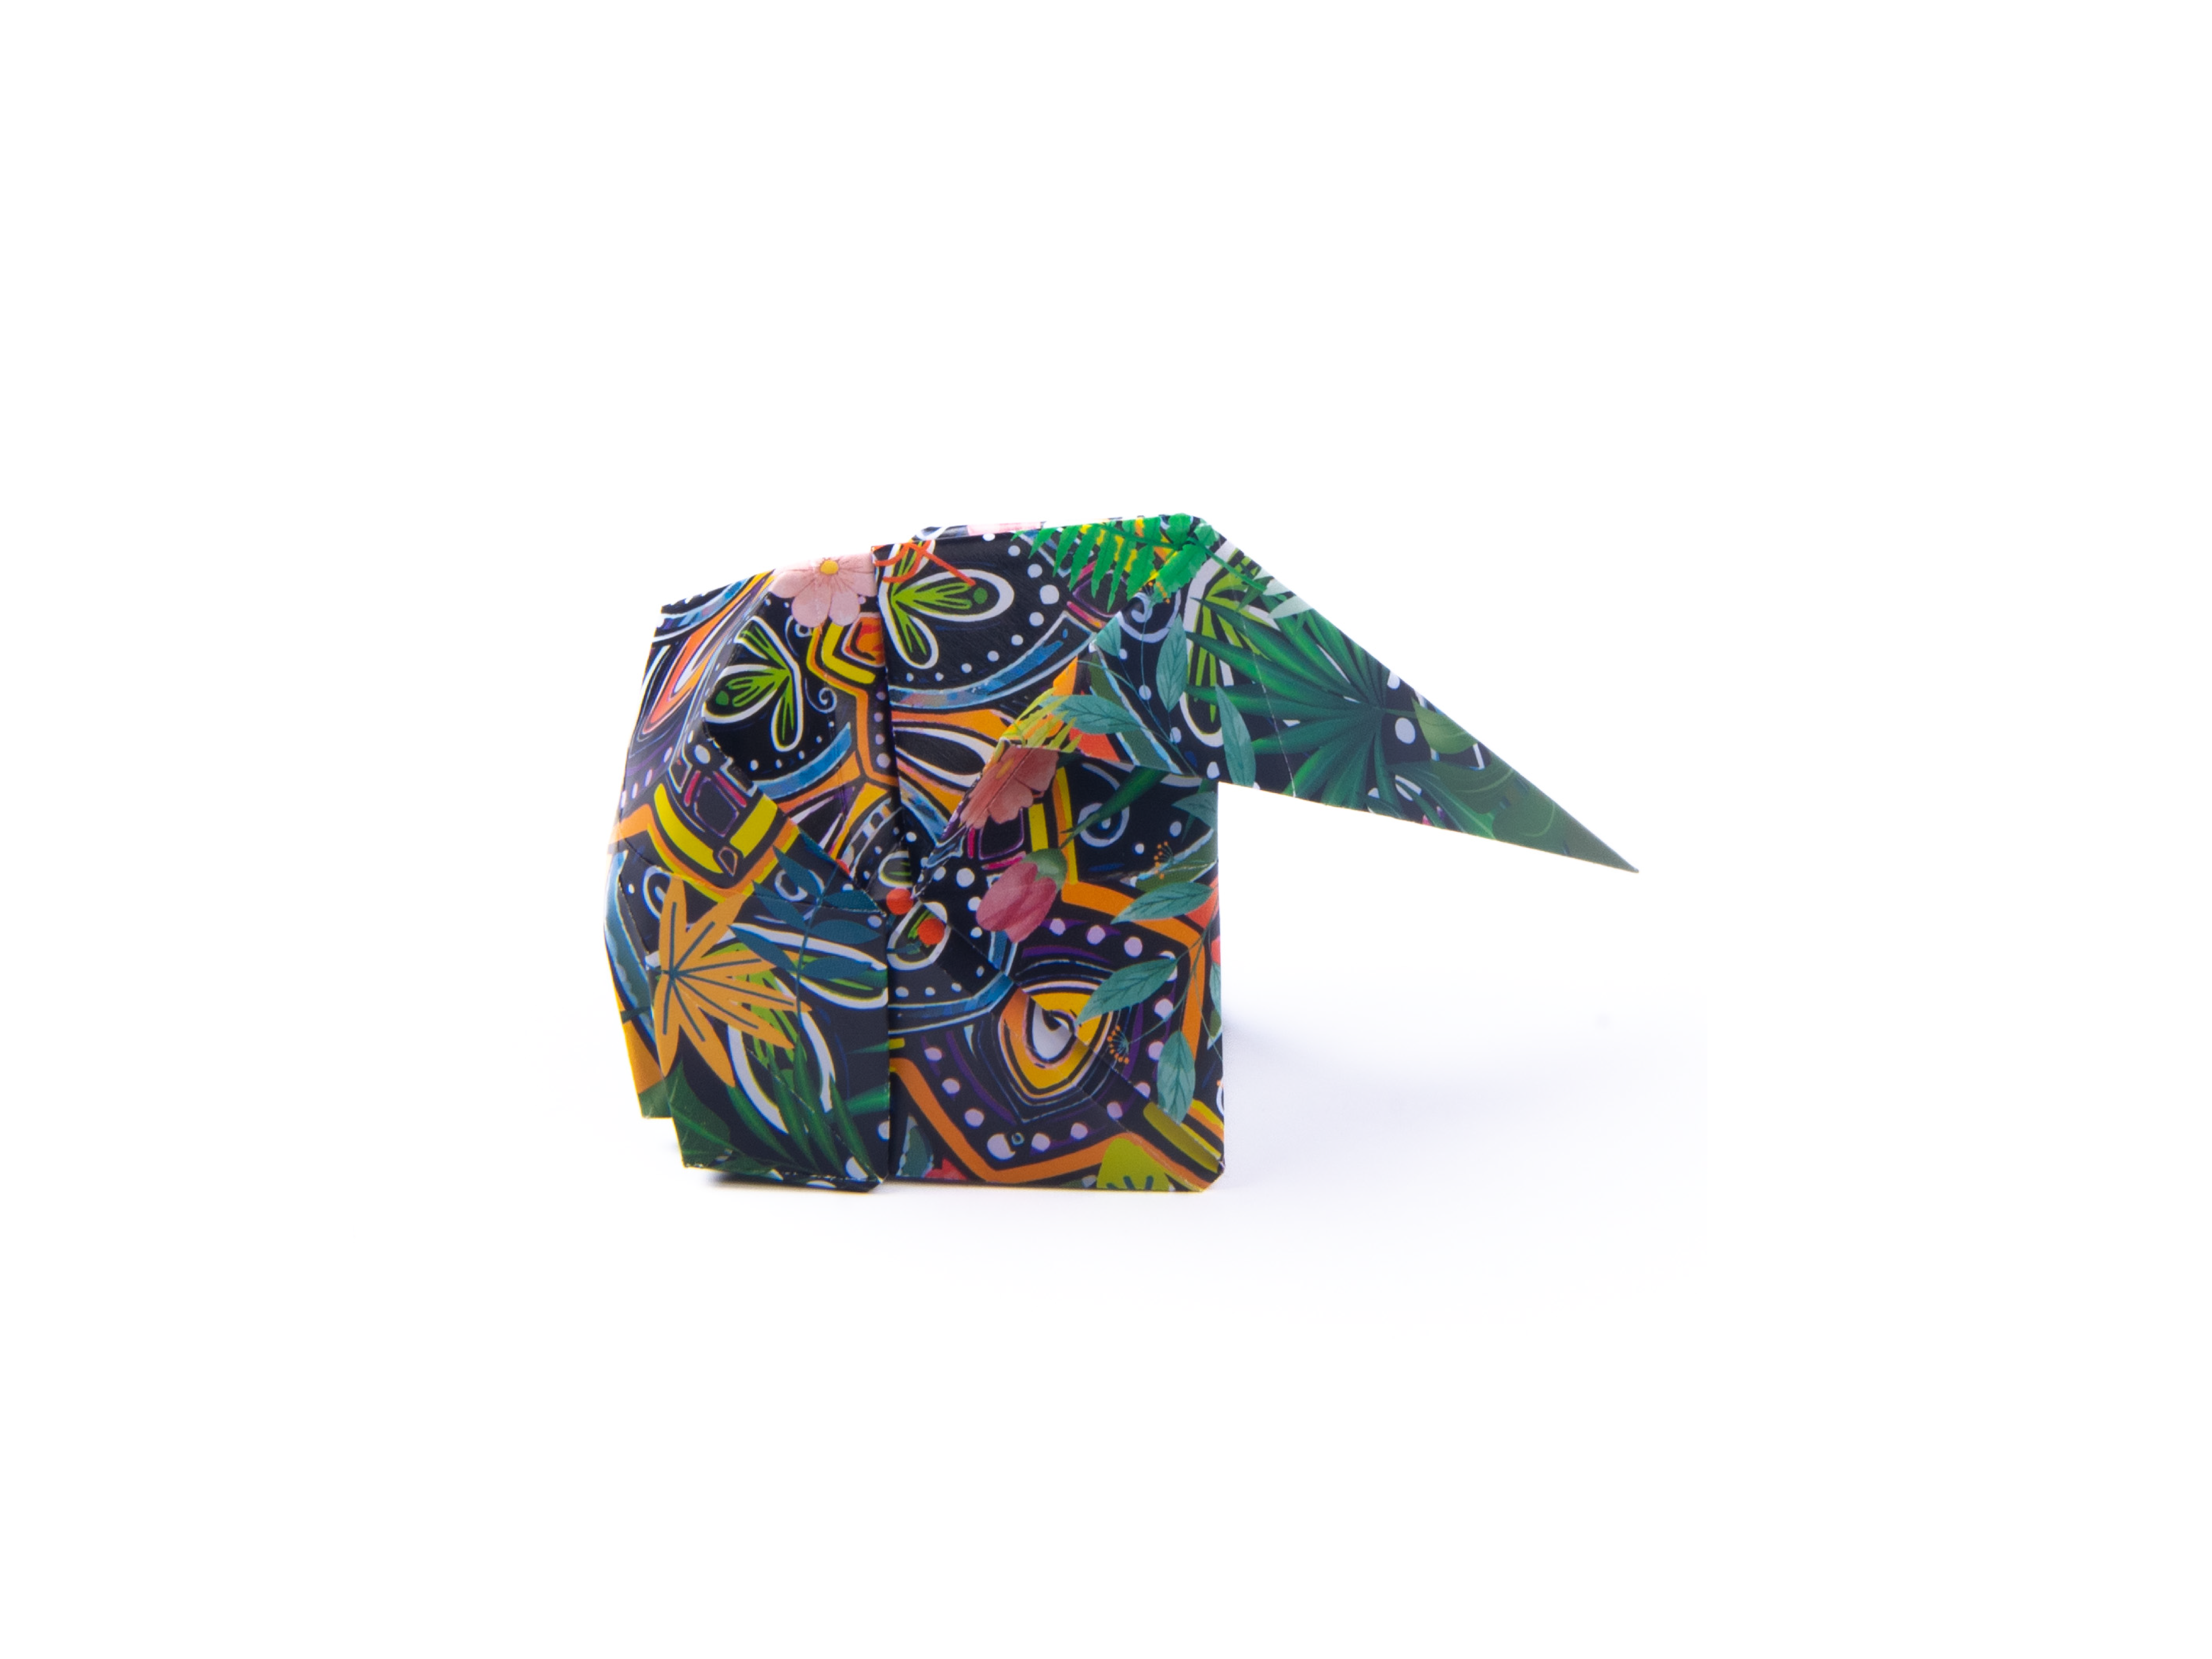
Your elephant's body is now formed! As an optional step, you can pinch in a small crease at the back to create its tail.
To finish the elephant, you must shape its trunk. Start by folding the triangle of the trunk towards you as shown. Crease well and unfold.
Pull out the flap that was under the tail-end of the elephant.
Holding the back legs you created in step 27 against the body, refold the flap you just pulled out inwards. This should lock the back legs in place.
Your elephant's body is now formed! As an optional step, you can pinch in a small crease at the back to create its tail.
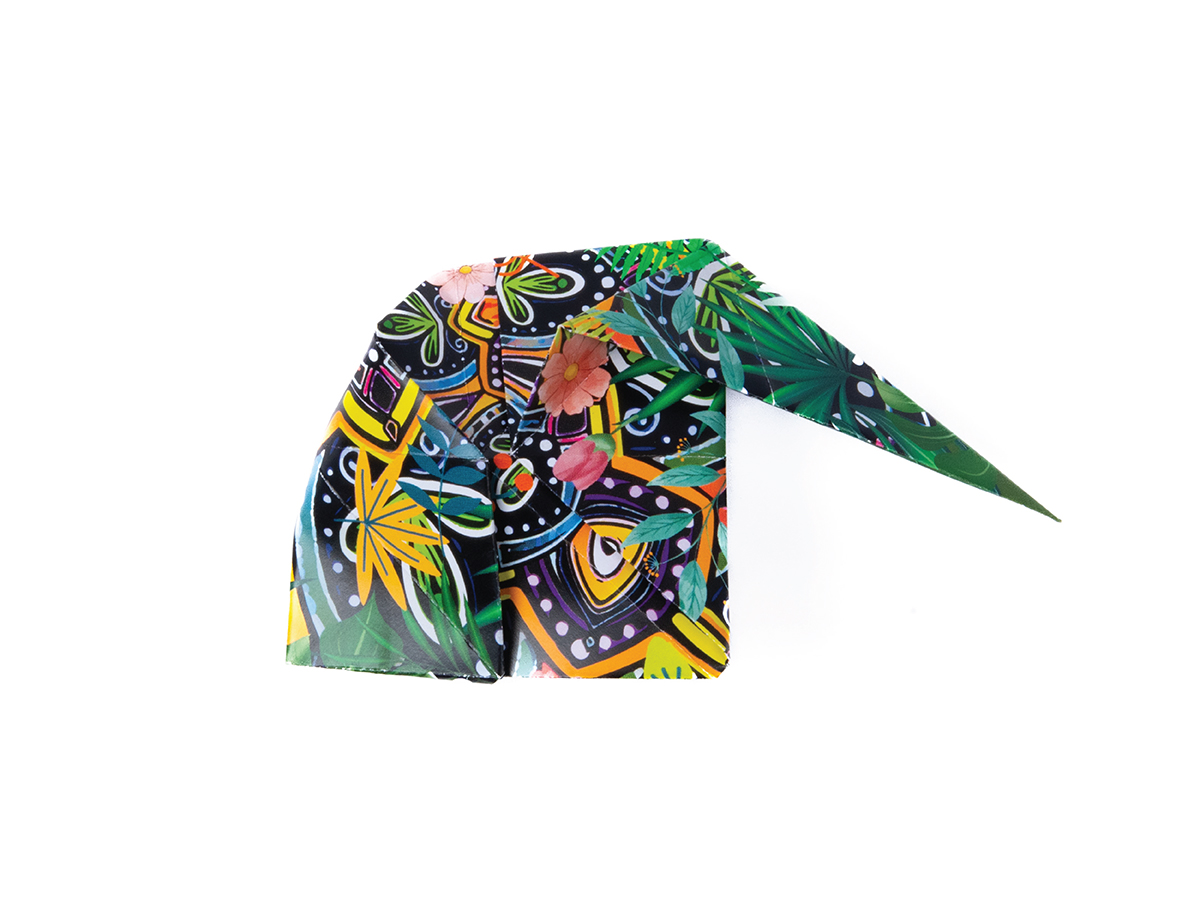
To finish the elephant, you must shape its trunk. Start by folding the triangle of the trunk towards you as shown. Crease well and unfold.
Open out the trunk slightly, and refold the creases you just created inwards (as shown here from above).

Your elephant should now look like this.
You can now repeat steps 32 and 33 lower down to create a second bend in the trunk, then your elephant is complete!
Open out the trunk slightly, and refold the creases you just created inwards (as shown here from above).
Your elephant should now look like this.
You can now repeat steps 32 and 33 lower down to create a second bend in the trunk, then your elephant is complete!

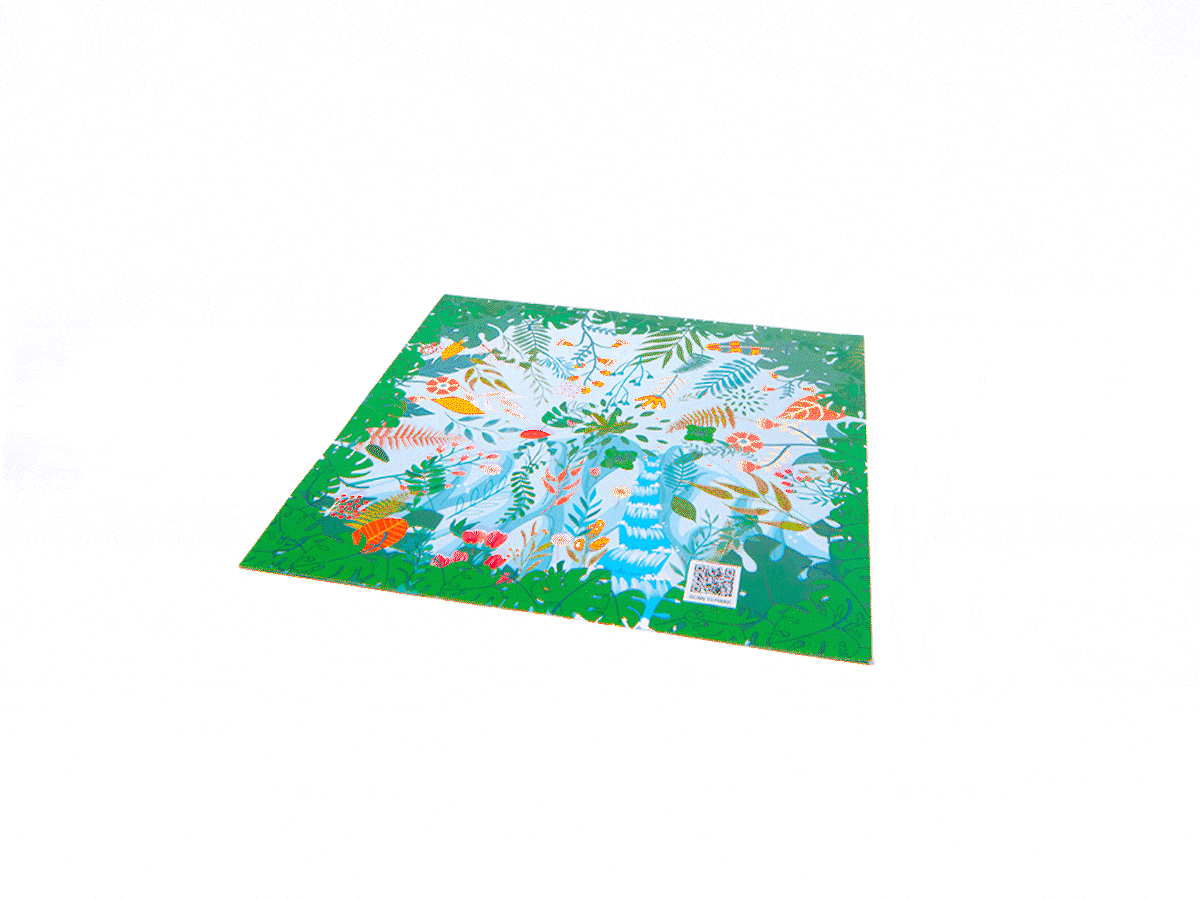
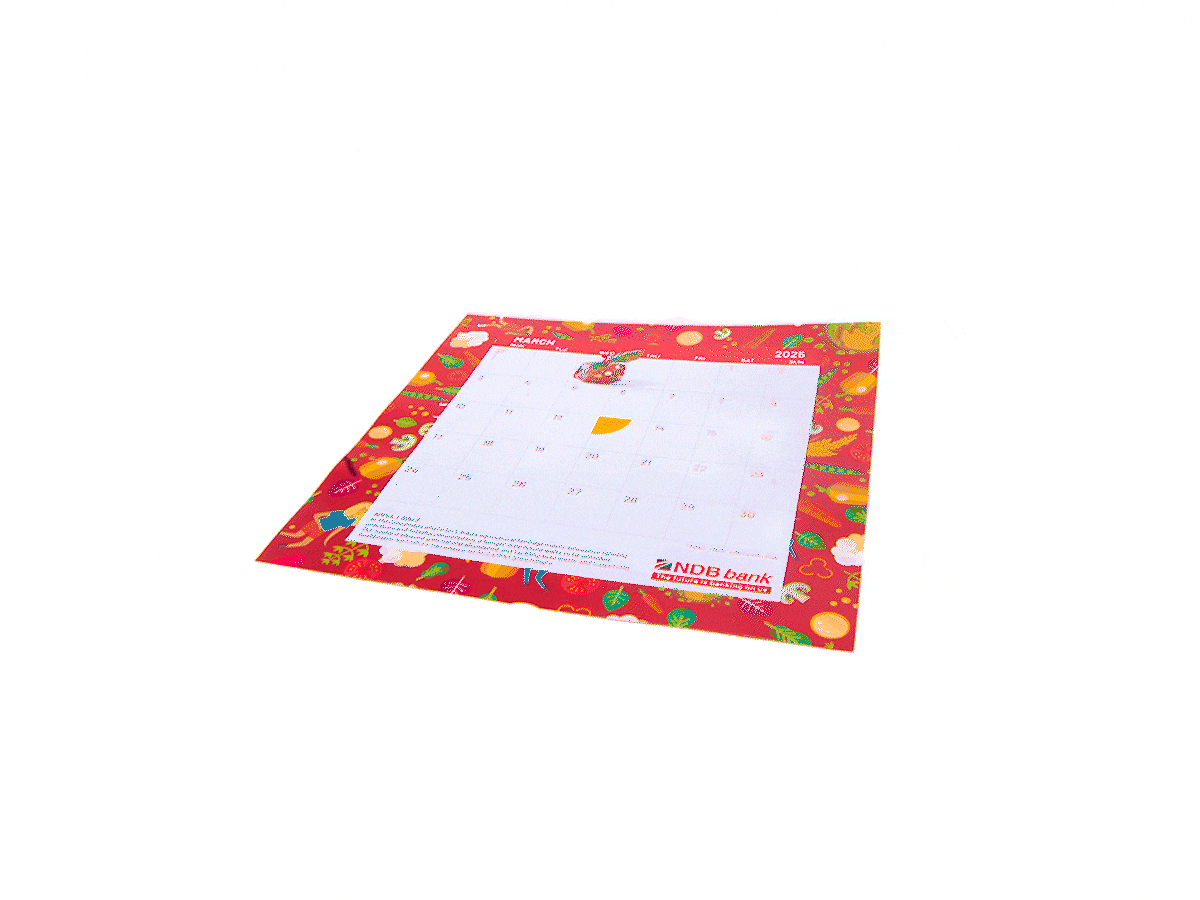
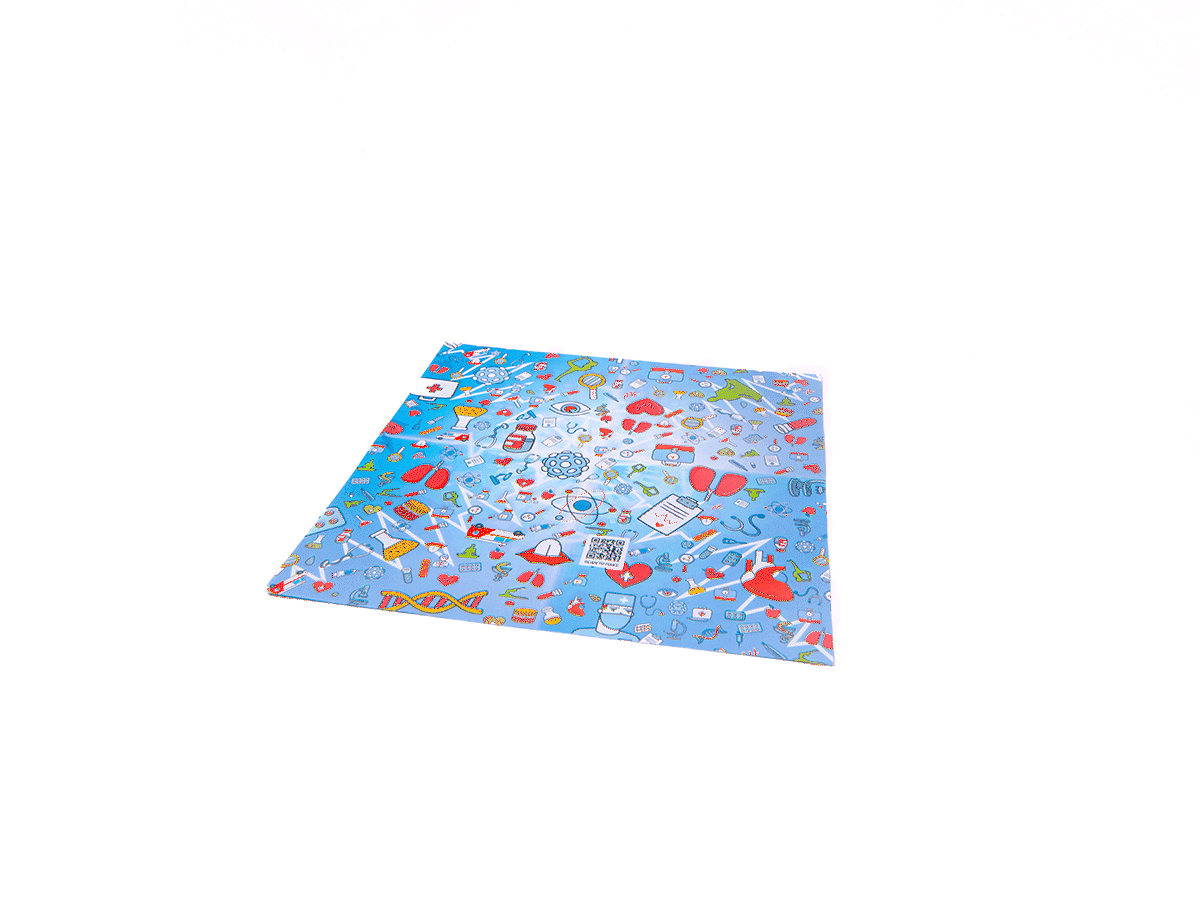
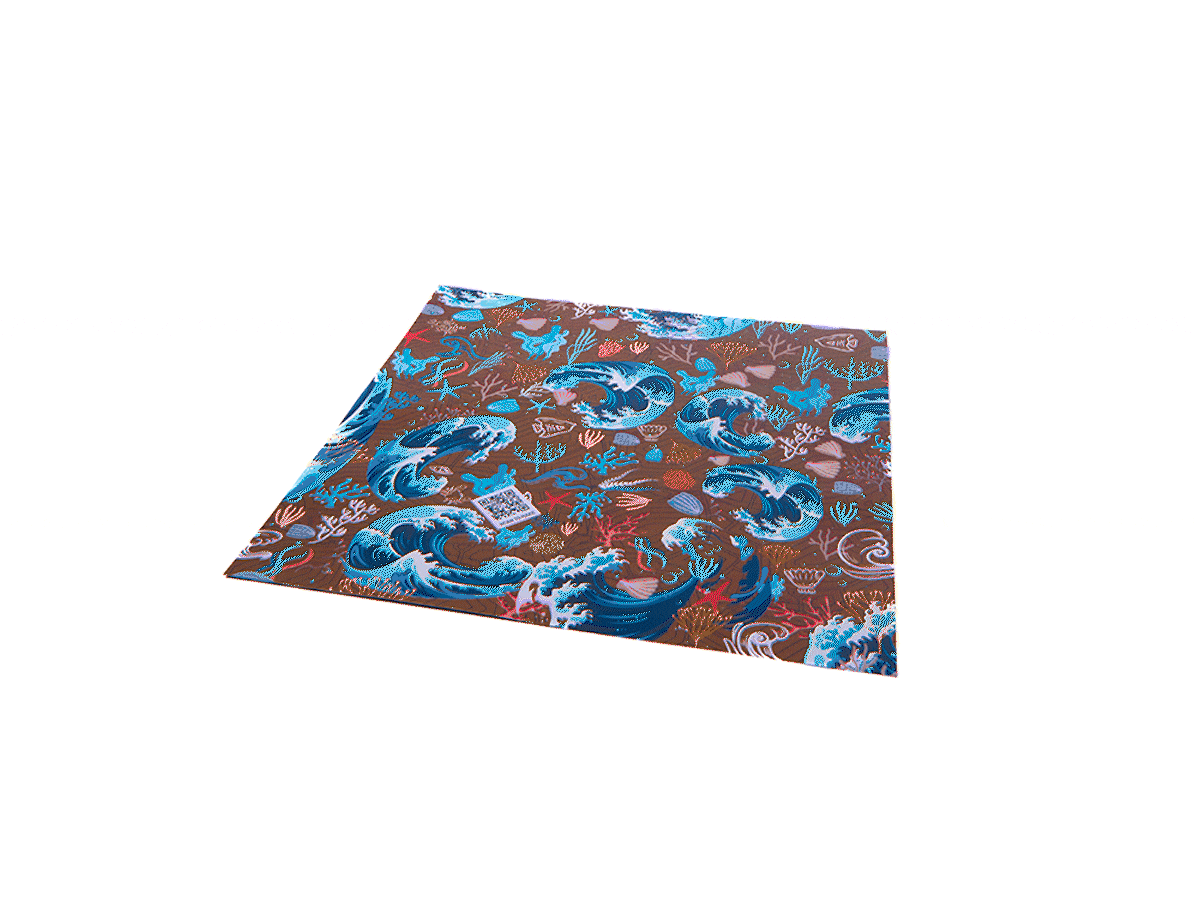
Other Origamies
Explore an exceptional range of origami artworks, where tradition meets innovation. Each piece is thoughtfully crafted, highlighting the artistry and precision of paper folding. From timeless classics to modern interpretations, our collection offers a unique insight into the versatility and beauty of origami.
©2024 National Development Bank PLC, All Rights Reserved
Design & developed by Ogilvy Martech.