Phone Number
Email Us Here
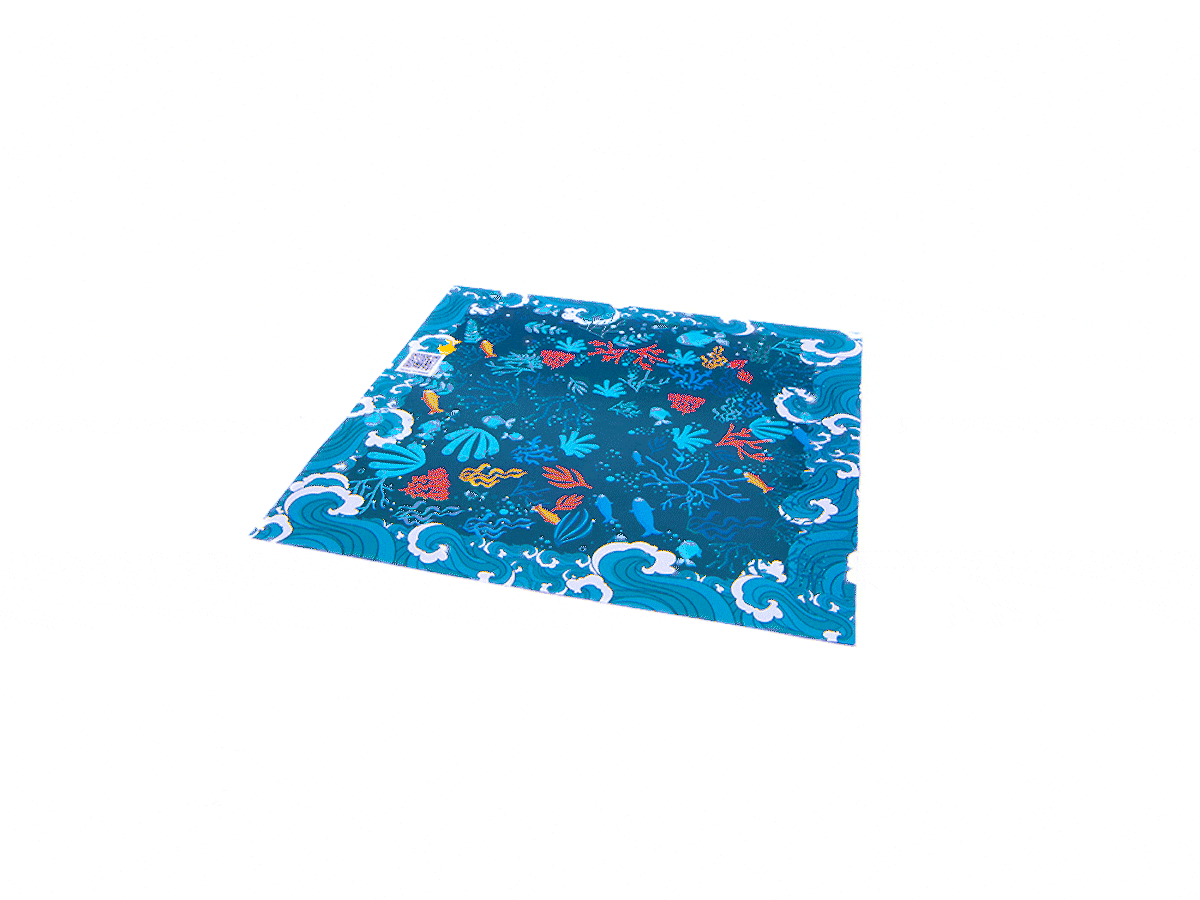
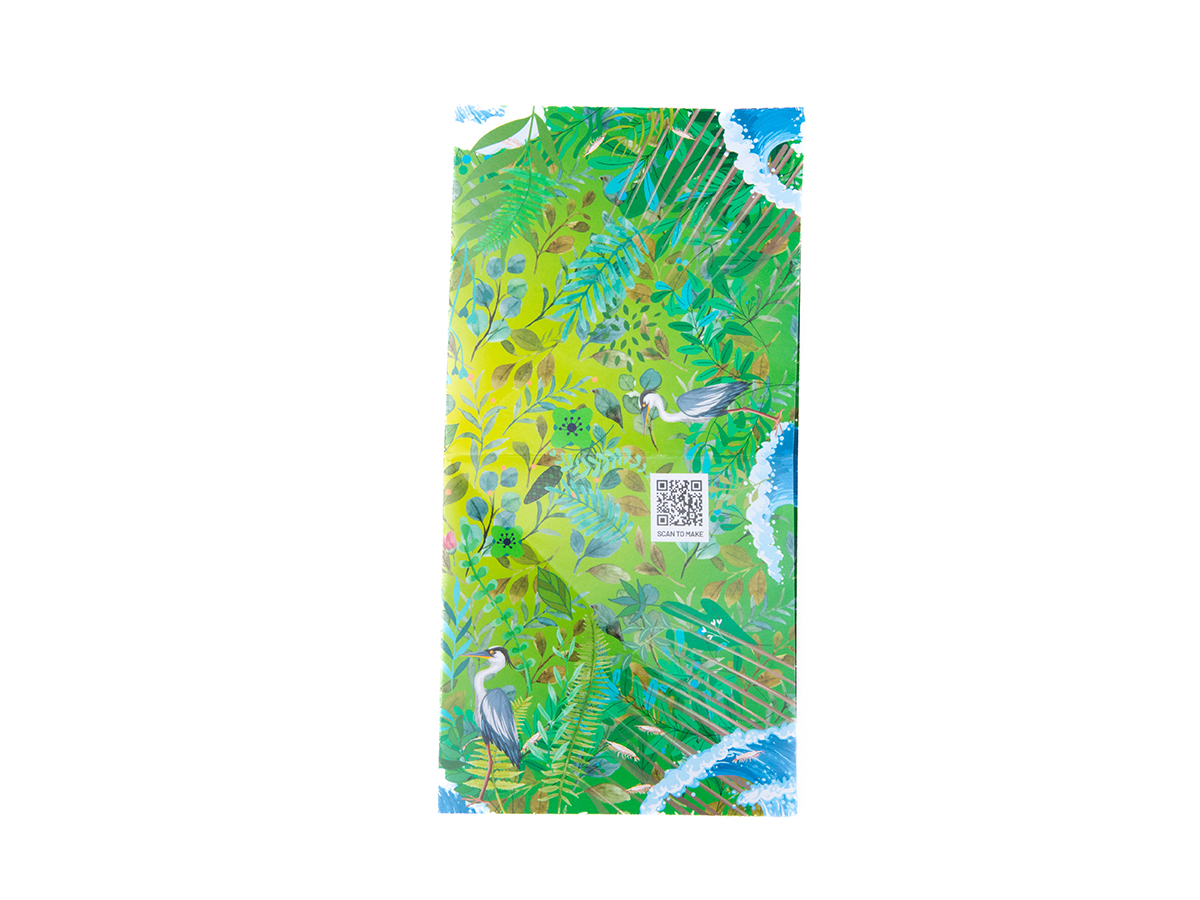
Fold to Unfold a Sustainable Future
Phone Number
Email Us Here

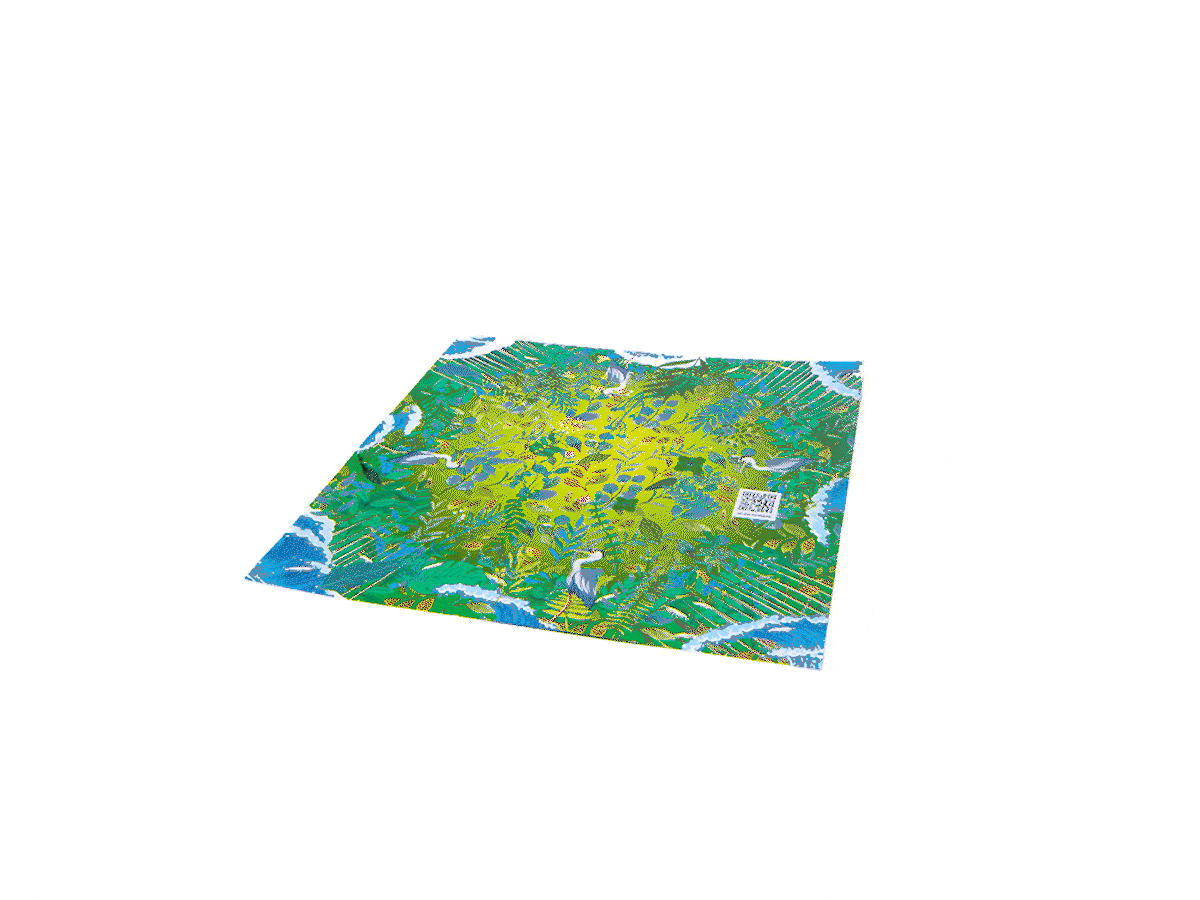
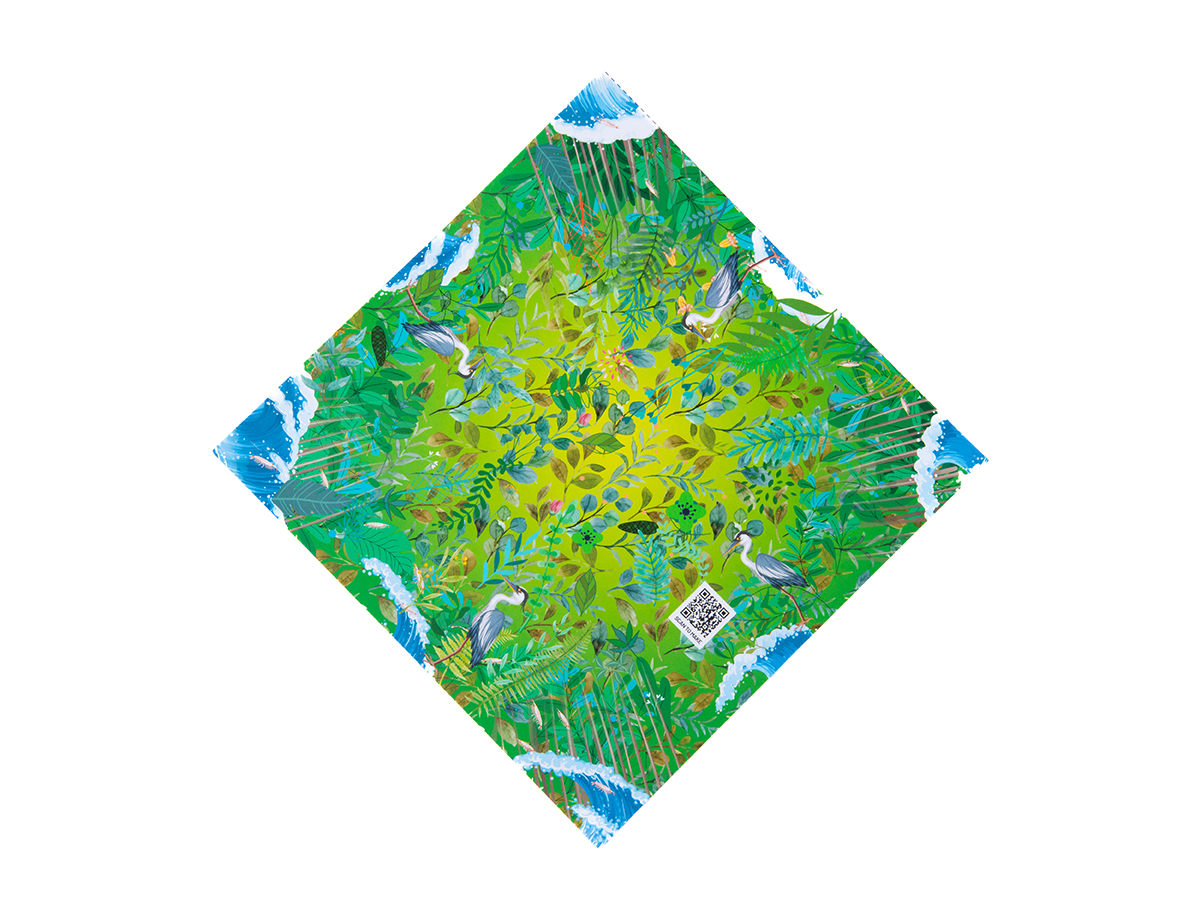
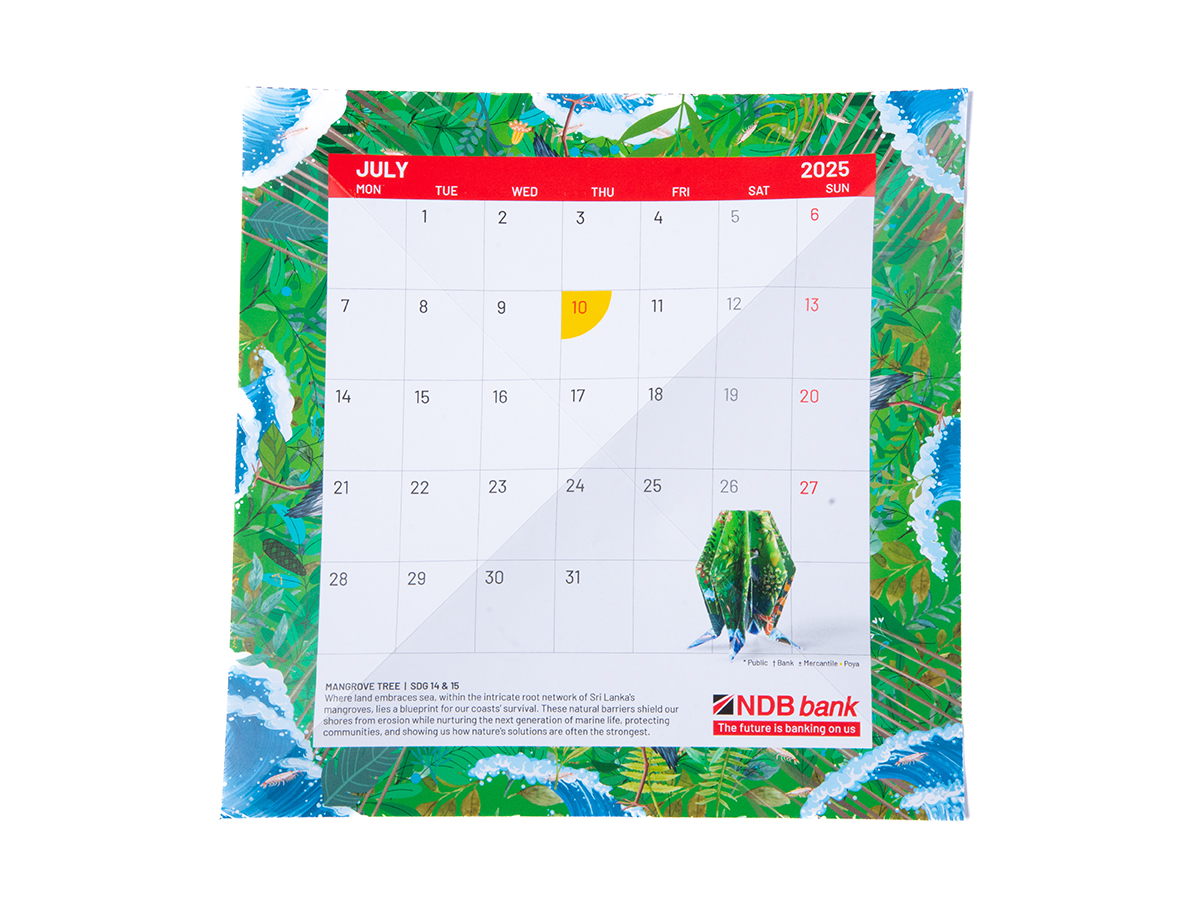
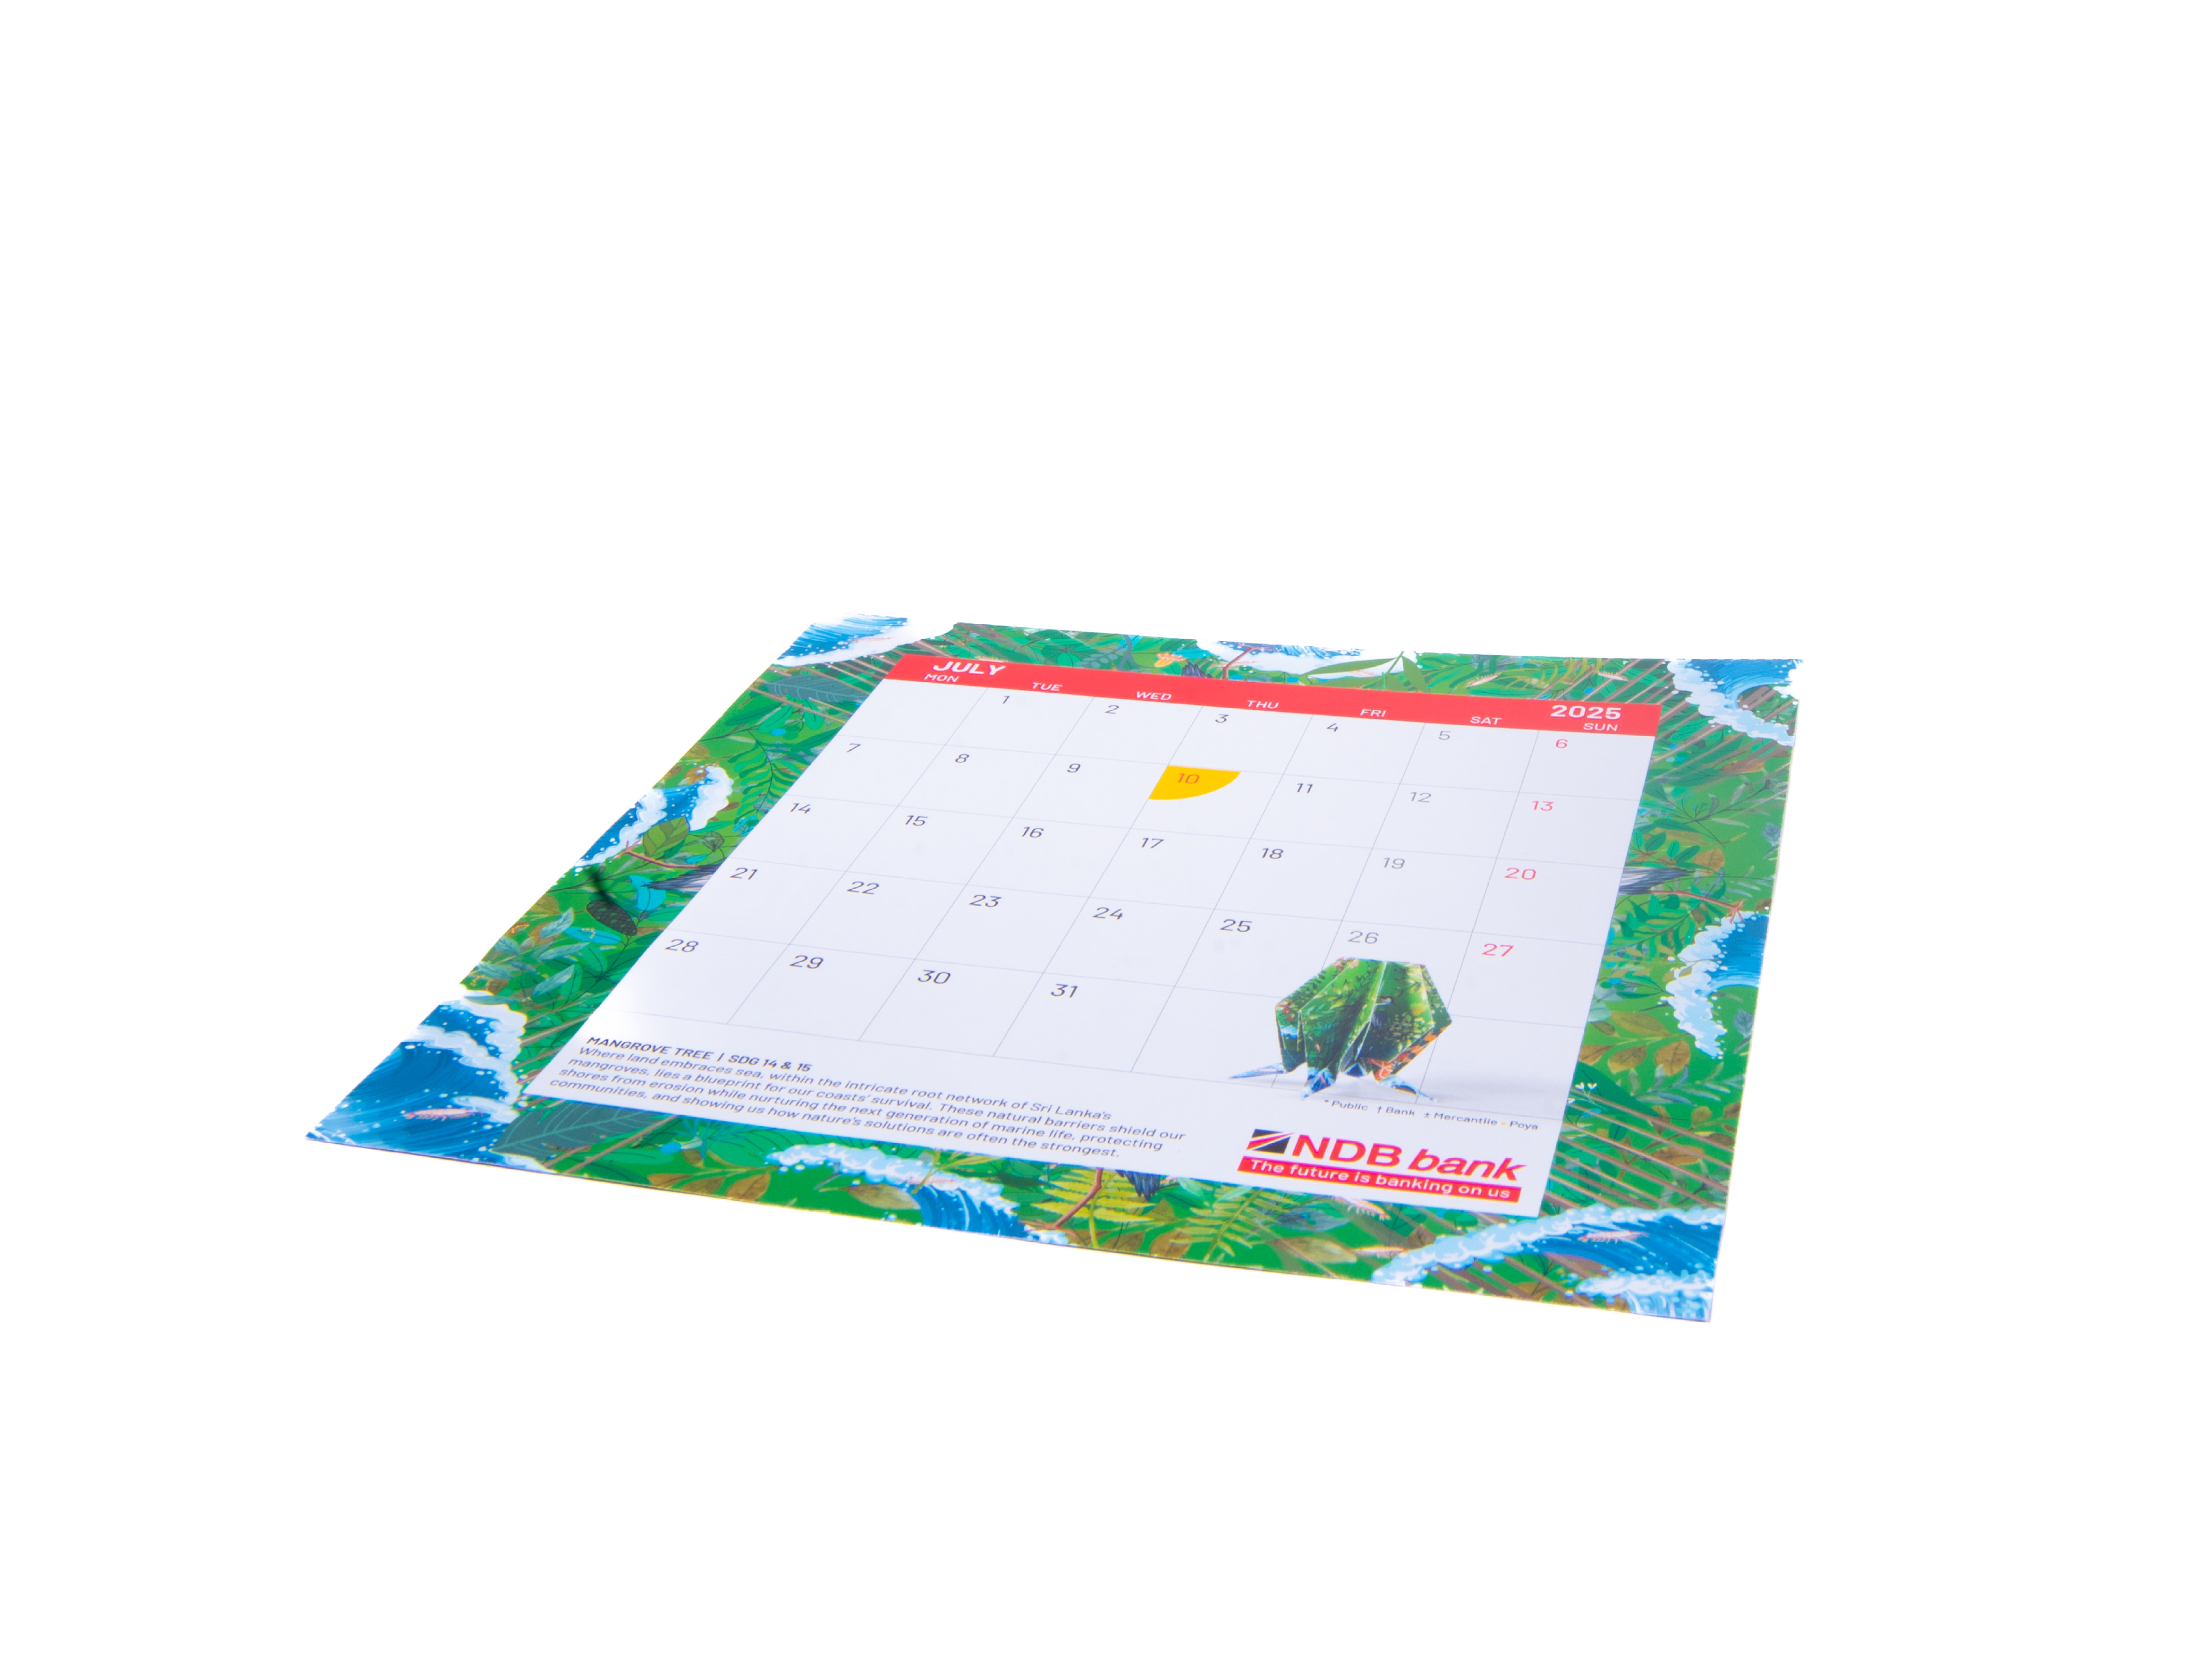
Where land embraces sea, within the intricate root network of Sri Lanka's mangroves, lies a blueprint for our coasts' survival. These natural barriers shield our shores from erosion while nurturing the next generation of marine life, protecting communities, and showing us how nature's solutions are often the strongest.

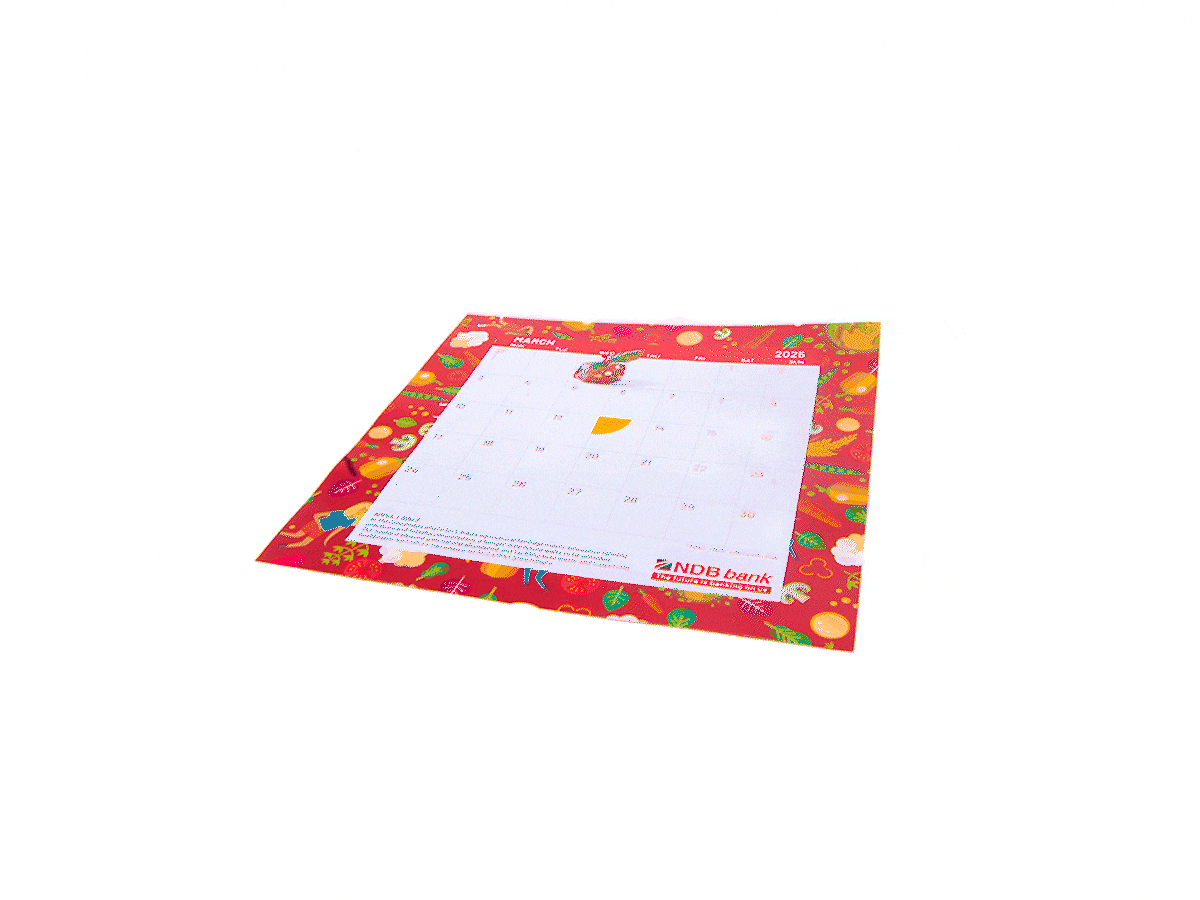
Place the July origami sheet diagonally in front of you on a flat surface.
Fold the bottom corner up to the top corner, crease and unfold.
Fold the left corner over to the right corner, crease and unfold.
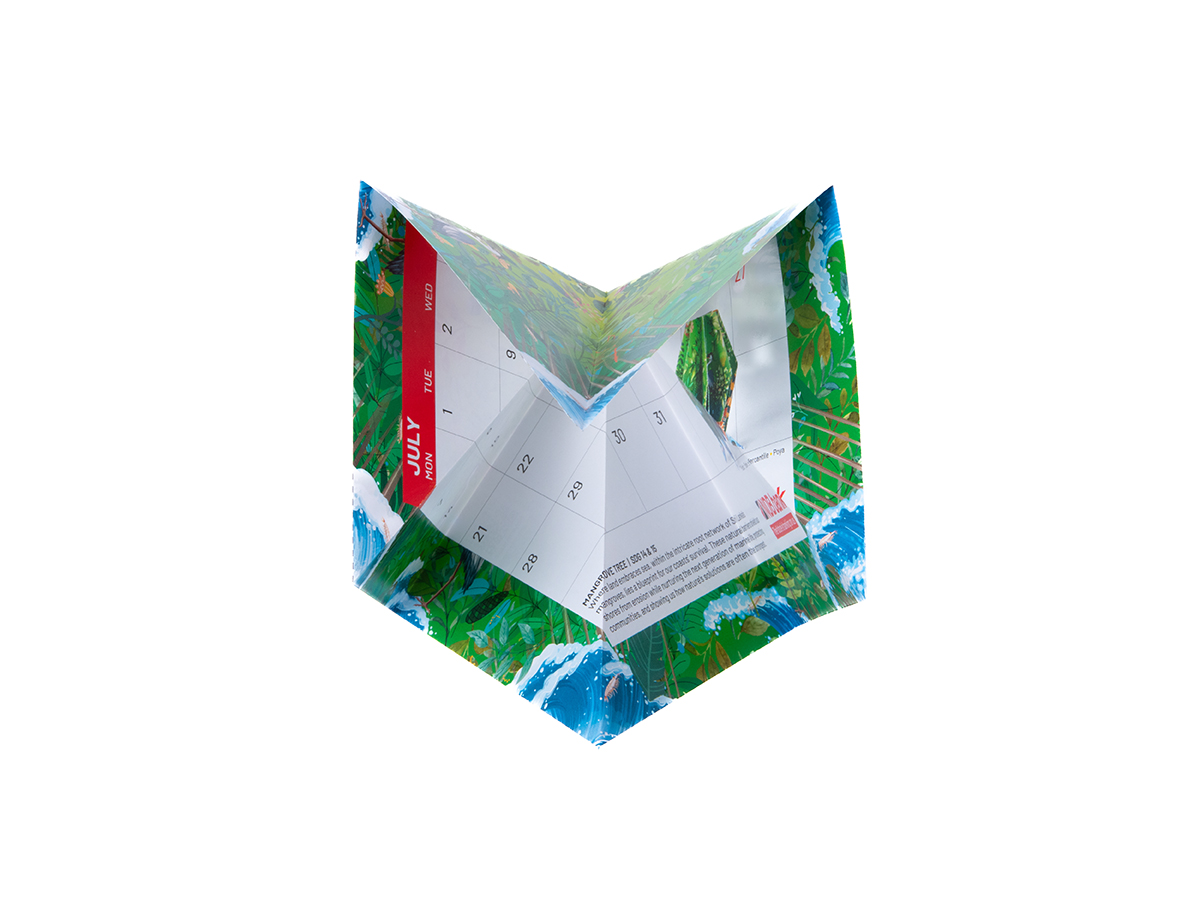
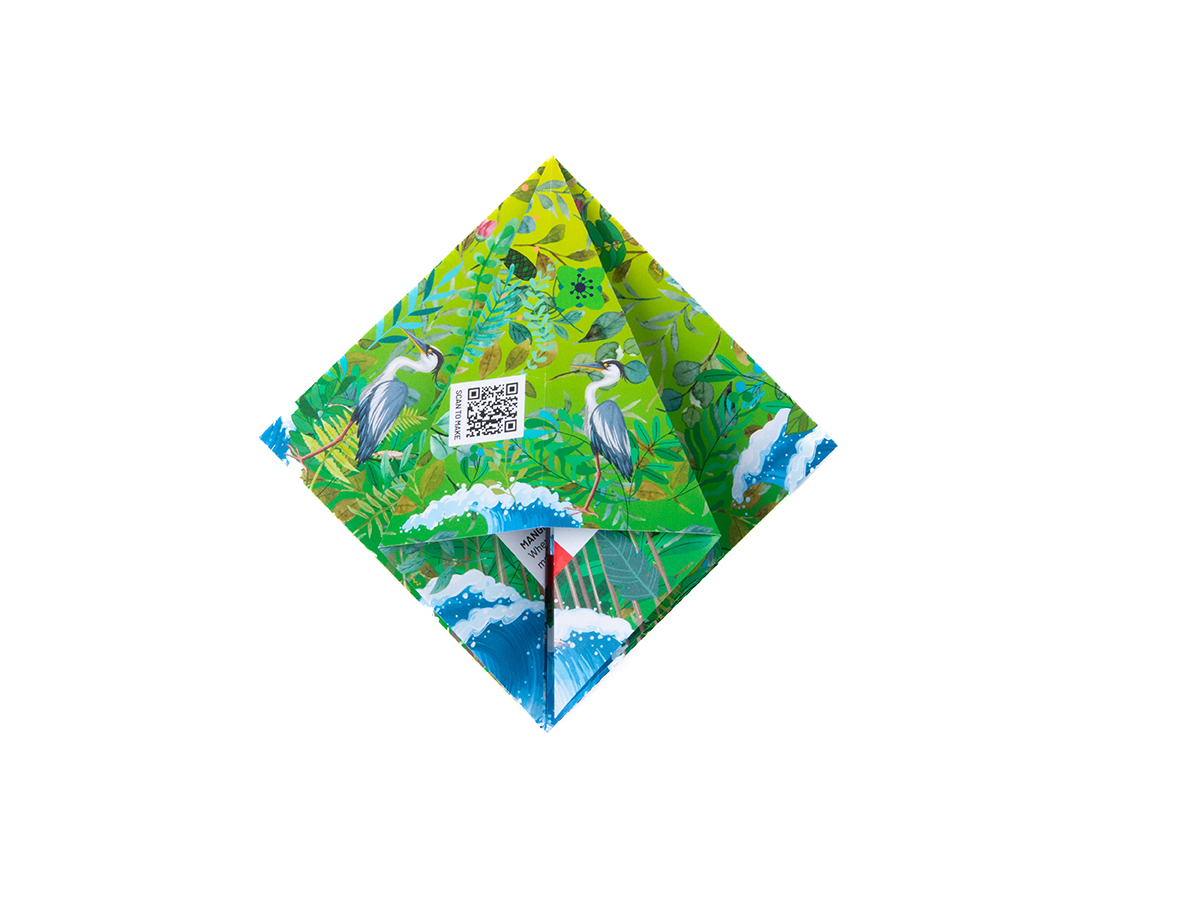
Turn the sheet over so the dated side is facing up, and straighten it.
Place the July origami sheet diagonally in front of you on a flat surface.
Fold the bottom corner up to the top corner, crease and unfold.
Fold the left corner over to the right corner, crease and unfold.
Turn the sheet over so the dated side is facing up, and straighten it.
Fold the top edge down to the bottom edge, crease and unfold.
Fold the left edge over to the right edge, crease and unfold.
Push the four corners of the sheet inwards.
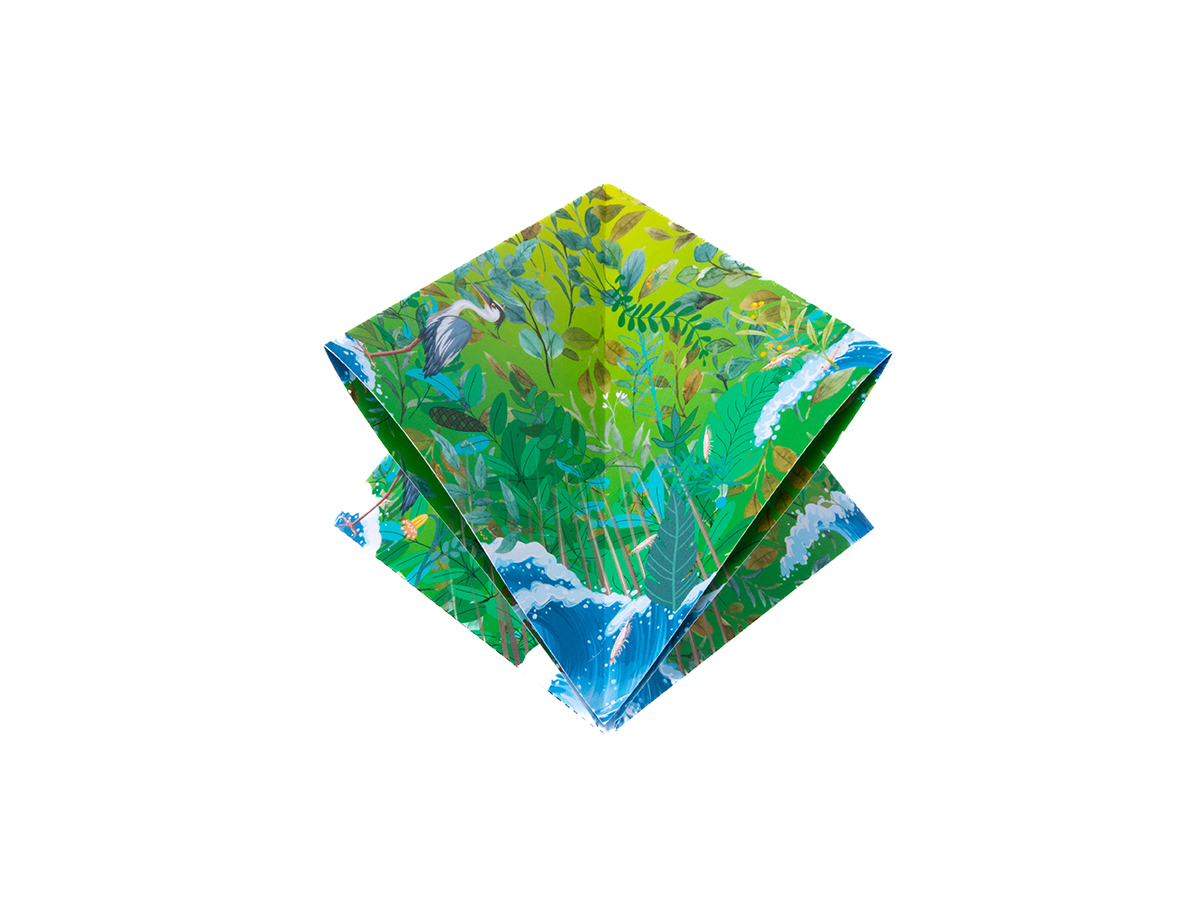
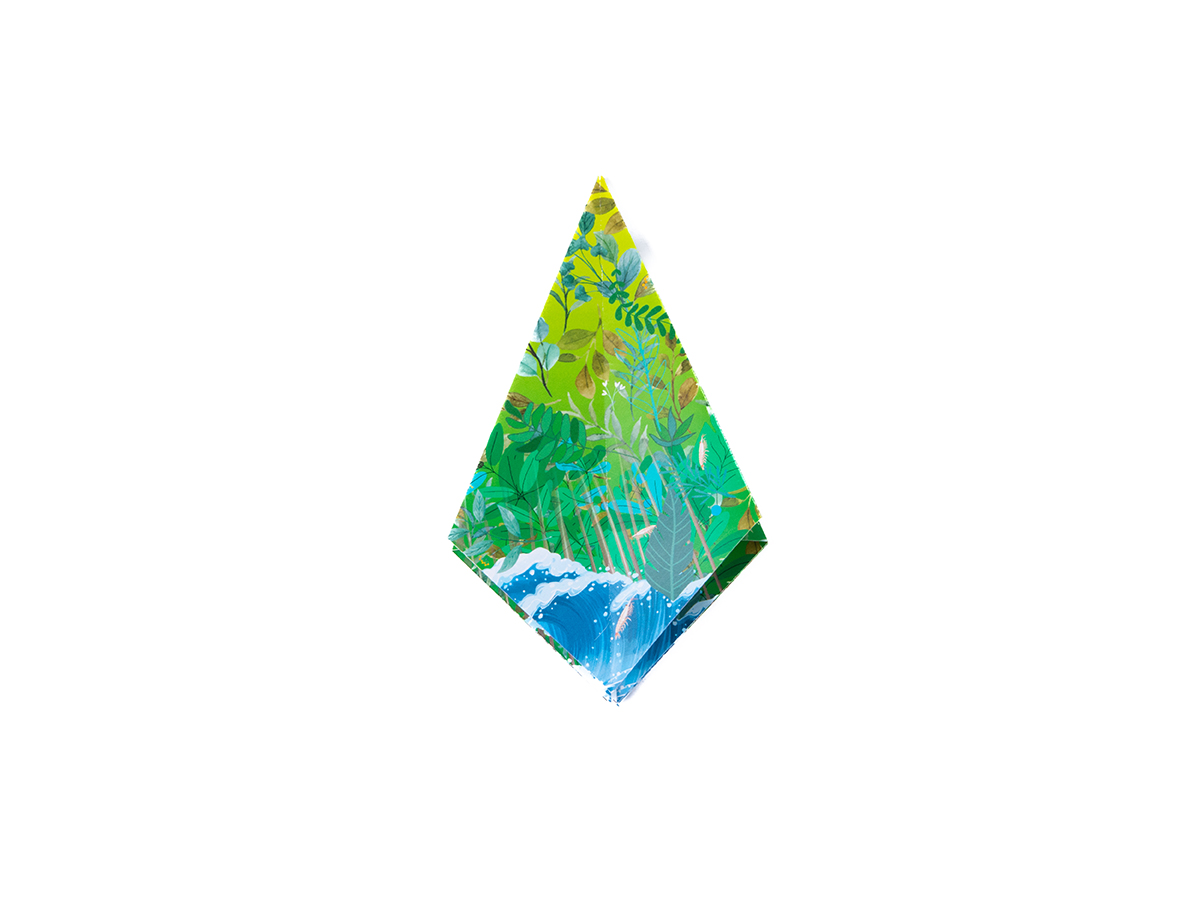
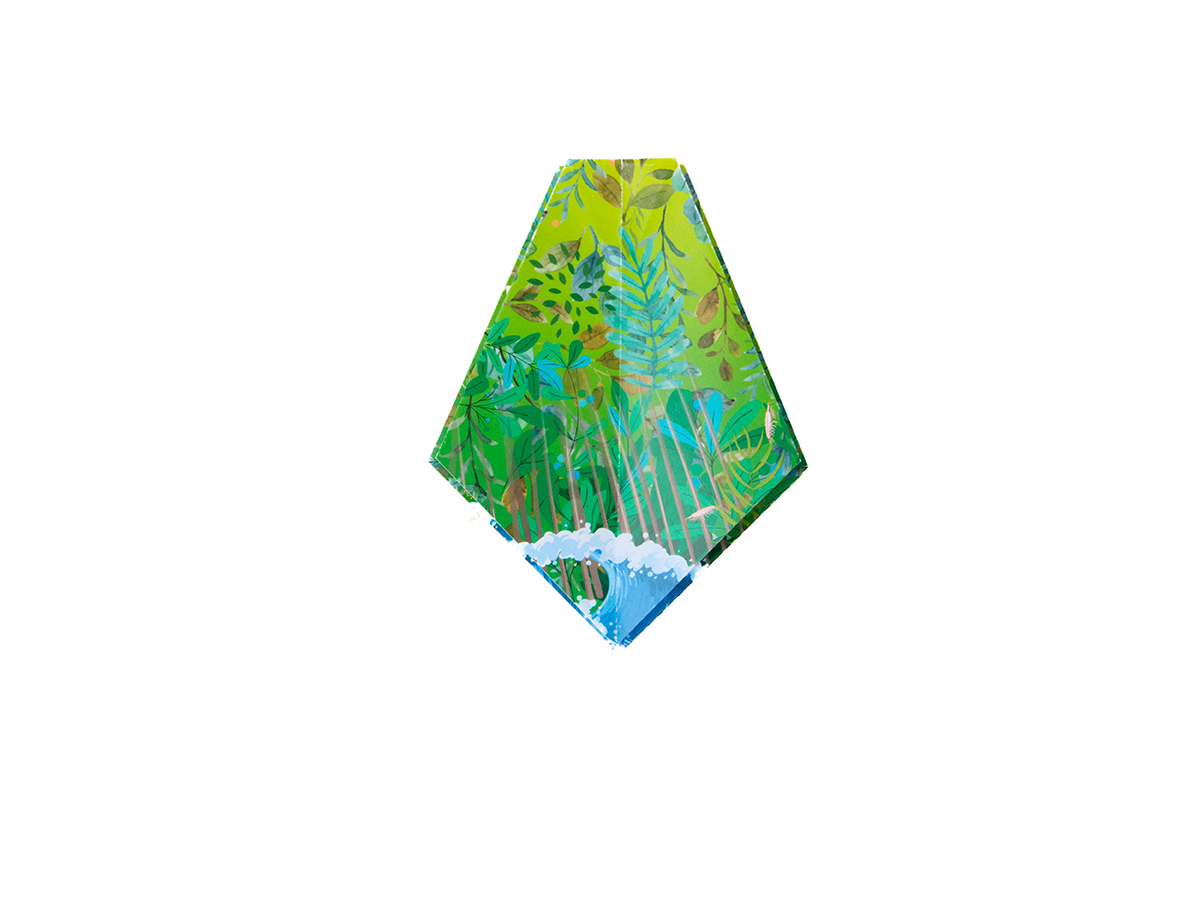
Your shape should now look like this.
Fold the top edge down to the bottom edge, crease and unfold.
Fold the left edge over to the right edge, crease and unfold.
Push the four corners of the sheet inwards.
Your shape should now look like this.

Open one of the flaps and press down, bringing the centre creases together. Crease well.
Repeat on each flap, folding them over to flatten as you work your way around the shape.
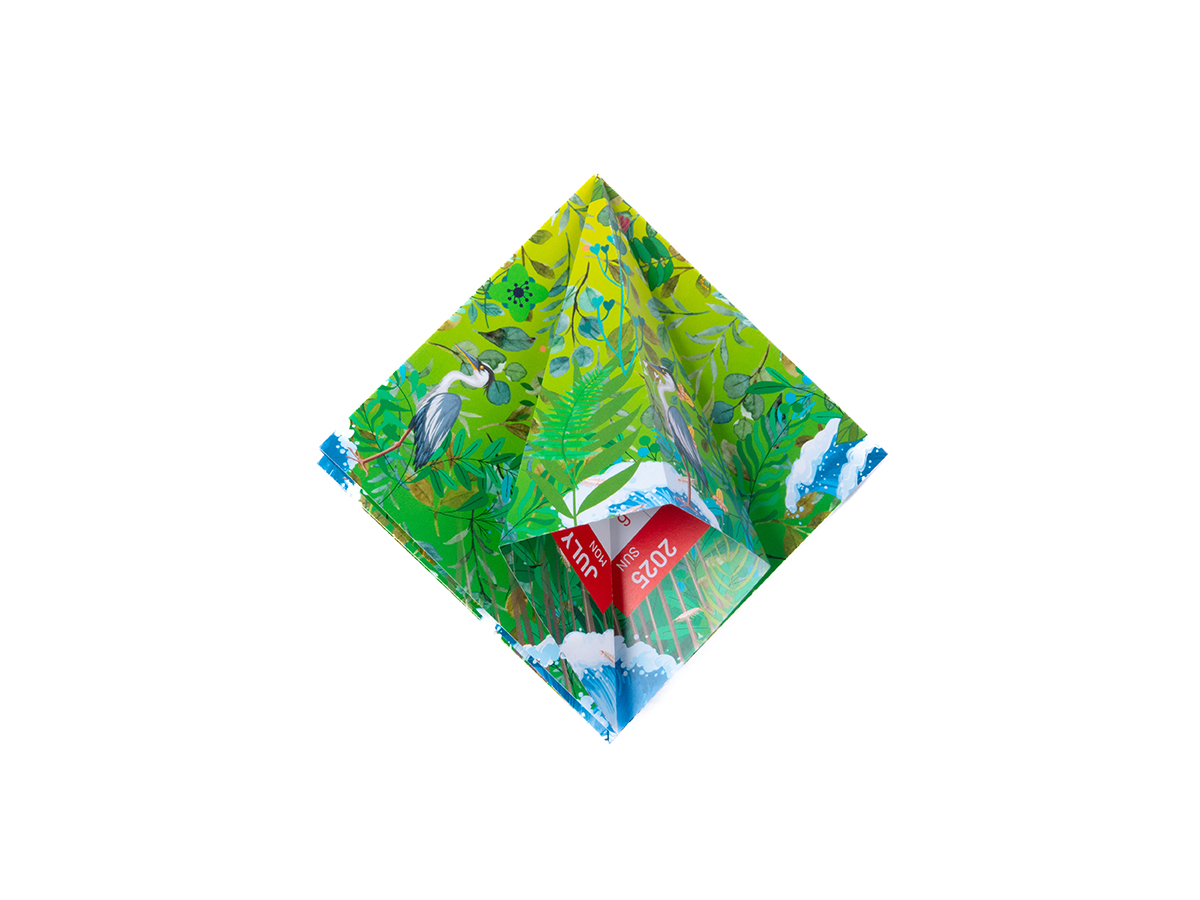
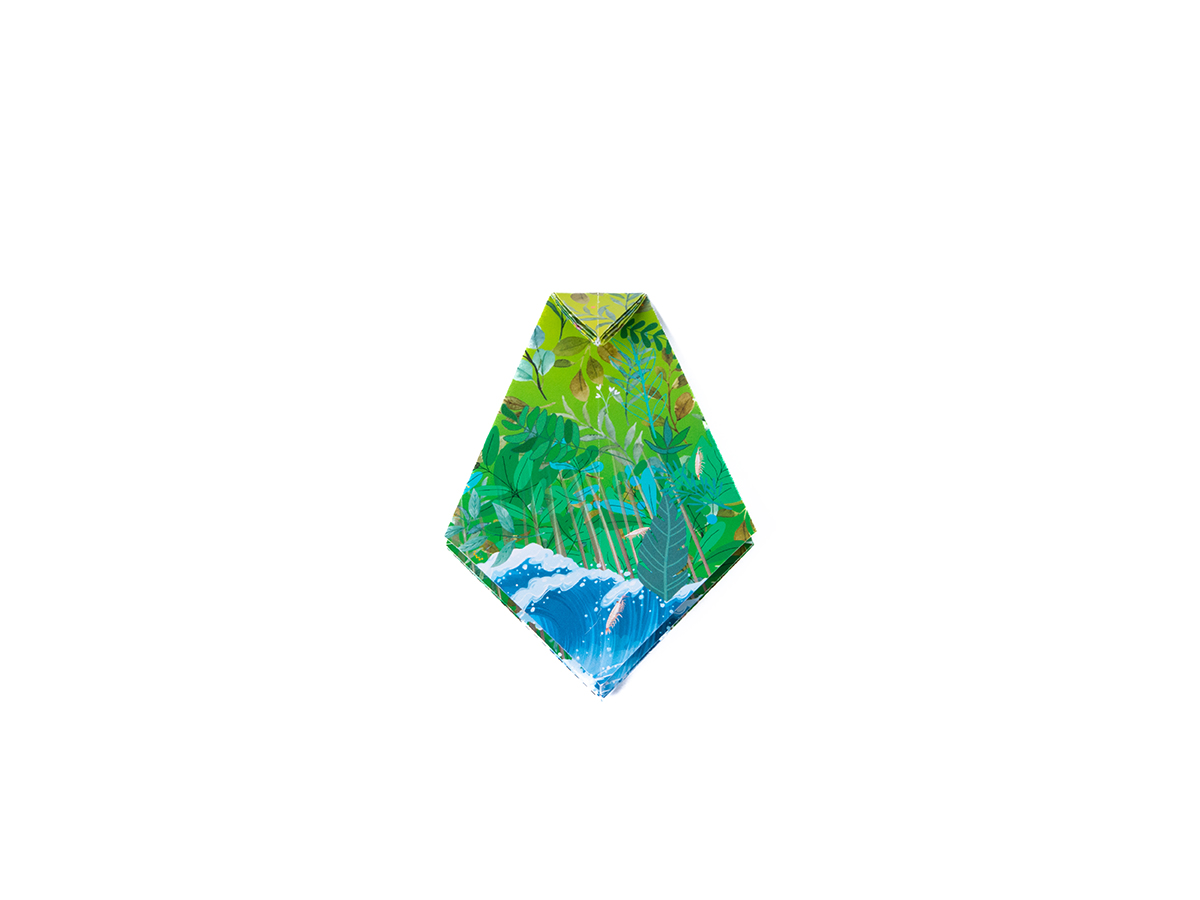
When you've done all 4 side, your shape should look like this.
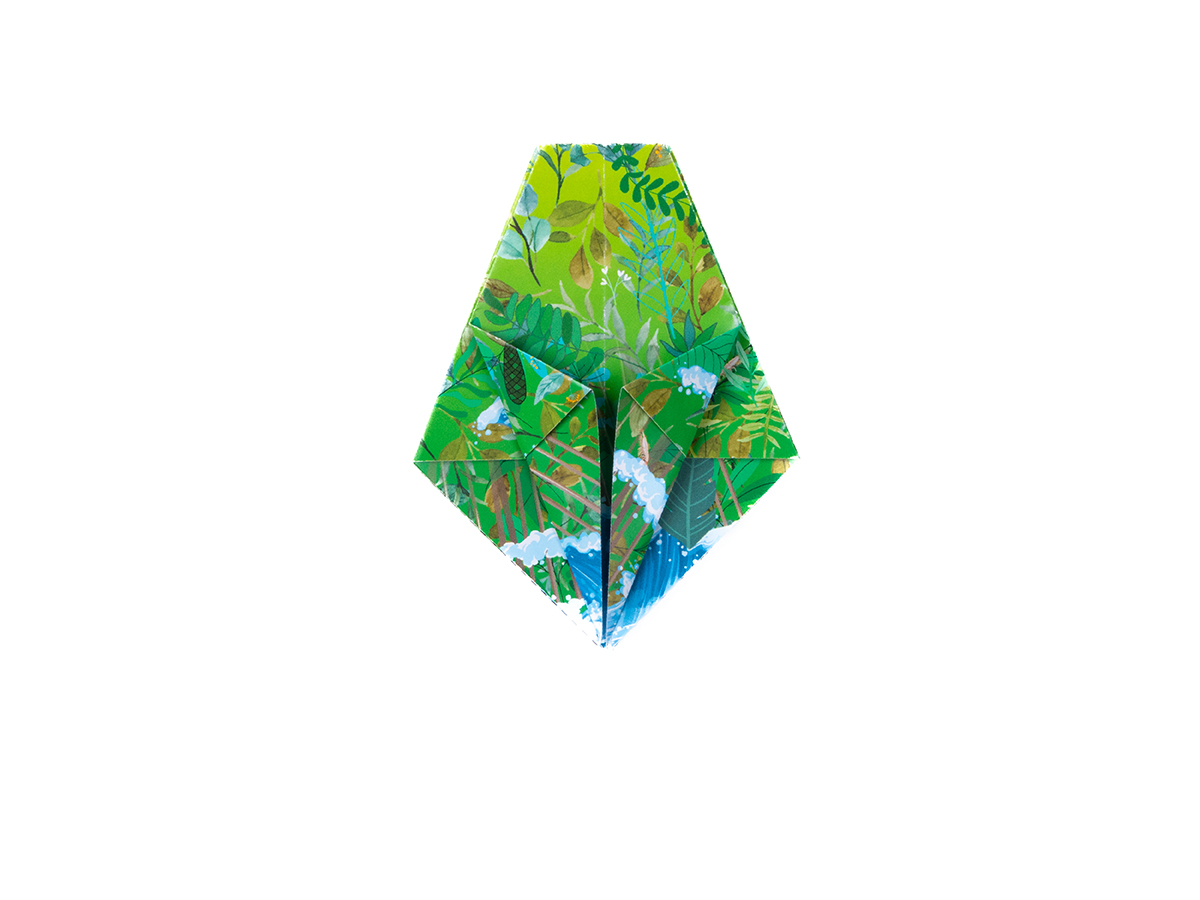
Fold a segment of the top point down as shown. This may feel difficult as there are many layers of paper, but crease it as best as you can, and unfold.
Open one of the flaps and press down, bringing the centre creases together. Crease well.
Repeat on each flap, folding them over to flatten as you work your way around the shape.
When you've done all 4 side, your shape should look like this.
Fold a segment of the top point down as shown. This may feel difficult as there are many layers of paper, but crease it as best as you can, and unfold.
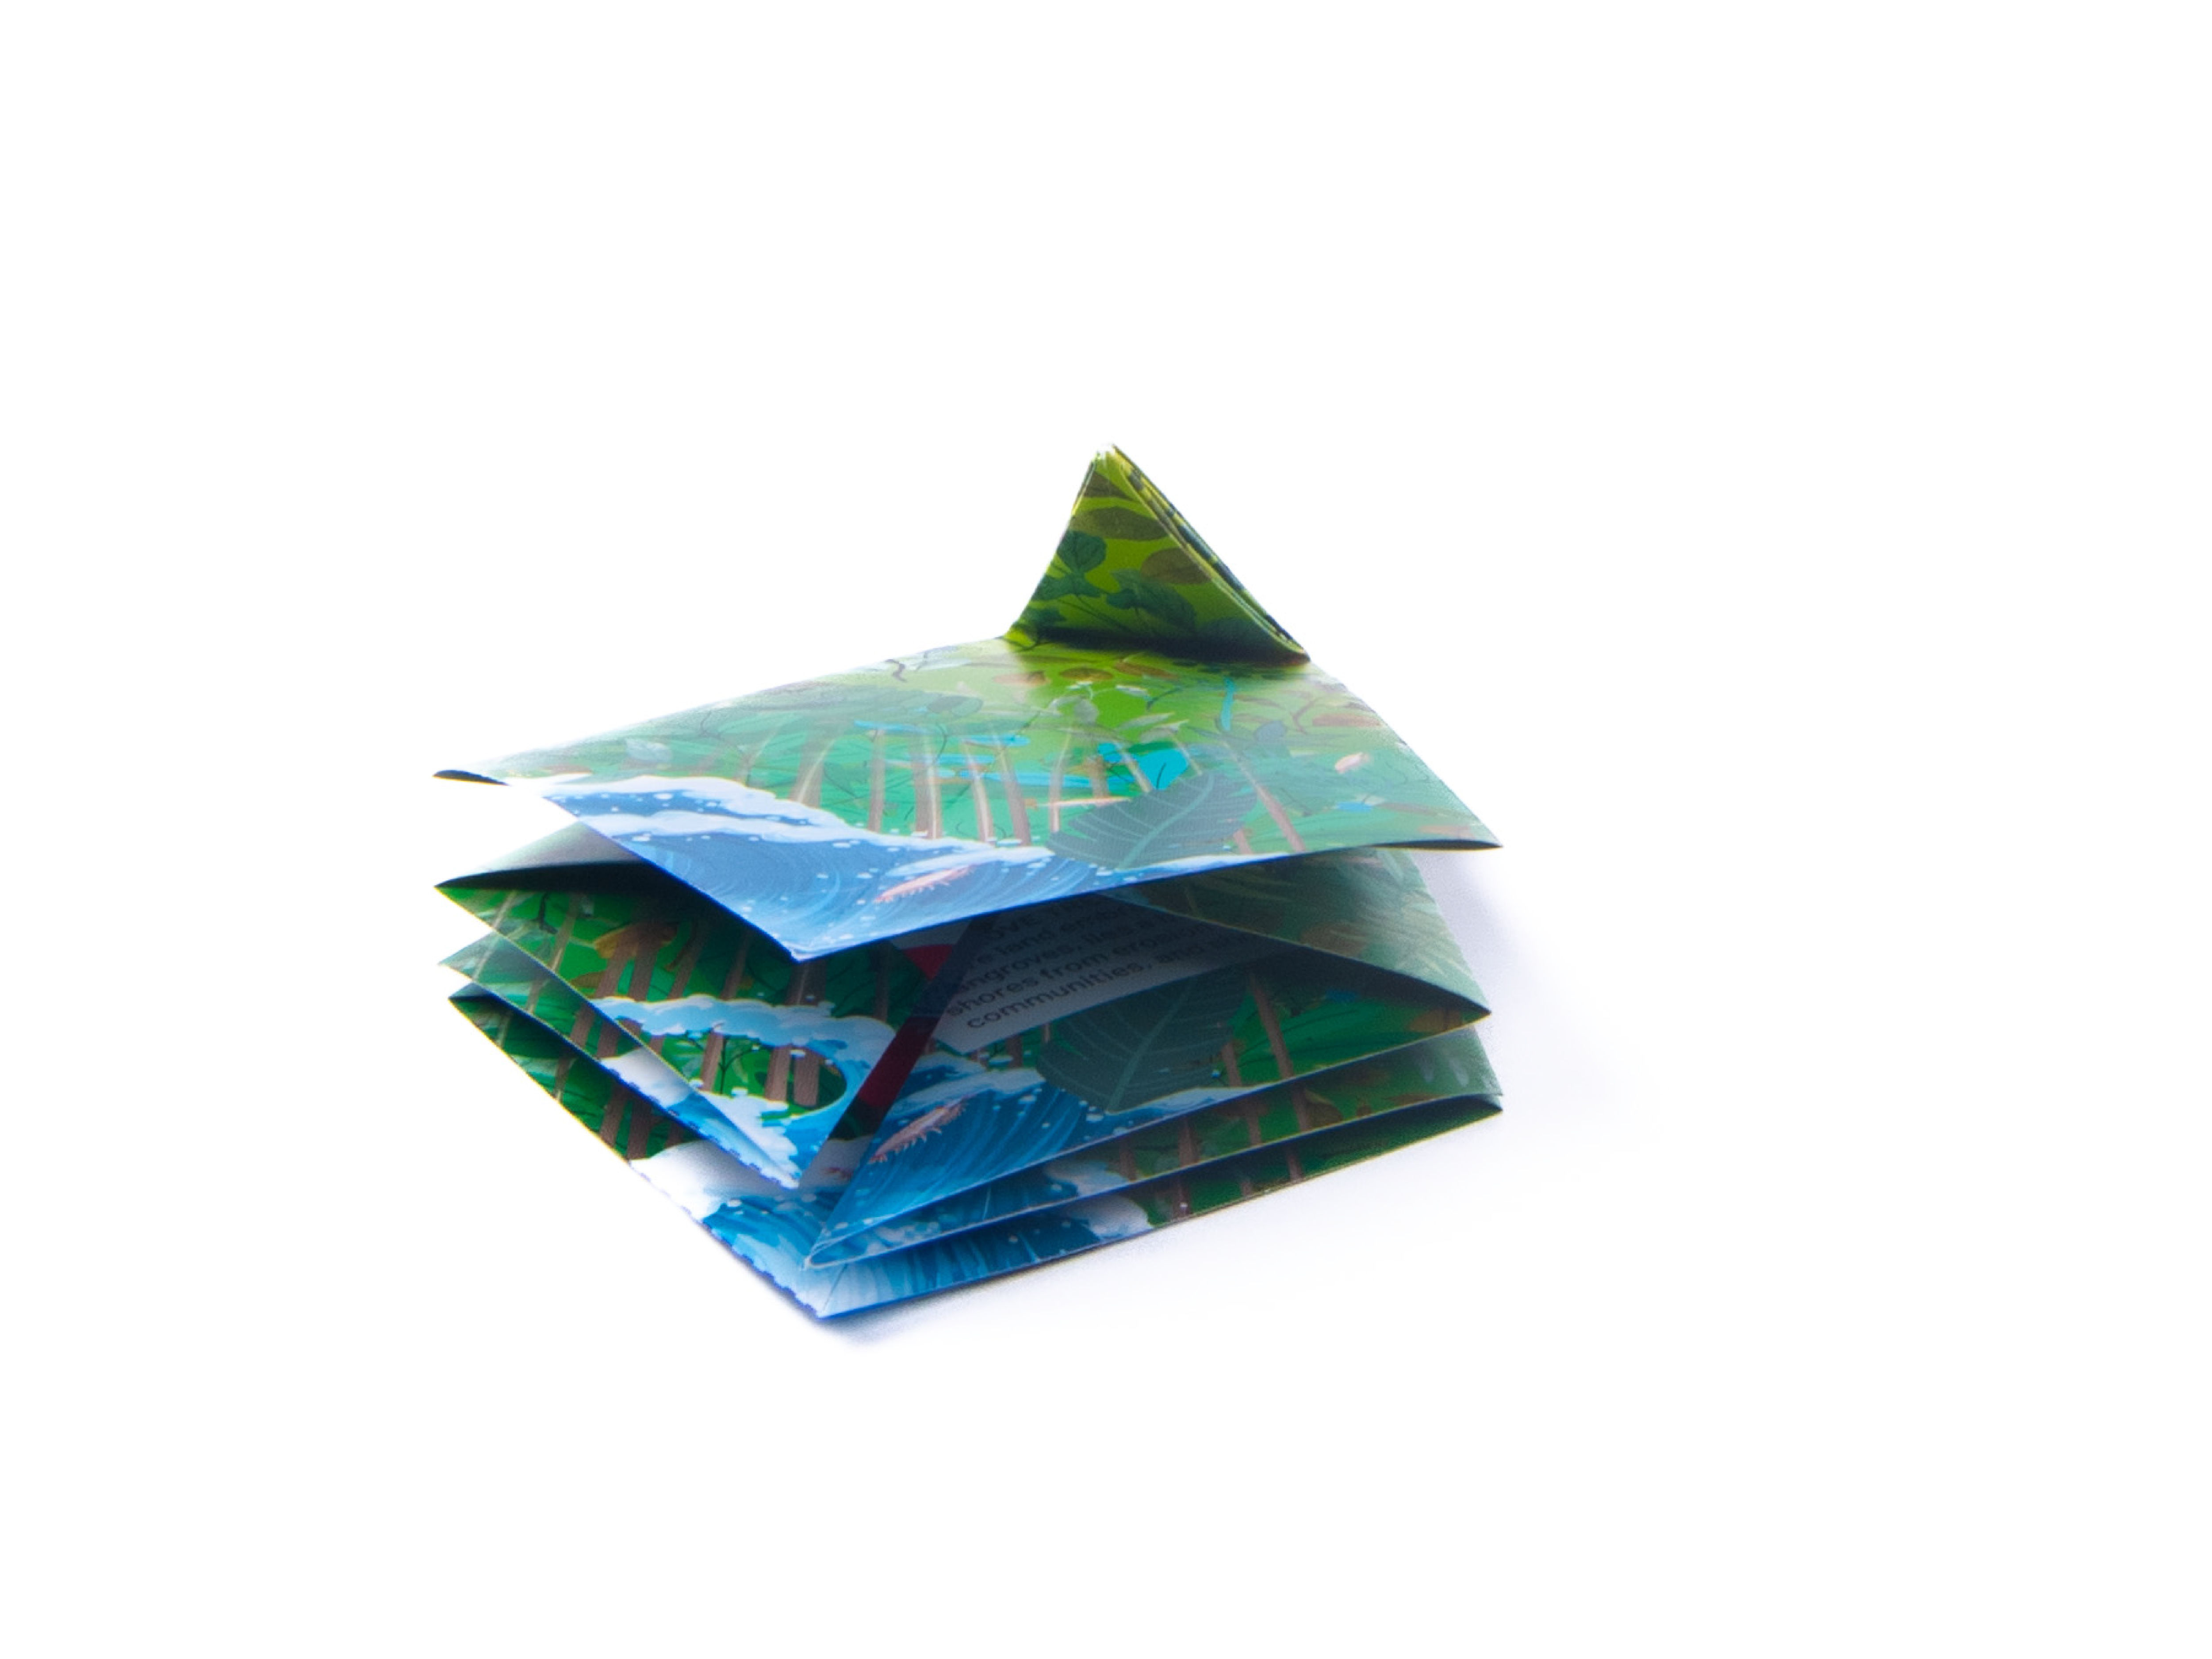

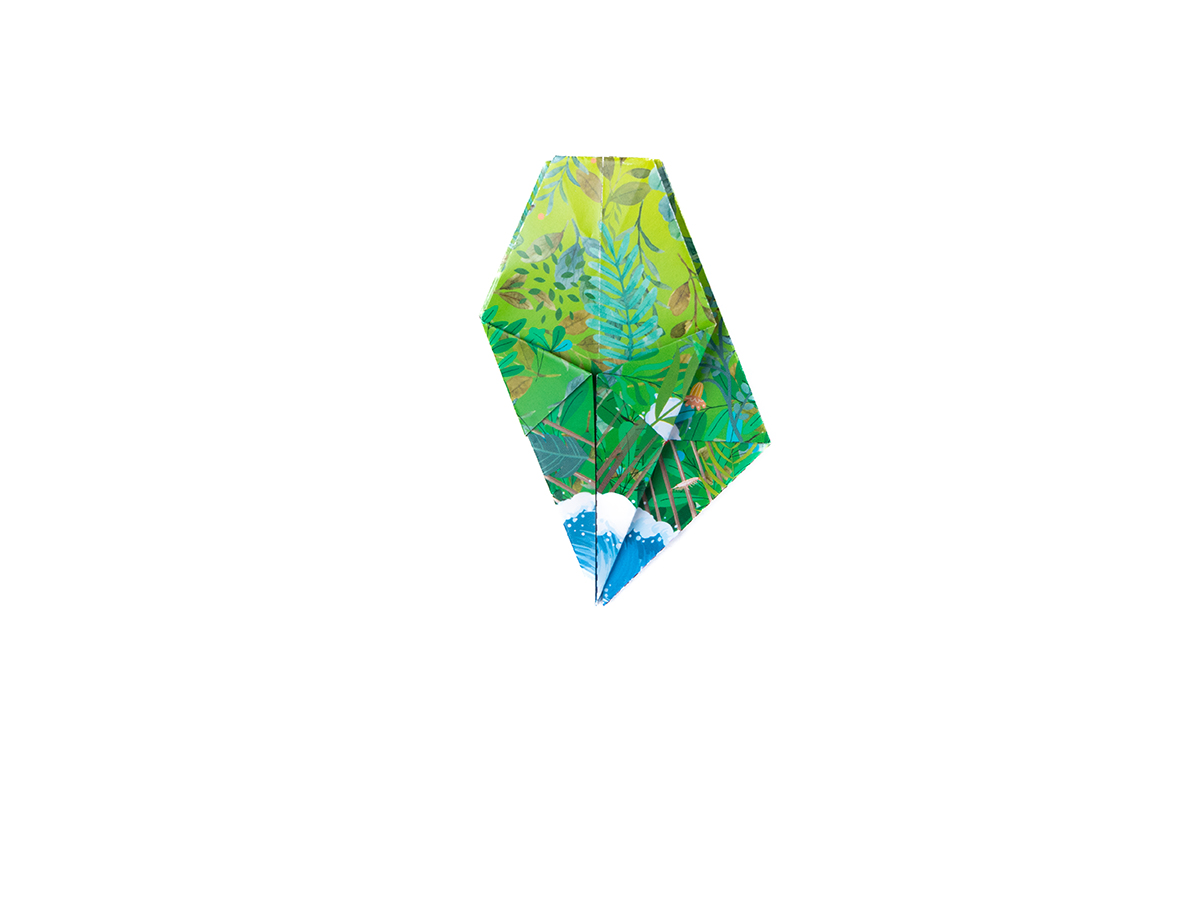
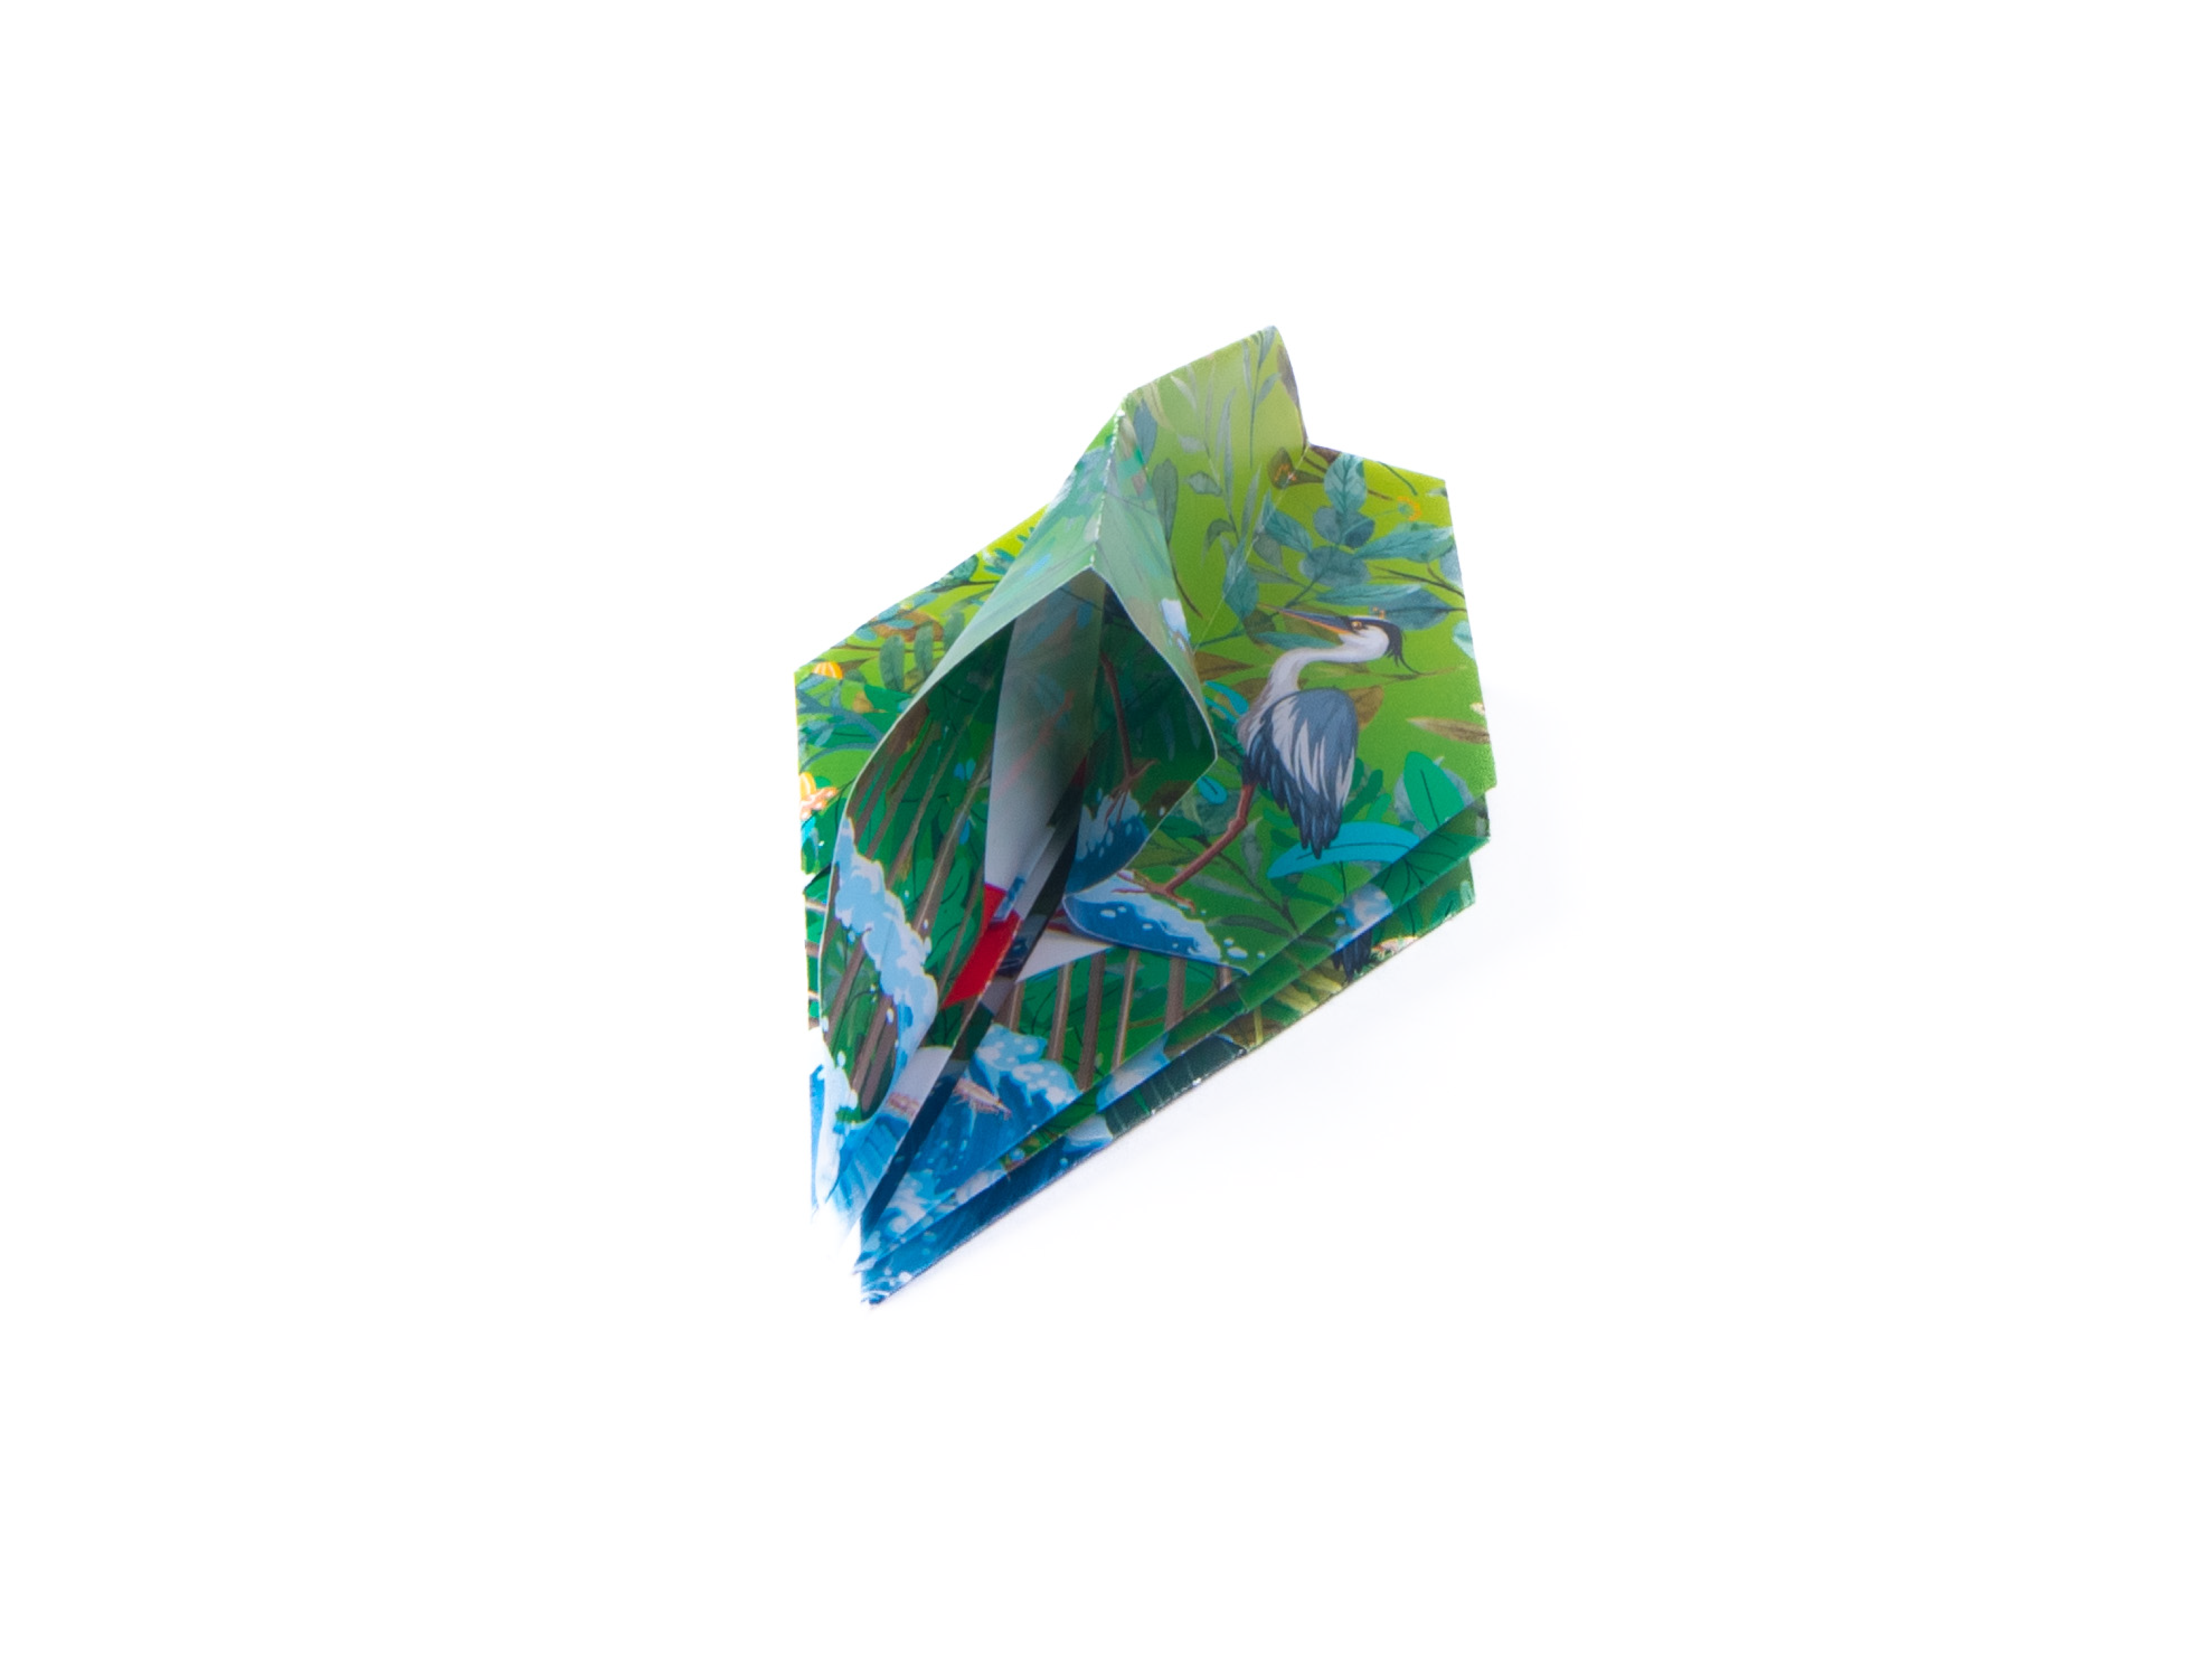
Unfold the whole sheet. You should have a creased paper that looks like this. For the next 3 steps, pick up the paper as you work (rather than keeping it on a flat surface.

Turn the sheet over and find the small creases going around the middle (as a result of the fold in step 12). Re-crease all of them as mountain creases by pinching section by section the whole way around.
Refold all the mountain folds around the shape as shown.
Using the creases, carefully push the inner section inwards.
Unfold the whole sheet. You should have a creased paper that looks like this. For the next 3 steps, pick up the paper as you work (rather than keeping it on a flat surface.
Turn the sheet over and find the small creases going around the middle (as a result of the fold in step 12). Re-crease all of them as mountain creases by pinching section by section the whole way around.
Refold all the mountain folds around the shape as shown.
Using the creases, carefully push the inner section inwards.
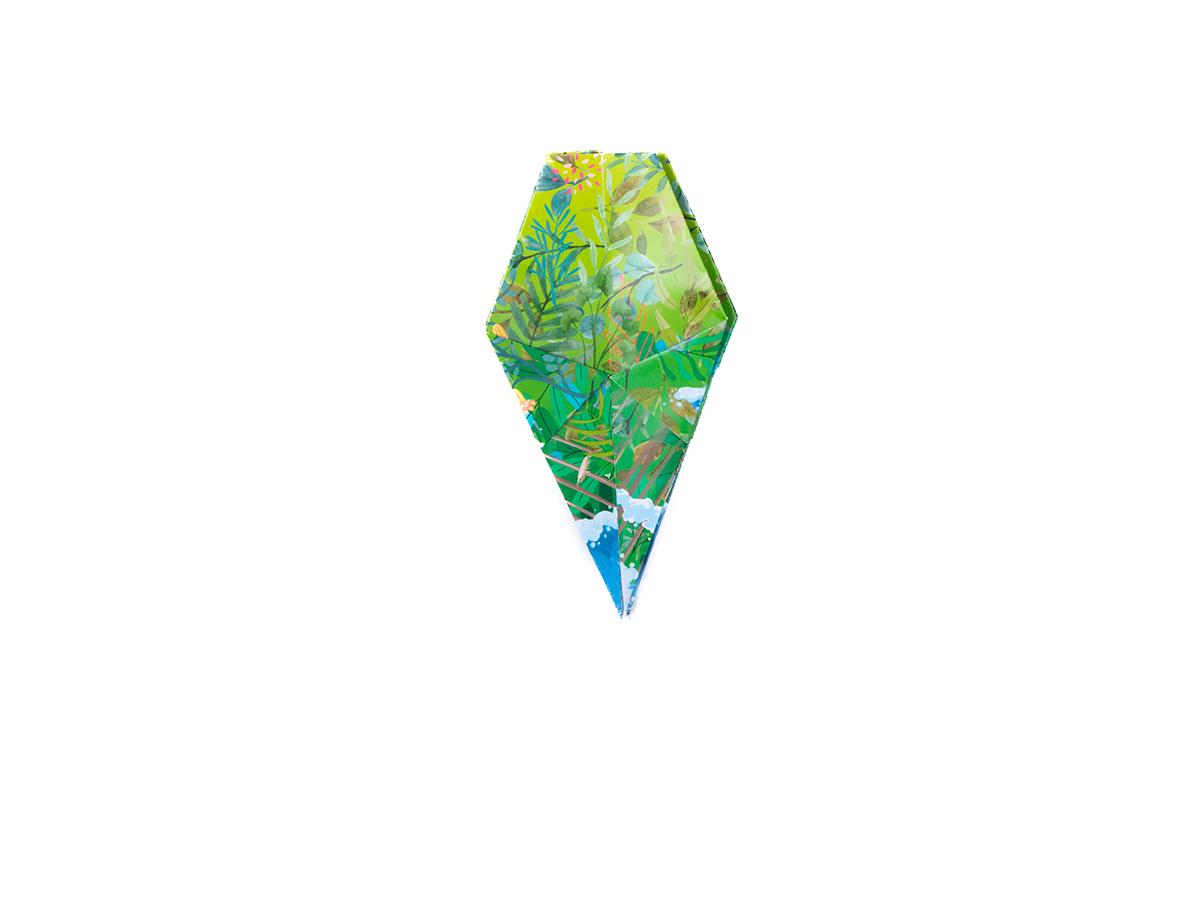
Flatten the shape and place it on a flat surface again, with the open side of the shape pointing downwards.
Fold the left and right corners of the flaps currently on top inwards, bringing them to the middle crease.
Turn the flaps you just folded over, and repeat step 18 on the next pair of flaps.
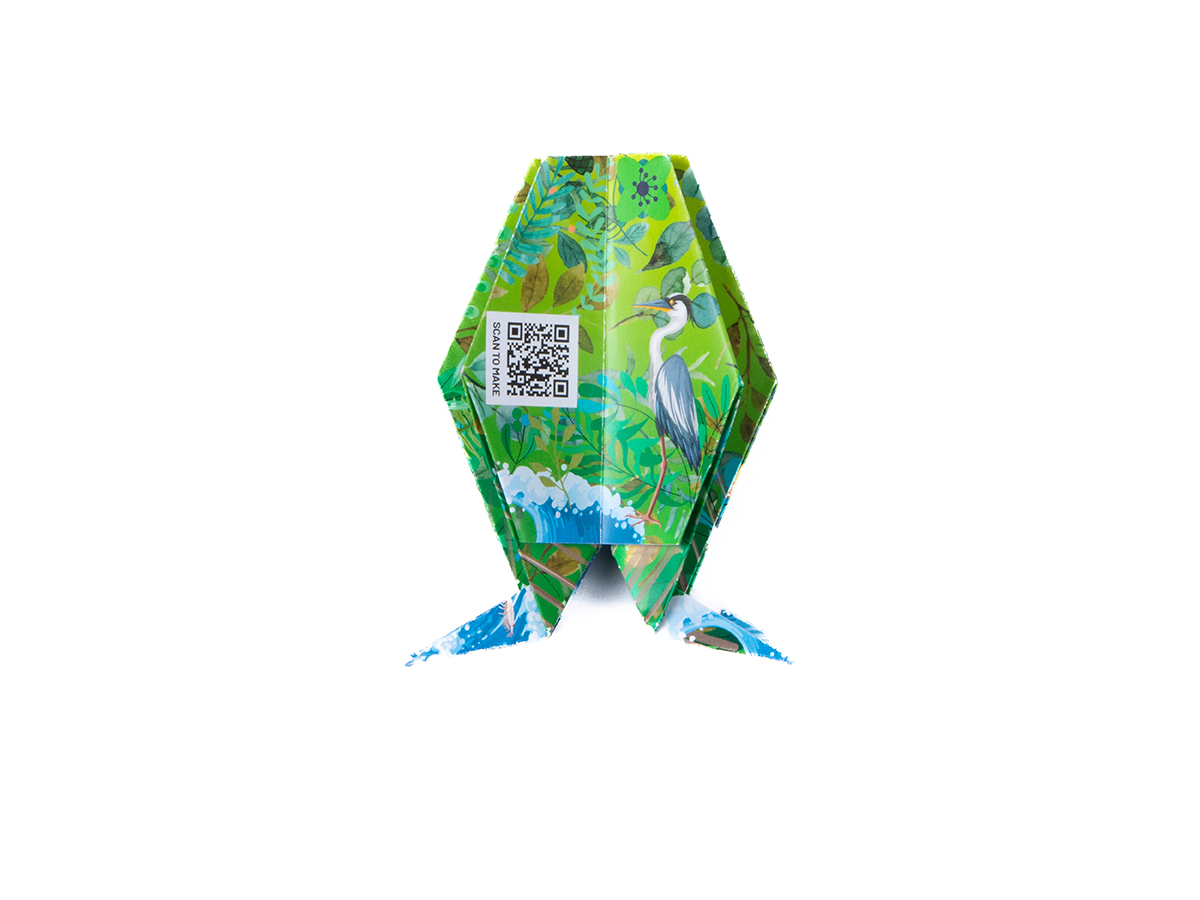
Keep working your way around all the sides until all the flaps are folded in and your shape looks like this.
Flatten the shape and place it on a flat surface again, with the open side of the shape pointing downwards.
Fold the left and right corners of the flaps currently on top inwards, bringing them to the middle crease.
Turn the flaps you just folded over, and repeat step 18 on the next pair of flaps.
Keep working your way around all the sides until all the flaps are folded in and your shape looks like this.
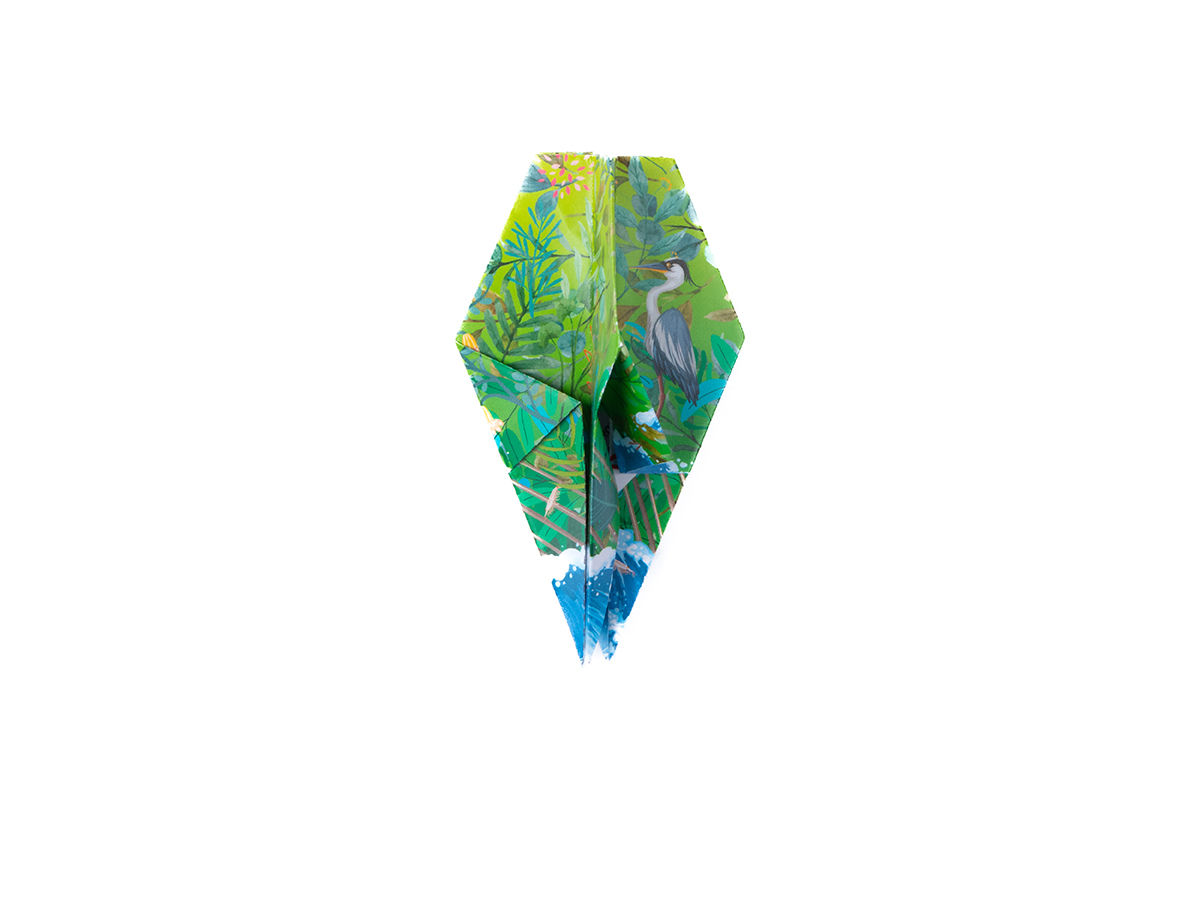
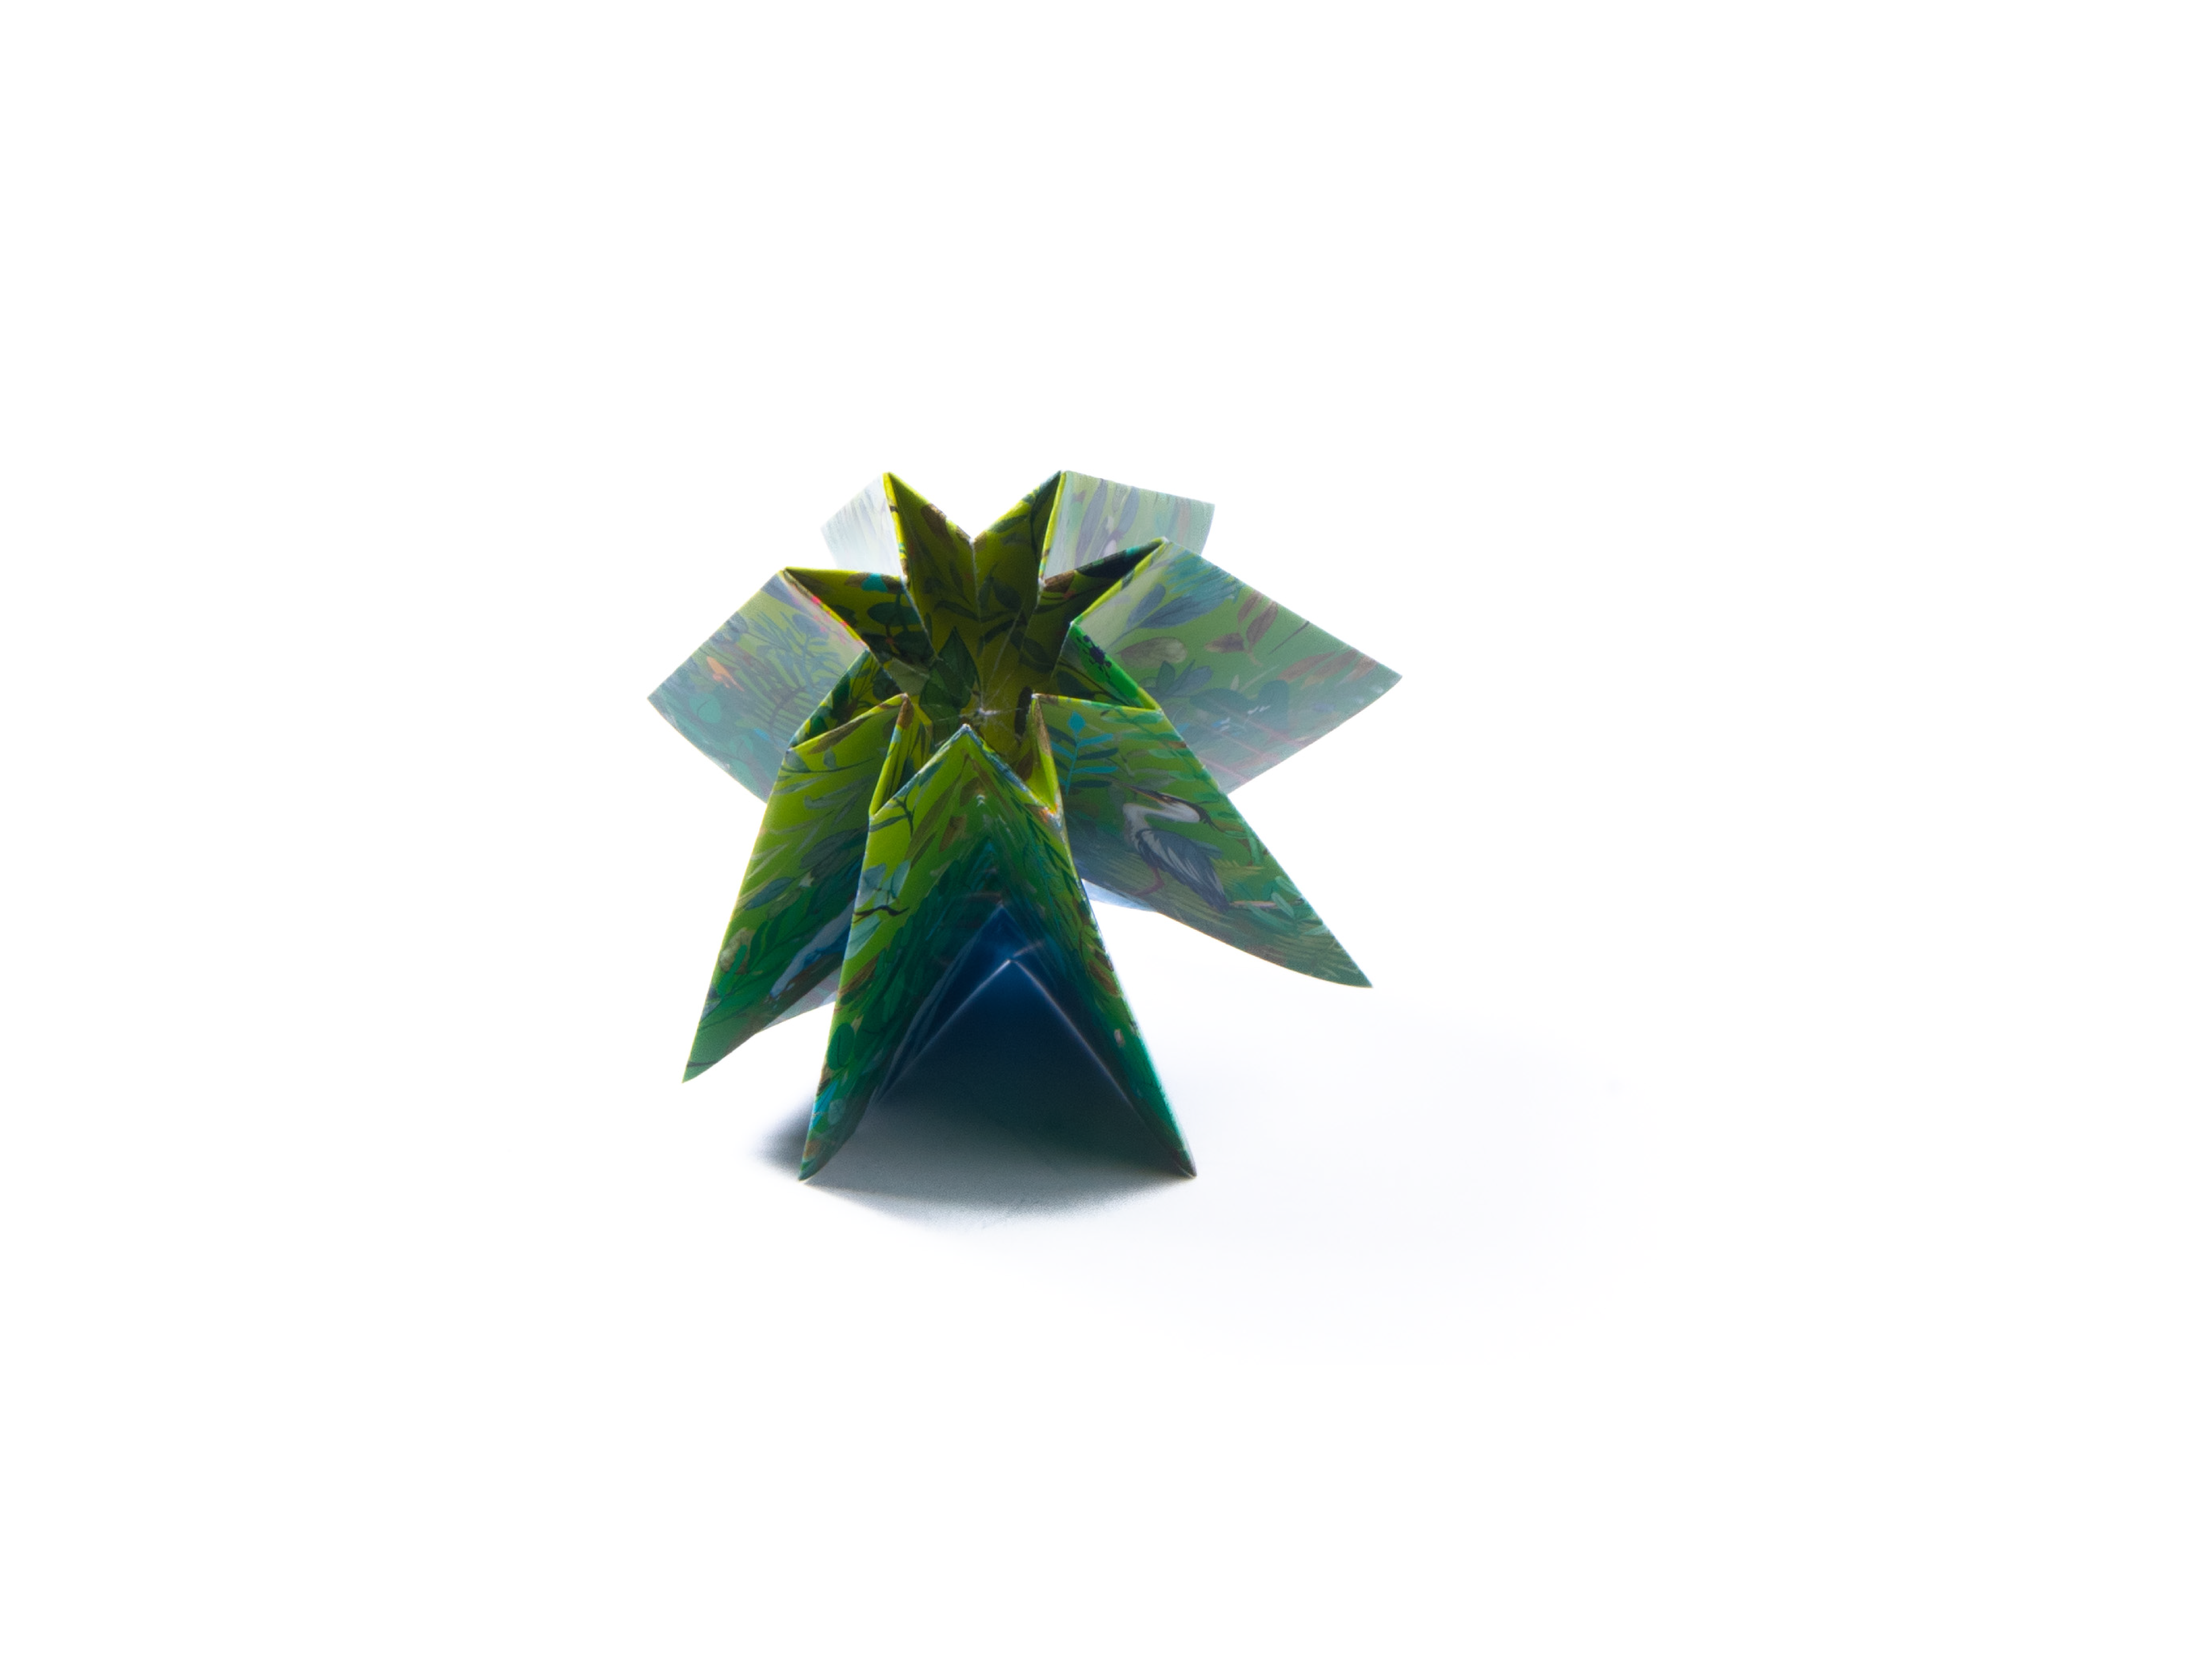
Starting on one side, open one of the flaps you just folded and refold it inwards.
Repeat on each side, until you have an elongated hexagon-like shape on the outside and four leg-like sections at the bottom.
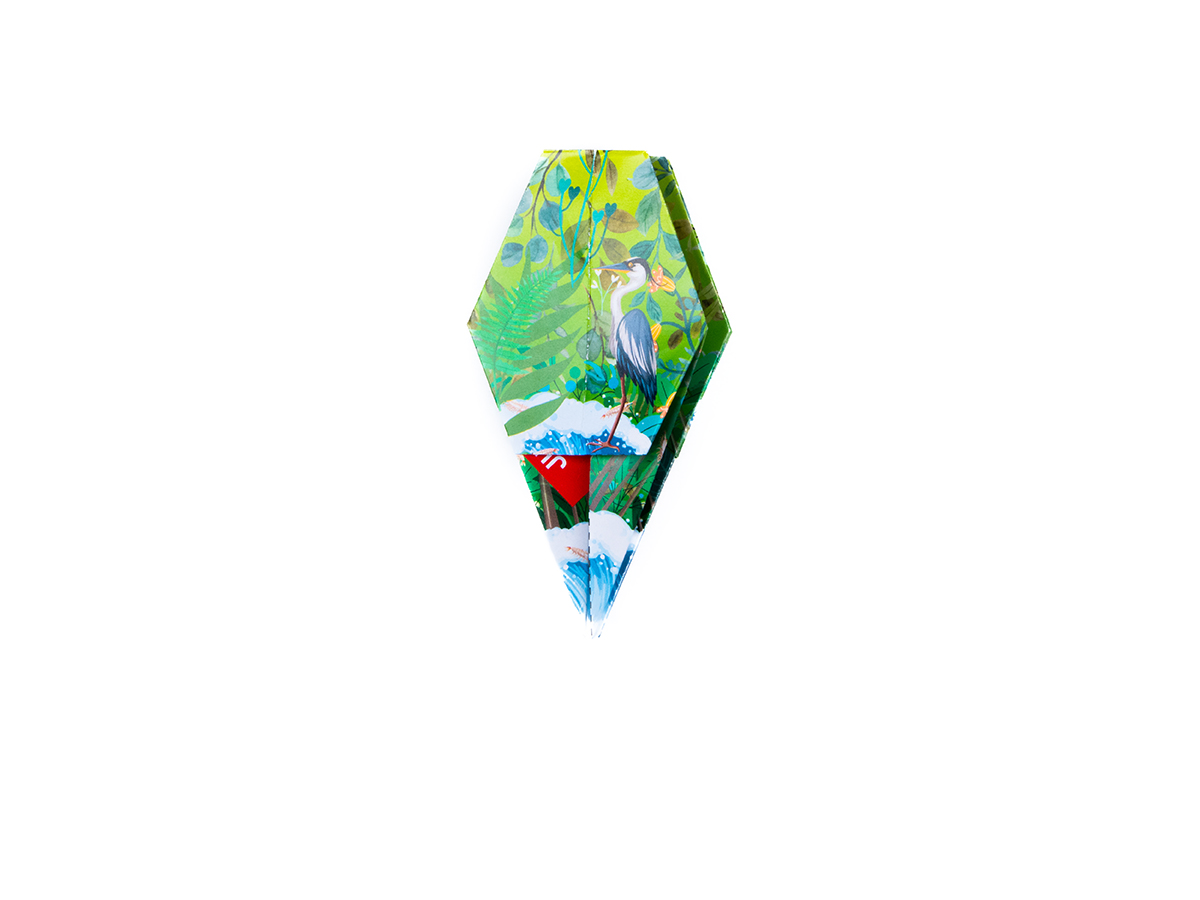
Working on one of the "legs", fold it diagonally up as shown, crease well and unfold.
Open the leg out slightly and refold the crease from the previous step inwards.
Starting on one side, open one of the flaps you just folded and refold it inwards.
Repeat on each side, until you have an elongated hexagon-like shape on the outside and four leg-like sections at the bottom.
Working on one of the "legs", fold it diagonally up as shown, crease well and unfold.
Open the leg out slightly and refold the crease from the previous step inwards.
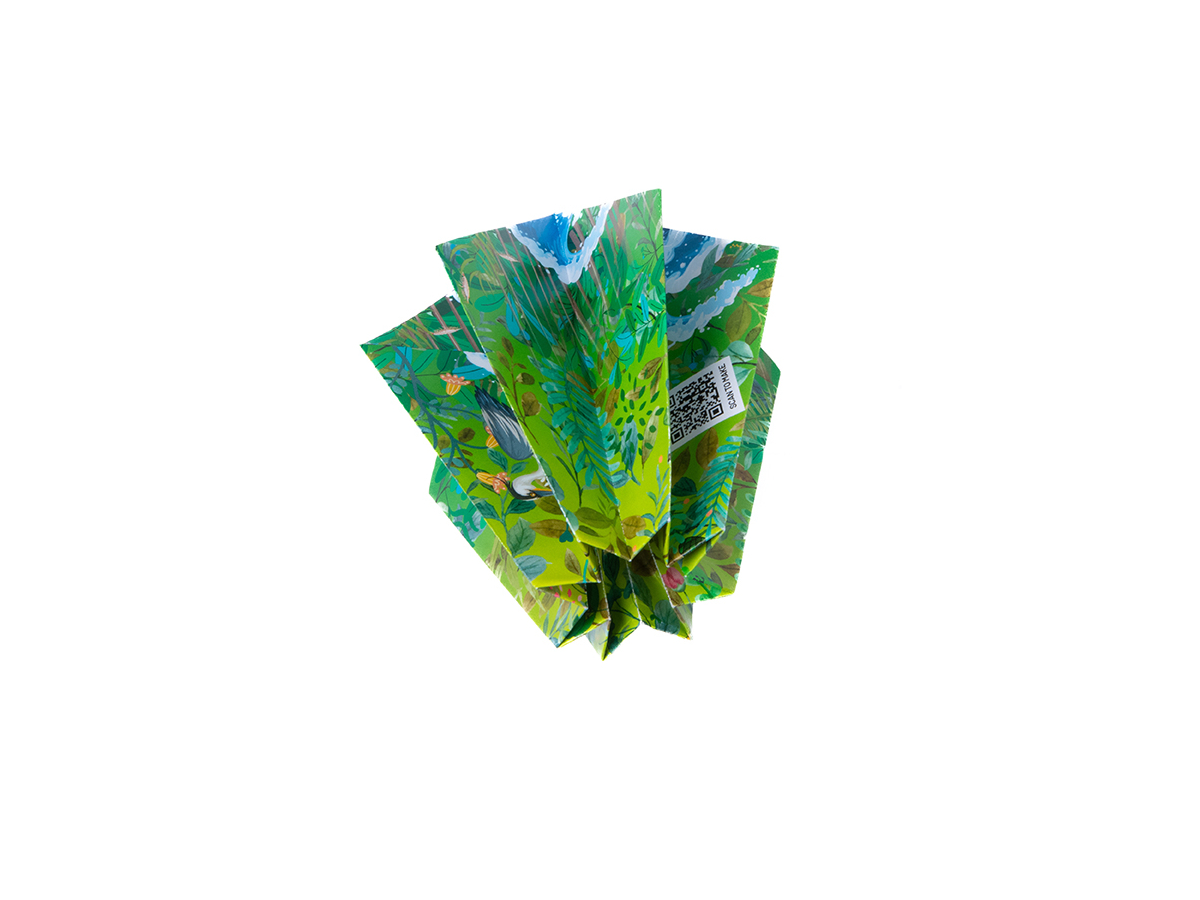
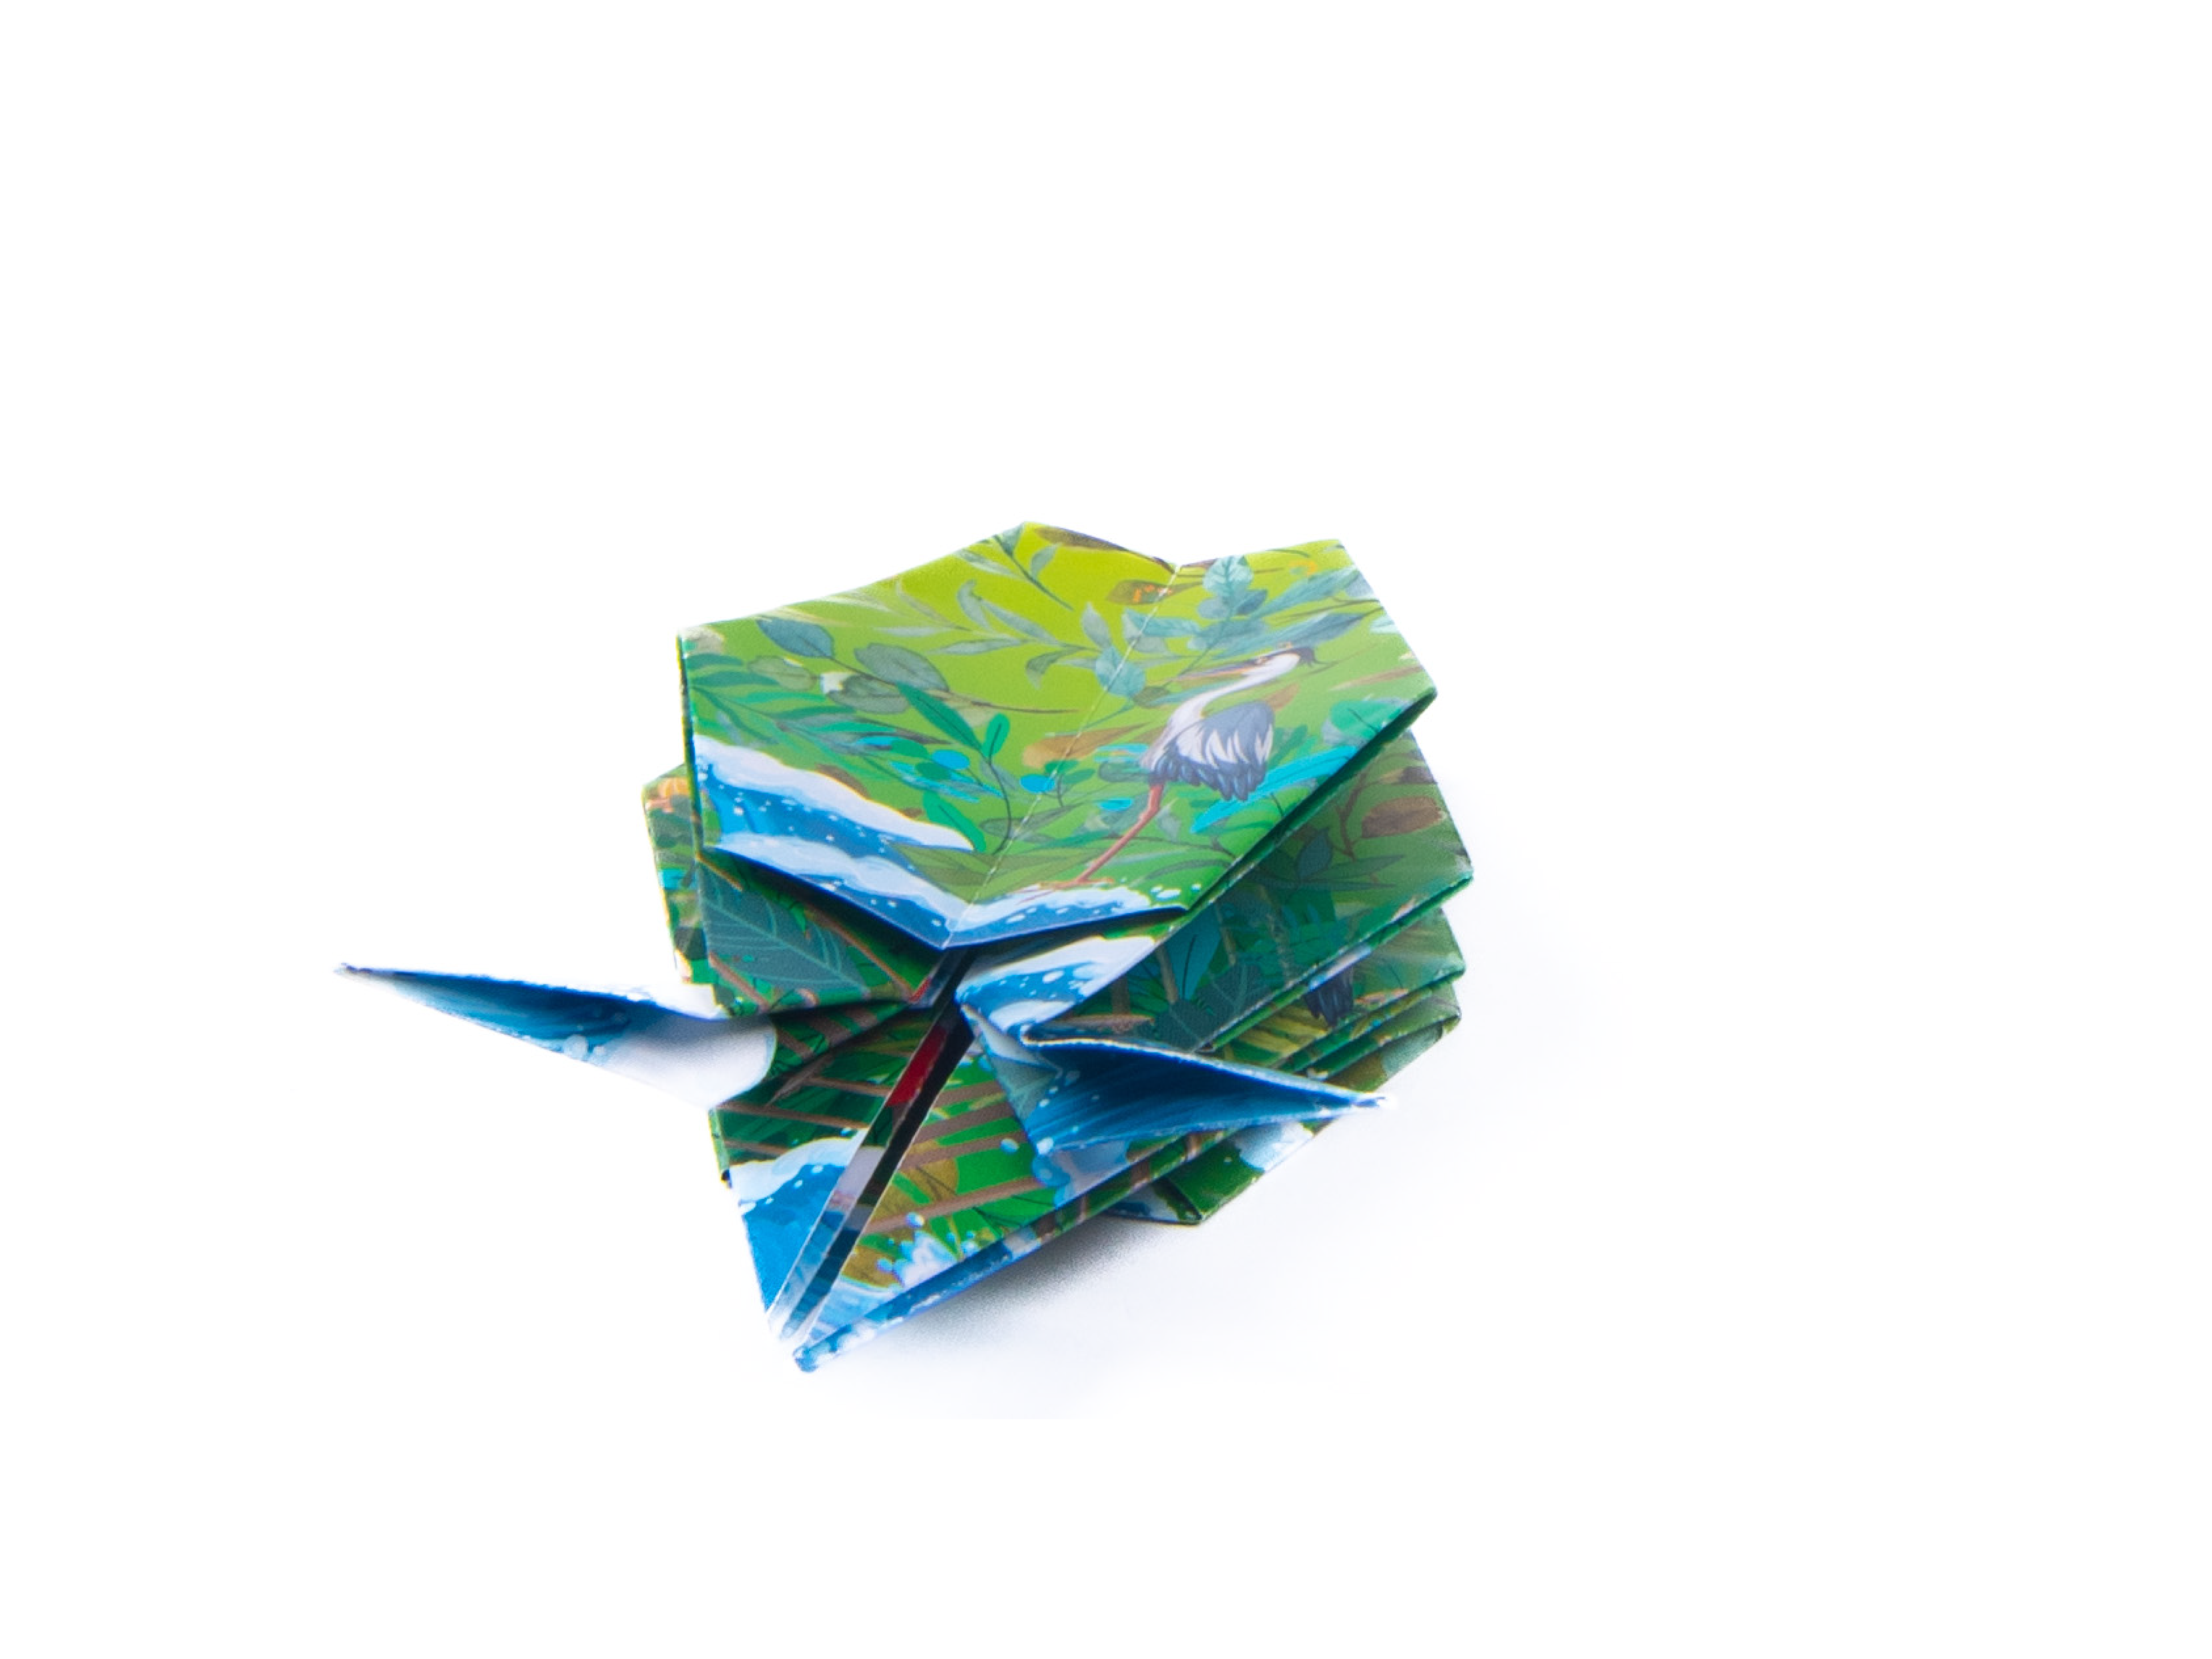
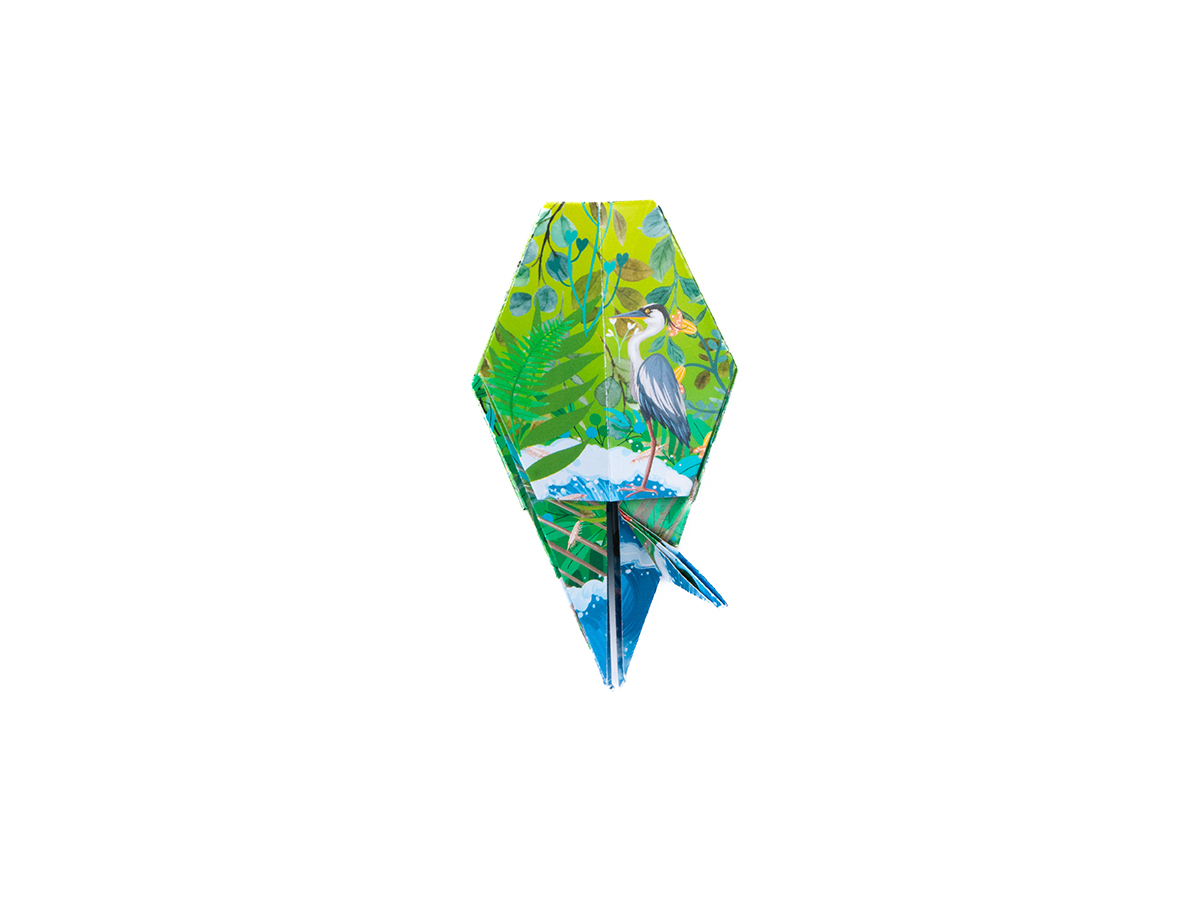
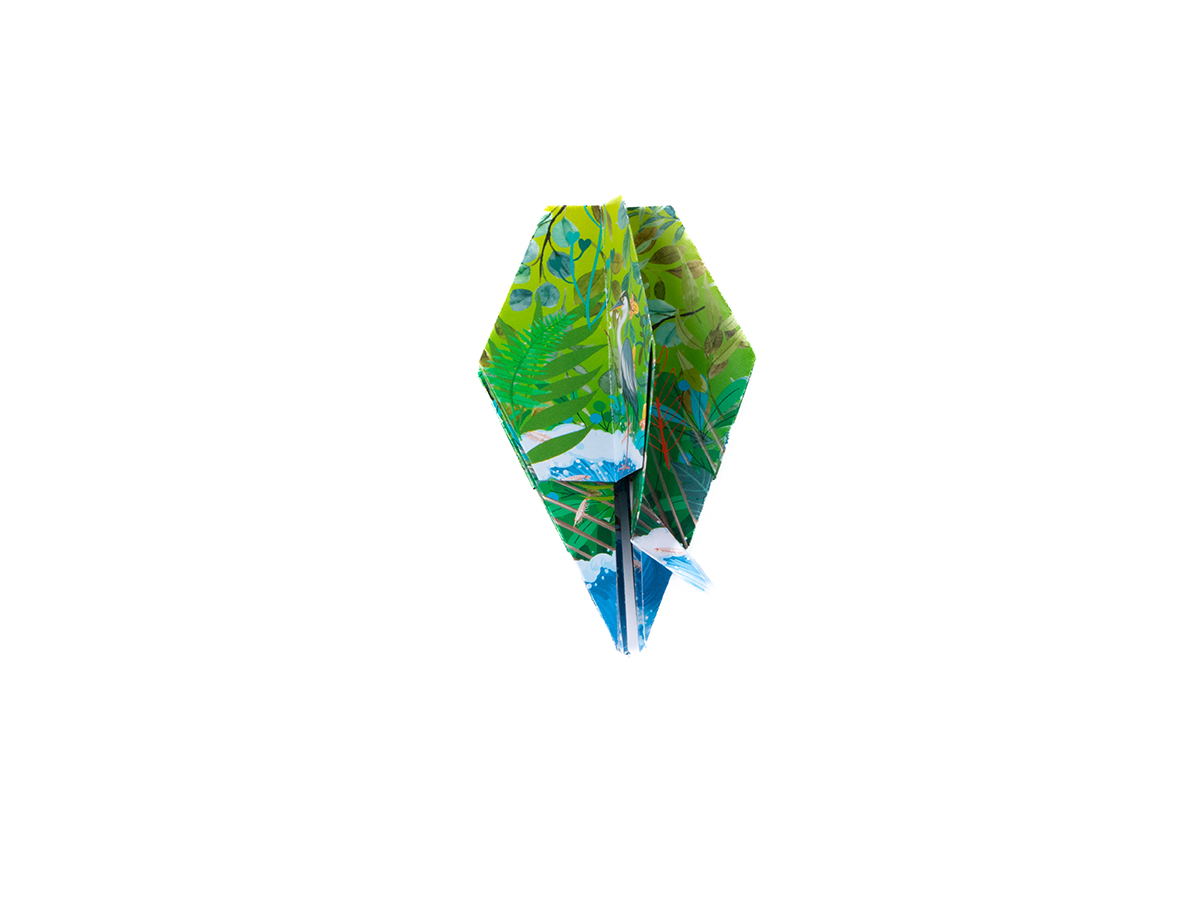
Repeat steps 23 and 24 on all the remaining "legs" to create the roots of your mangrove tree.

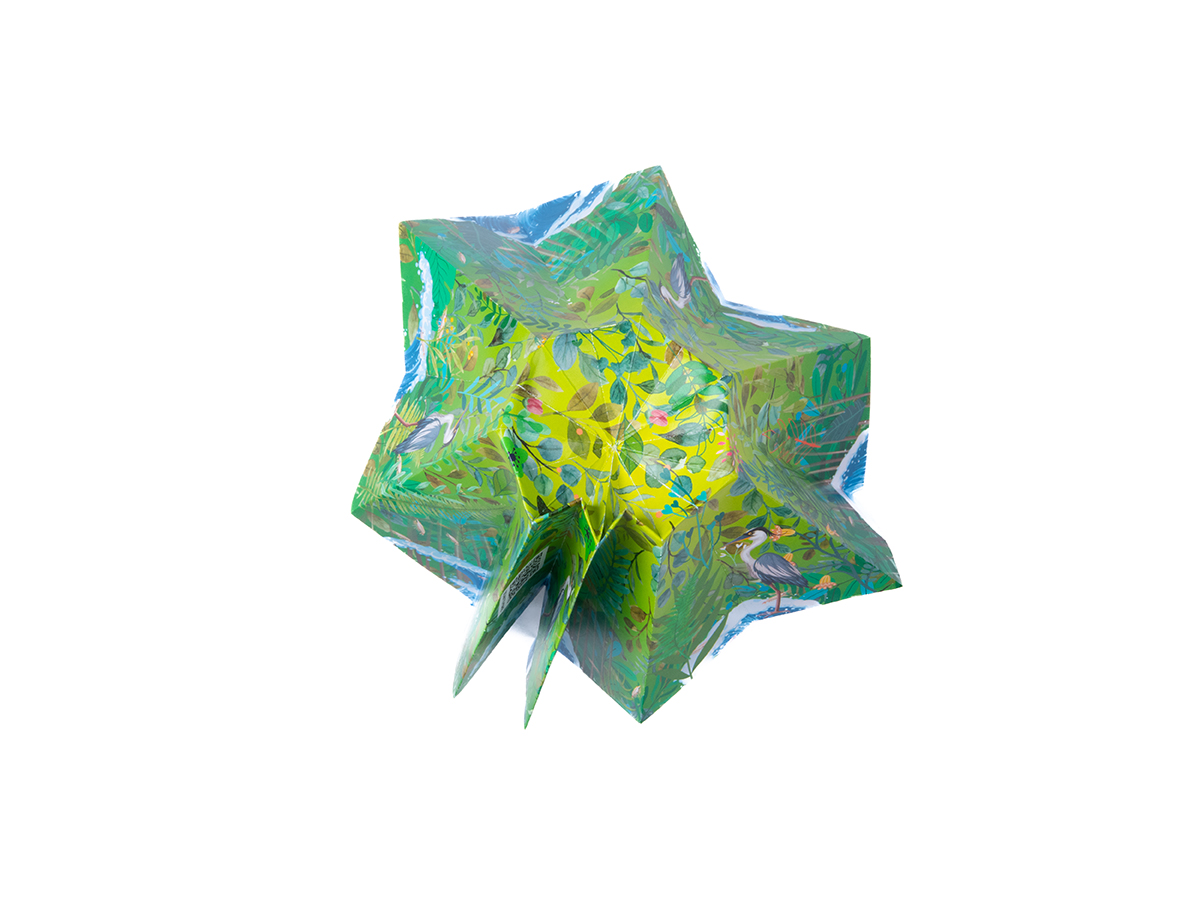
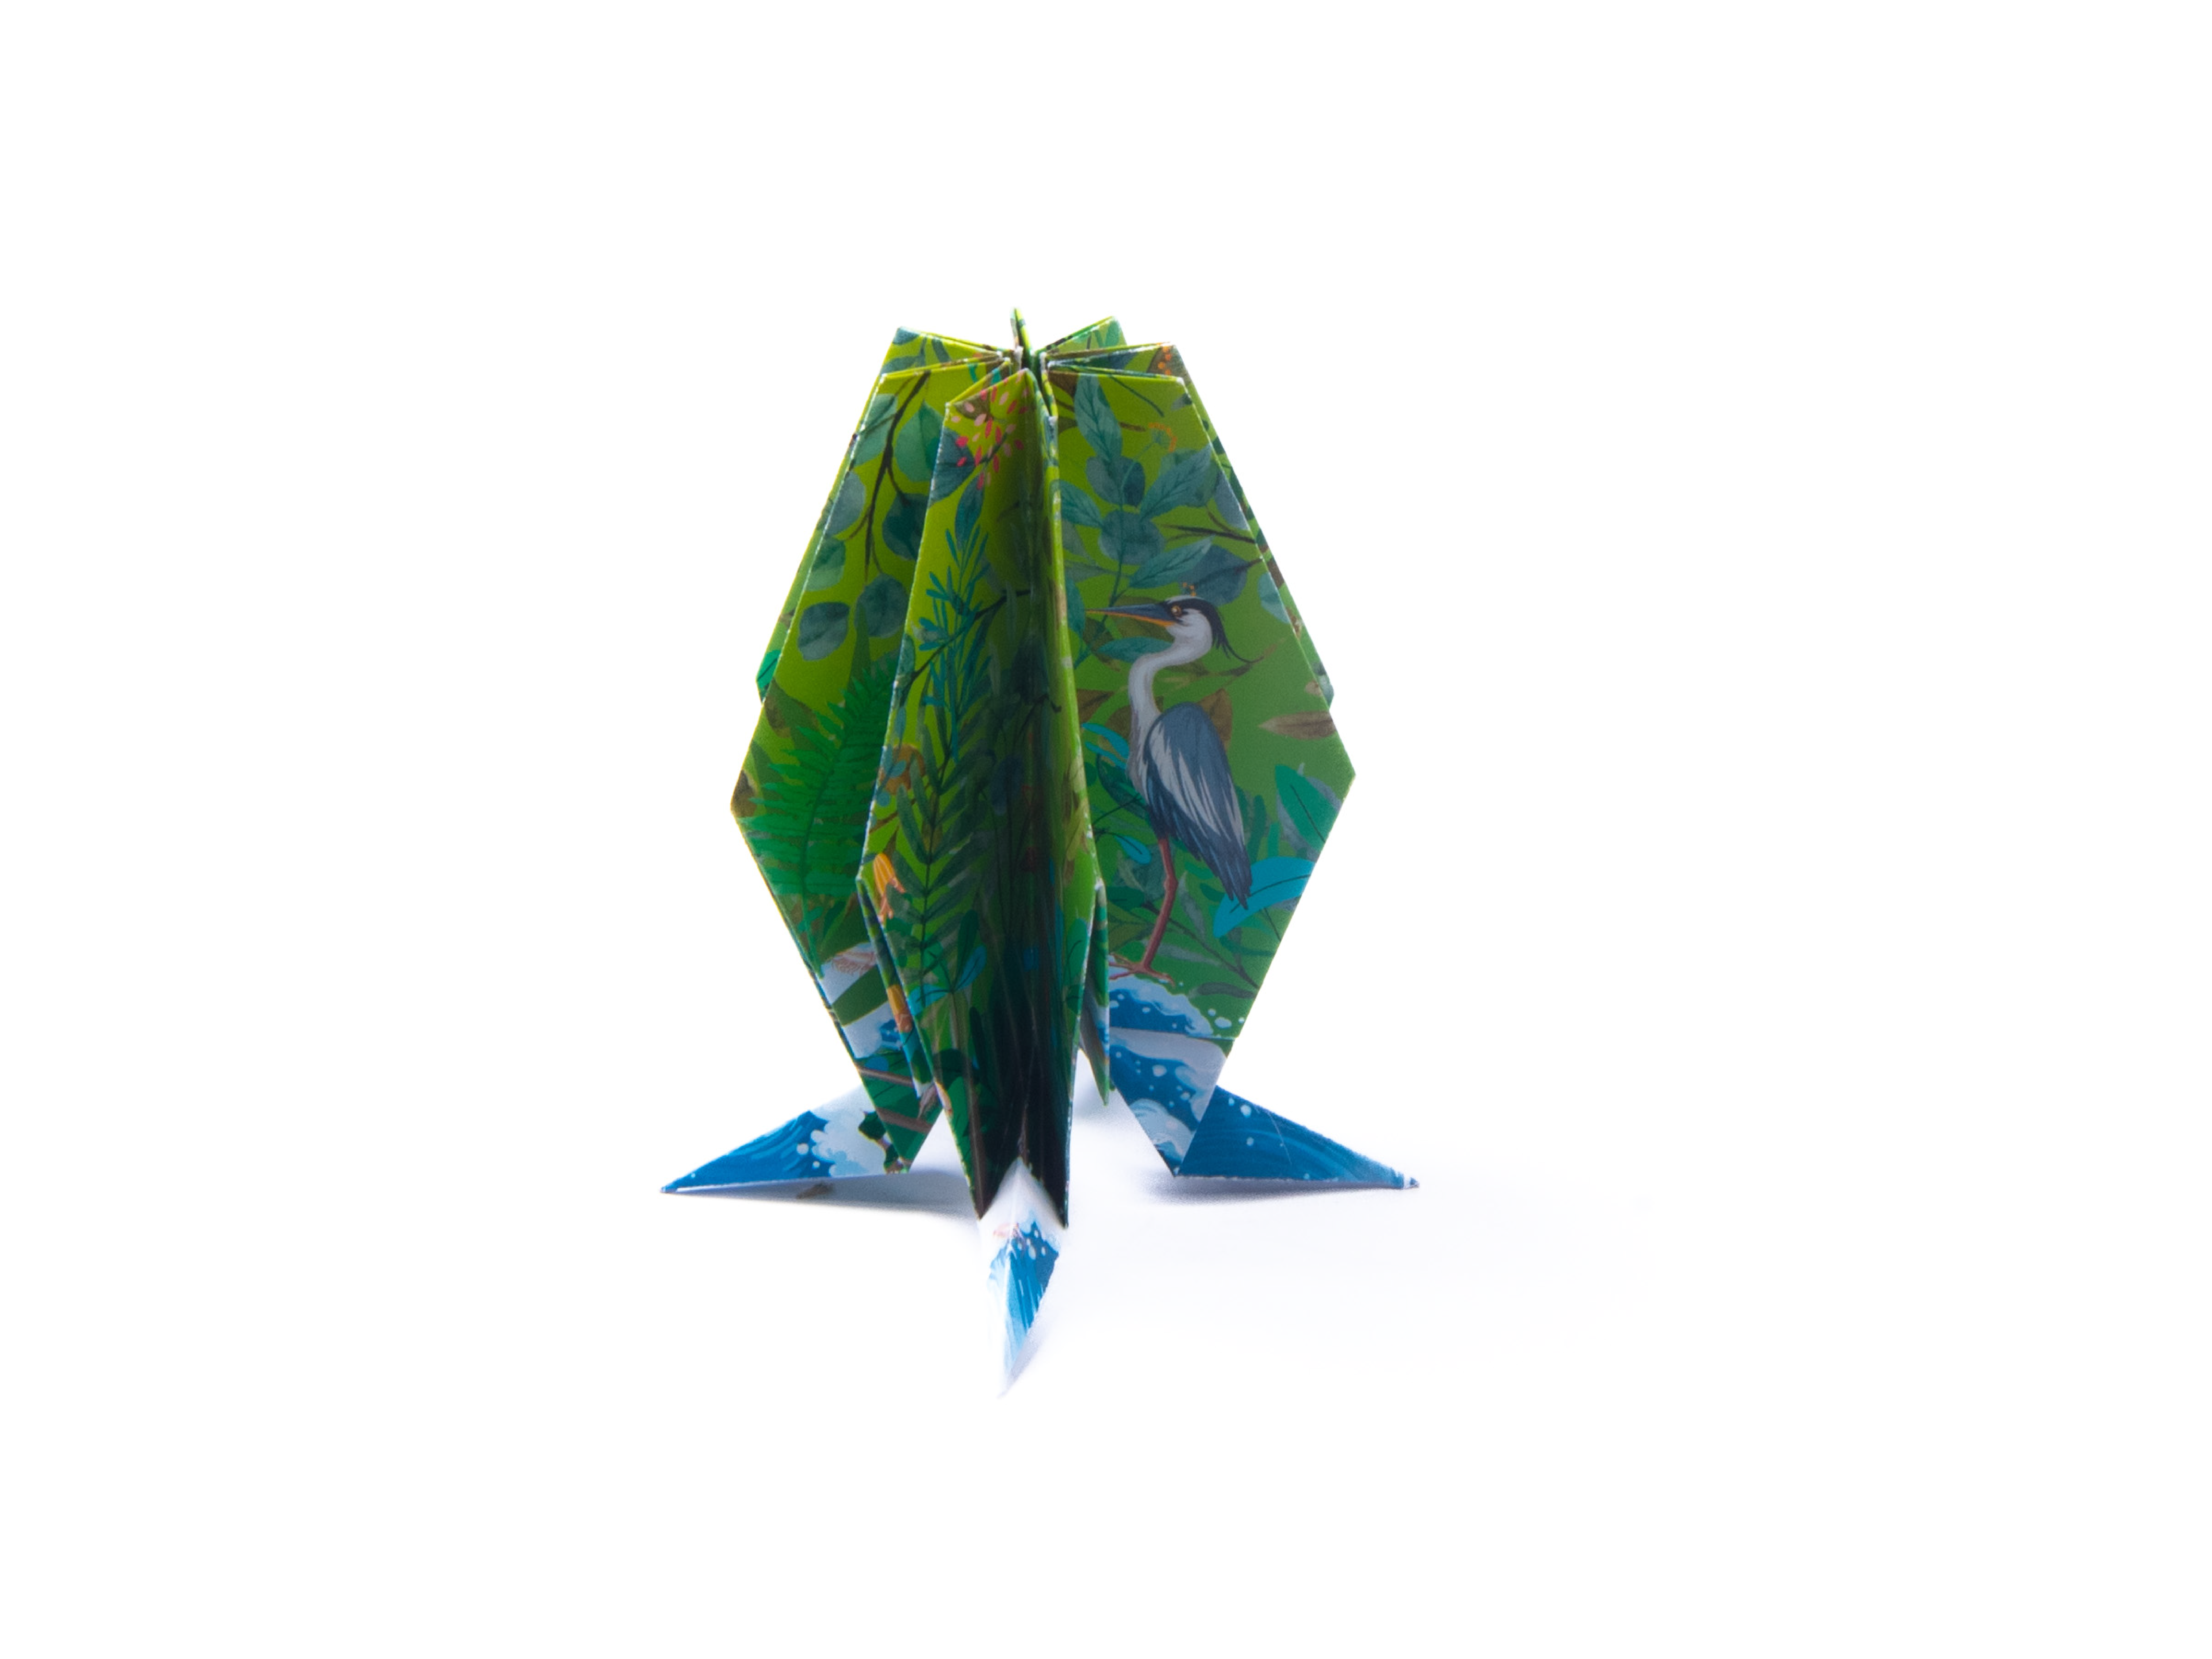
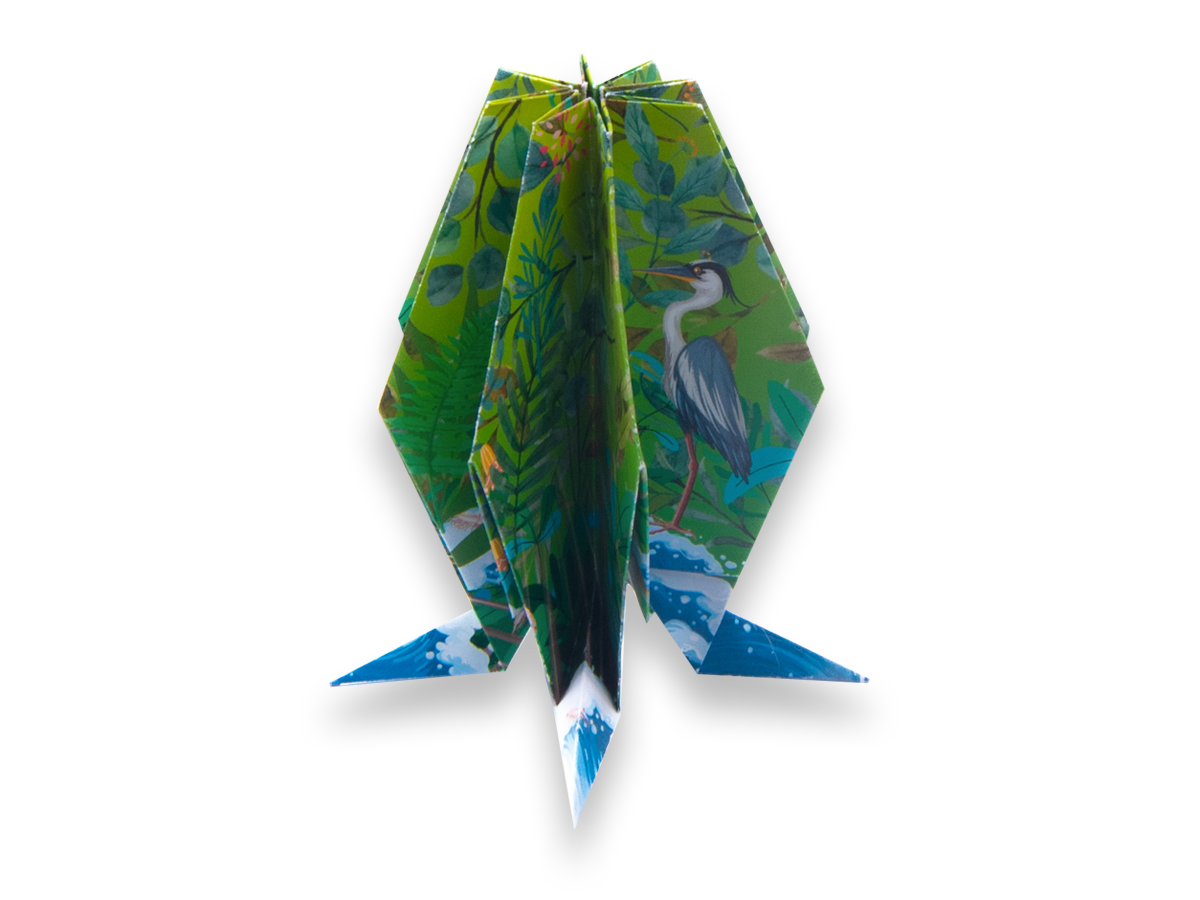
Position the sides of the tree evenly, and your mangrove is complete!
Repeat steps 23 and 24 on all the remaining "legs" to create the roots of your mangrove tree.
Position the sides of the tree evenly, and your mangrove is complete!


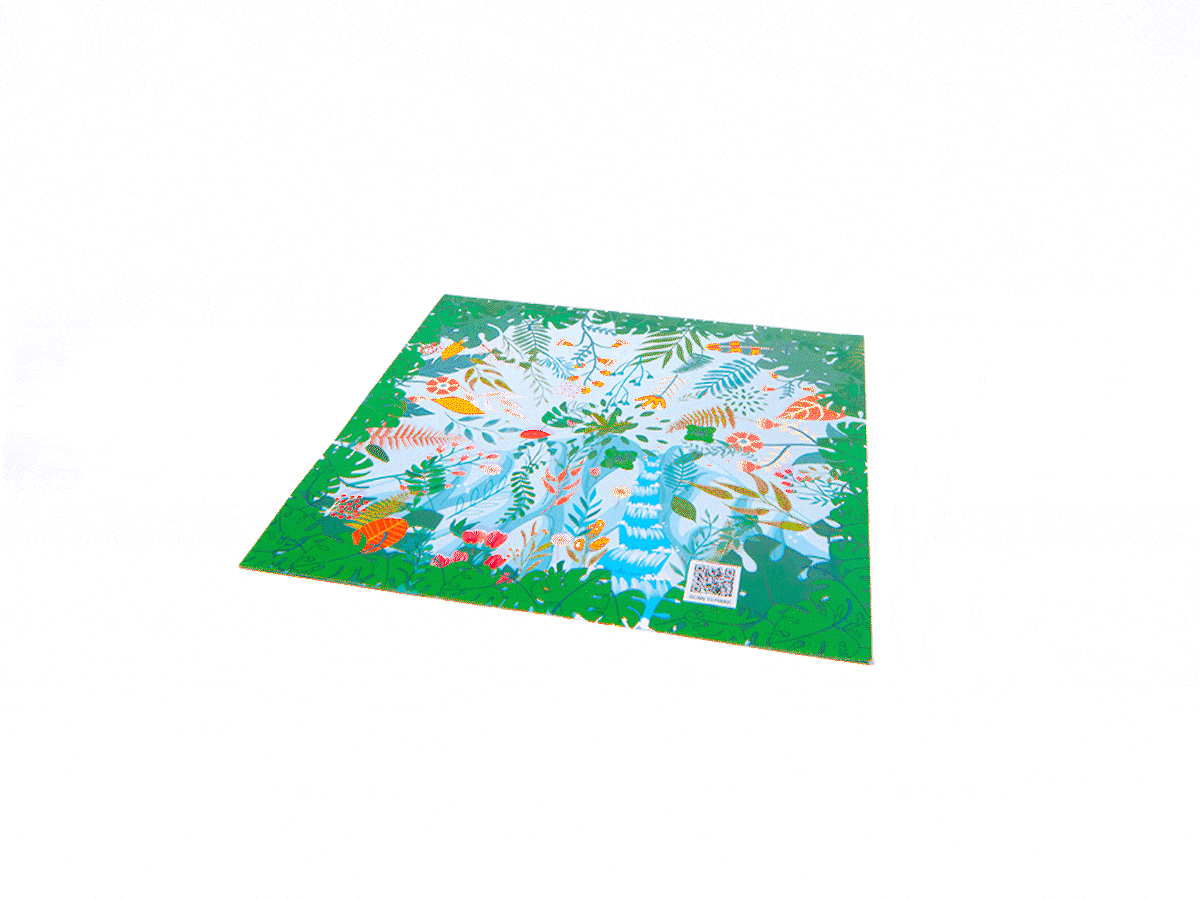
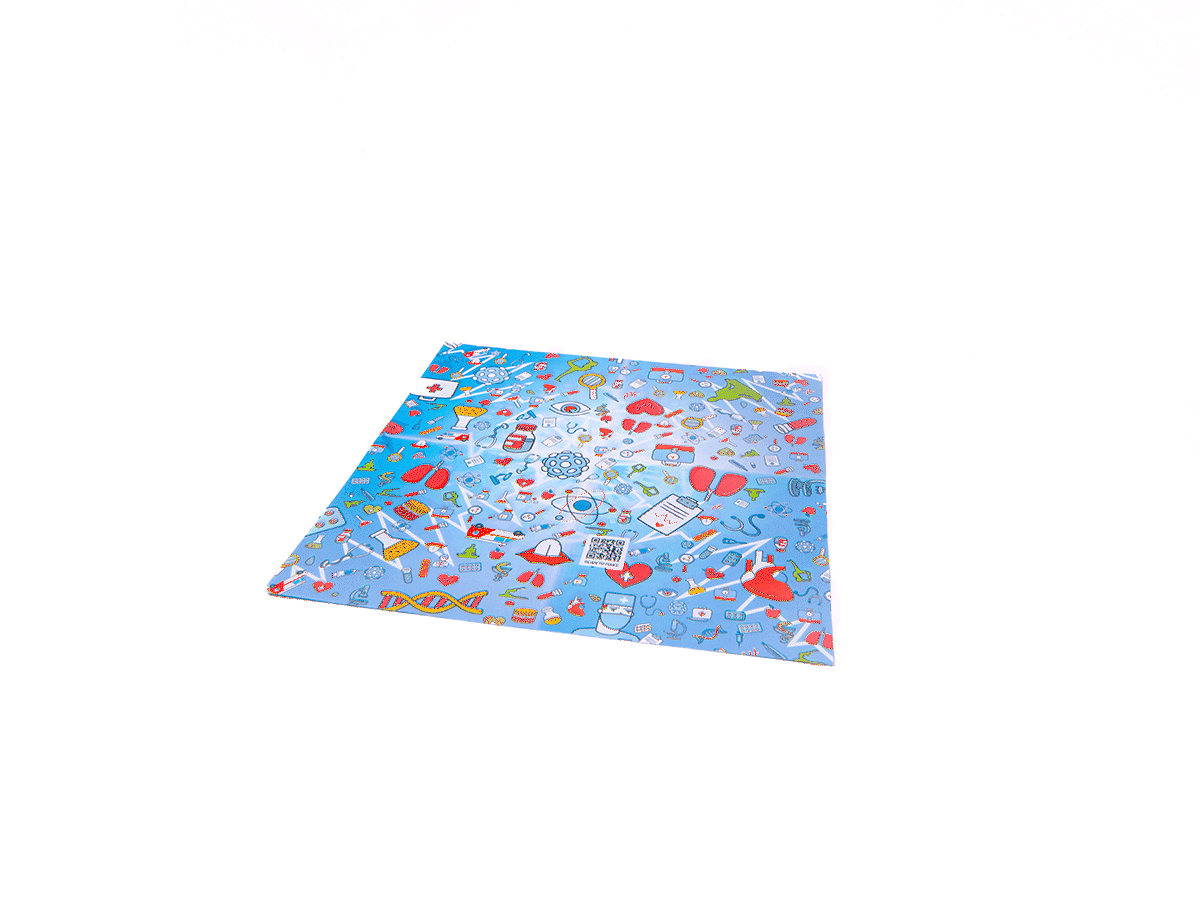
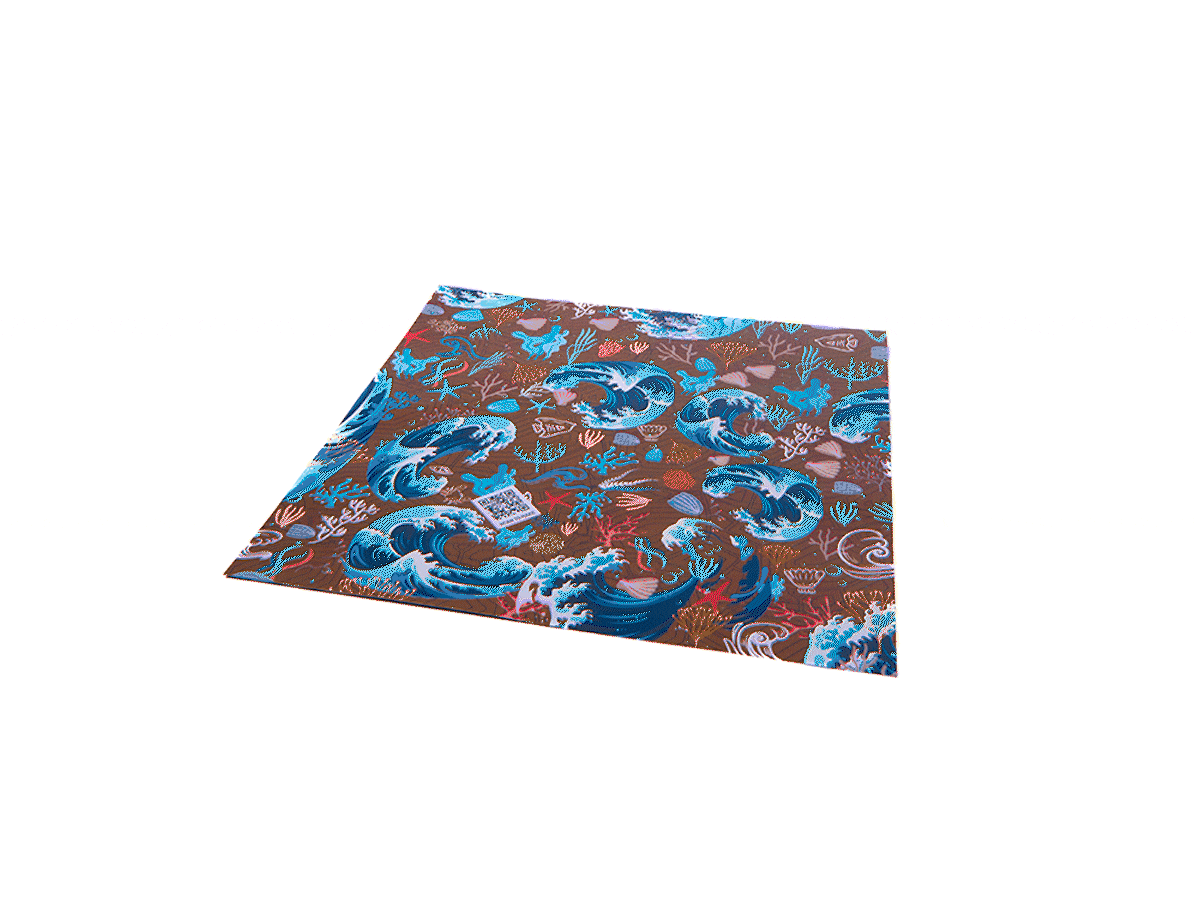
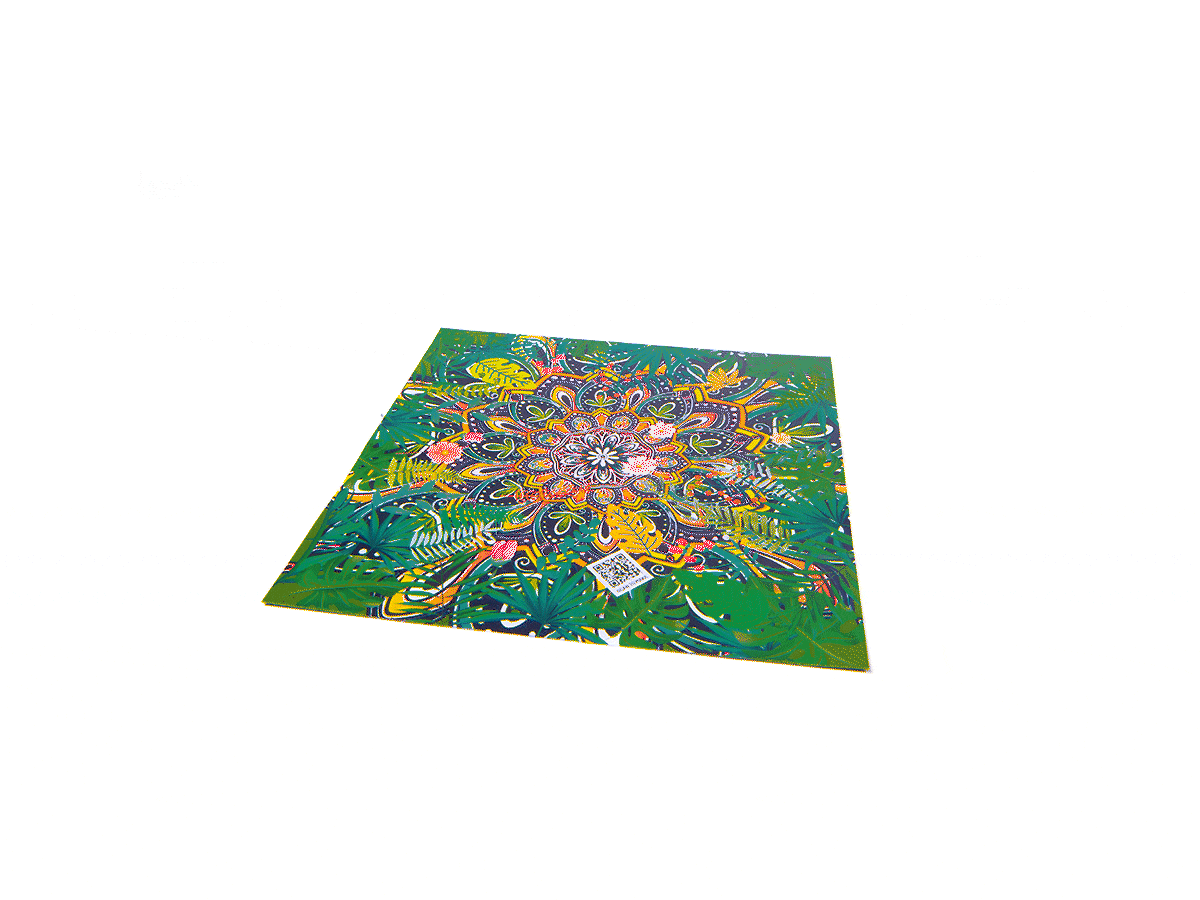
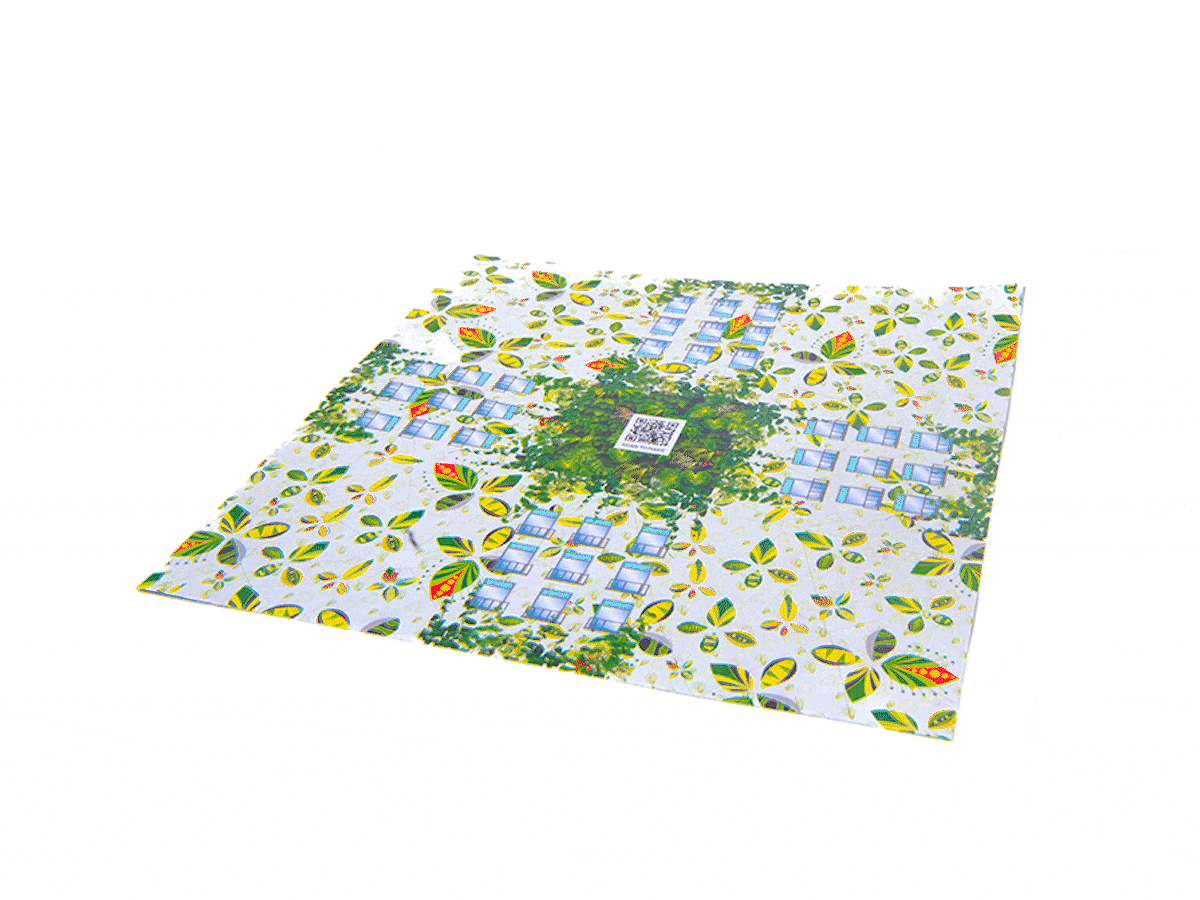
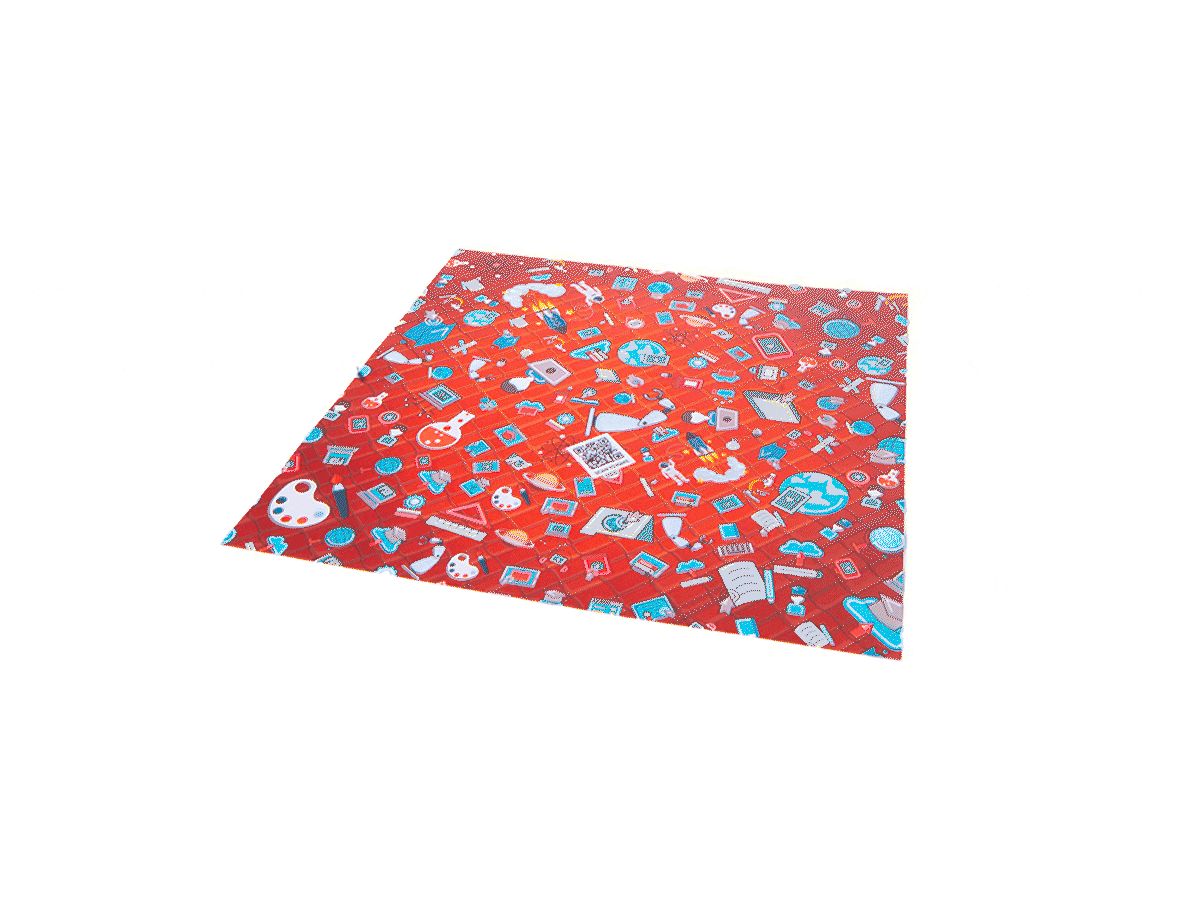
Other Origamies
Explore an exceptional range of origami artworks, where tradition meets innovation. Each piece is thoughtfully crafted, highlighting the artistry and precision of paper folding. From timeless classics to modern interpretations, our collection offers a unique insight into the versatility and beauty of origami.
©2024 National Development Bank PLC, All Rights Reserved
Design & developed by Ogilvy Martech.