Phone Number
Email Us Here
Fold to Unfold a Sustainable Future
Phone Number
Email Us Here
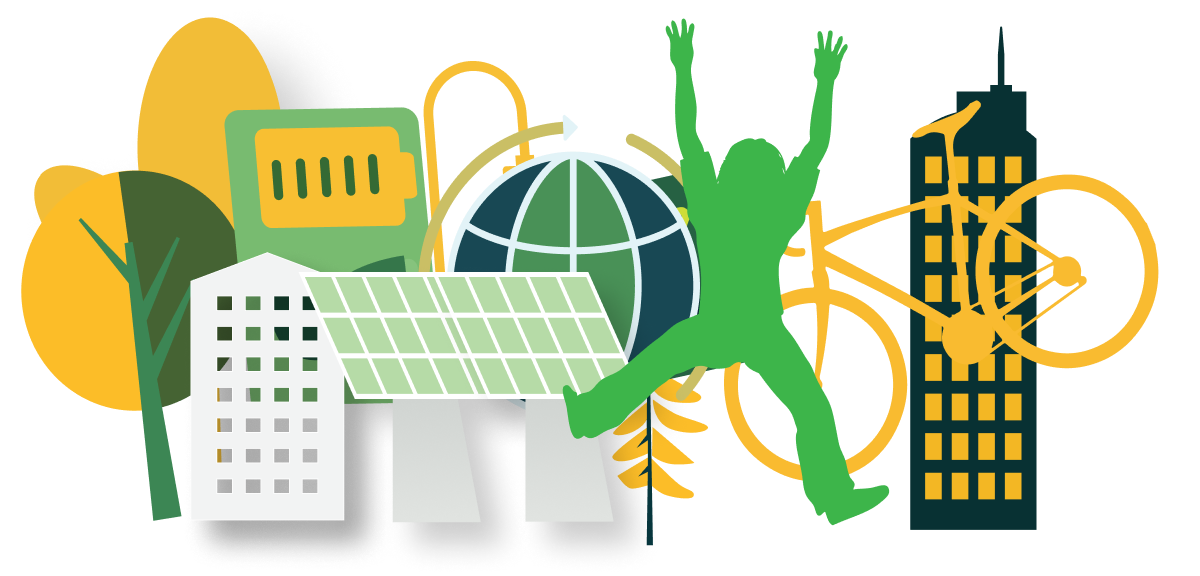

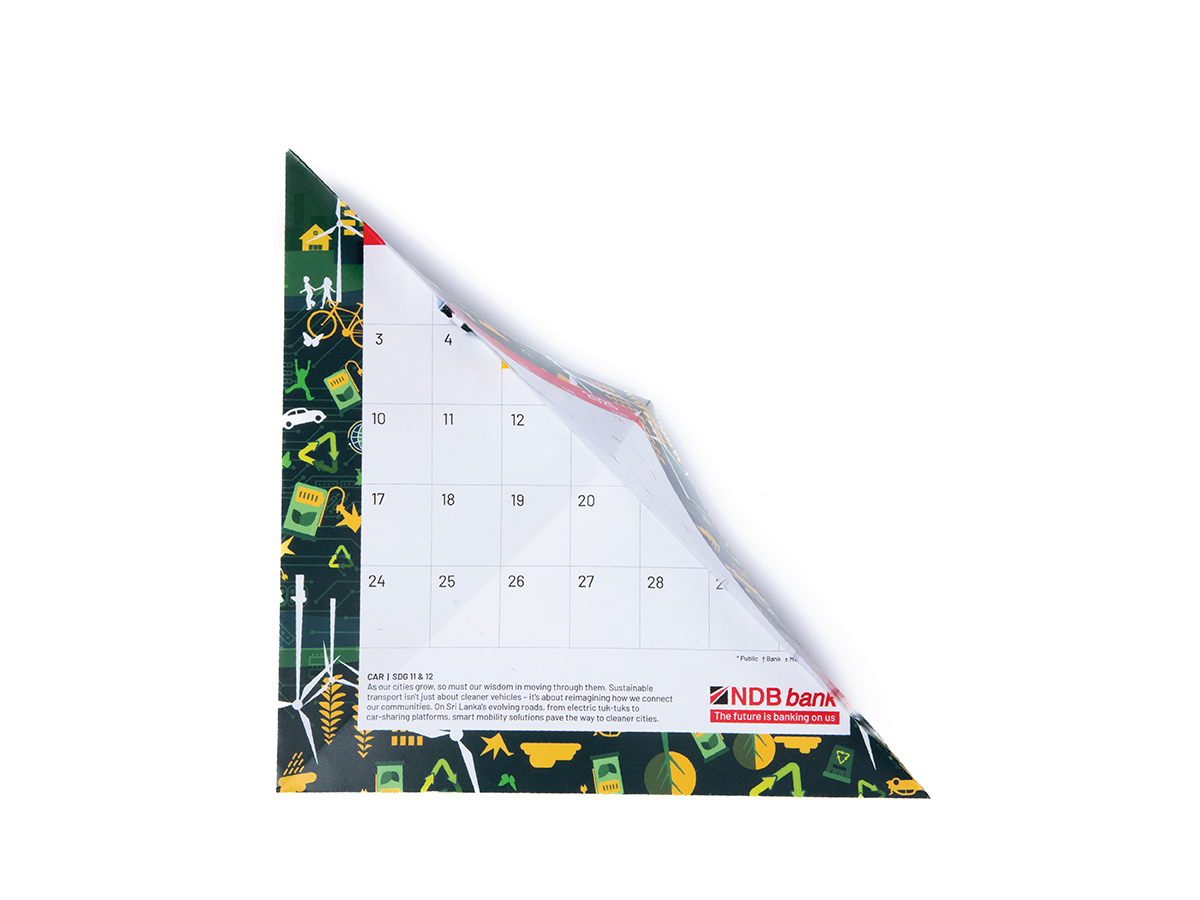
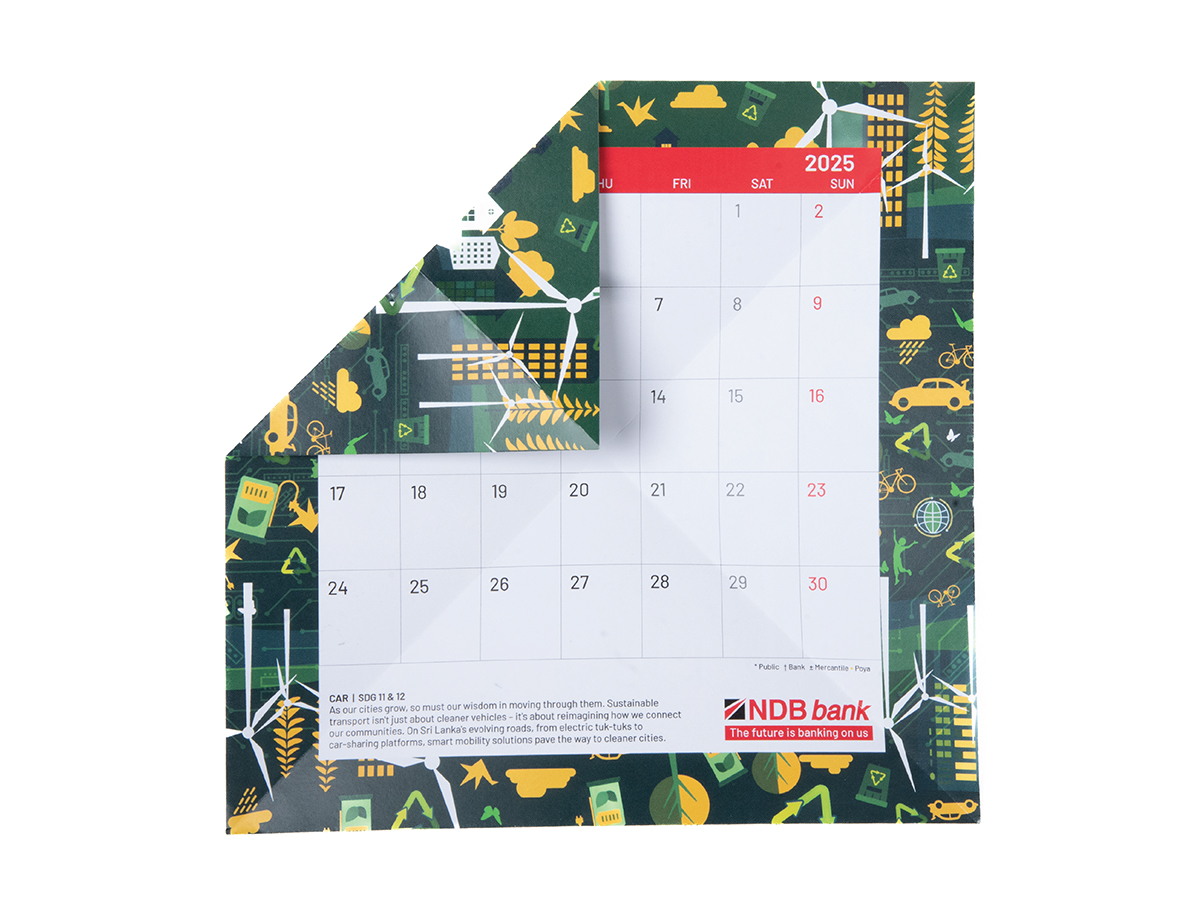
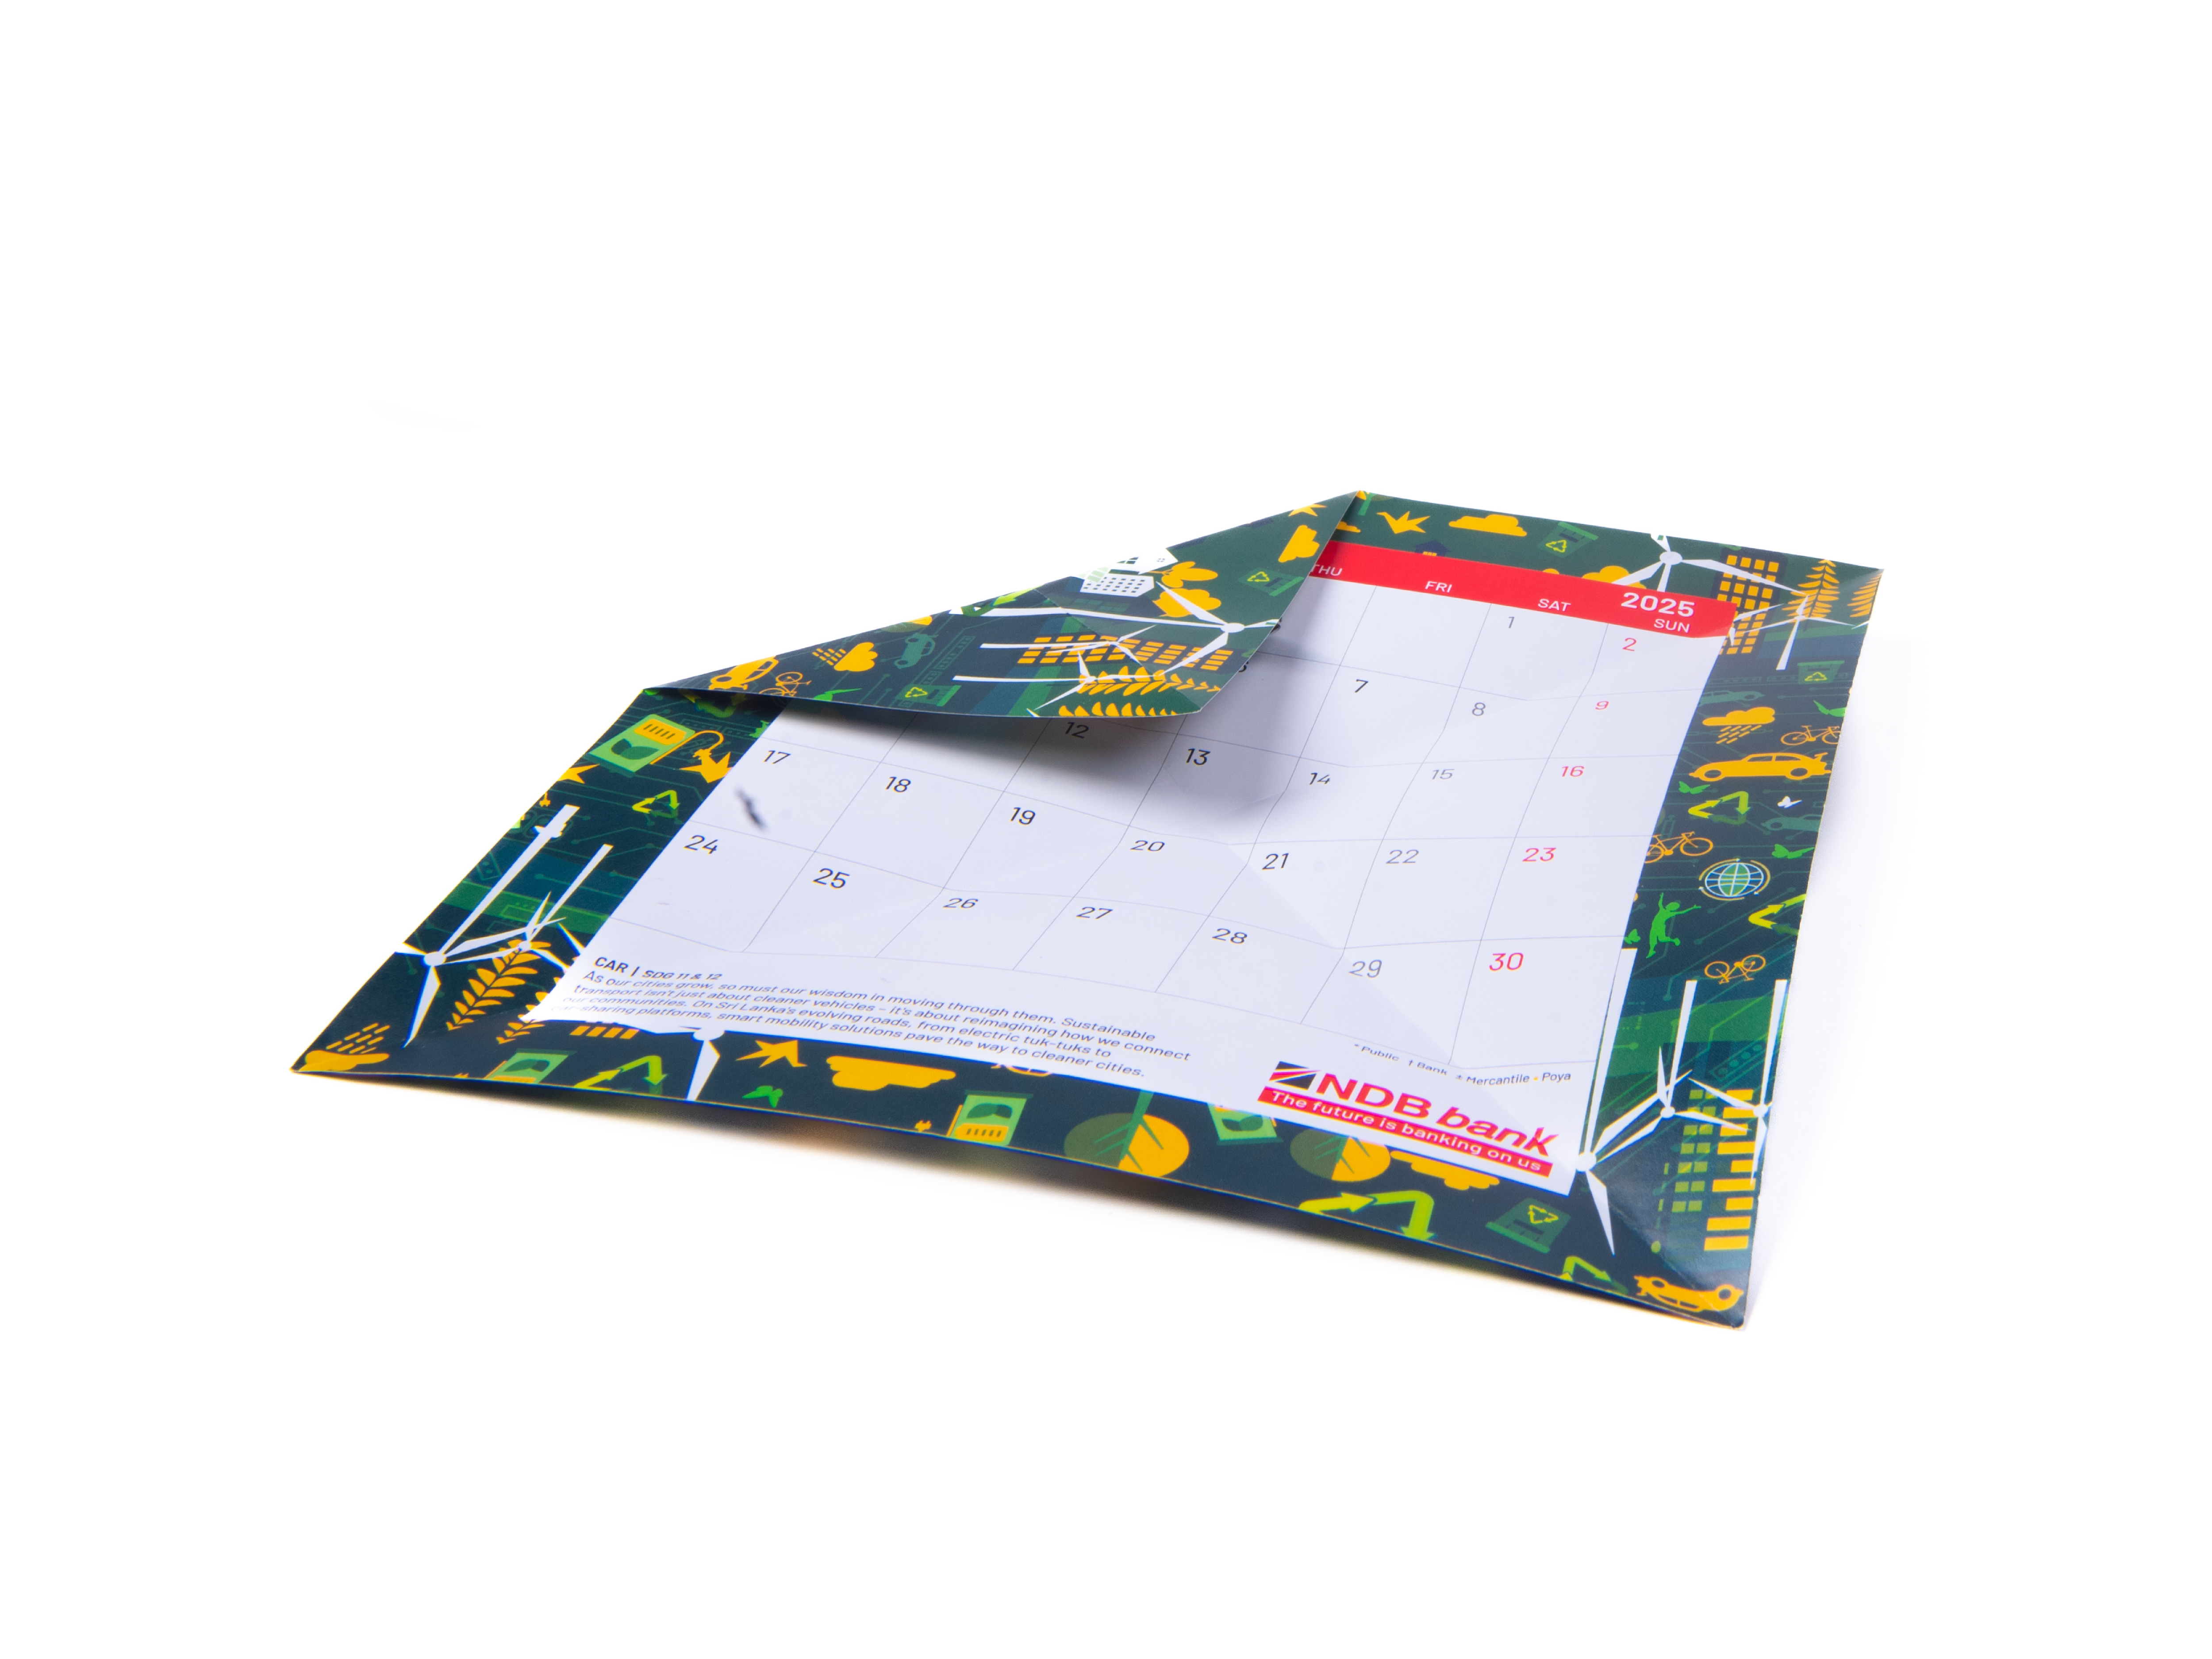
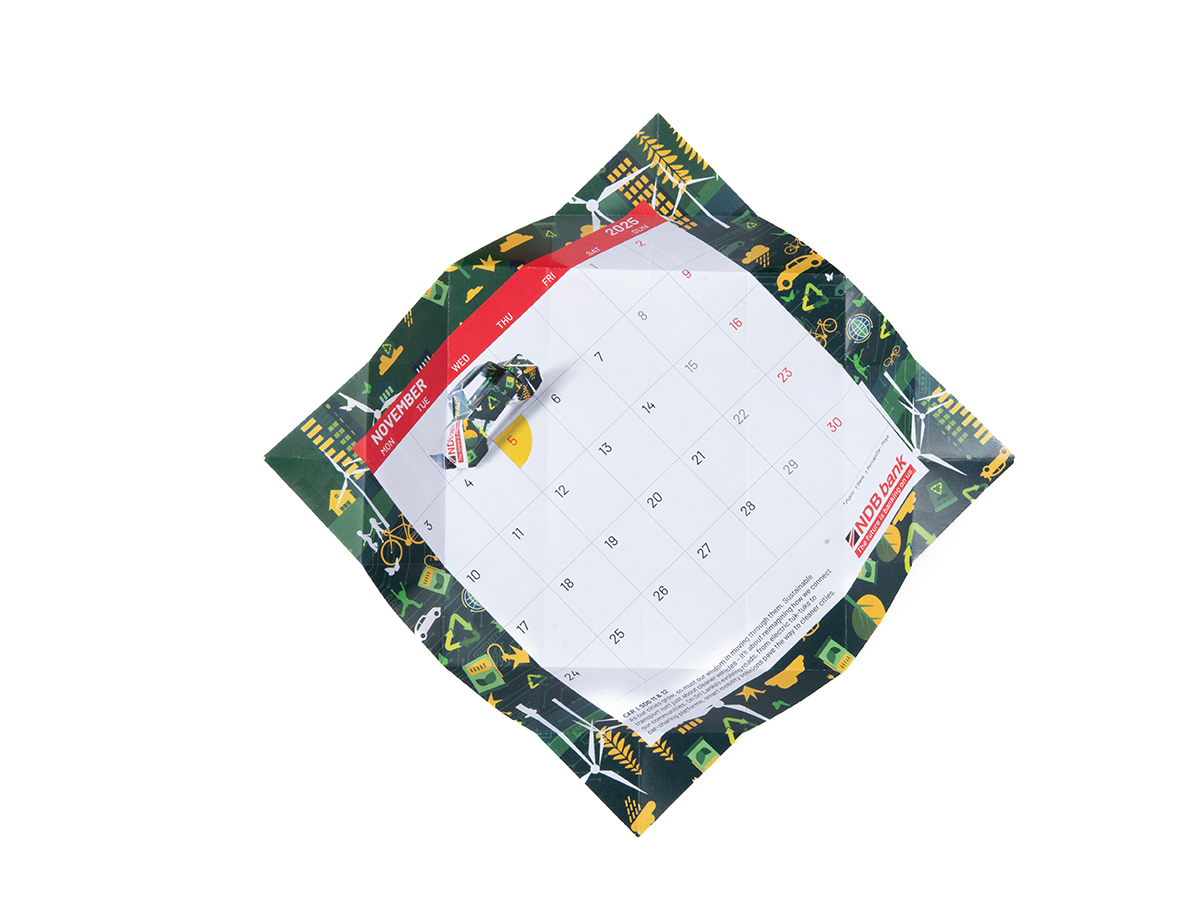
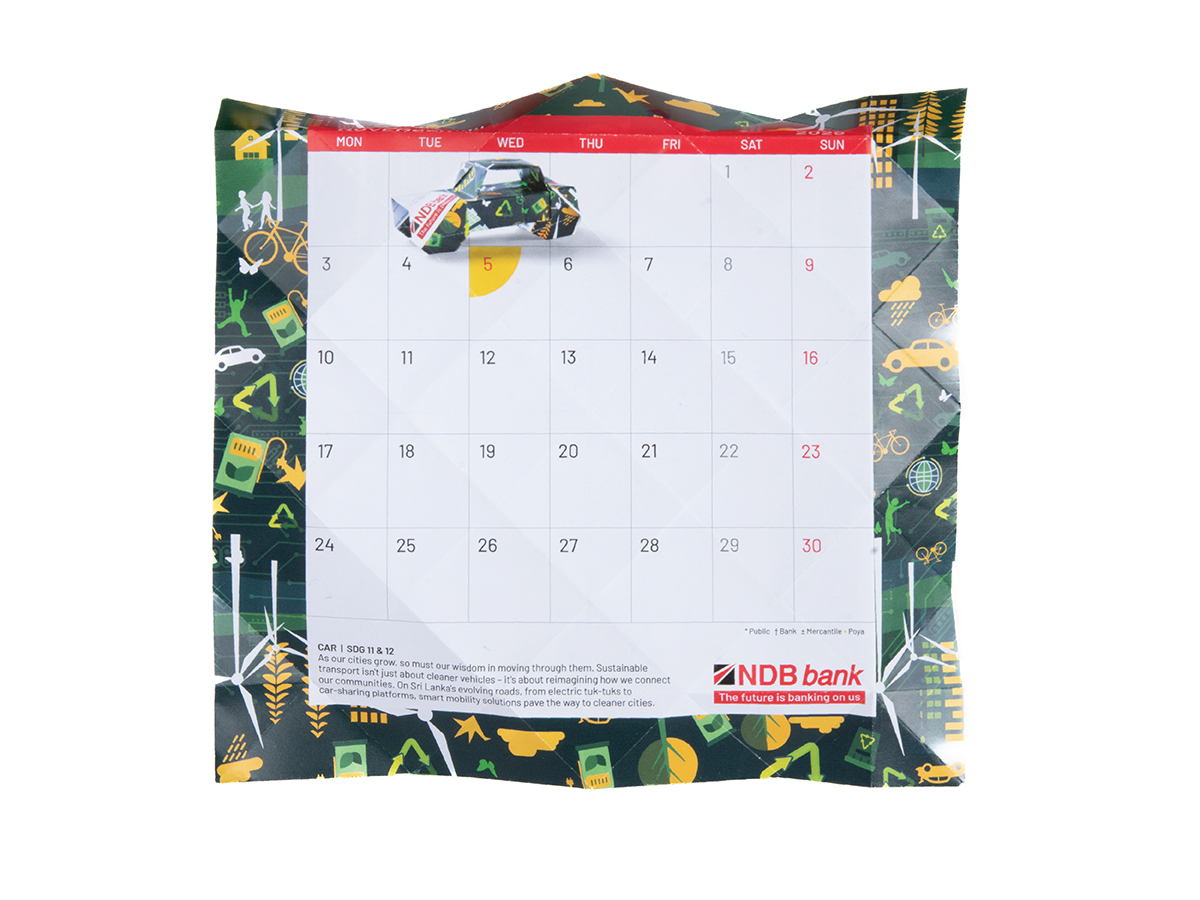
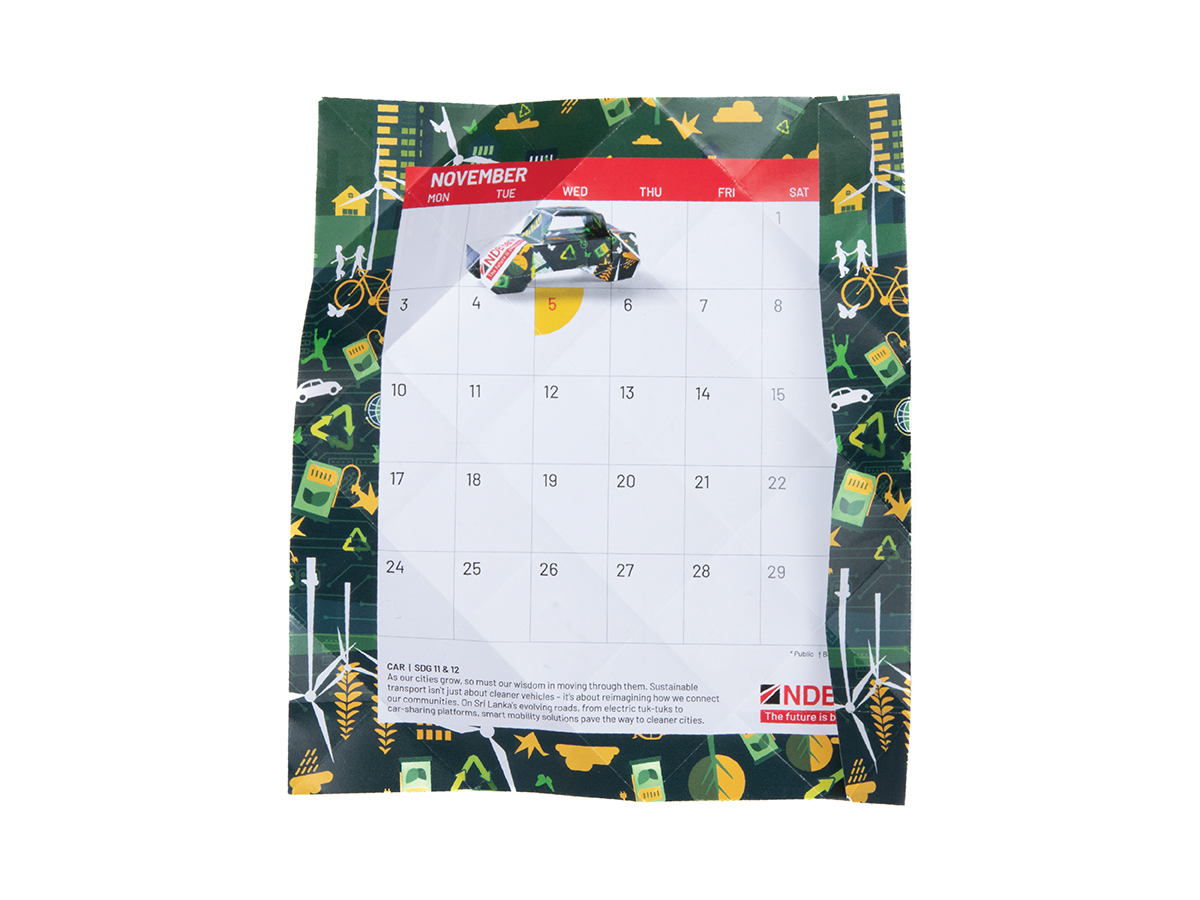
As our cities grow, so must our wisdom in moving through them. Sustainable transport isn't just about cleaner vehicles - it's about reimagining how we connect our communities. On Sri Lanka's evolving roads, from electric tuk-tuks to car-sharing platforms, smart mobility solutions pave the way to cleaner cities.

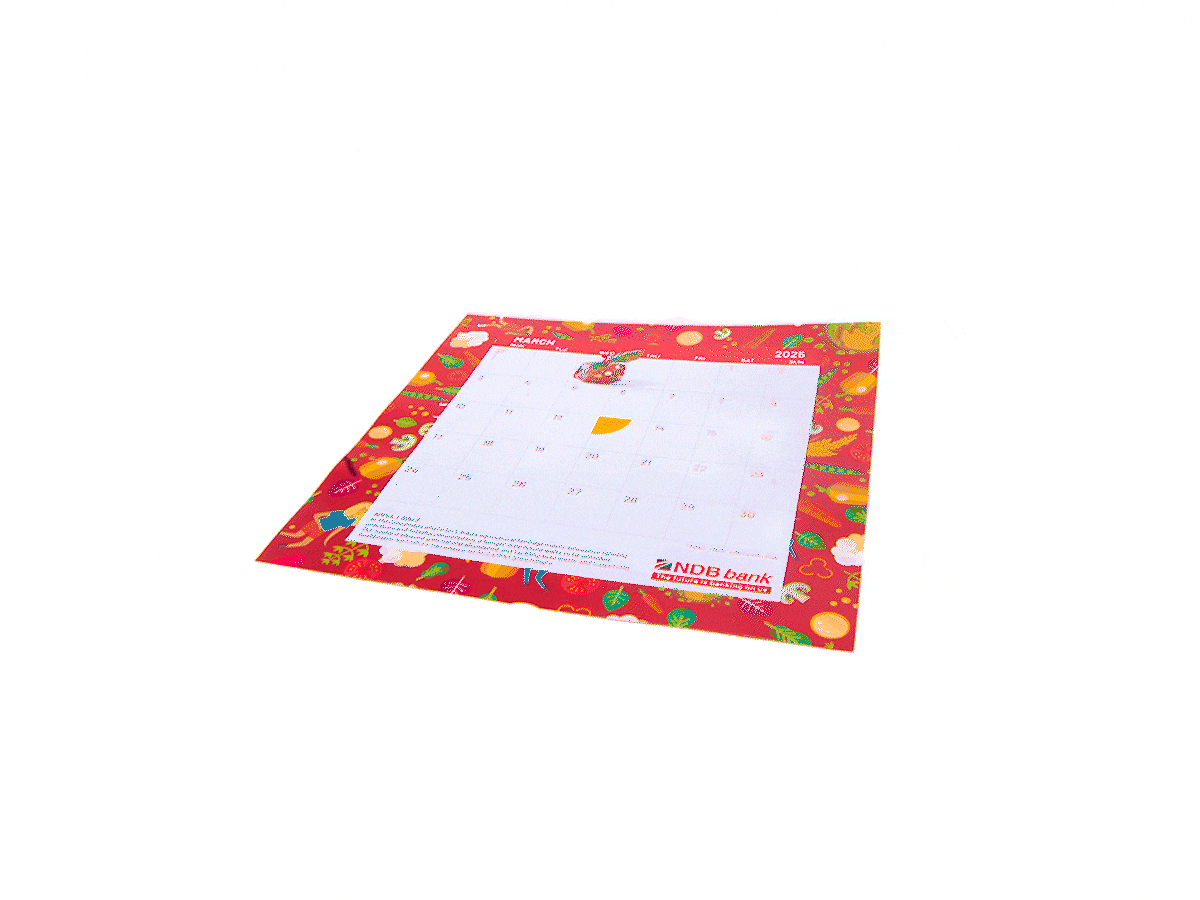
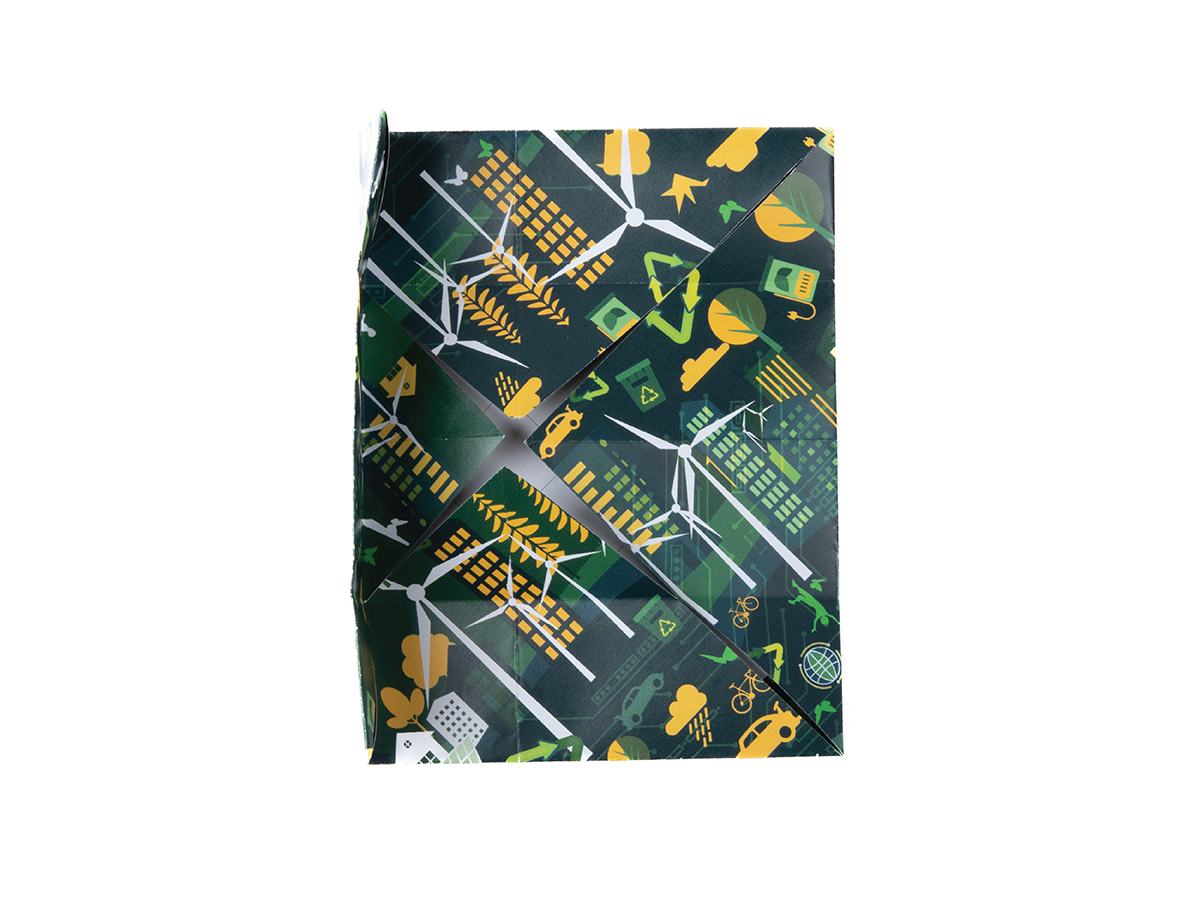
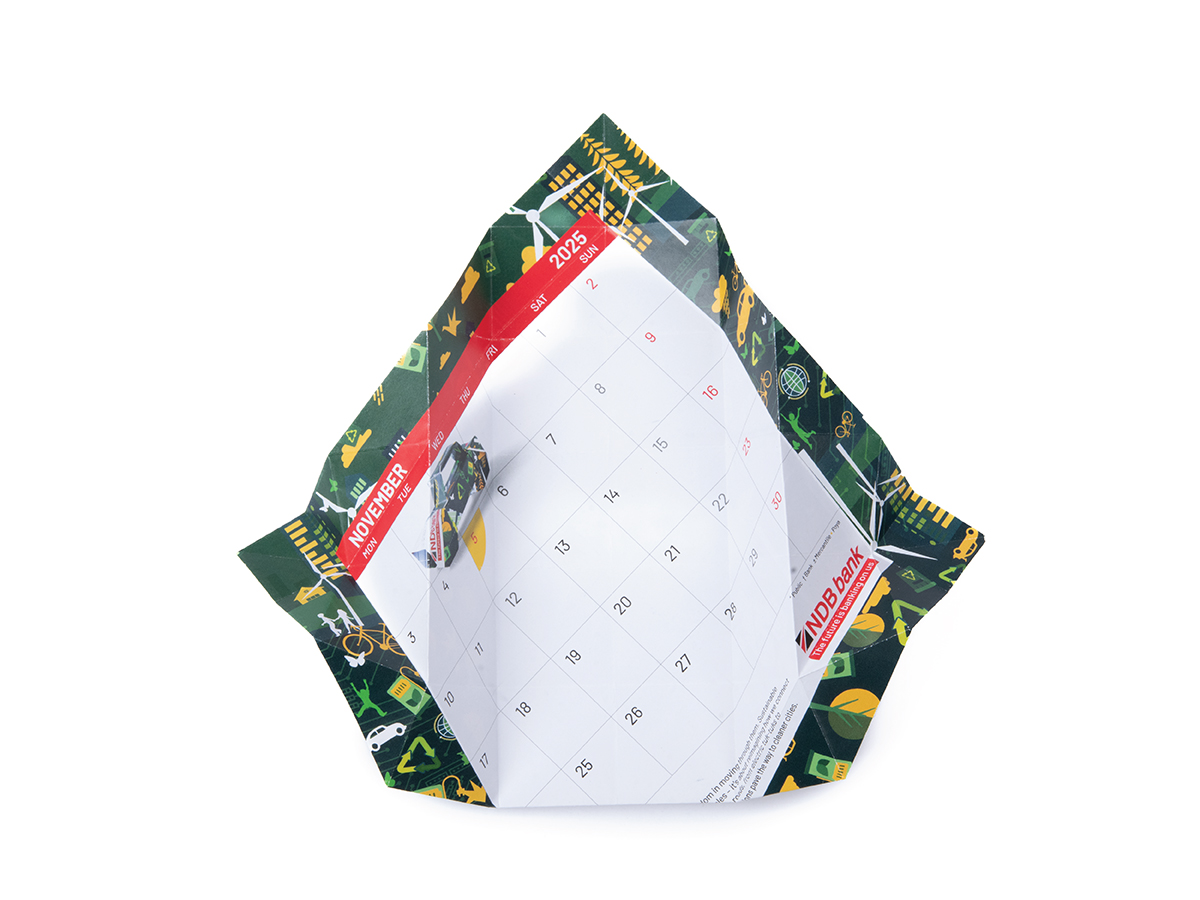
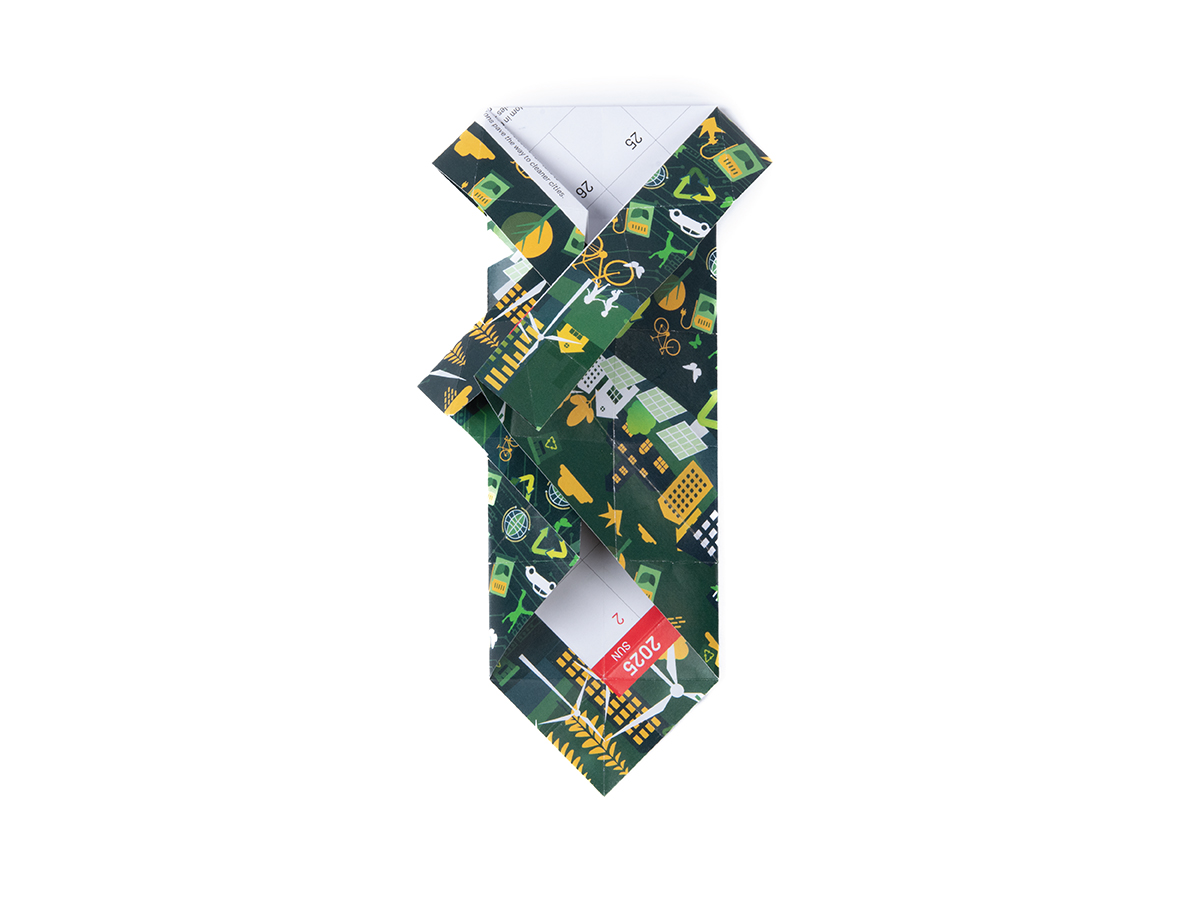
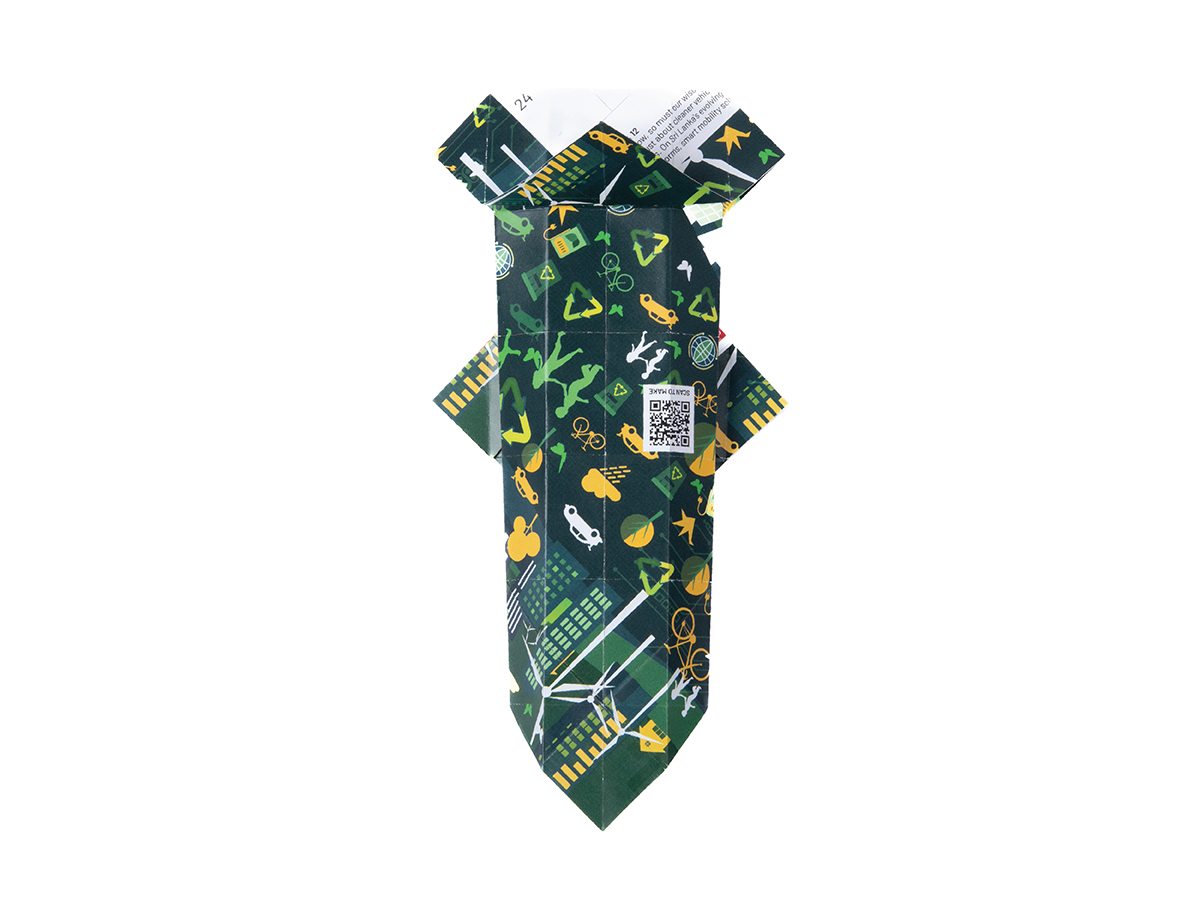
Place the November origami sheet in front of you on a flat surface, and turn it so the dated side is facing up. Don't turn the sheet unless the instructions tell you to do so.

Fold the top left corner down to the bottom right corner, crease and unfold.
Fold the top right corner down to the bottom left corner, crease and unfold.
Fold the top left corner down to the middle.
Place the November origami sheet in front of you on a flat surface, and turn it so the dated side is facing up. Don't turn the sheet unless the instructions tell you to do so.
Fold the top left corner down to the bottom right corner, crease and unfold.
Fold the top right corner down to the bottom left corner, crease and unfold.
Fold the top left corner down to the middle.
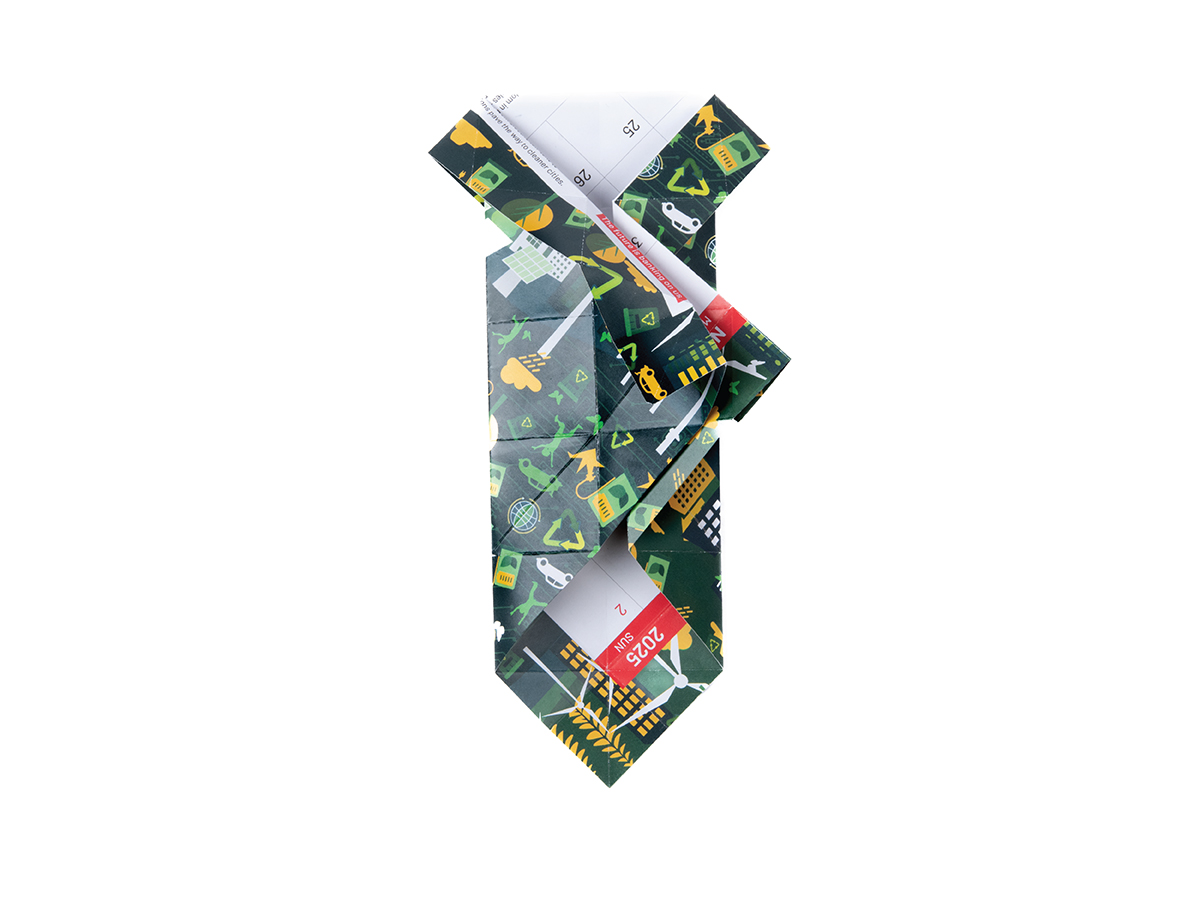
Repeat on all 4 sides, bringing all the corners to the middle and creasing well.
Fold the left edge of the shape vertically to the middle. Do the same to the right edge, like you're creating a gate fold. Crease well and unfold.
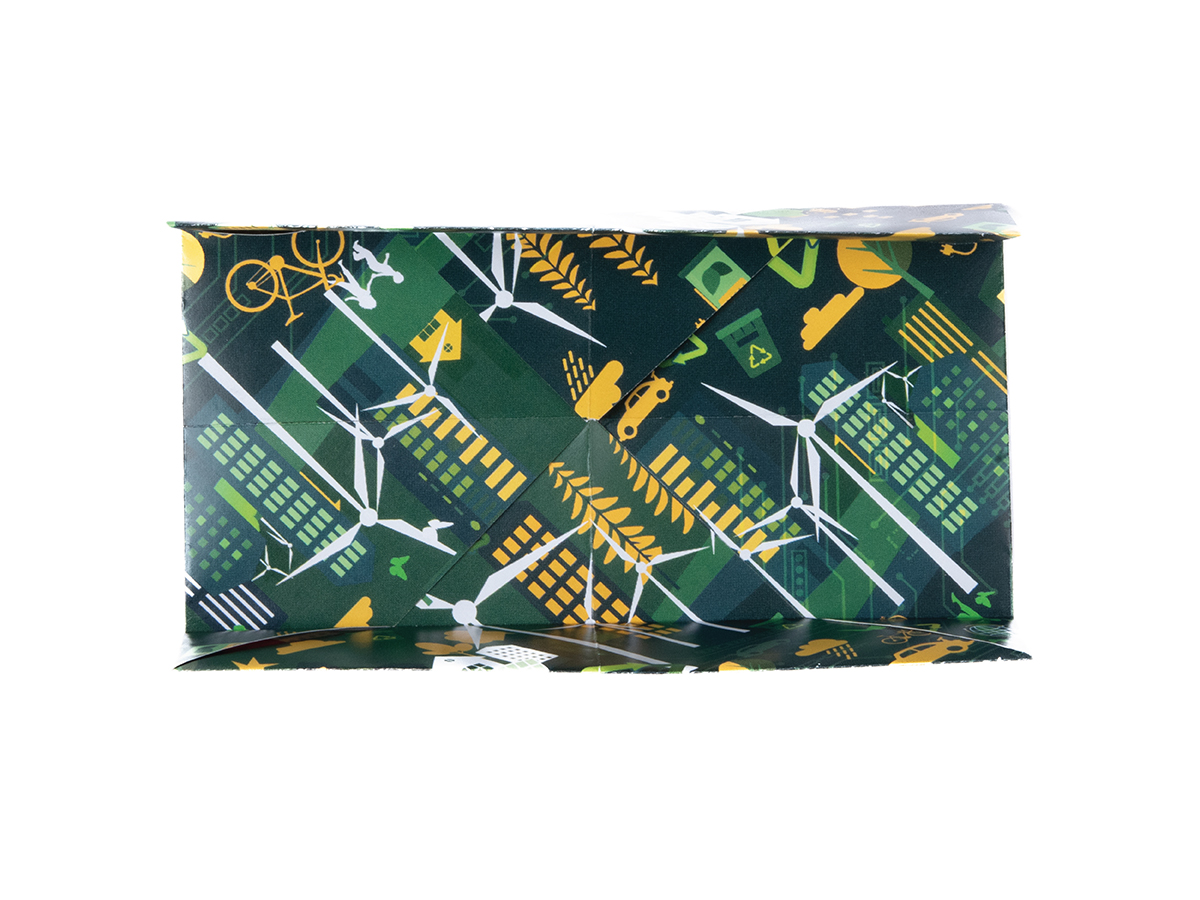
Repeat on the horizontal edges as shown, crease well and unfold.
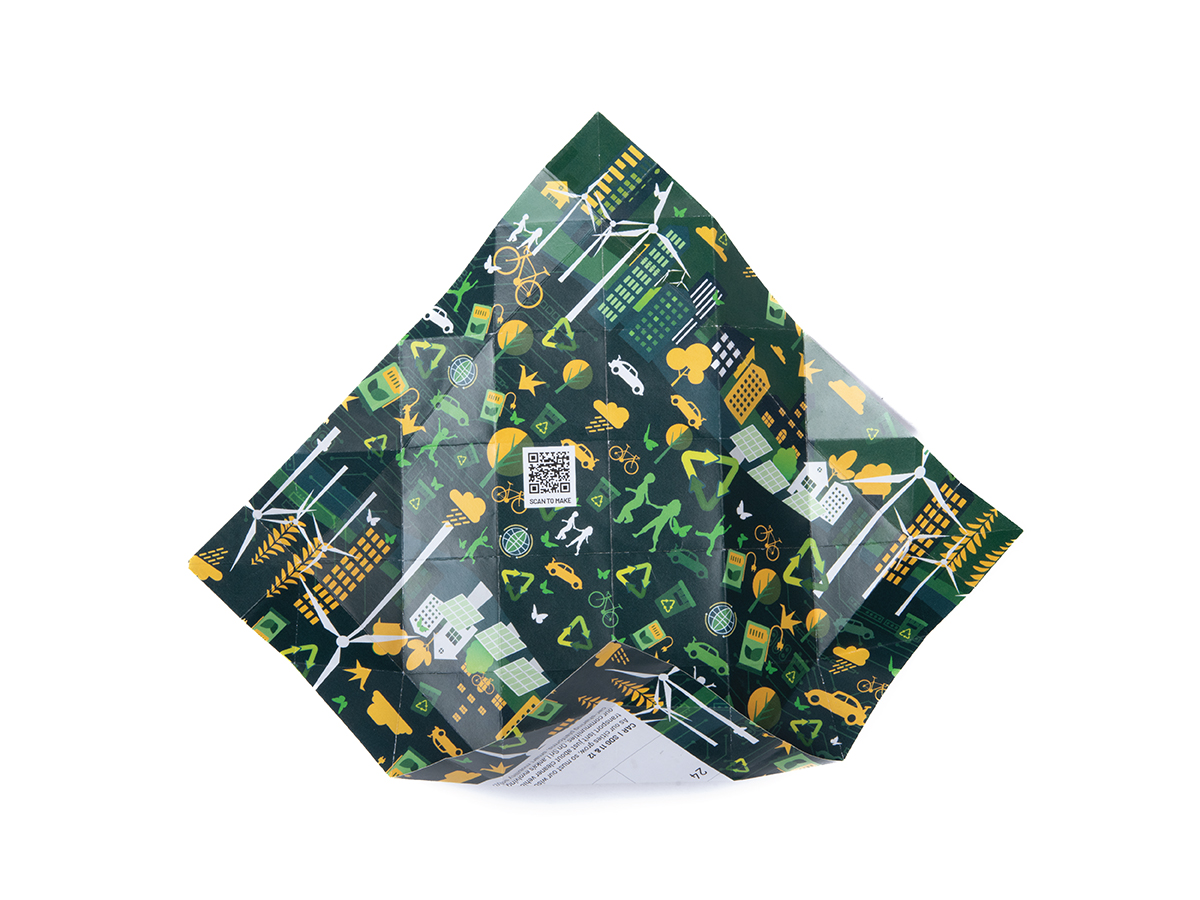
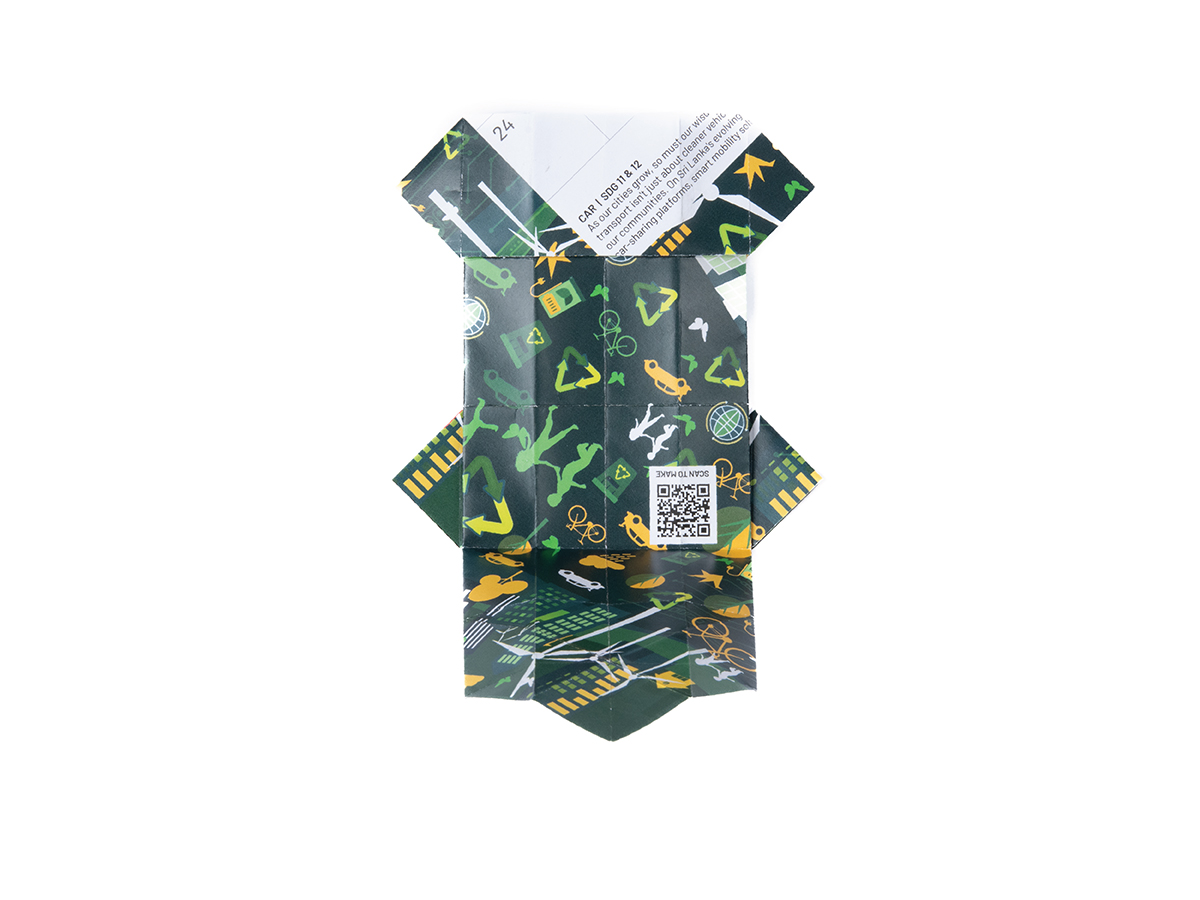
Unfold the sheet entirely, turning it dated side up as shown.
Repeat on all 4 sides, bringing all the corners to the middle and creasing well.
Fold the left edge of the shape vertically to the middle. Do the same to the right edge, like you're creating a gate fold. Crease well and unfold.
Repeat on the horizontal edges as shown, crease well and unfold.
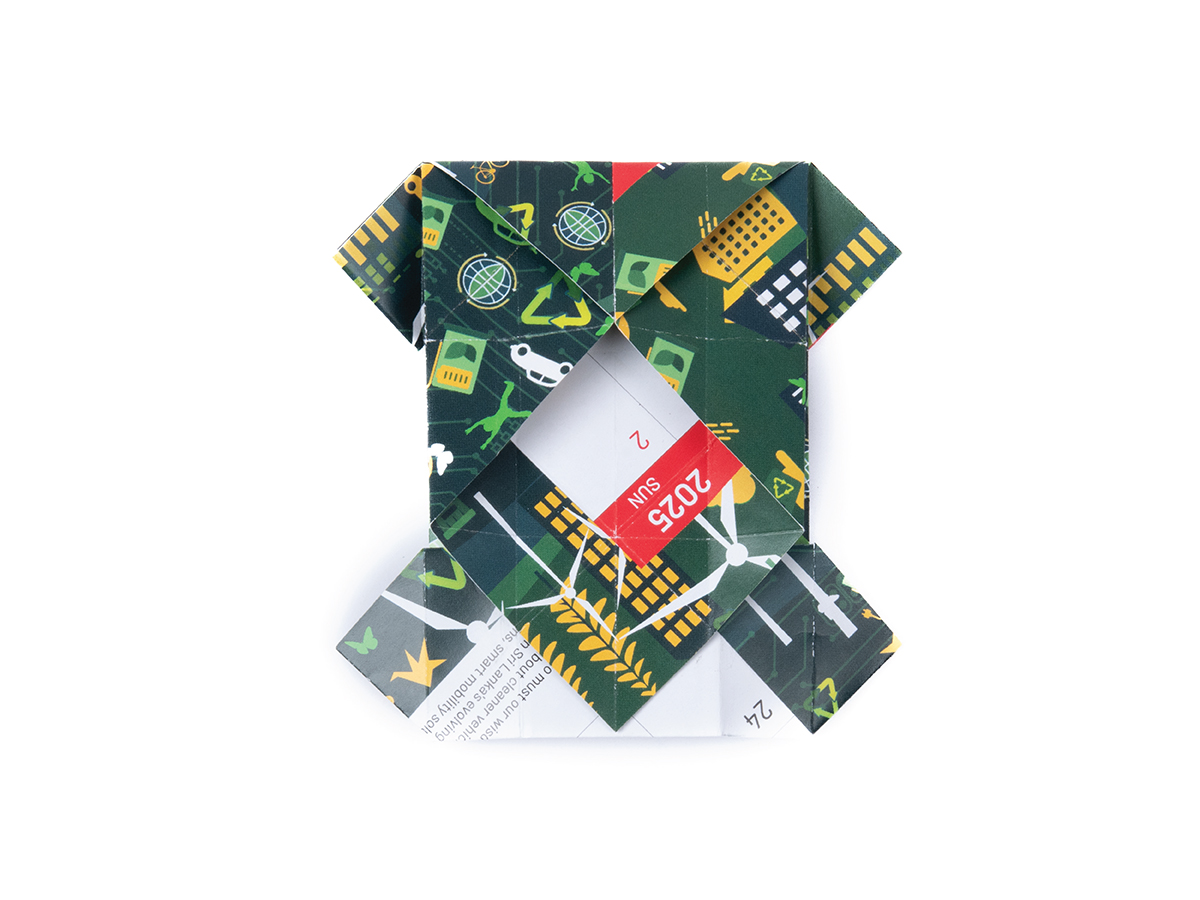
Unfold the sheet entirely, turning it dated side up as shown.
In the top left corner, locate the point where 2 diagonal creases cross, and the matching point on the right corner. Using these points as your guide, fold the top edge down horizontally, crease and unfold.
Repeat on all sides.

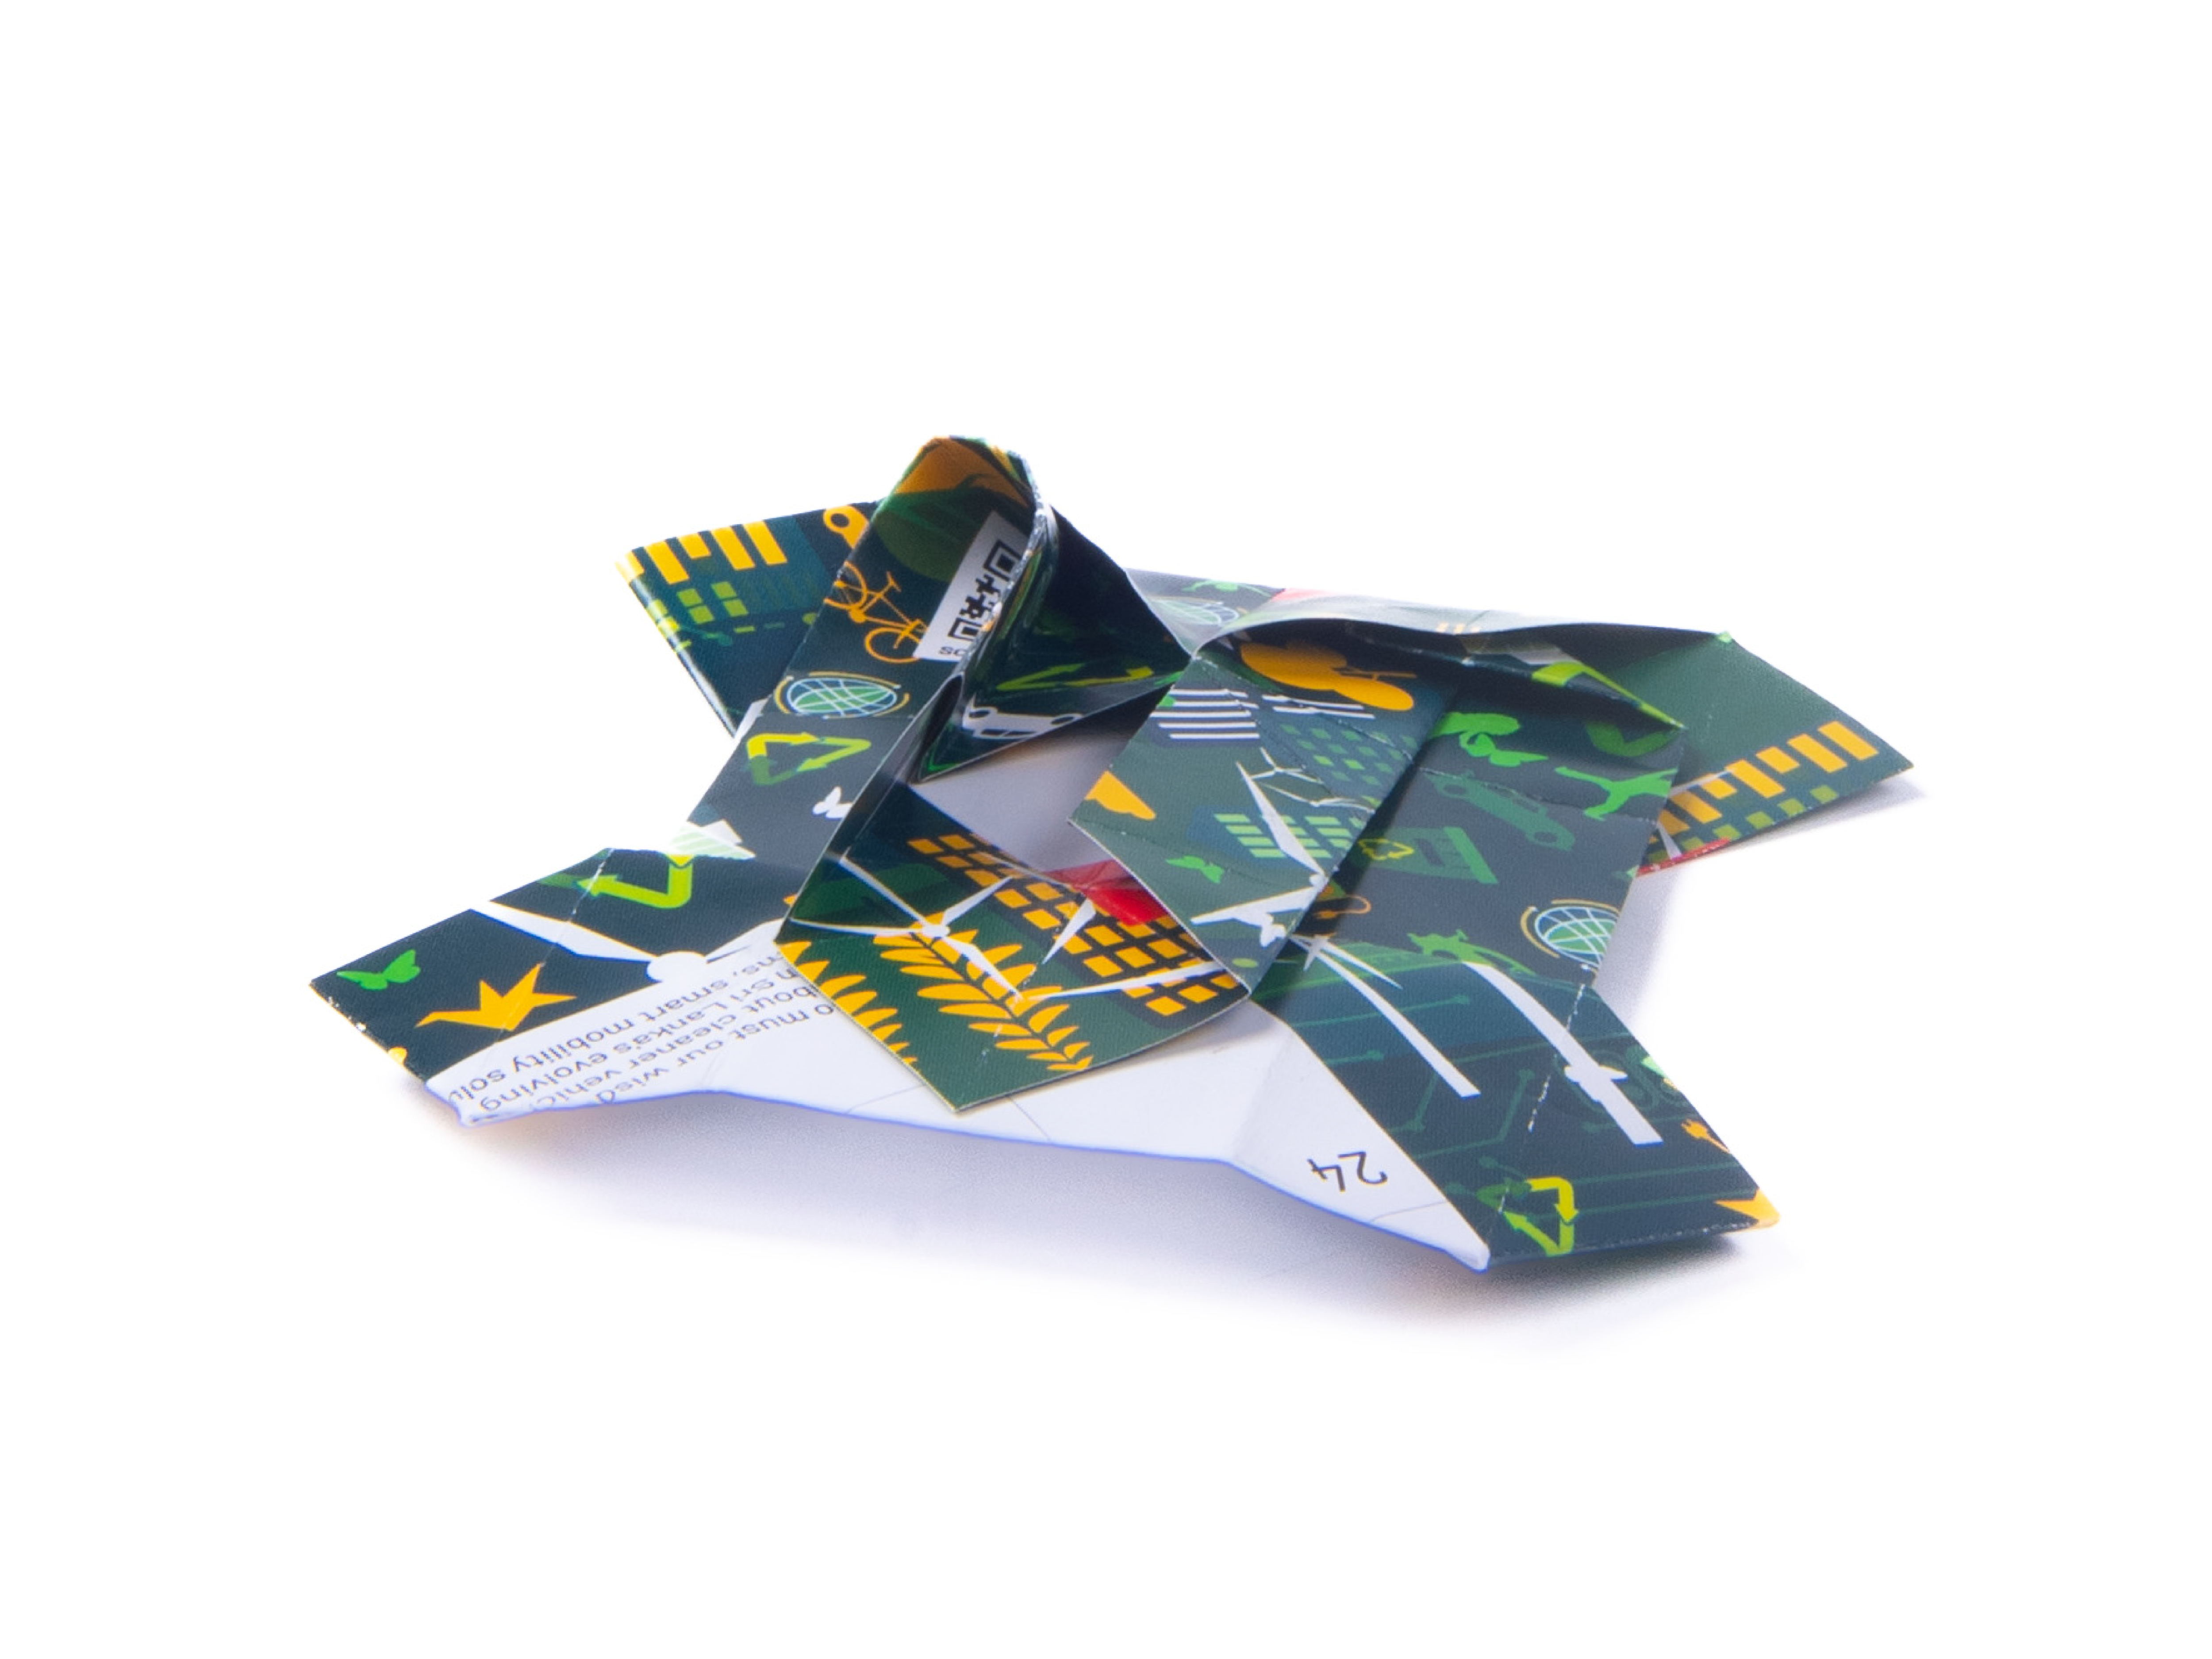
Using the existing creases, fold the top left corner in, then out, as shown.

Repeat with the bottom right corner. The 2 diagonal inner folds will meet along the middle.
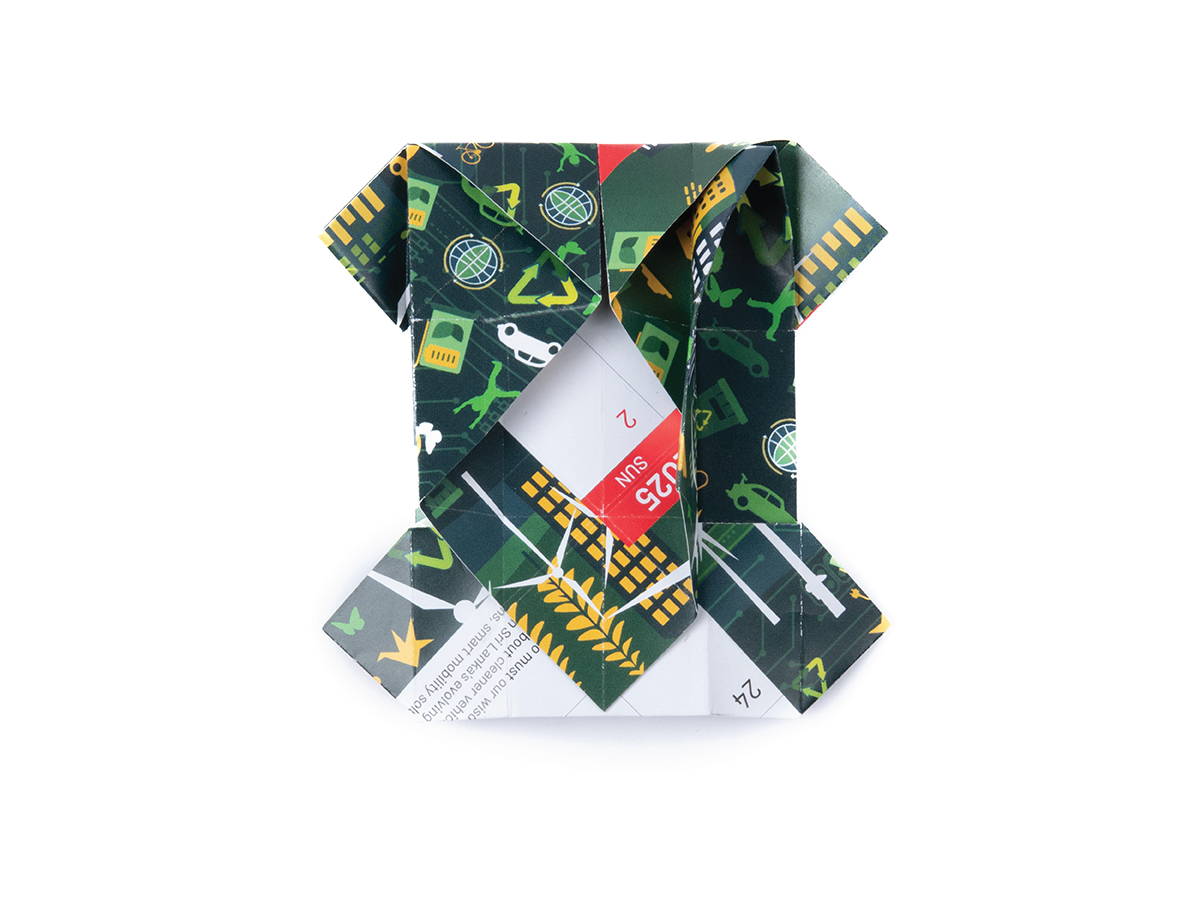
In the top left corner, locate the point where 2 diagonal creases cross, and the matching point on the right corner. Using these points as your guide, fold the top edge down horizontally, crease and unfold.
Repeat on all sides.
Using the existing creases, fold the top left corner in, then out, as shown.
Repeat with the bottom right corner. The 2 diagonal inner folds will meet along the middle.
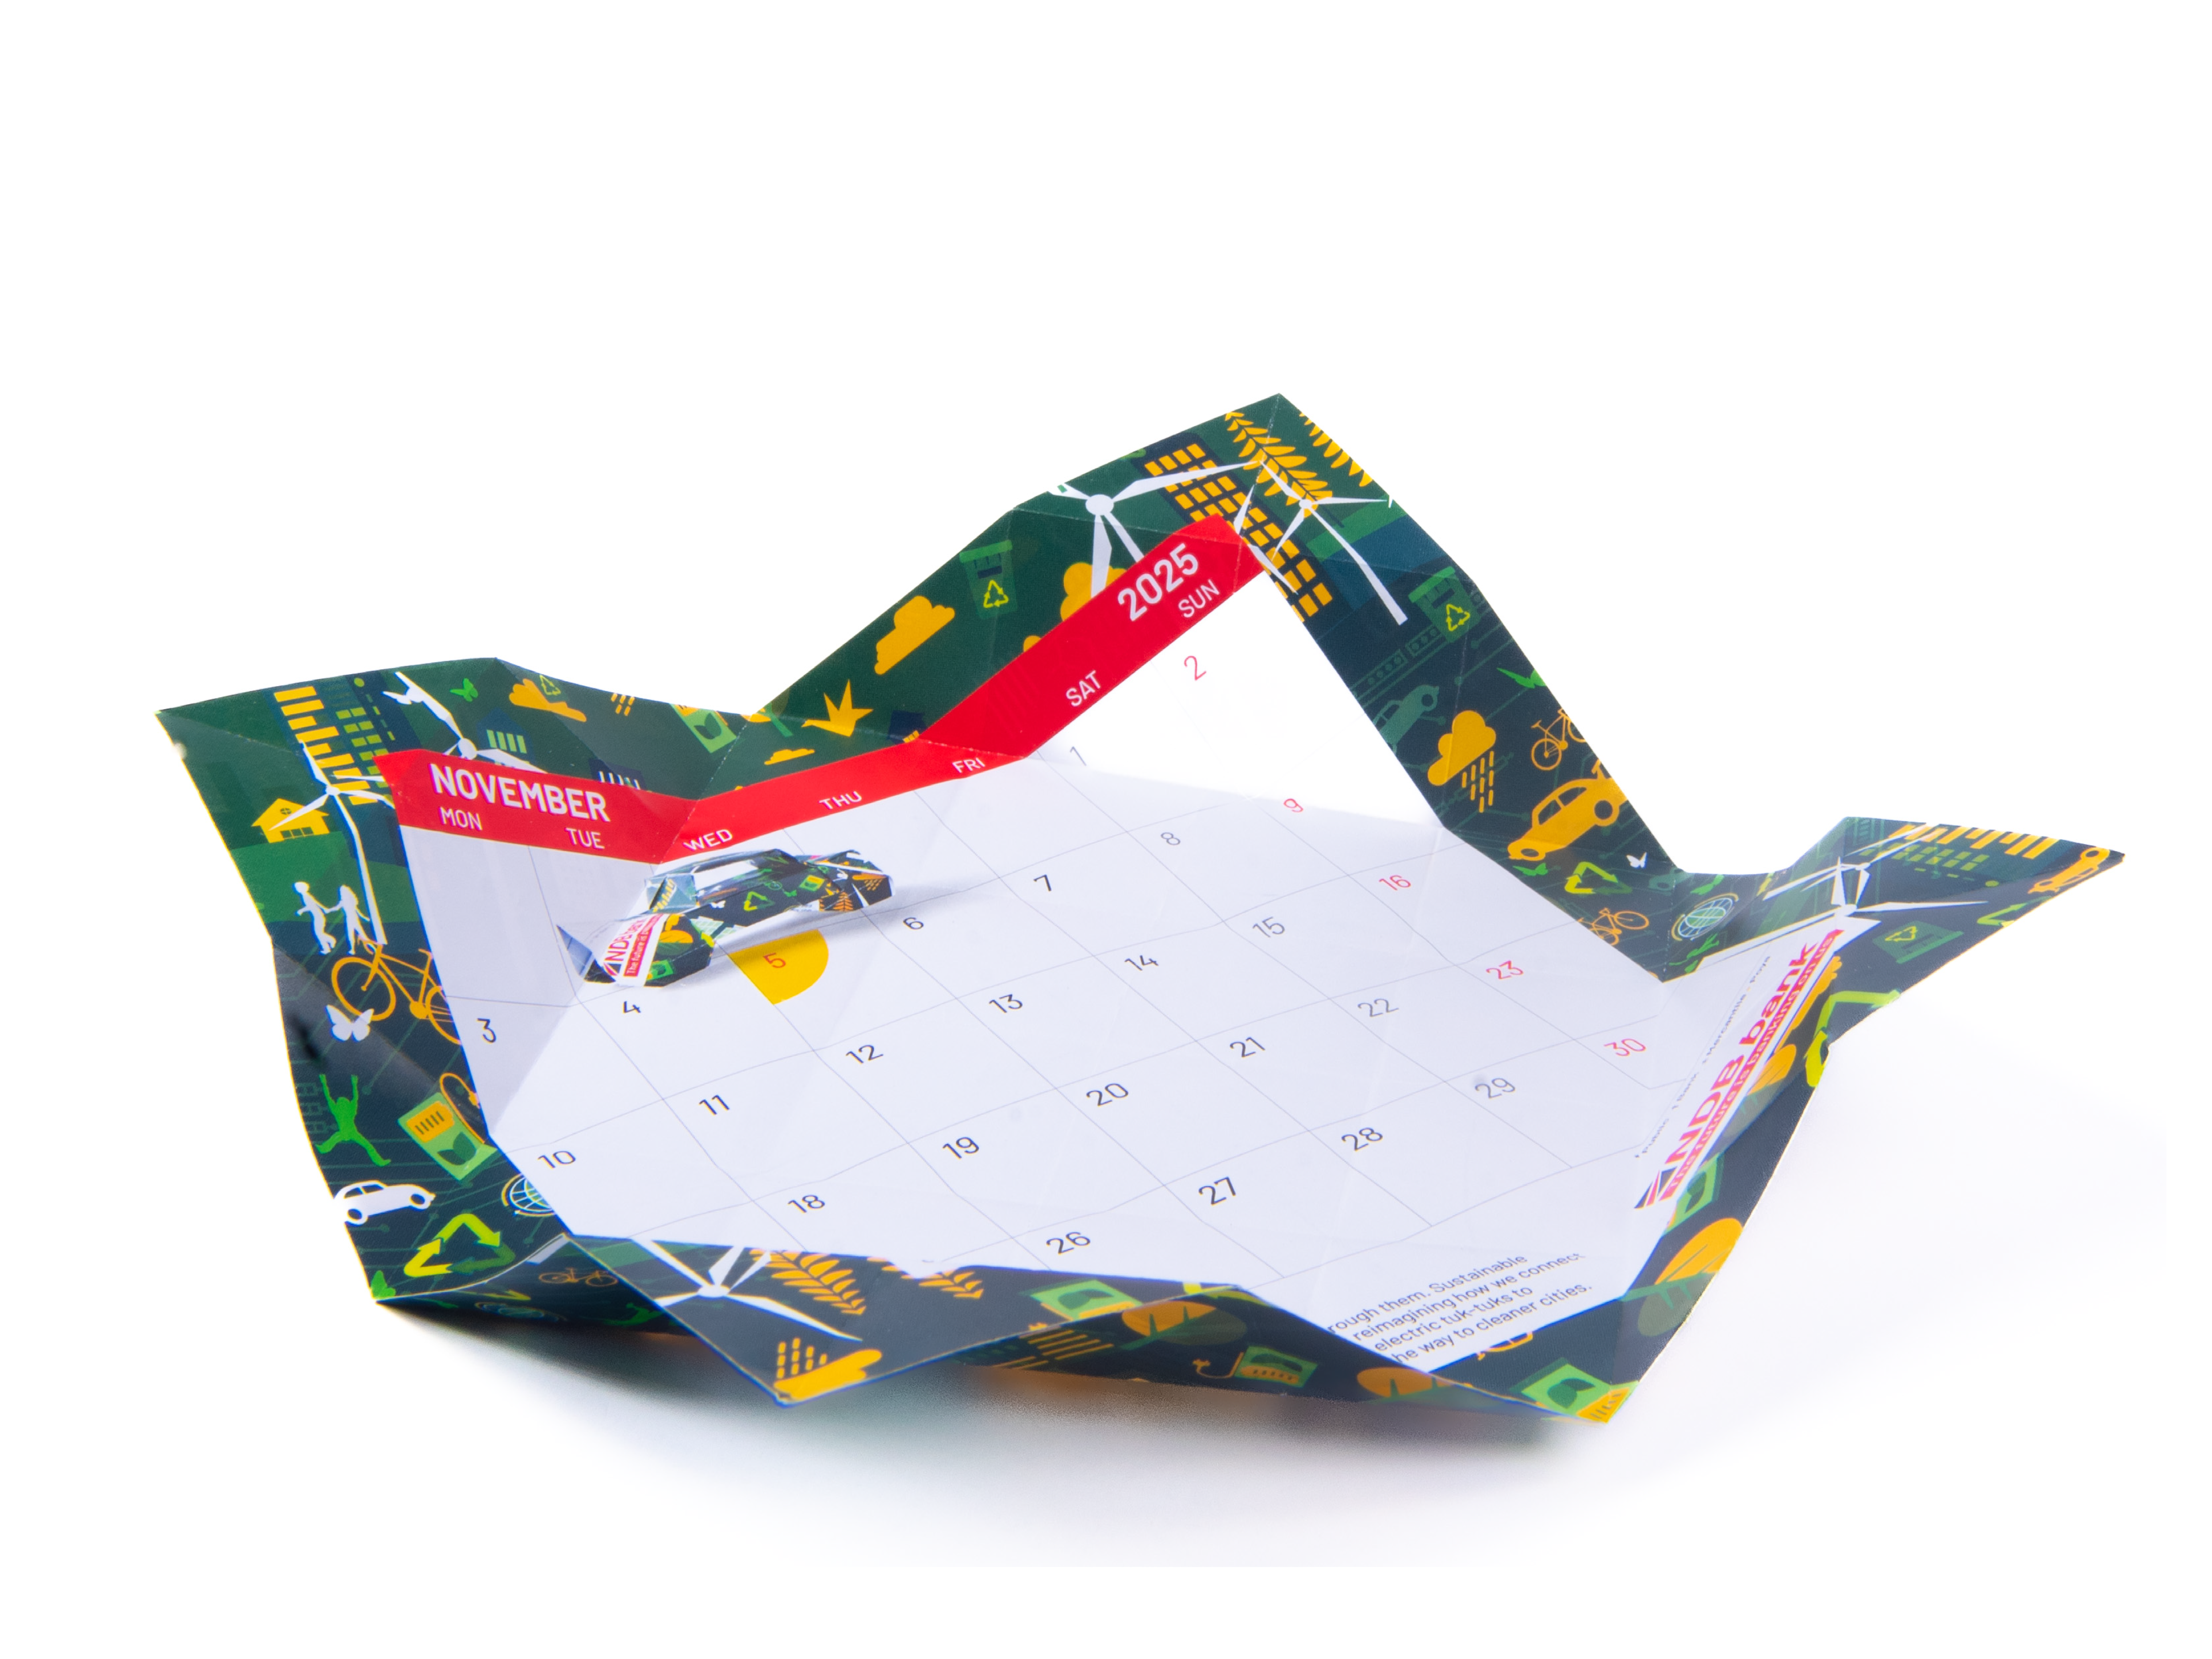
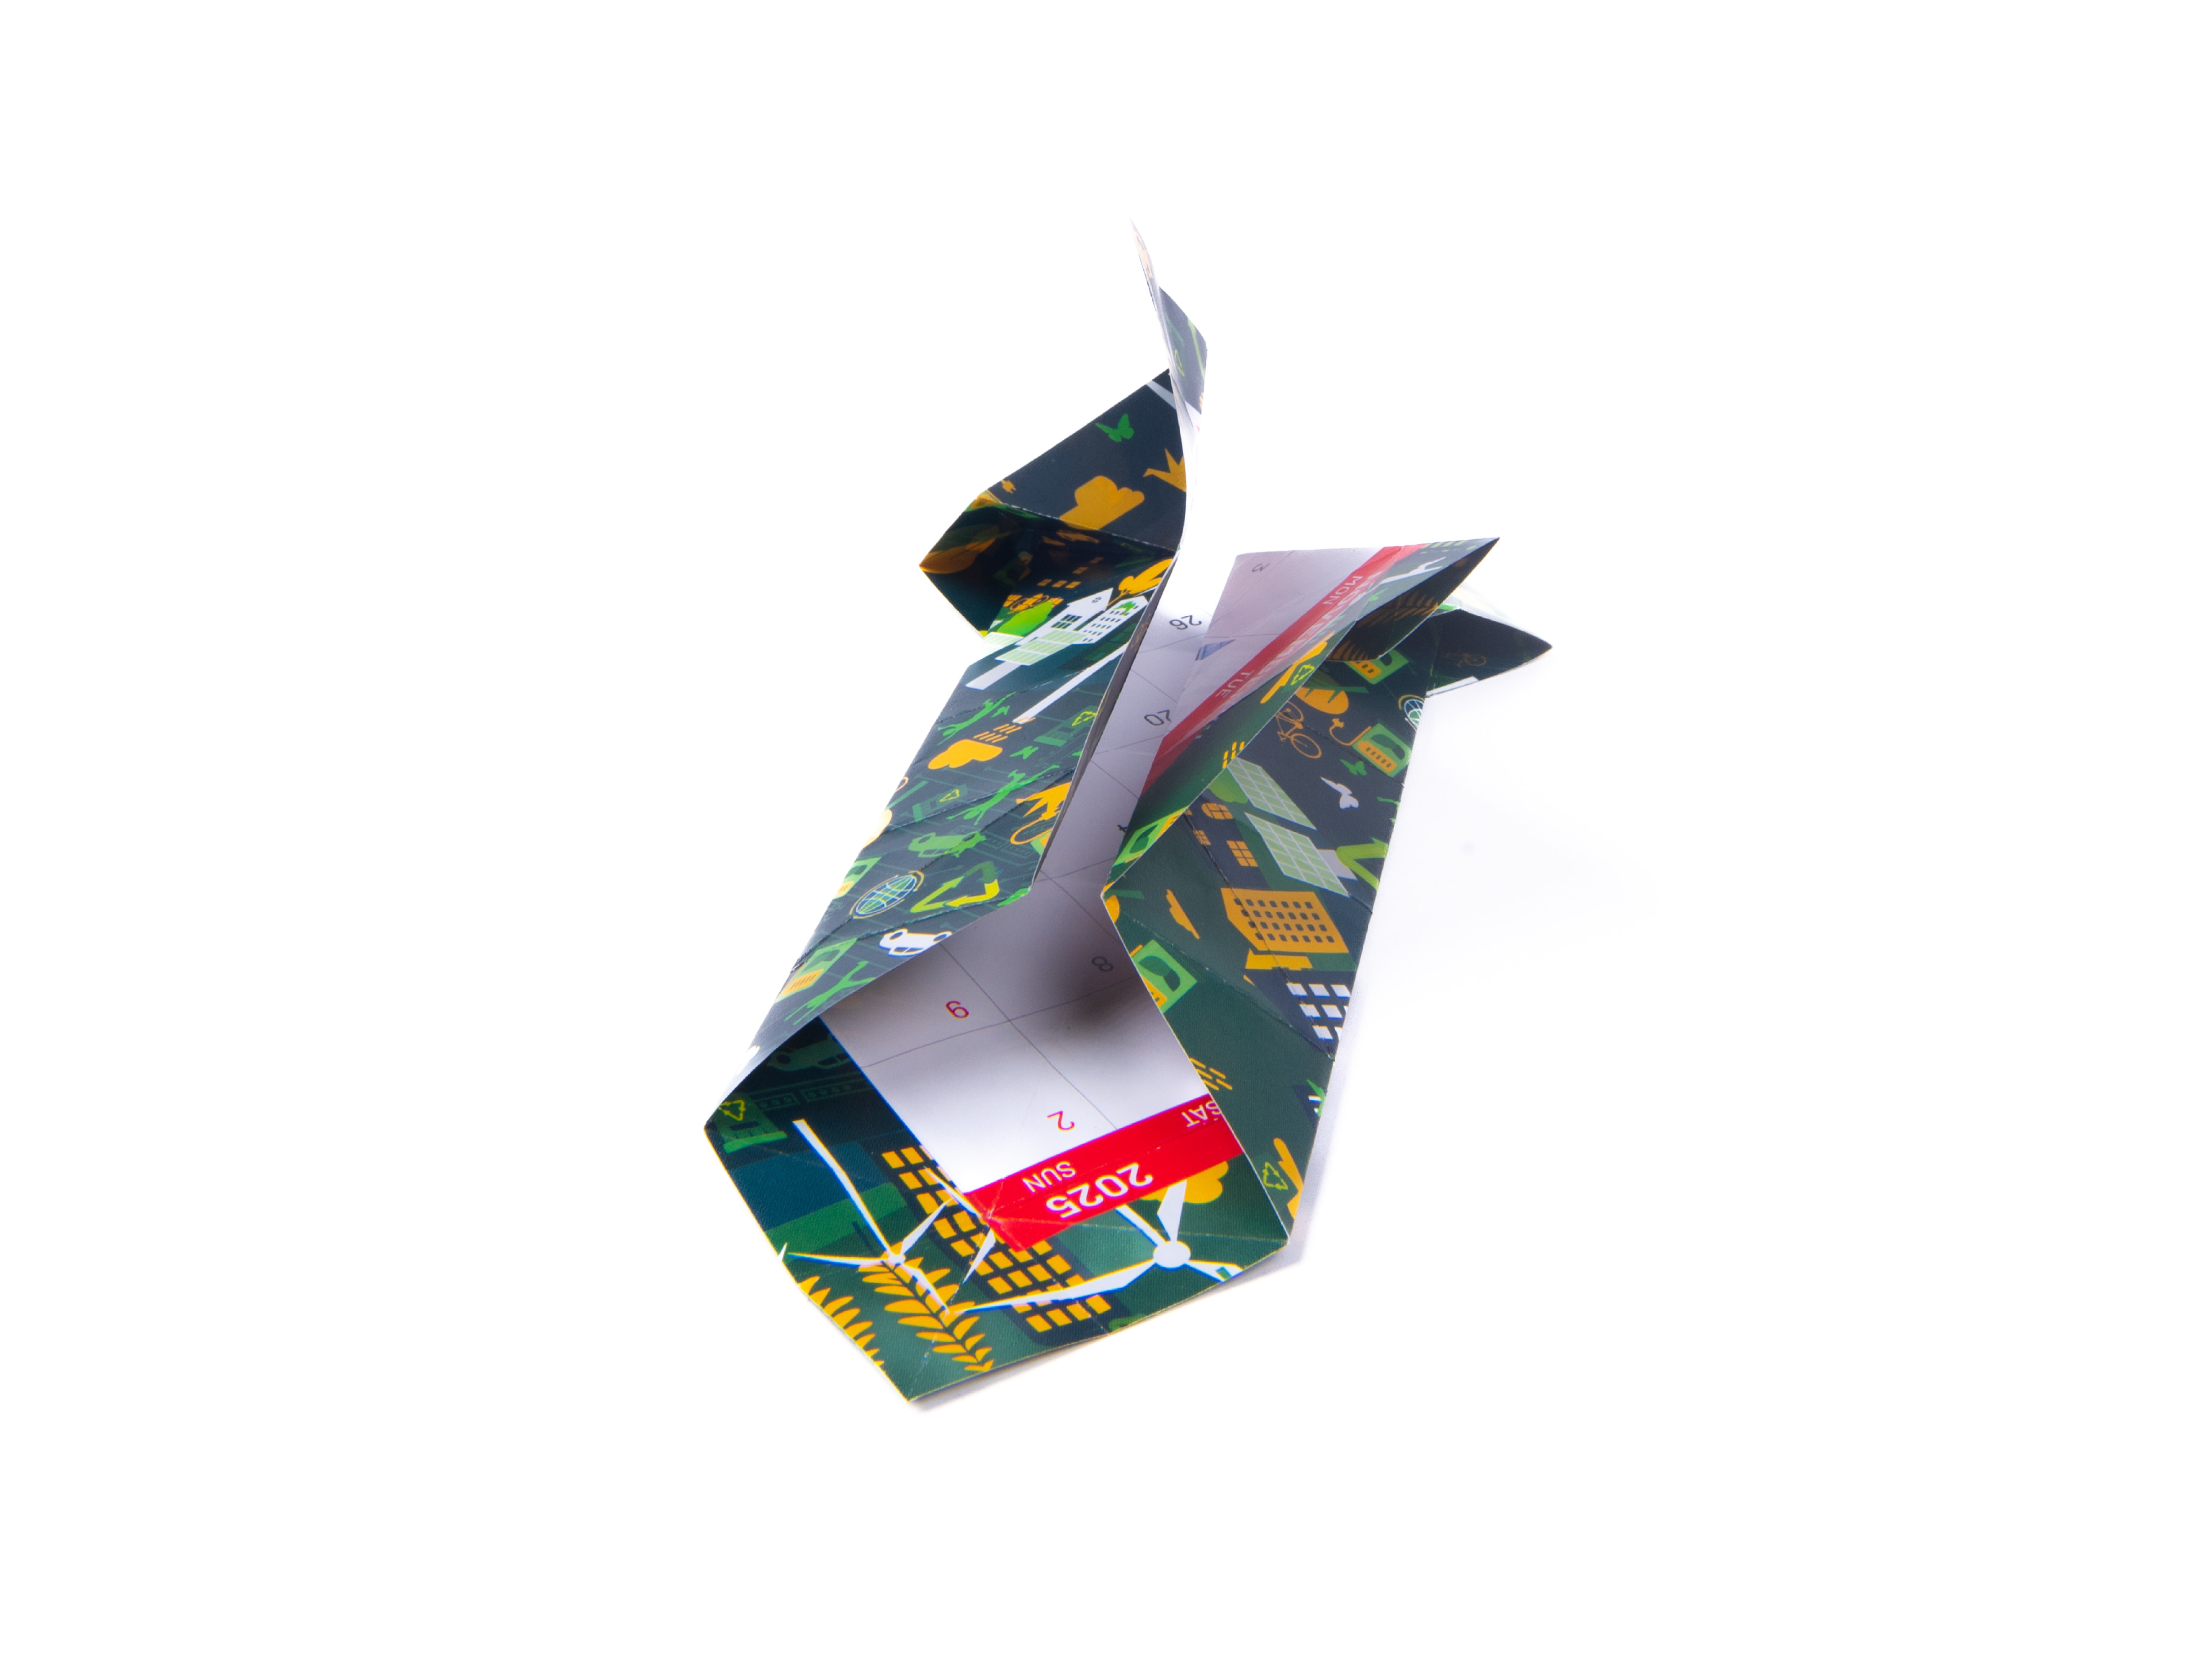
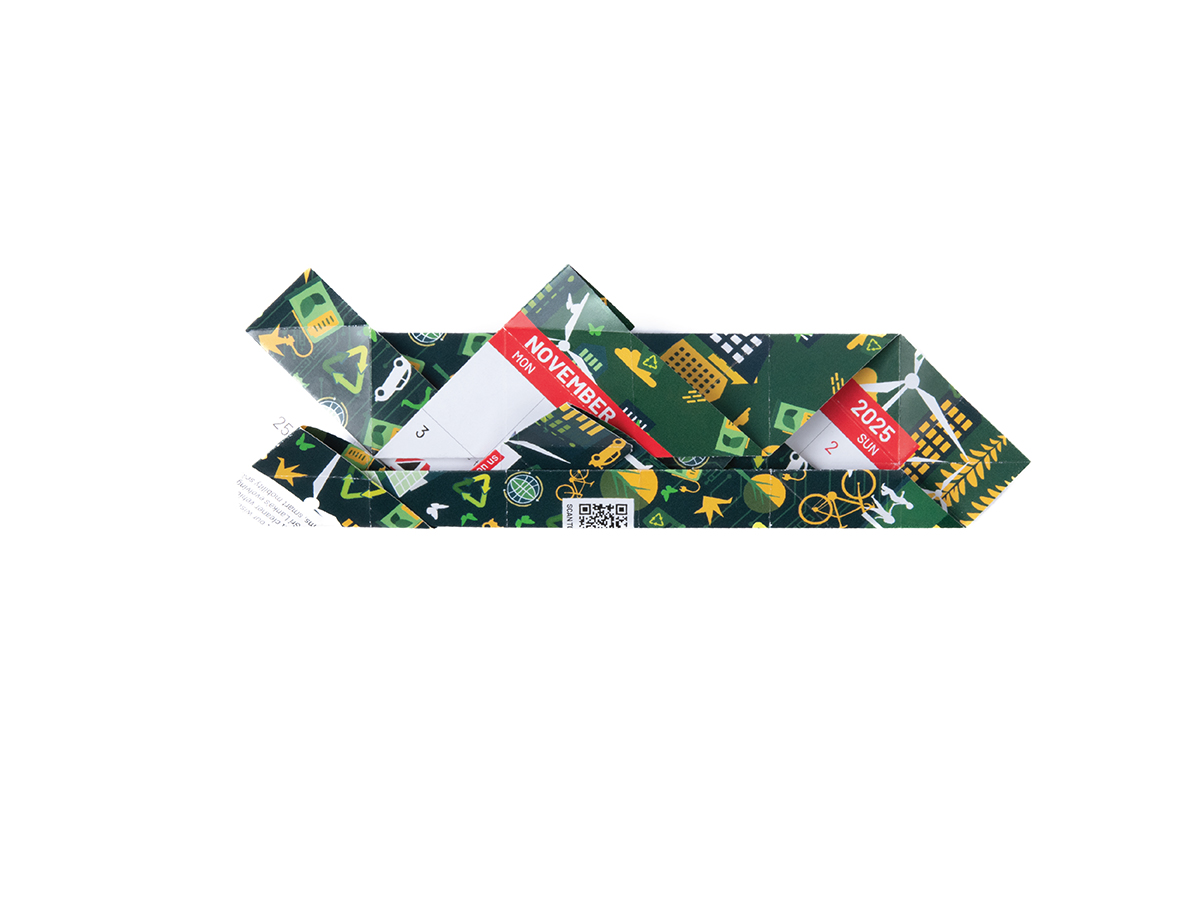
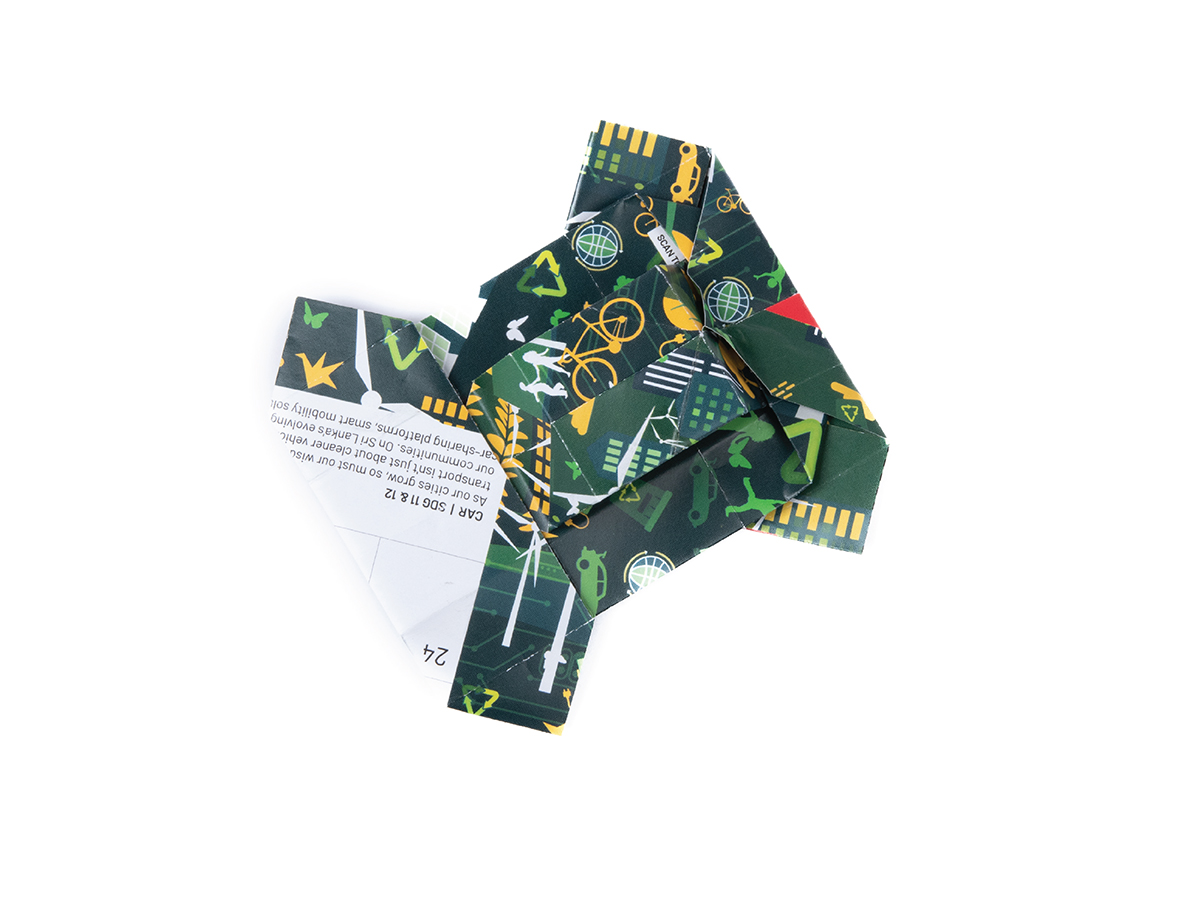
Turn the shape 45 degrees to the left. Along the bottom of the 2 triangular flaps, find the creases you made in step 9/10 and fold them inwards. They will fold in a zig-zag manner, and cause the bottom corner to lift up naturally.
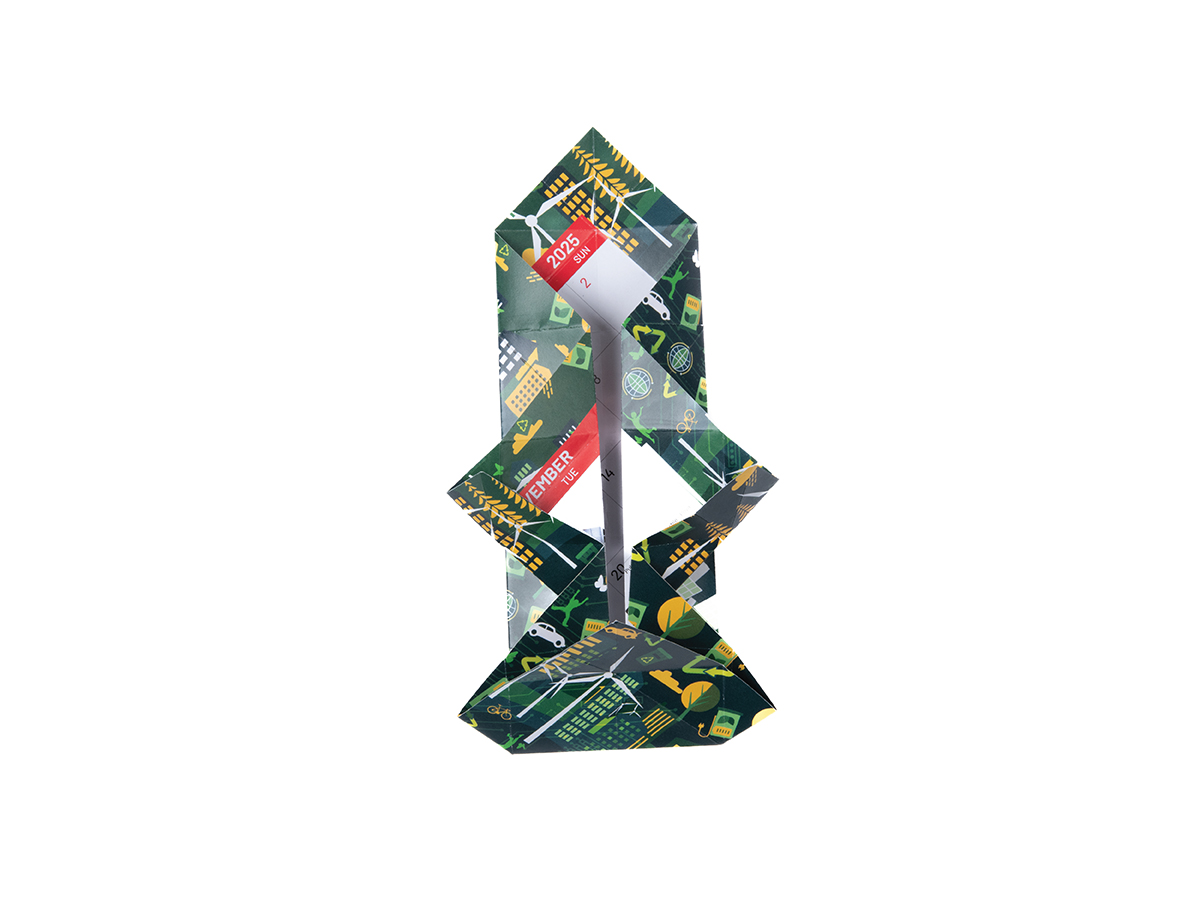
Flatten the bottom corner.
Using the 2 flaps in the middle, gently pull left and right to open out the shape. Flip the paper over, and refold the bottom corner onto this side as shown.
Turn the sheet back over to the dated side
Turn the shape 45 degrees to the left. Along the bottom of the 2 triangular flaps, find the creases you made in step 9/10 and fold them inwards. They will fold in a zig-zag manner, and cause the bottom corner to lift up naturally.
Flatten the bottom corner.
Using the 2 flaps in the middle, gently pull left and right to open out the shape. Flip the paper over, and refold the bottom corner onto this side as shown.
Turn the sheet back over to the dated side


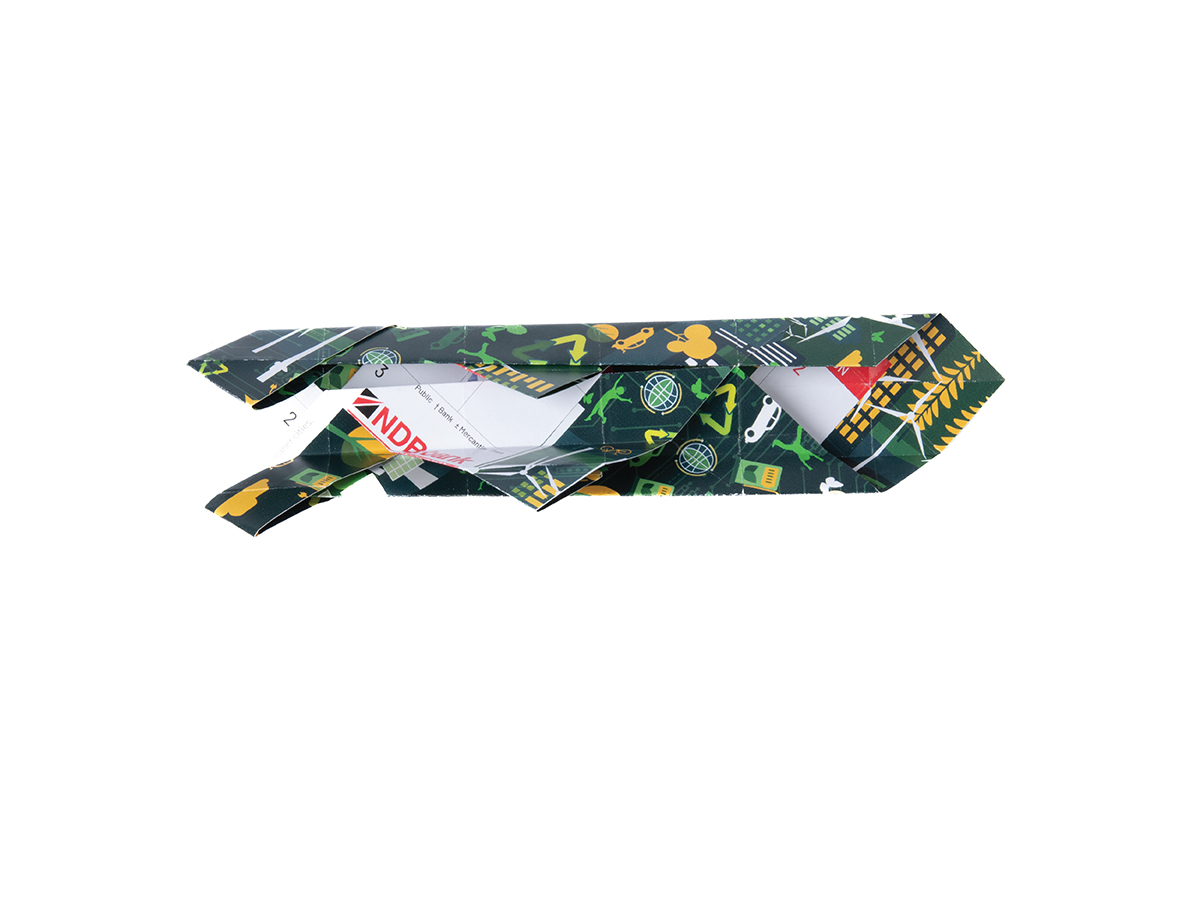
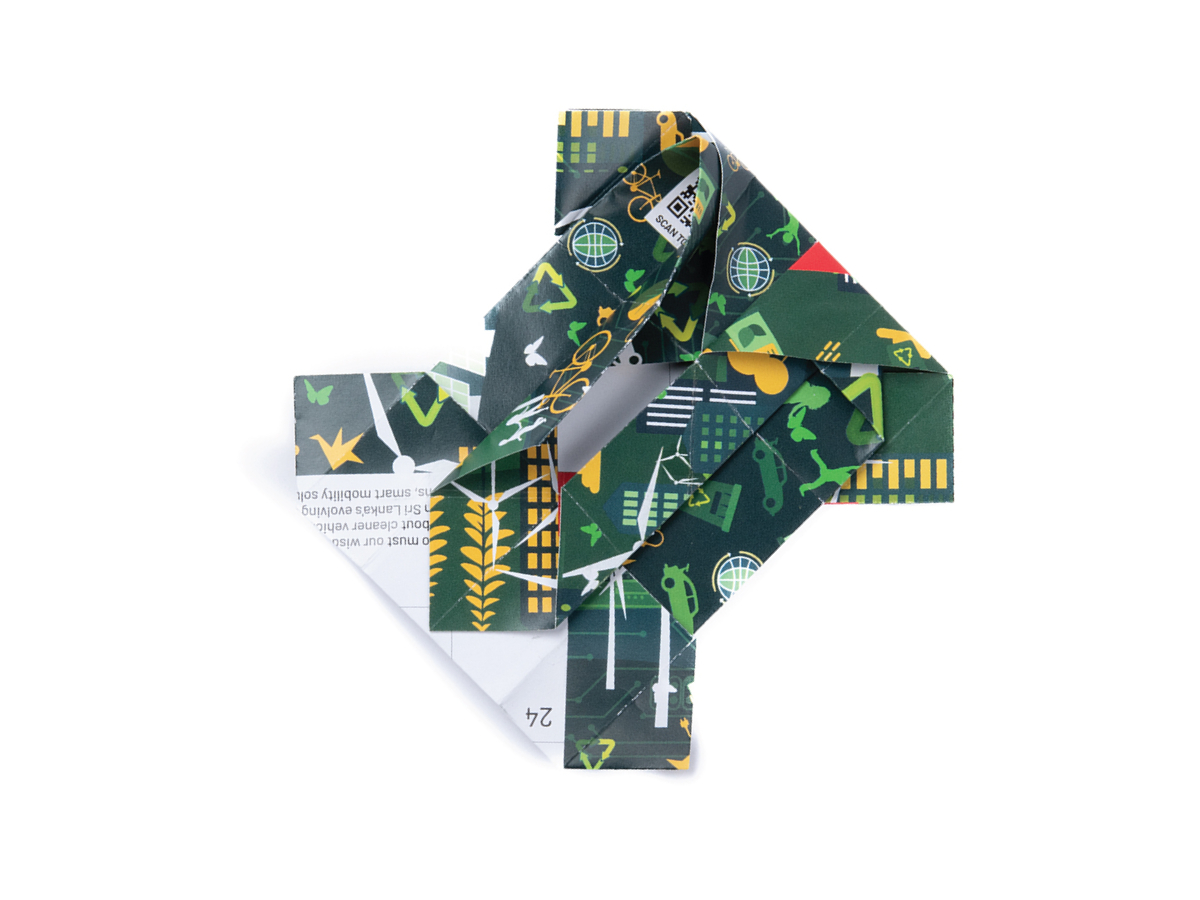
Using the existing creases, fold the shap back to the position in step 13 - this time, the bottom corner will already be on the reverse.
Turn the shape 180 degrees so that the pointed side is now facing you.
Open one of the triangular flaps, flipping it over to the opposite side. Refold the edge as shown, then fold the flap back to it orginal position.
Repeat on the other side.
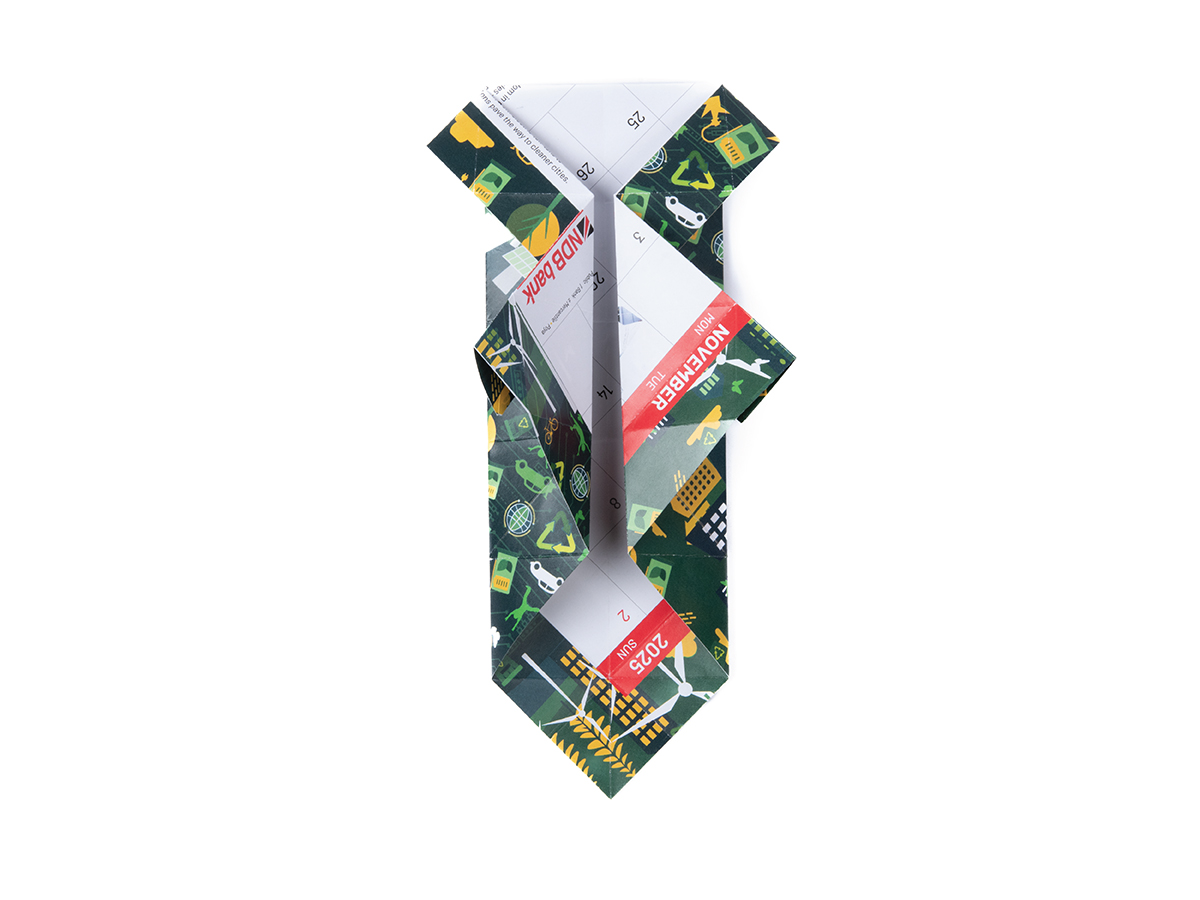
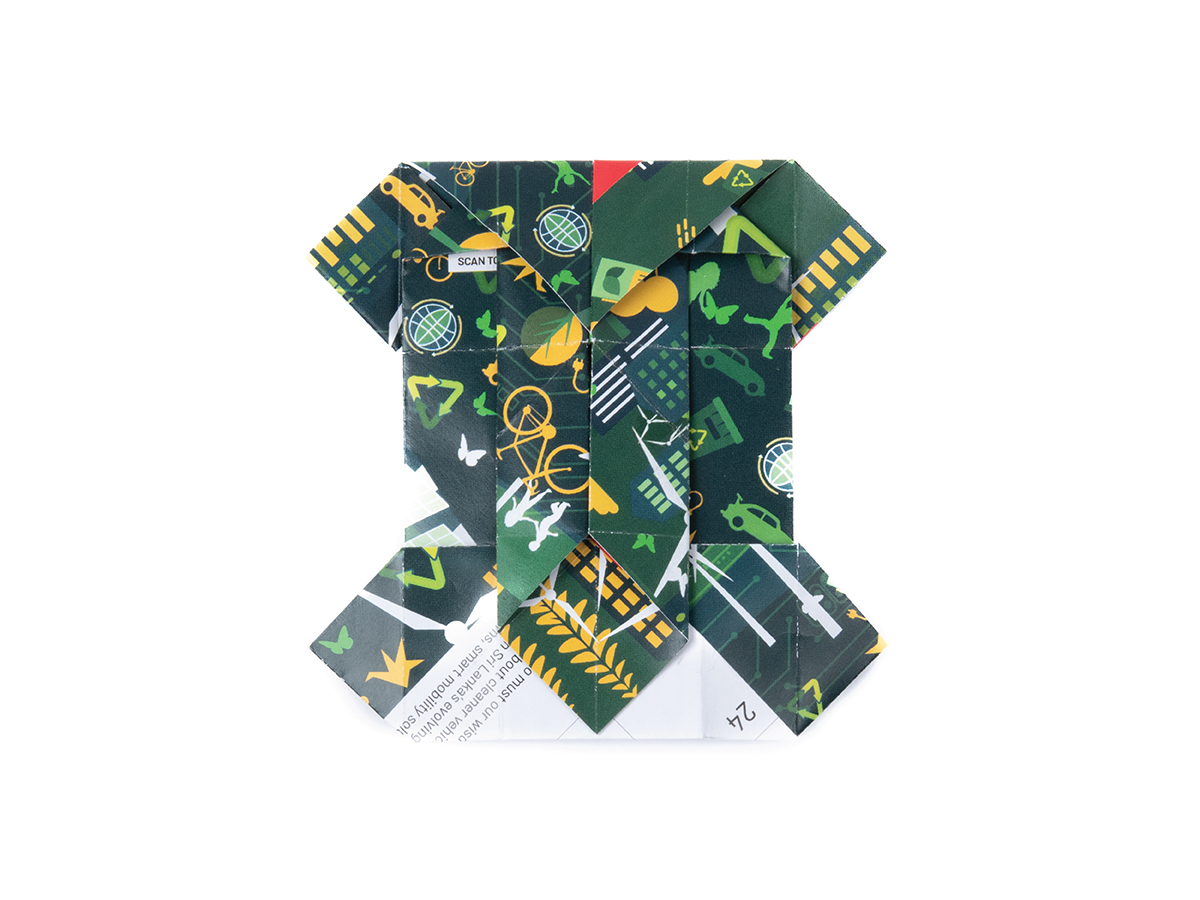
Your shape should now look like this.
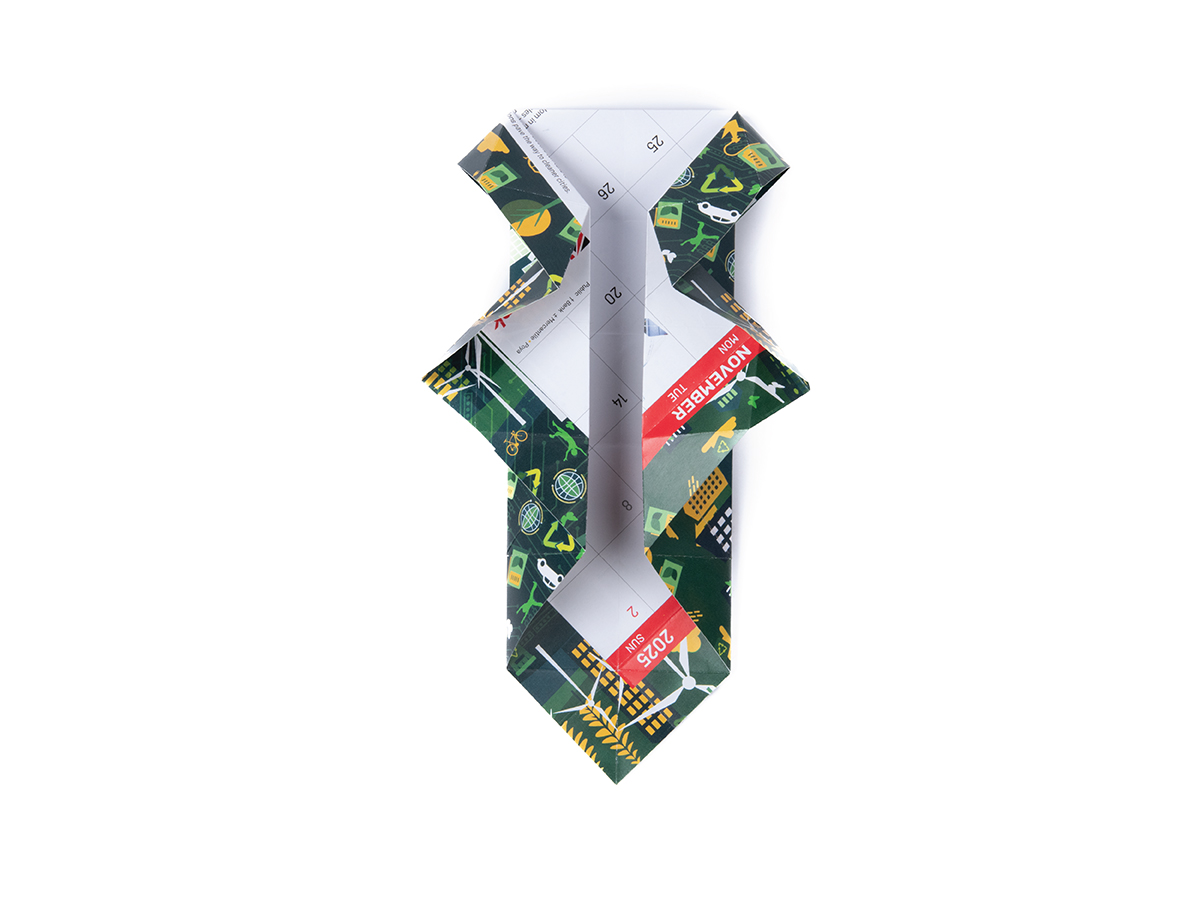
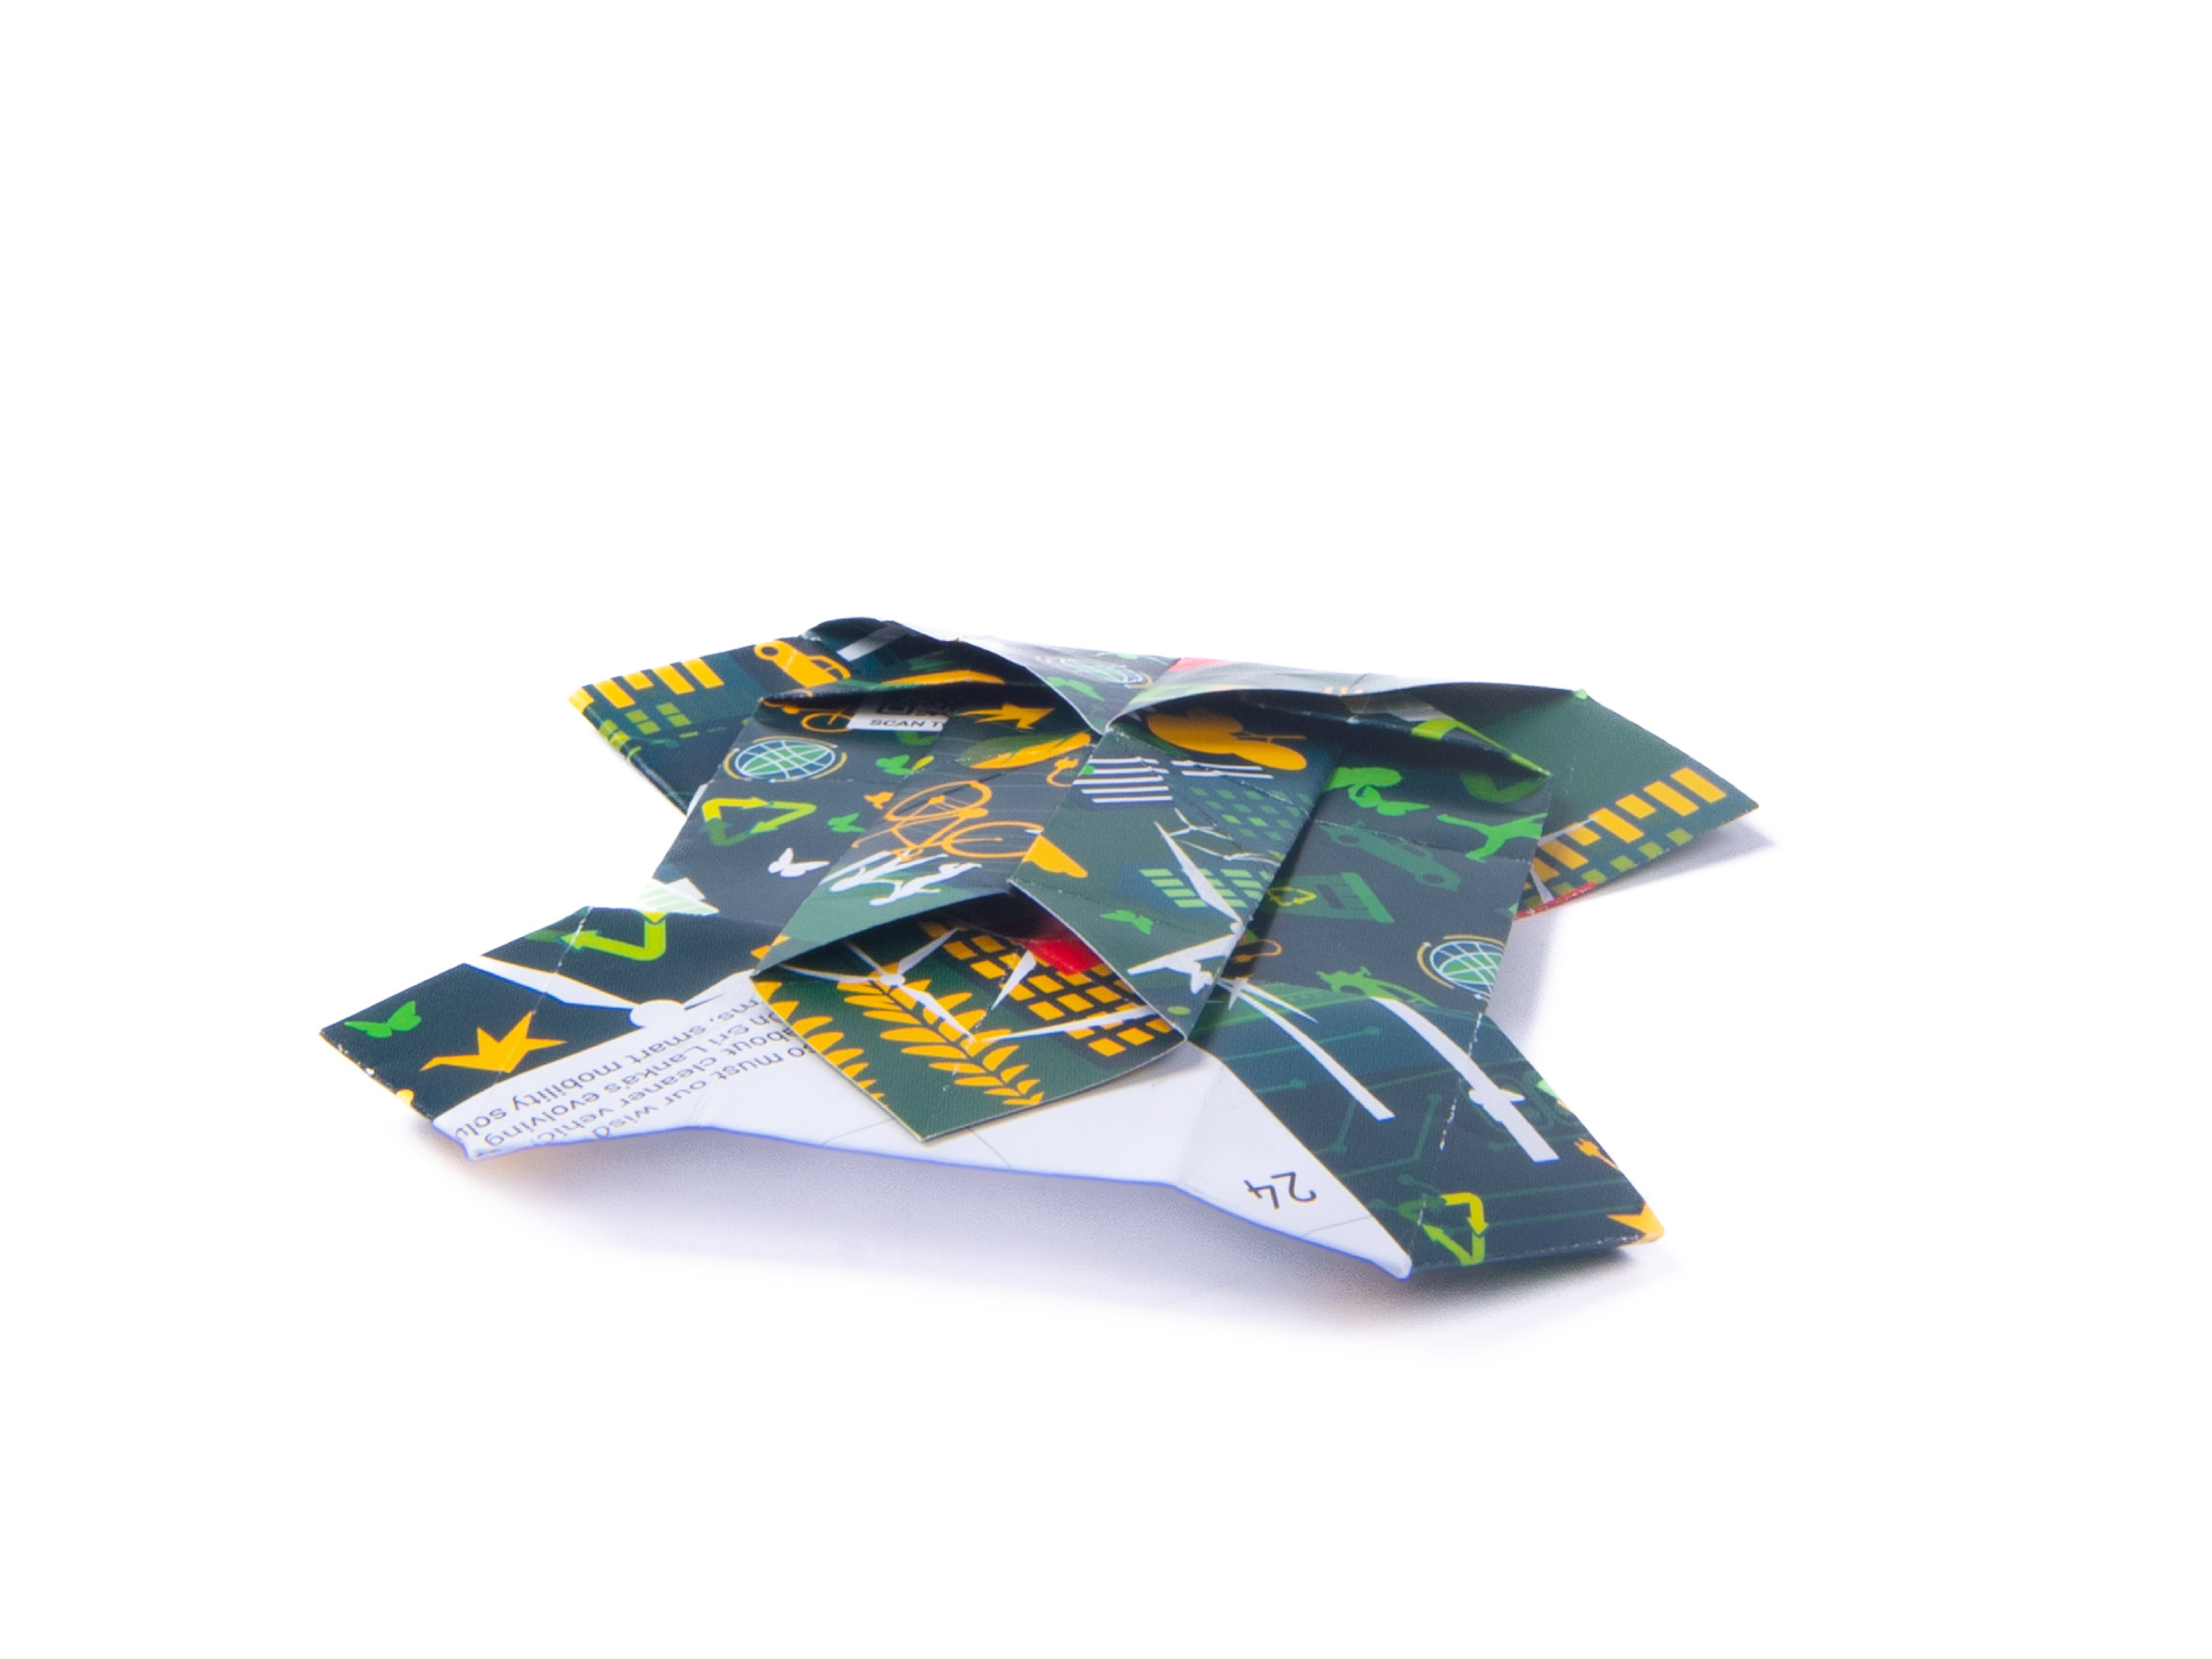
Rotate the shape so the pointed side is to your right. Fold the long edge that's now at the bottom up to the middle line, and crease well.
Repeat on the to edge, bringing it down to the middle line, and crease well.
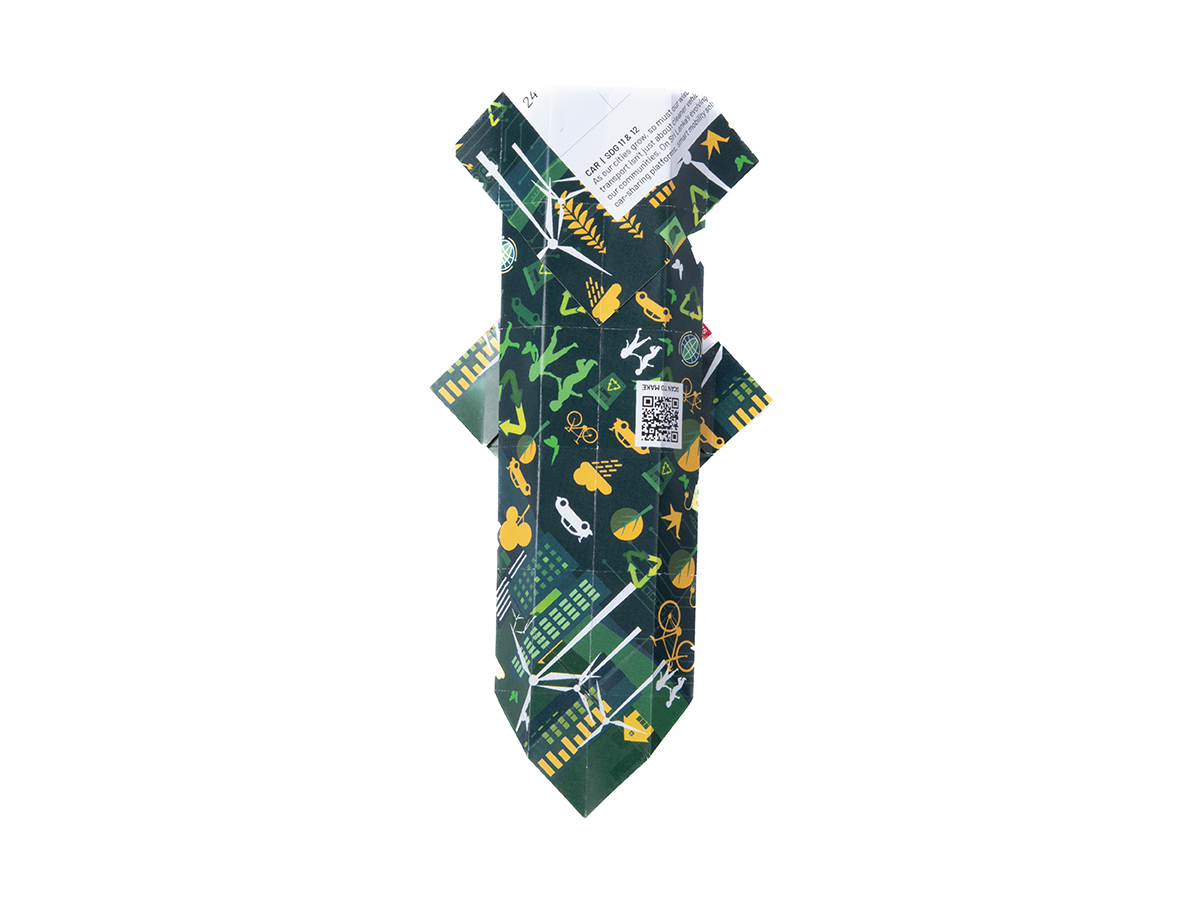
Turn the shape over and orient it as shown.
Your shape should now look like this.
Rotate the shape so the pointed side is to your right. Fold the long edge that's now at the bottom up to the middle line, and crease well.
Repeat on the to edge, bringing it down to the middle line, and crease well.
Turn the shape over and orient it as shown.
Using the existing crease going across it, fold the flap (that is currently pointing down) inwards under itself.
Fold the pointed bottom section upwards as shown.
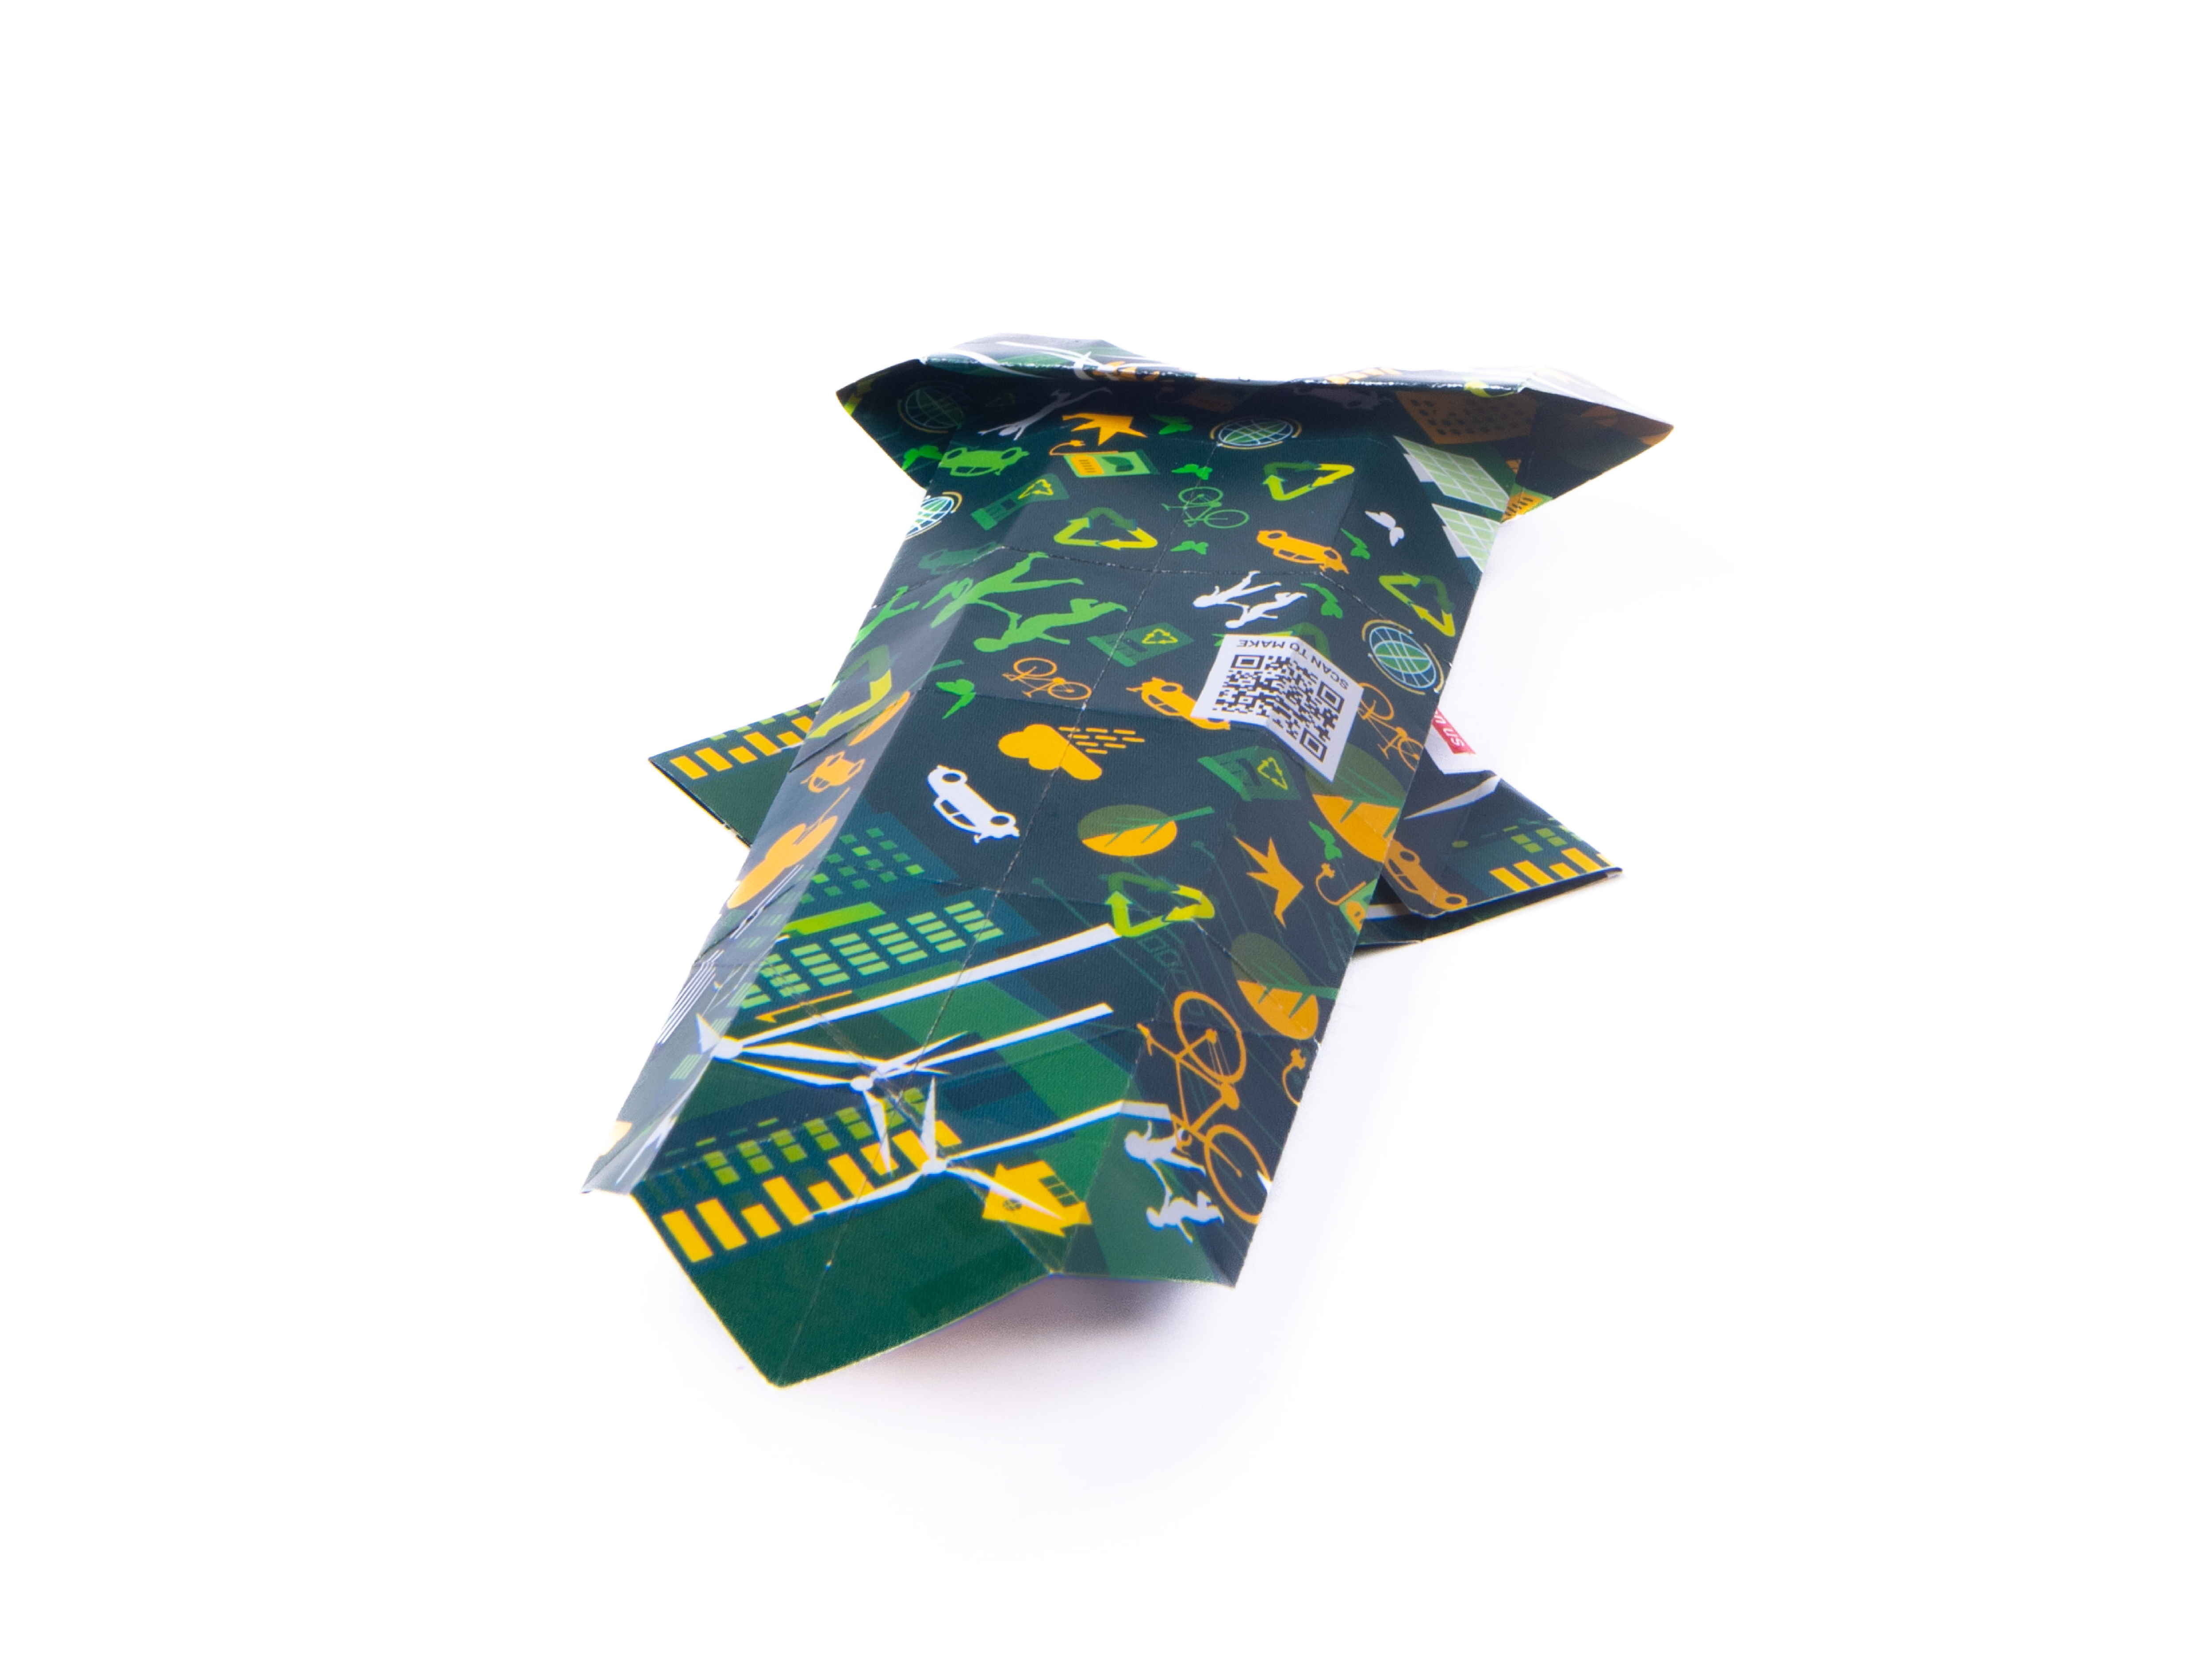
Turn the shape 180 degrees. Take note of the creases shown.
Use your finger to open out the side section, and push it down along the crease shown in the previous step. A triangle will form at the top as you flatten it down.
Using the existing crease going across it, fold the flap (that is currently pointing down) inwards under itself.
Fold the pointed bottom section upwards as shown.
Turn the shape 180 degrees. Take note of the creases shown.
Use your finger to open out the side section, and push it down along the crease shown in the previous step. A triangle will form at the top as you flatten it down.
Repeat step 28 on the other side.
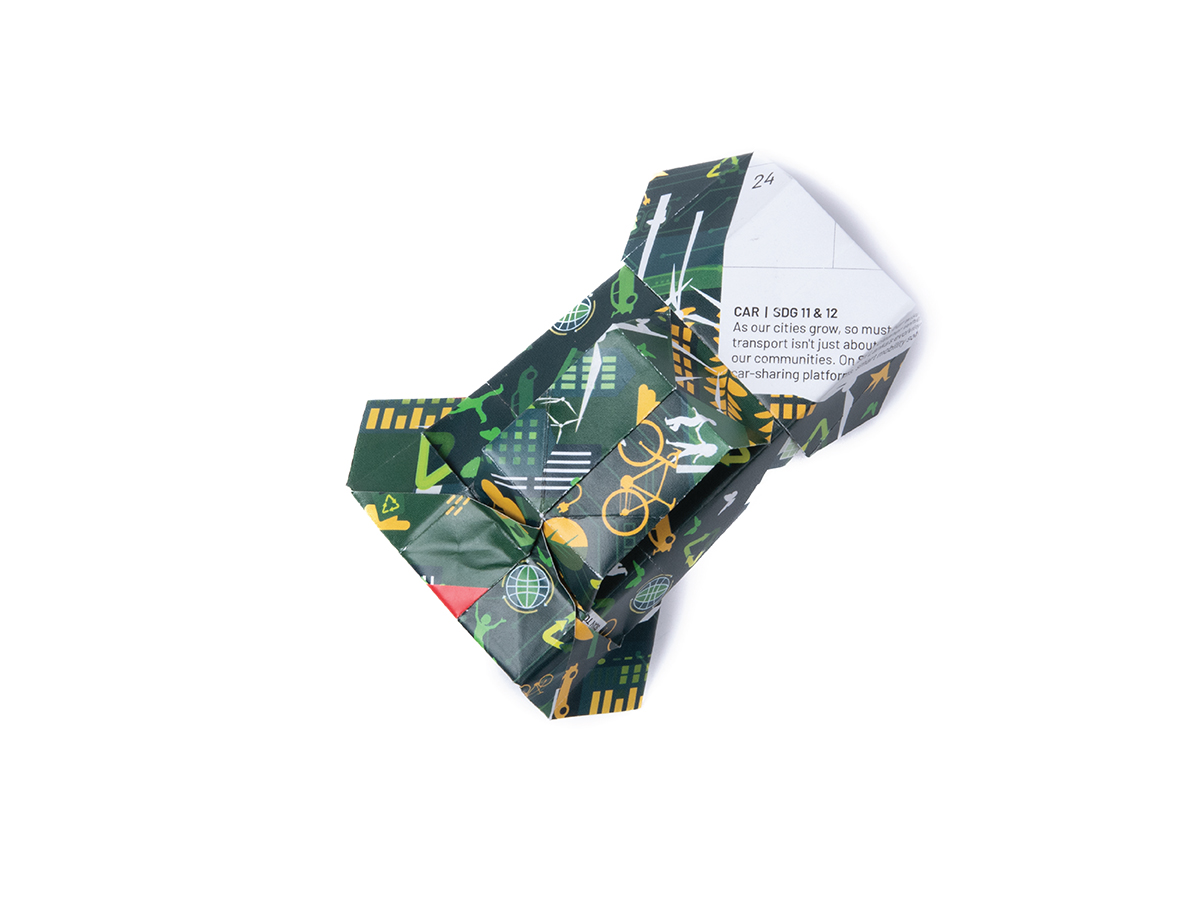
The upper flap of the shape should now look like the back of a tie.
Turn the tie-like flap upwards, crease, and bring back down.
Tuck its pointed end under the fold in front to create the top of the car.
Repeat step 28 on the other side.
The upper flap of the shape should now look like the back of a tie.
Turn the tie-like flap upwards, crease, and bring back down.
Tuck its pointed end under the fold in front to create the top of the car.
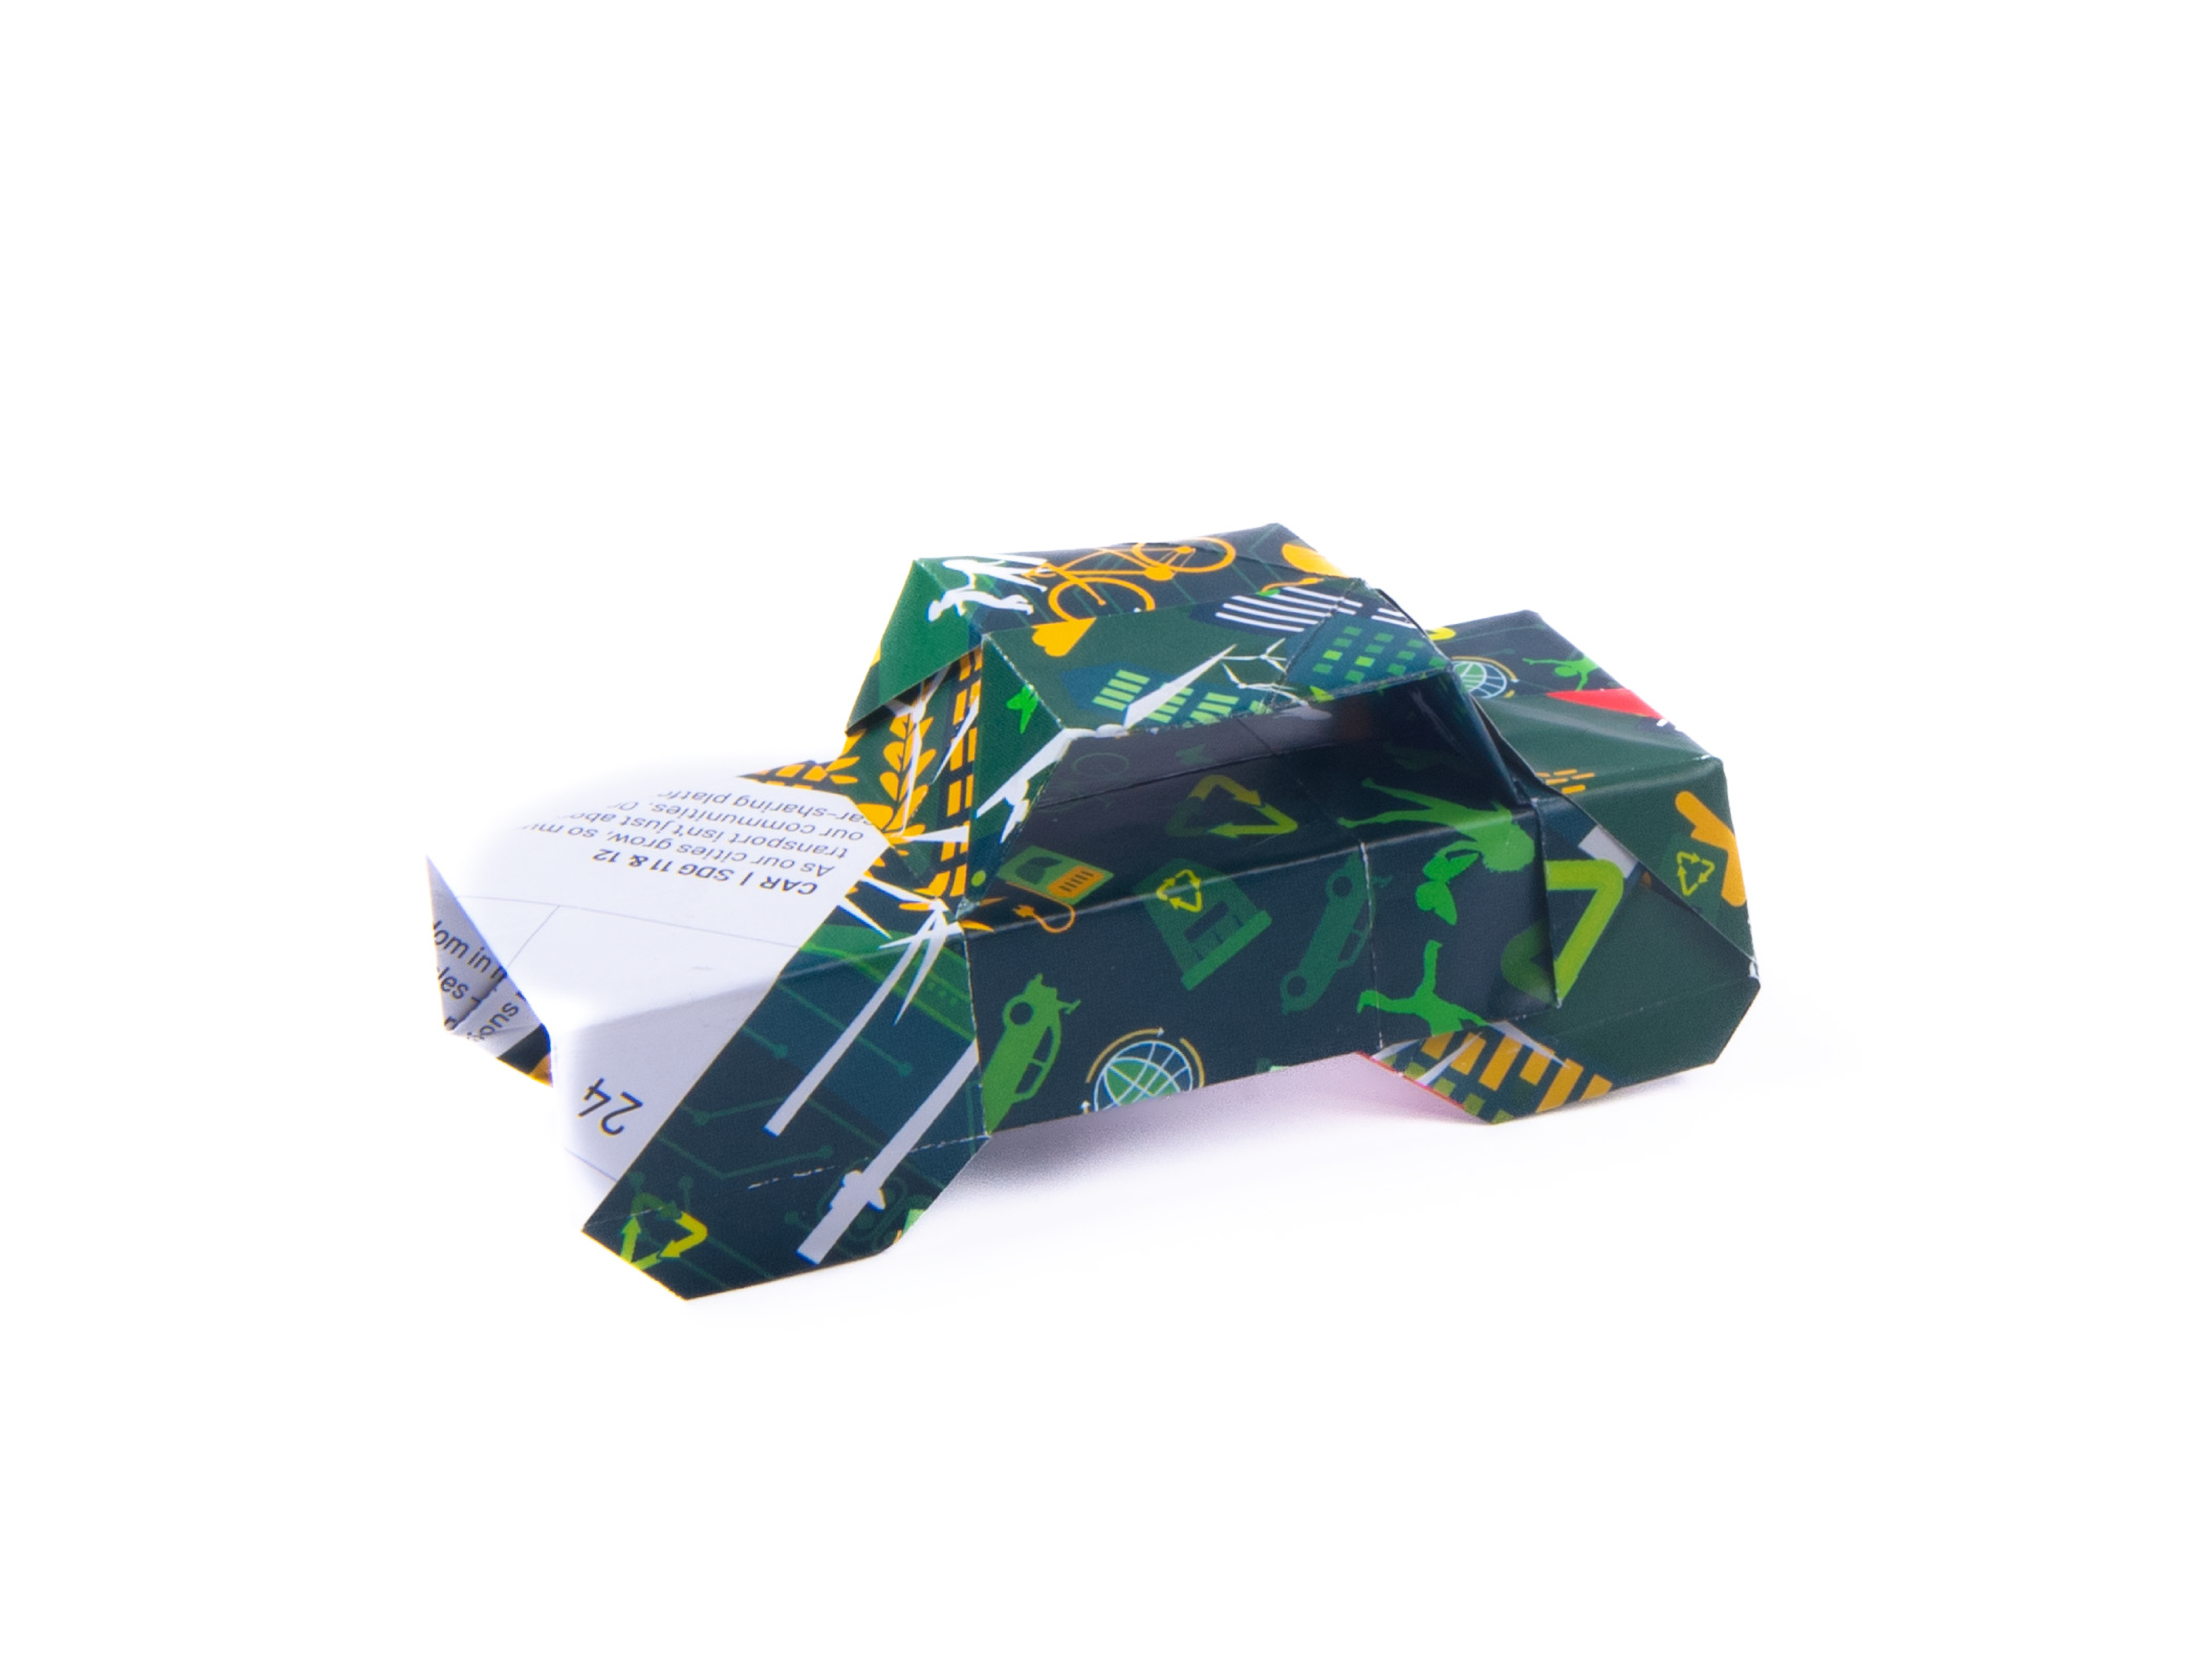
Fold the side of the car downwards along the existing creases.

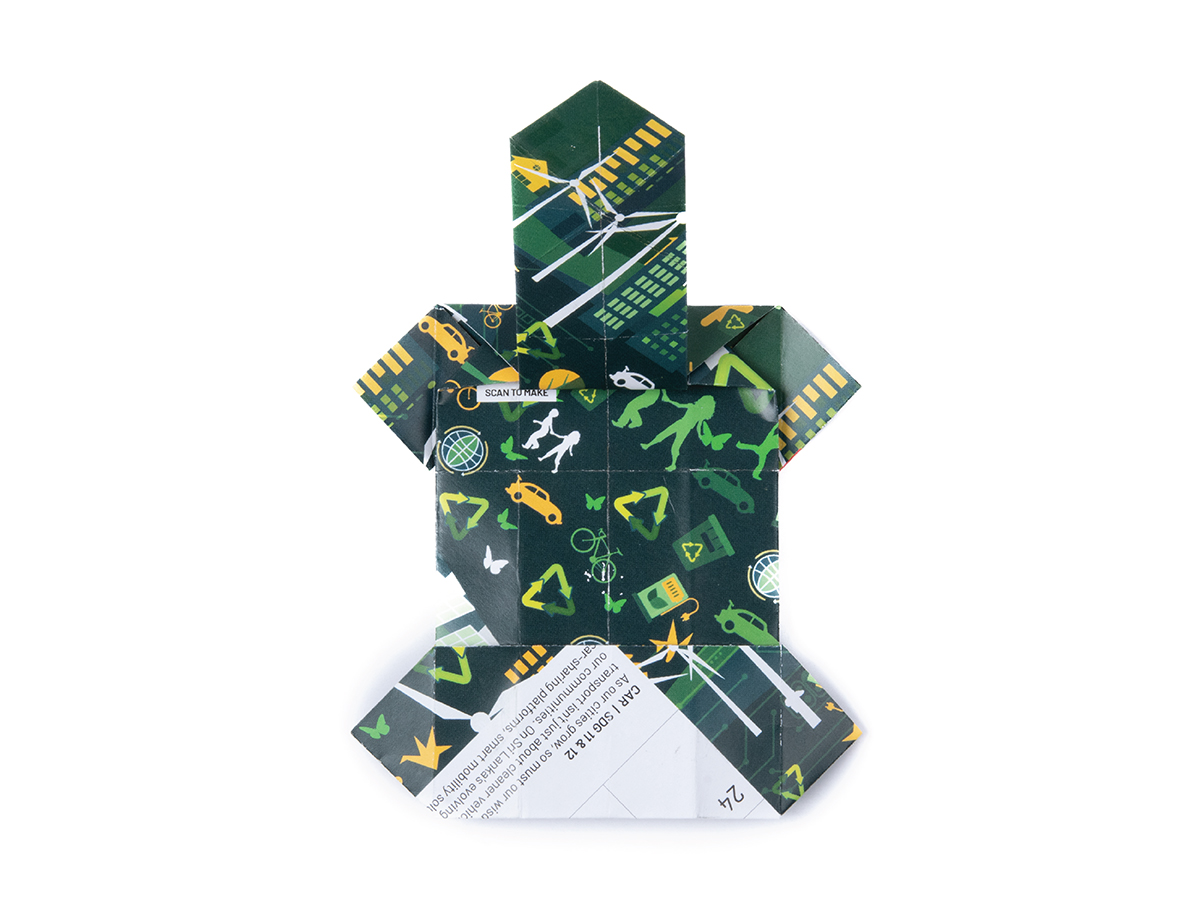
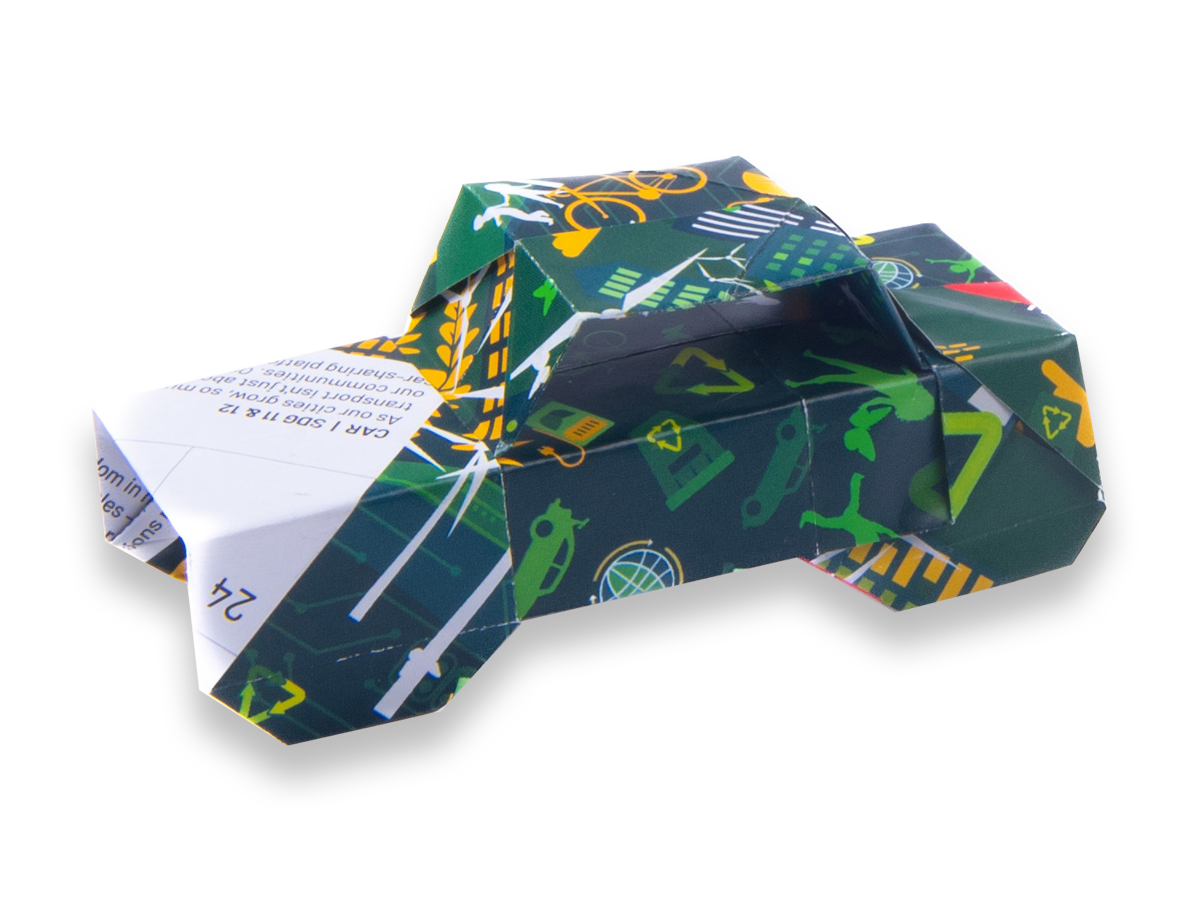
Fold the pointed bottoms of the wheels inwards slightly, and your eco-car is complete!
Fold the side of the car downwards along the existing creases.
Fold the pointed bottoms of the wheels inwards slightly, and your eco-car is complete!


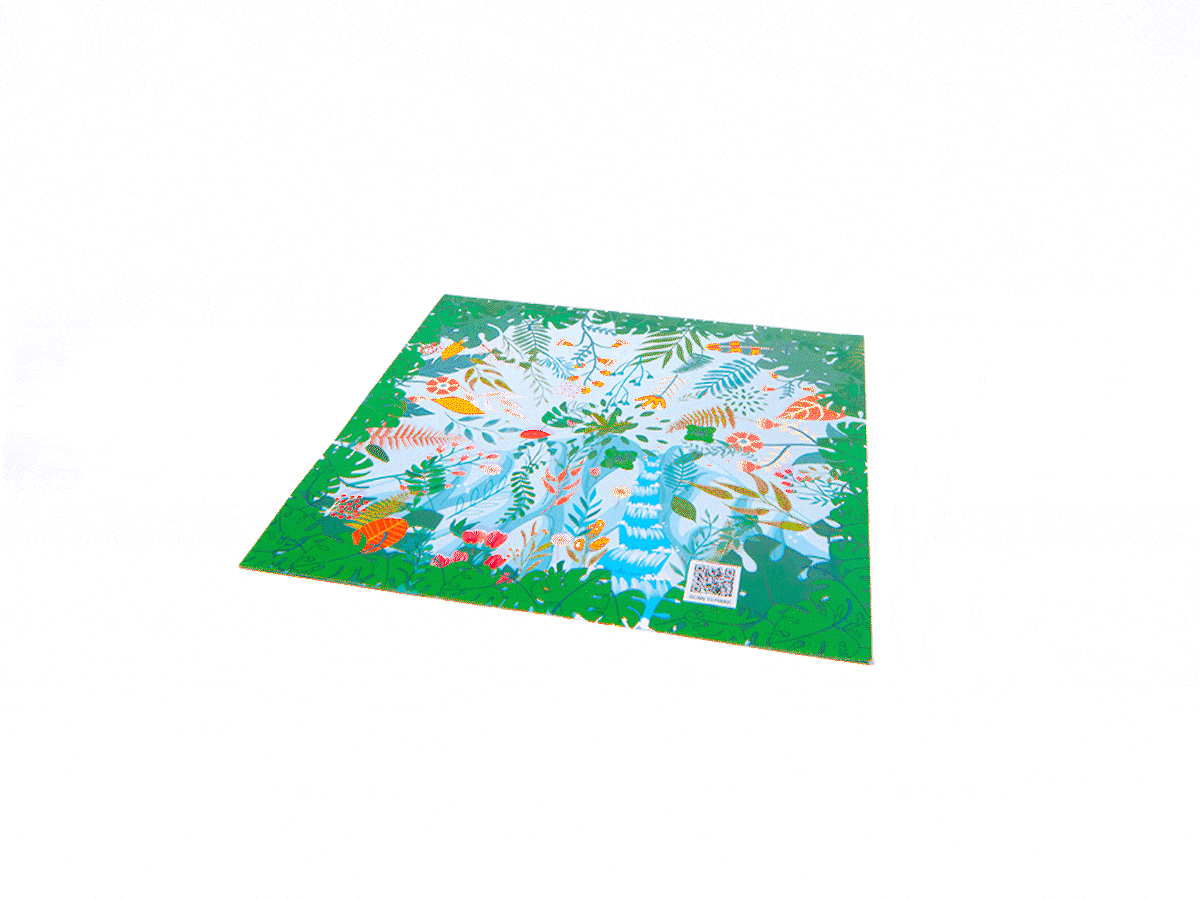
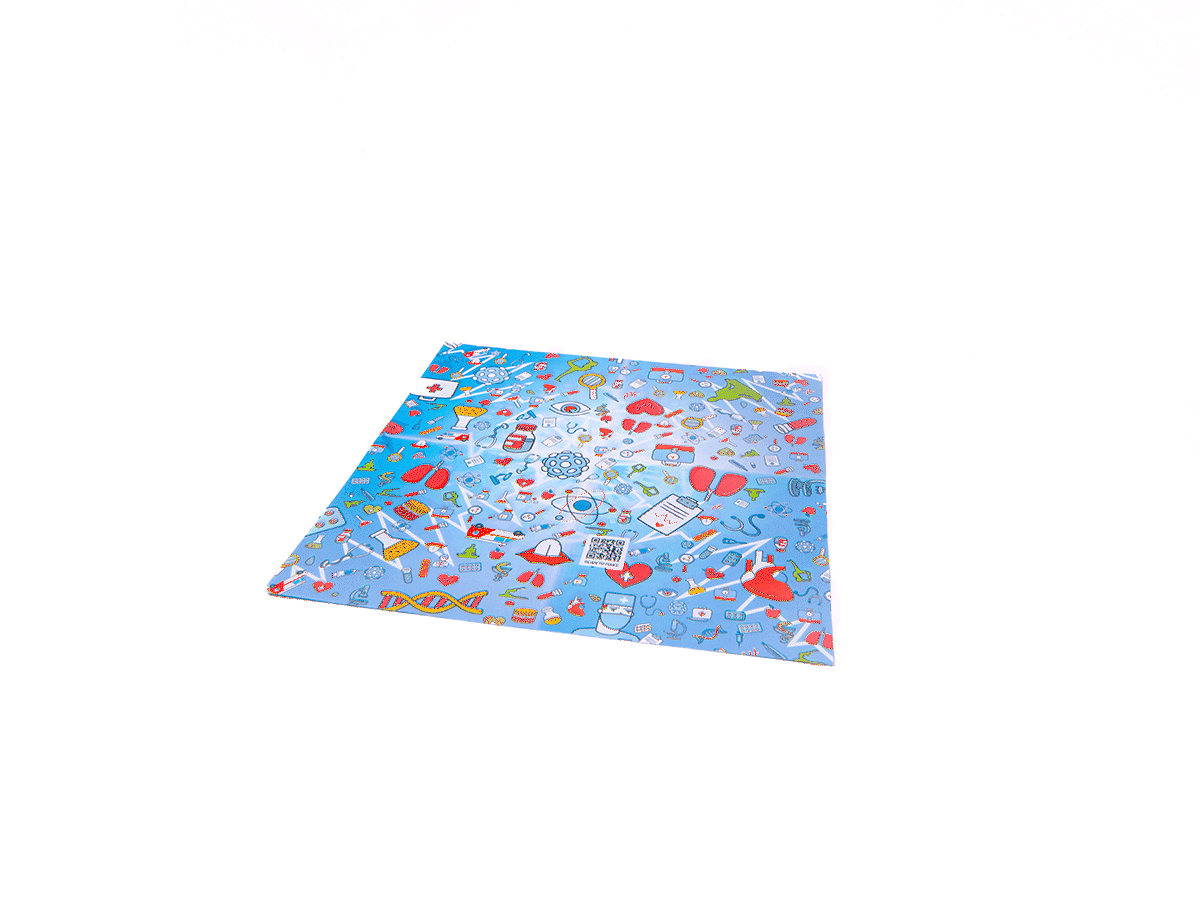
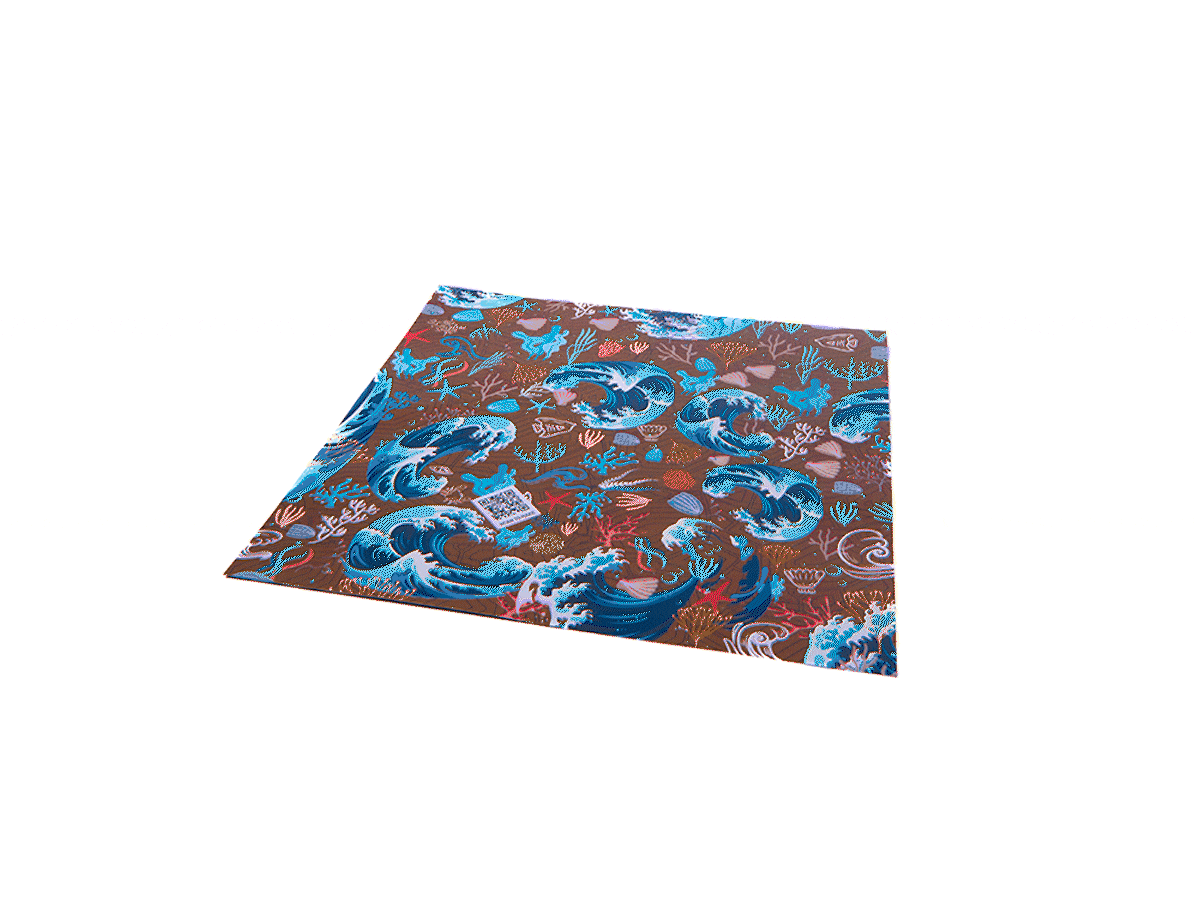
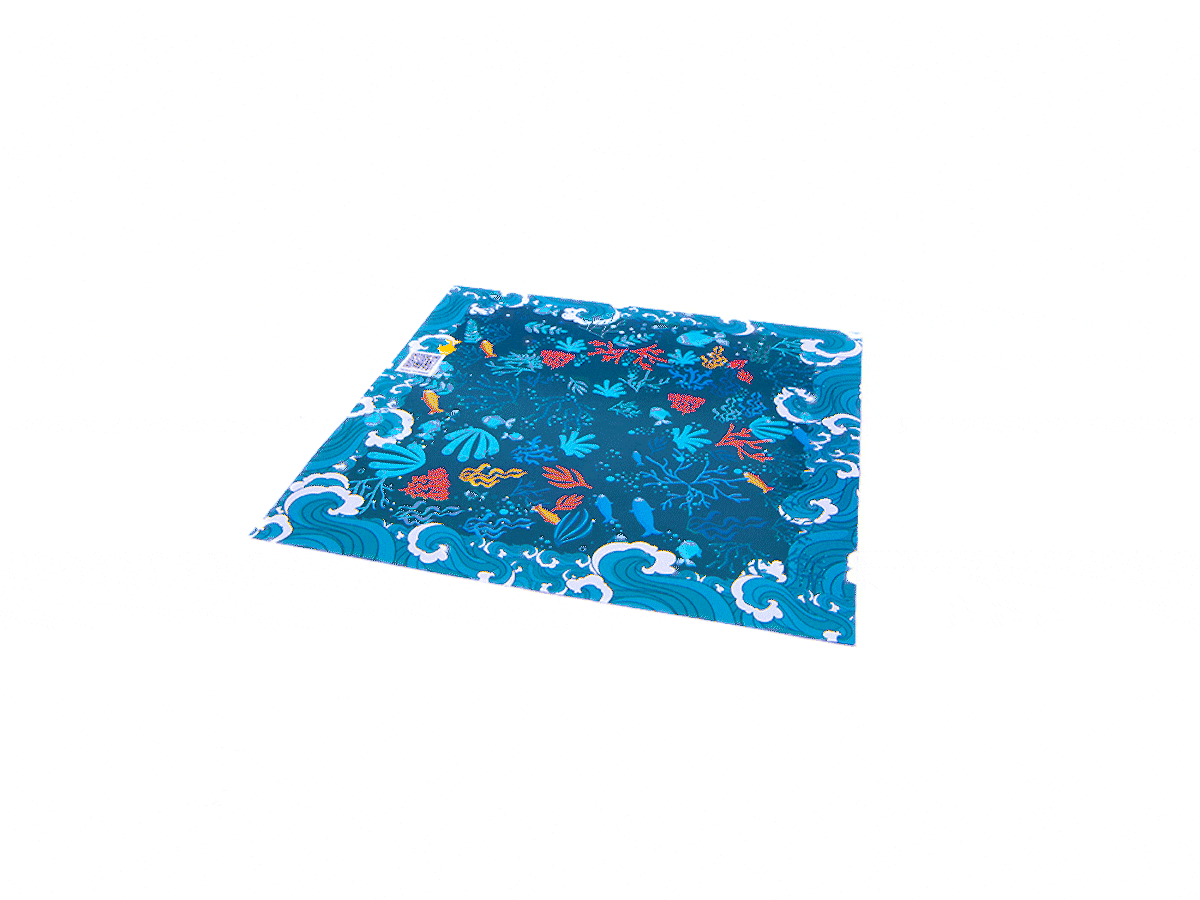
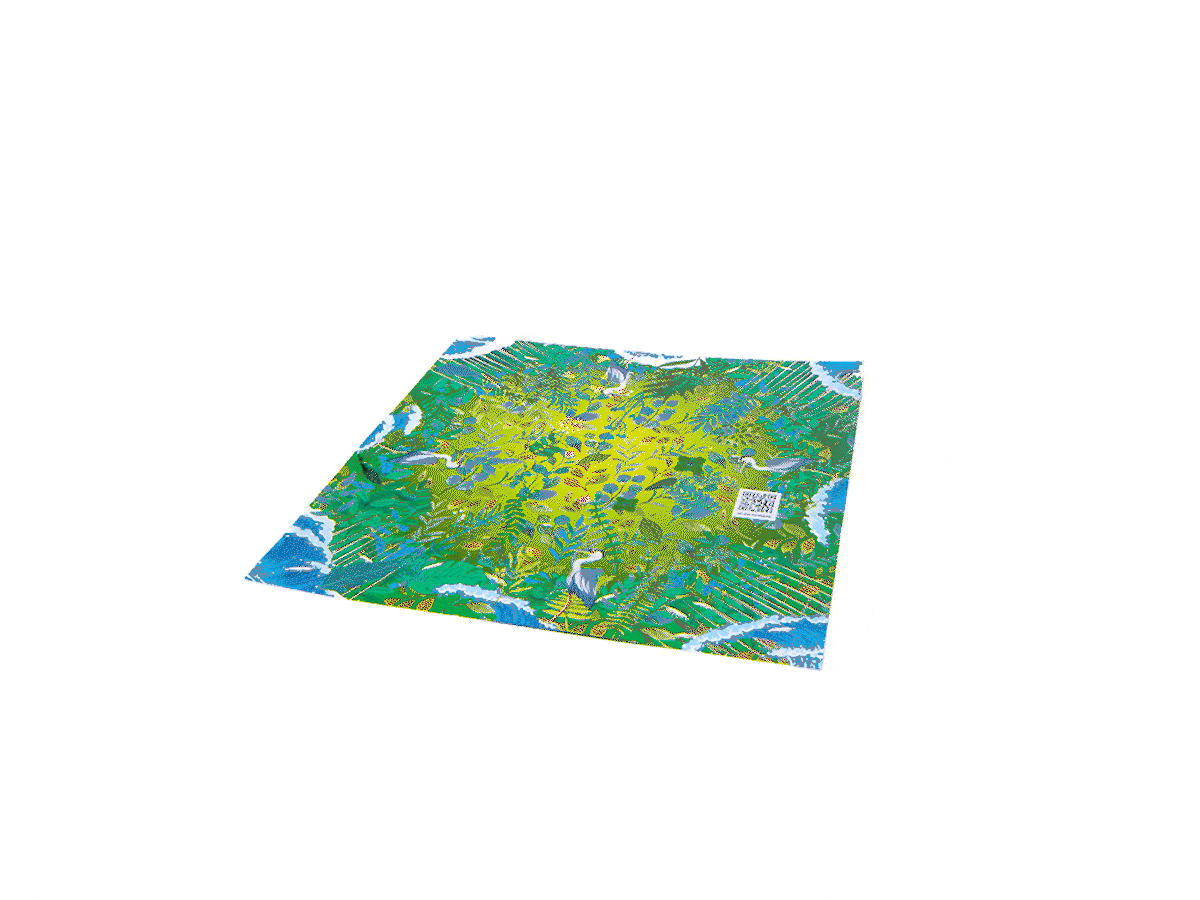
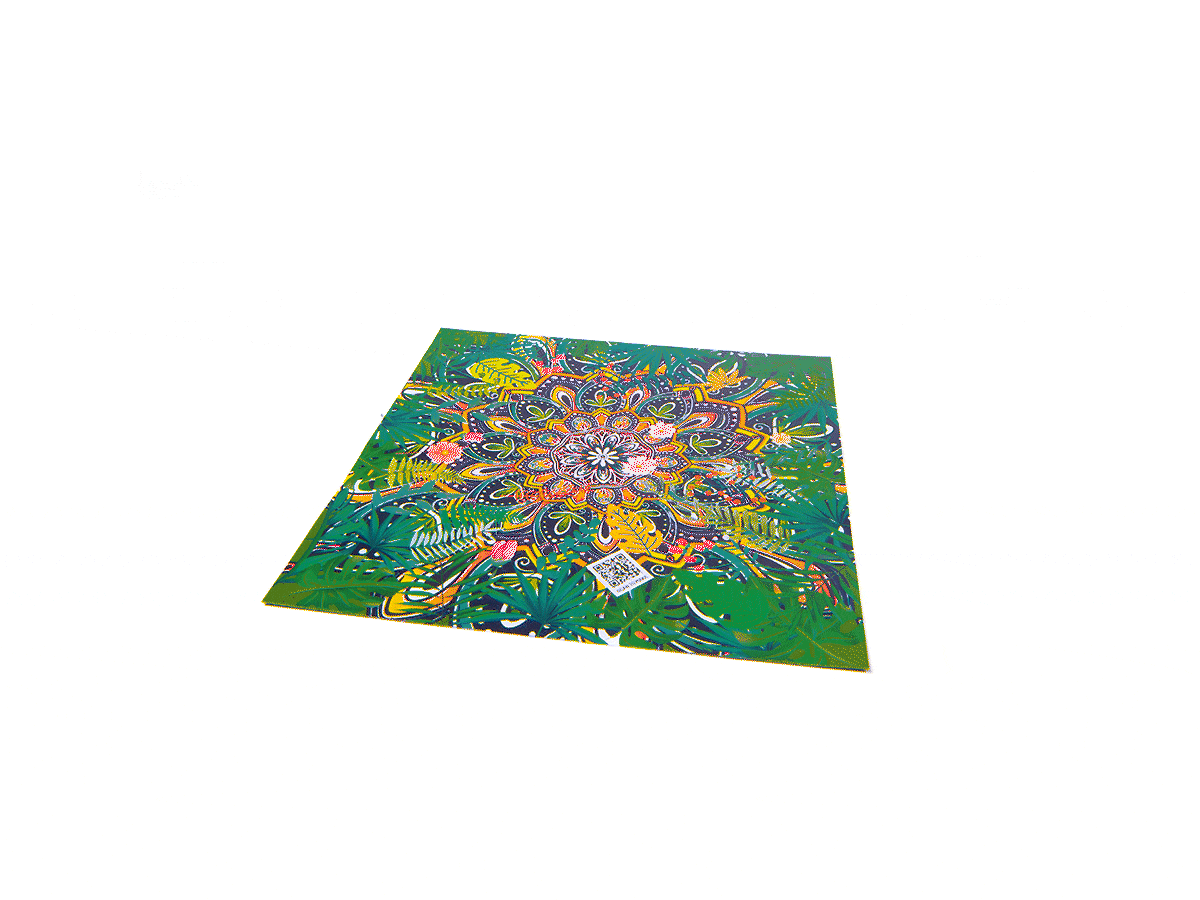
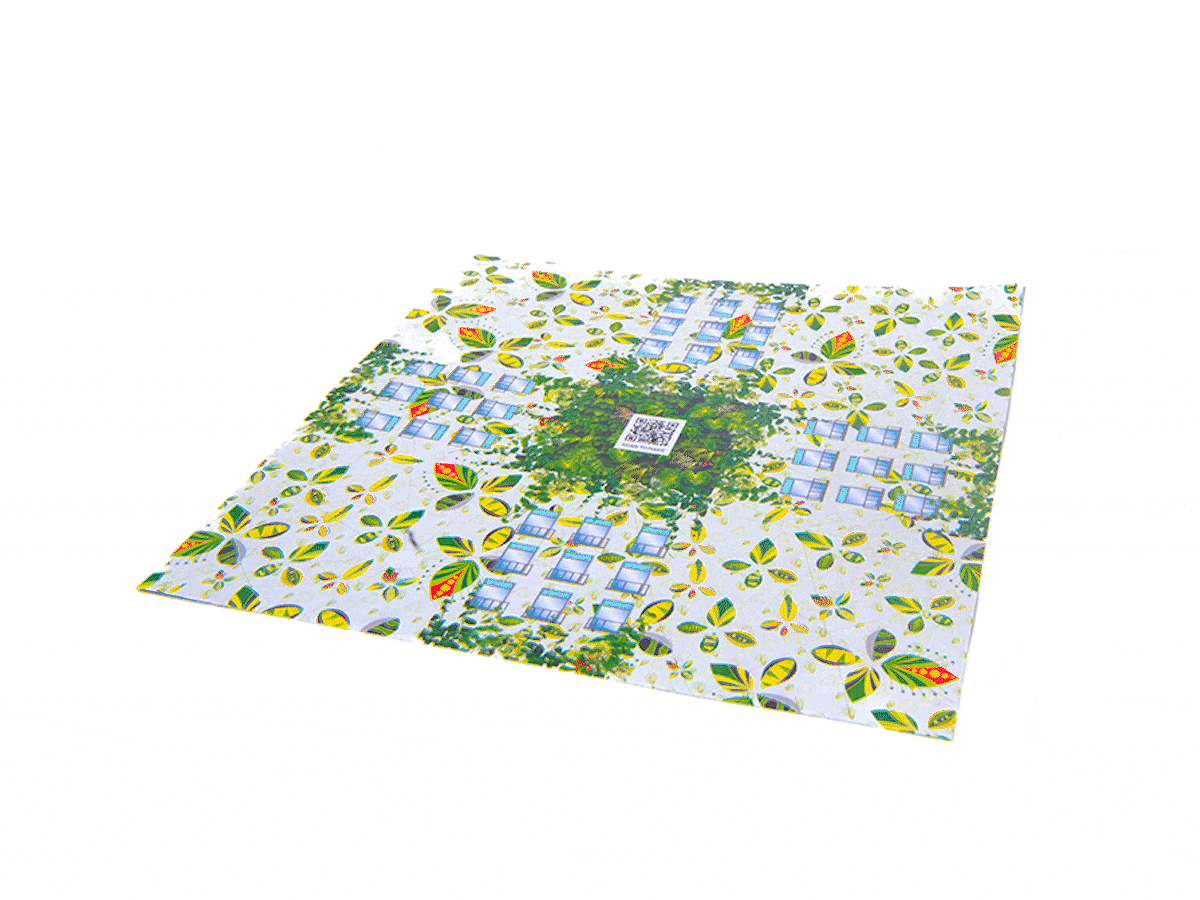
Other Origamies
Explore an exceptional range of origami artworks, where tradition meets innovation. Each piece is thoughtfully crafted, highlighting the artistry and precision of paper folding. From timeless classics to modern interpretations, our collection offers a unique insight into the versatility and beauty of origami.
©2024 National Development Bank PLC, All Rights Reserved
Design & developed by Ogilvy Martech.