Phone Number
Email Us Here
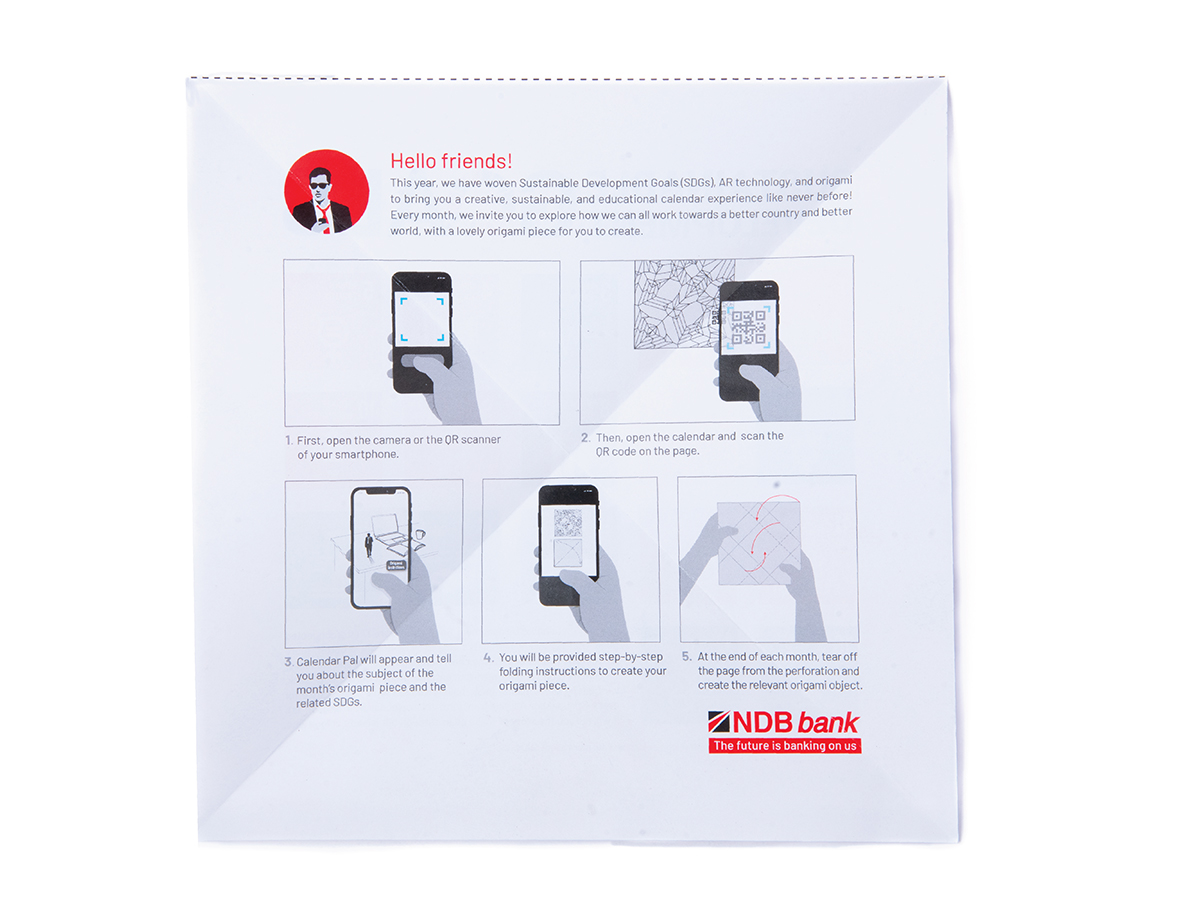
Fold to Unfold a Sustainable Future
Phone Number
Email Us Here

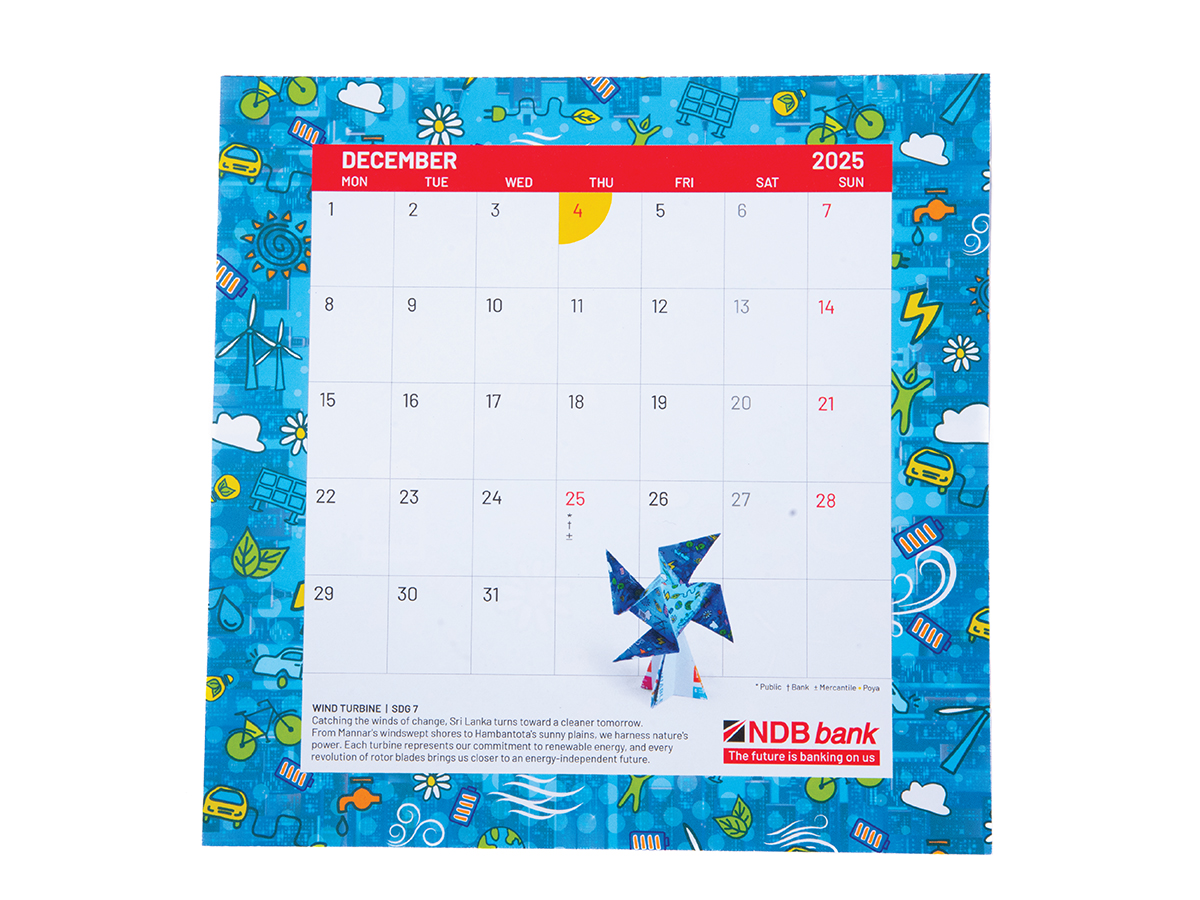
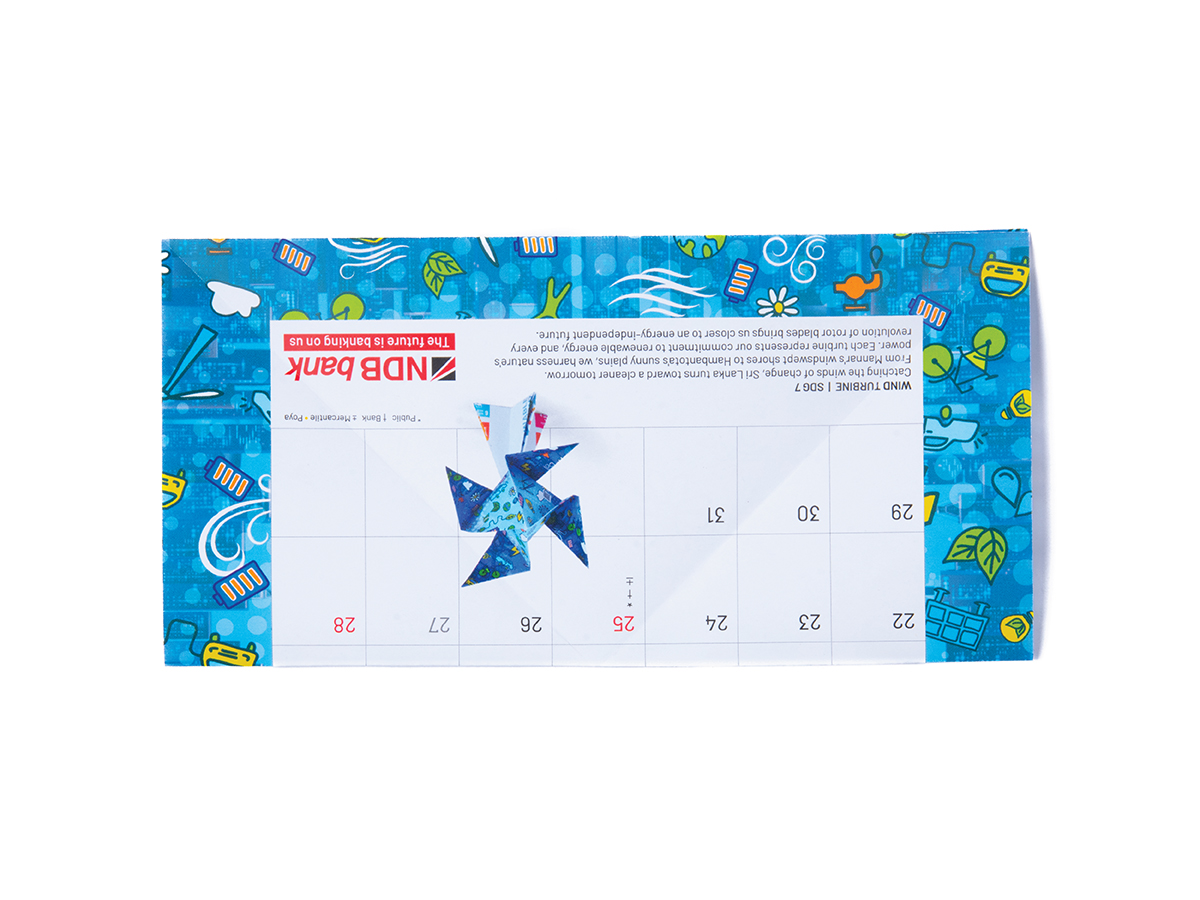
Catching the winds of change, Sri Lanka turns toward a cleaner tomorrow.From Mannar's windswept shores to Hambantota's sunny plains, we harness nature's power. Each turbine represents our commitment to renewable energy, and every revolution of rotor blades brings us closer to an energy-independent future.

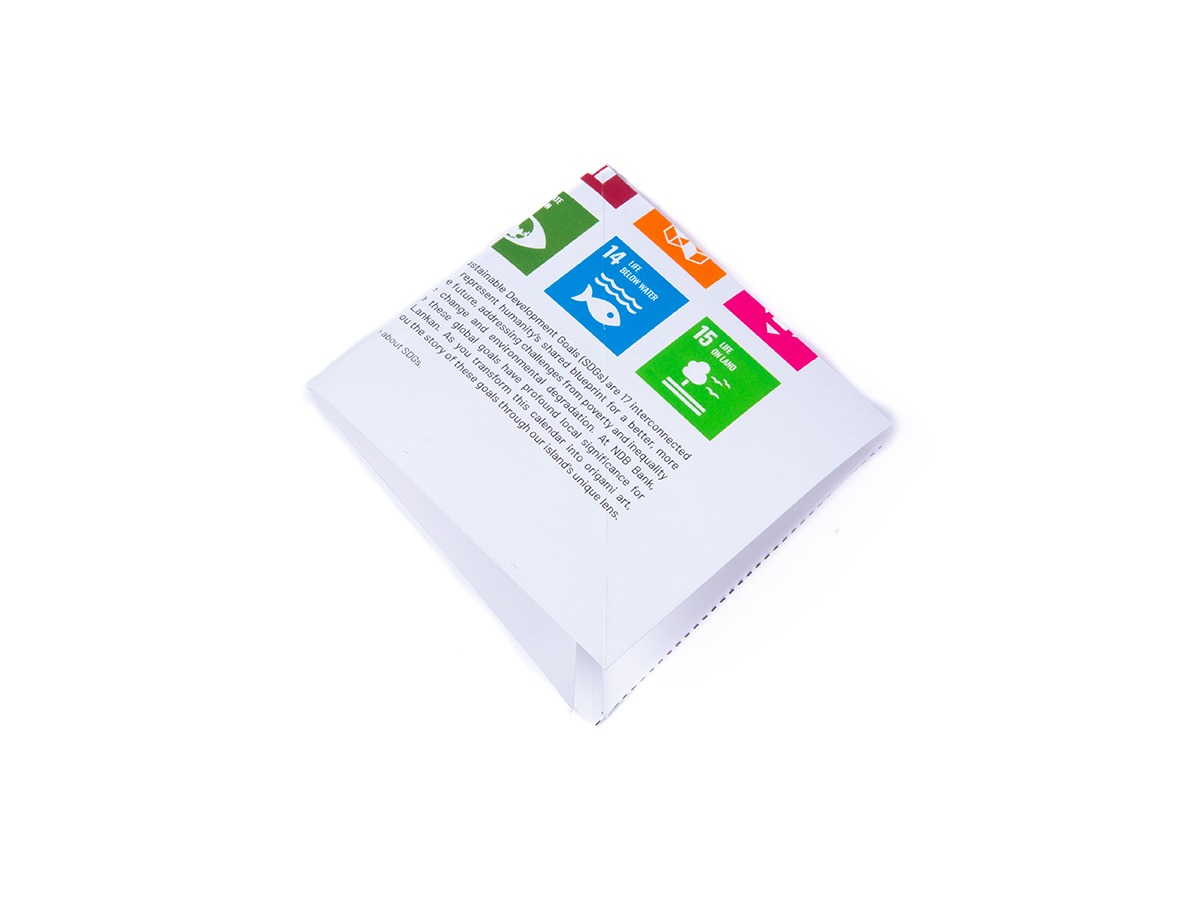
Place the December origami sheet in front of you on a flat surface.
Turn the sheet so that the dated side faces you.

Fold the top right corner diagonally down to the bottom left corner, crease well and unfold.
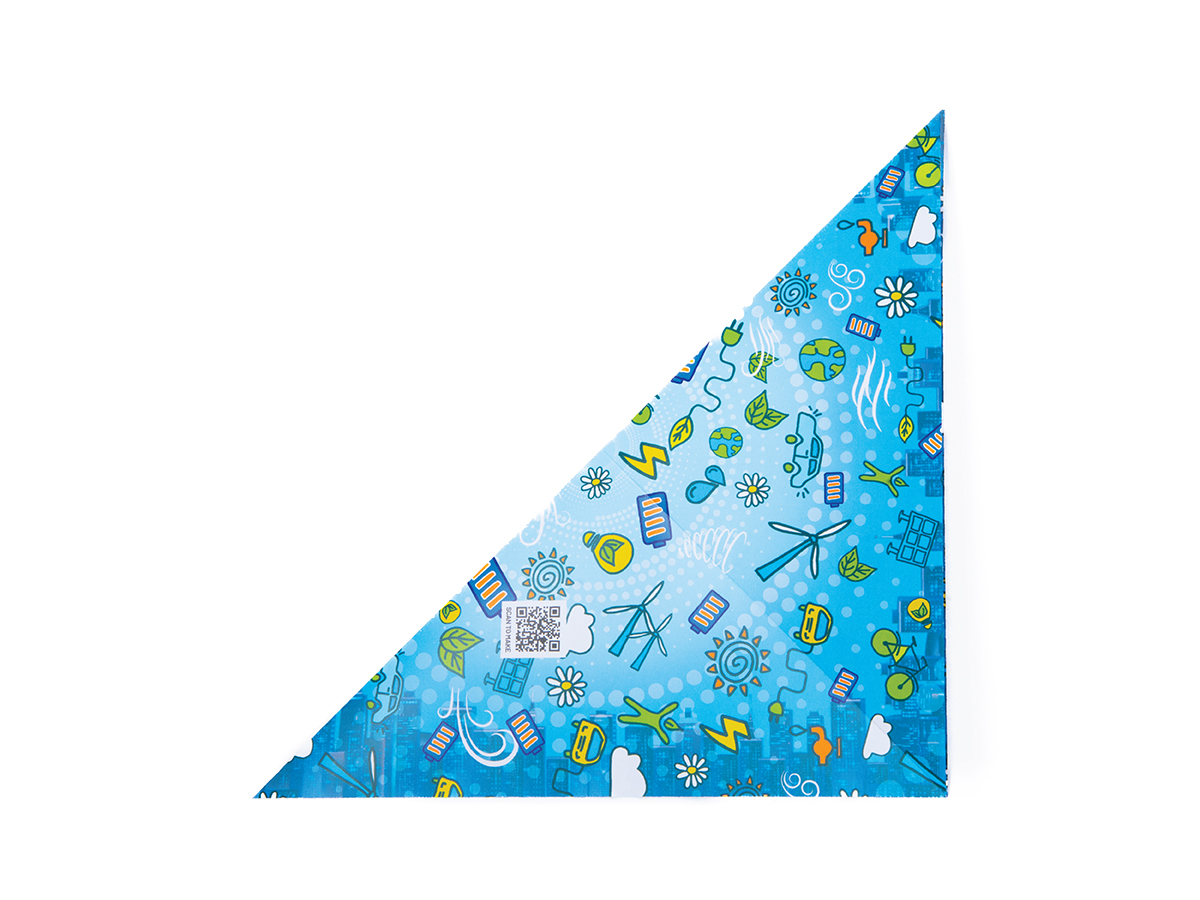
Fold the top left corner diagonally down to the bottom right corner, crease well and unfold.
Place the December origami sheet in front of you on a flat surface.
Turn the sheet so that the dated side faces you.
Fold the top right corner diagonally down to the bottom left corner, crease well and unfold.
Fold the top left corner diagonally down to the bottom right corner, crease well and unfold.

Flip the sheet over.
Fold in half horizontally, crease and unfold.
Fold in half vertically, crease and unfold.
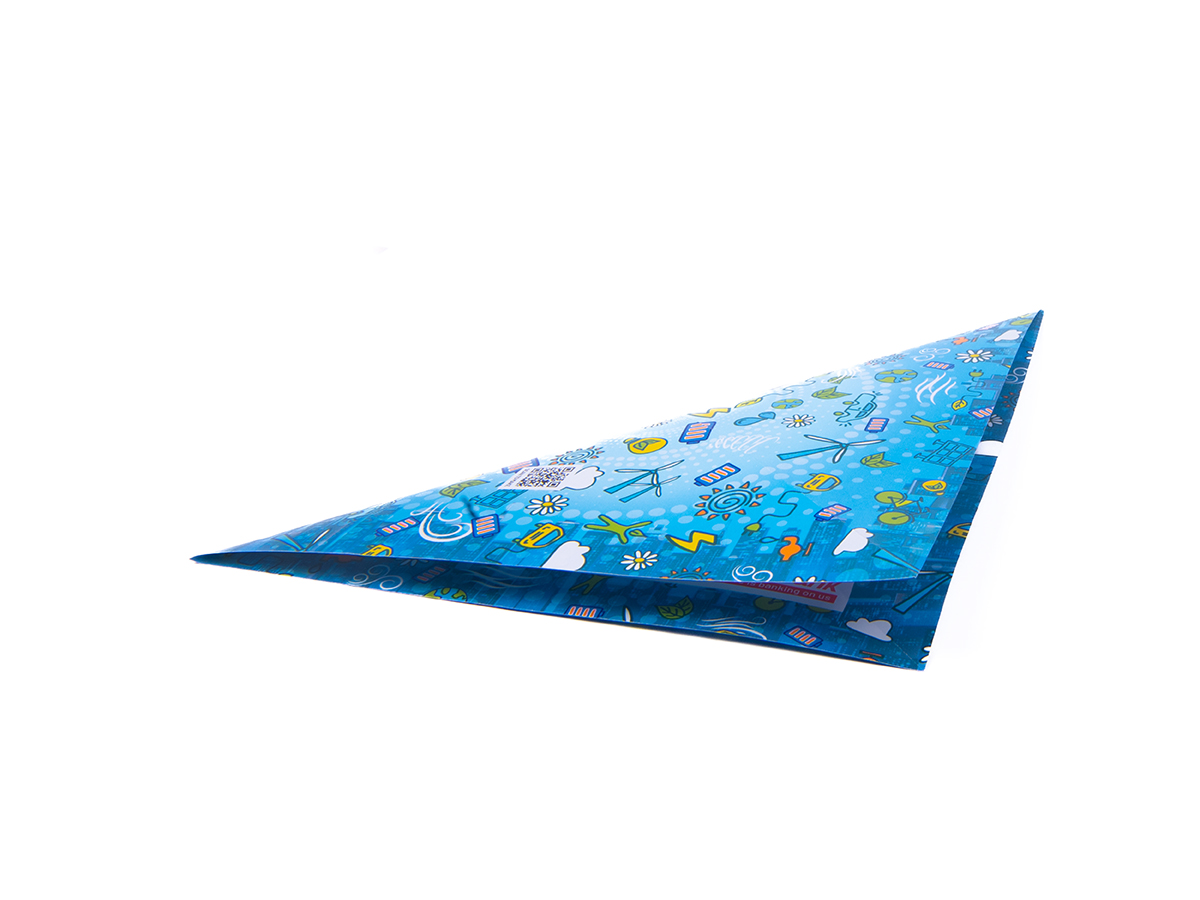
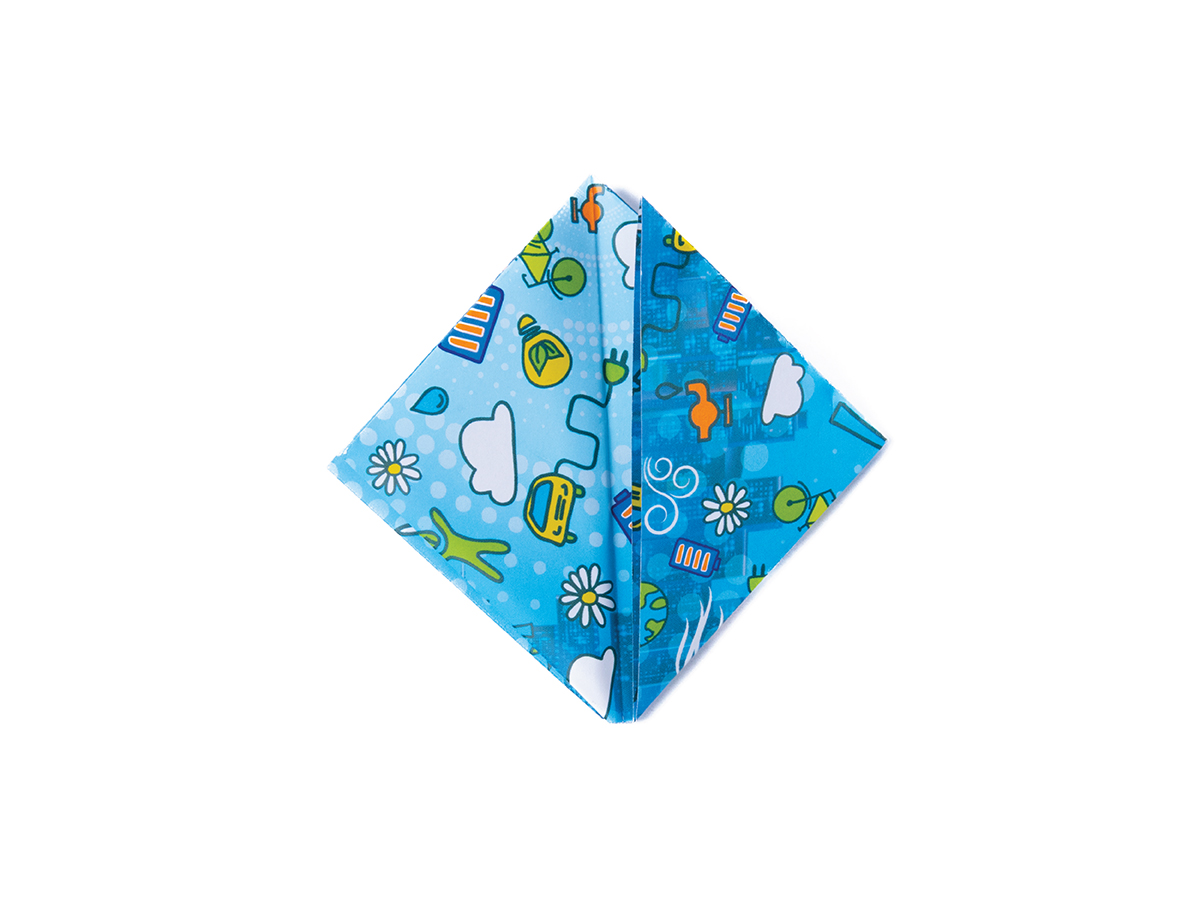
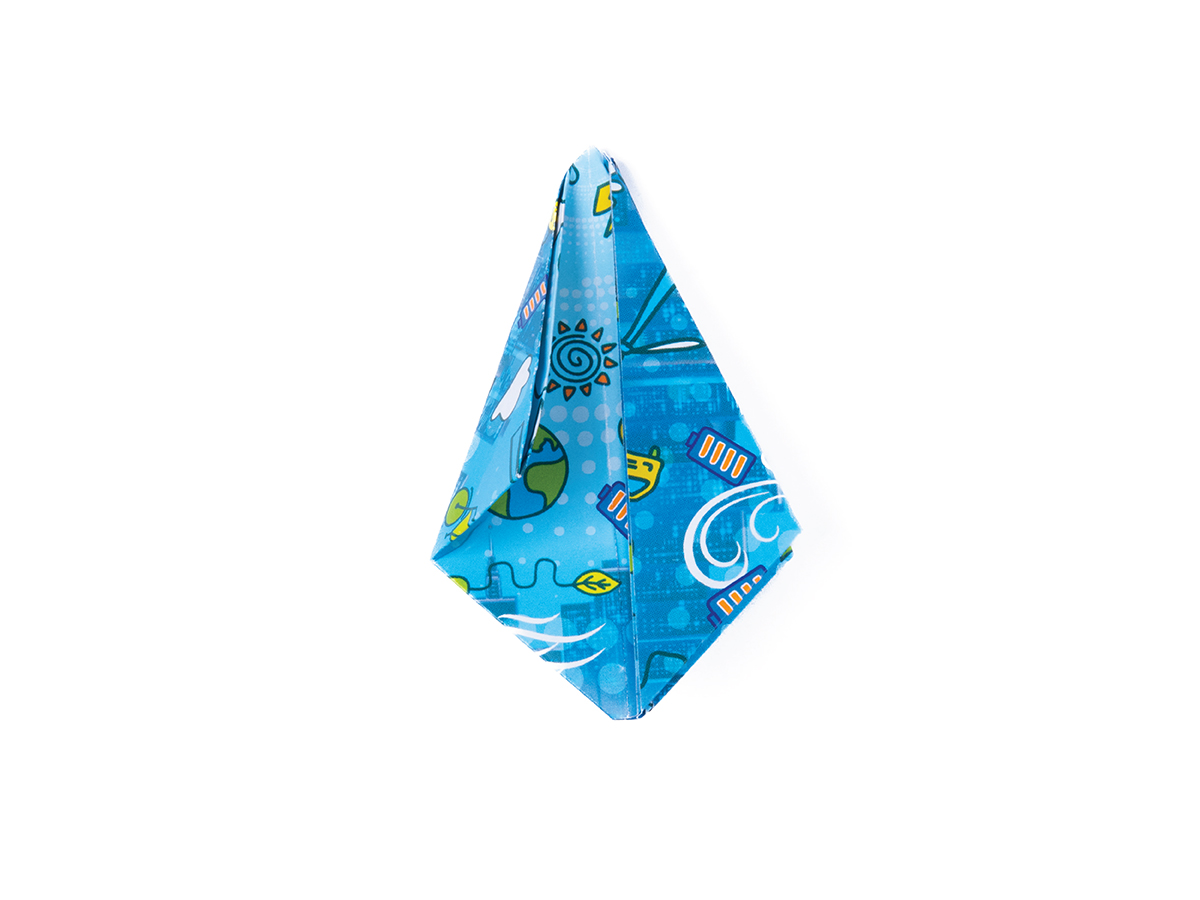
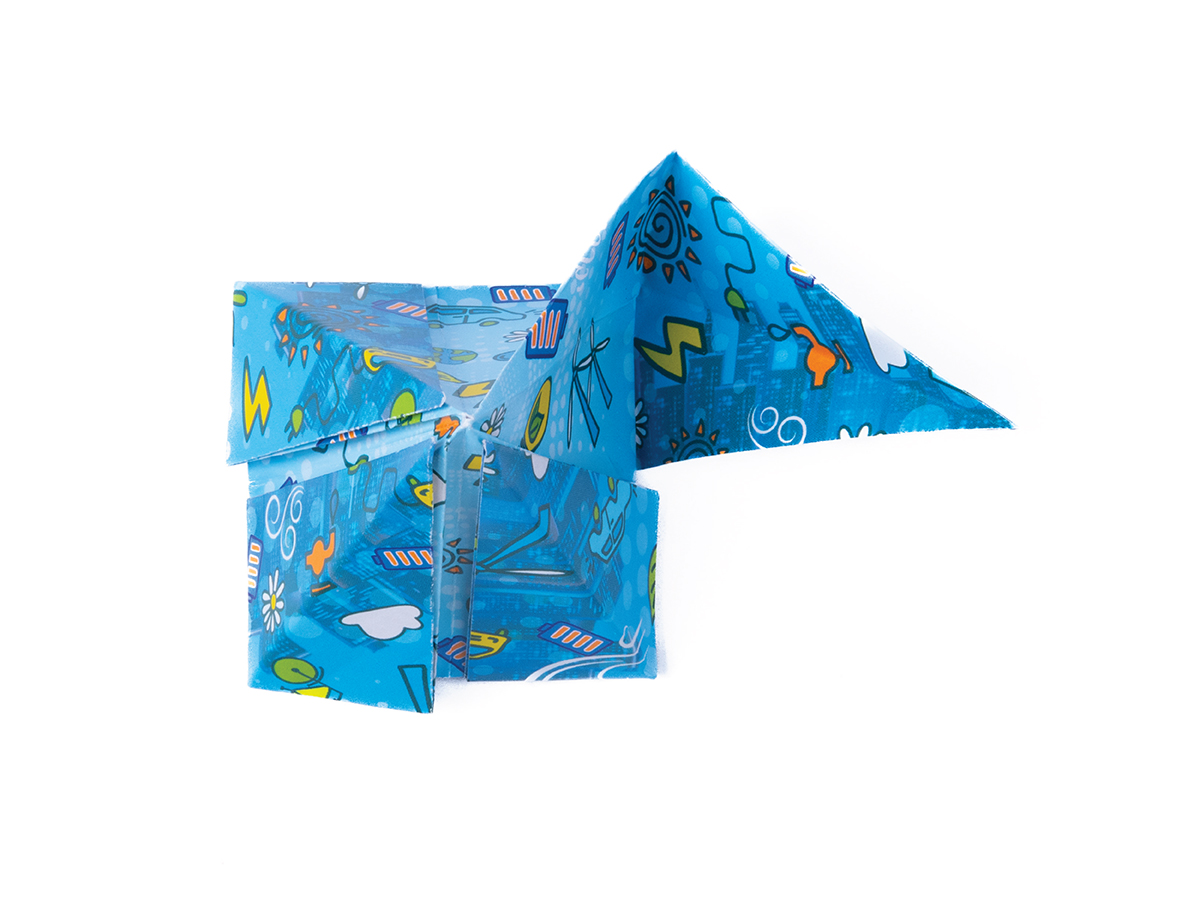
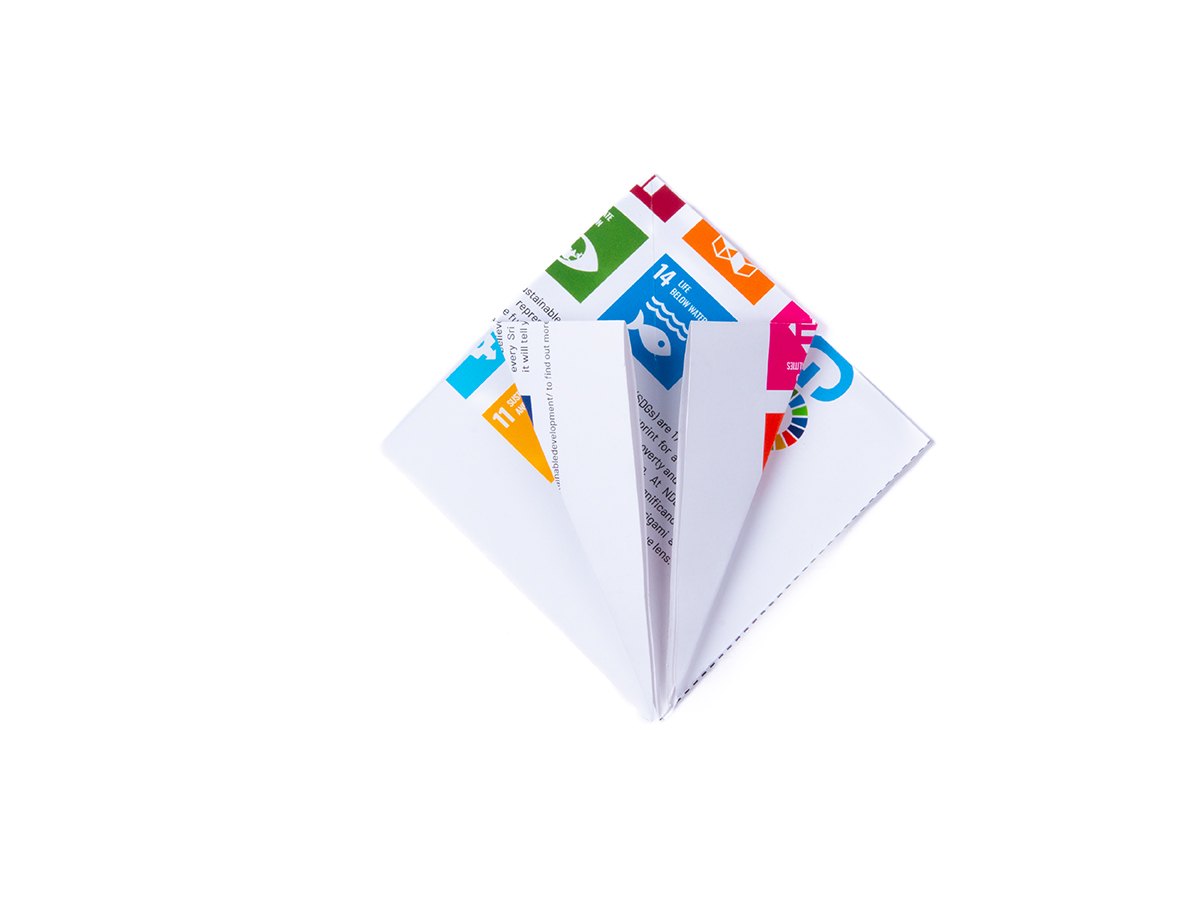
Using the creases you just made, collapse the sheet as shown into a pyramid-like shape.
Flip the sheet over.
Fold in half horizontally, crease and unfold.
Fold in half vertically, crease and unfold.
Using the creases you just made, collapse the sheet as shown into a pyramid-like shape.
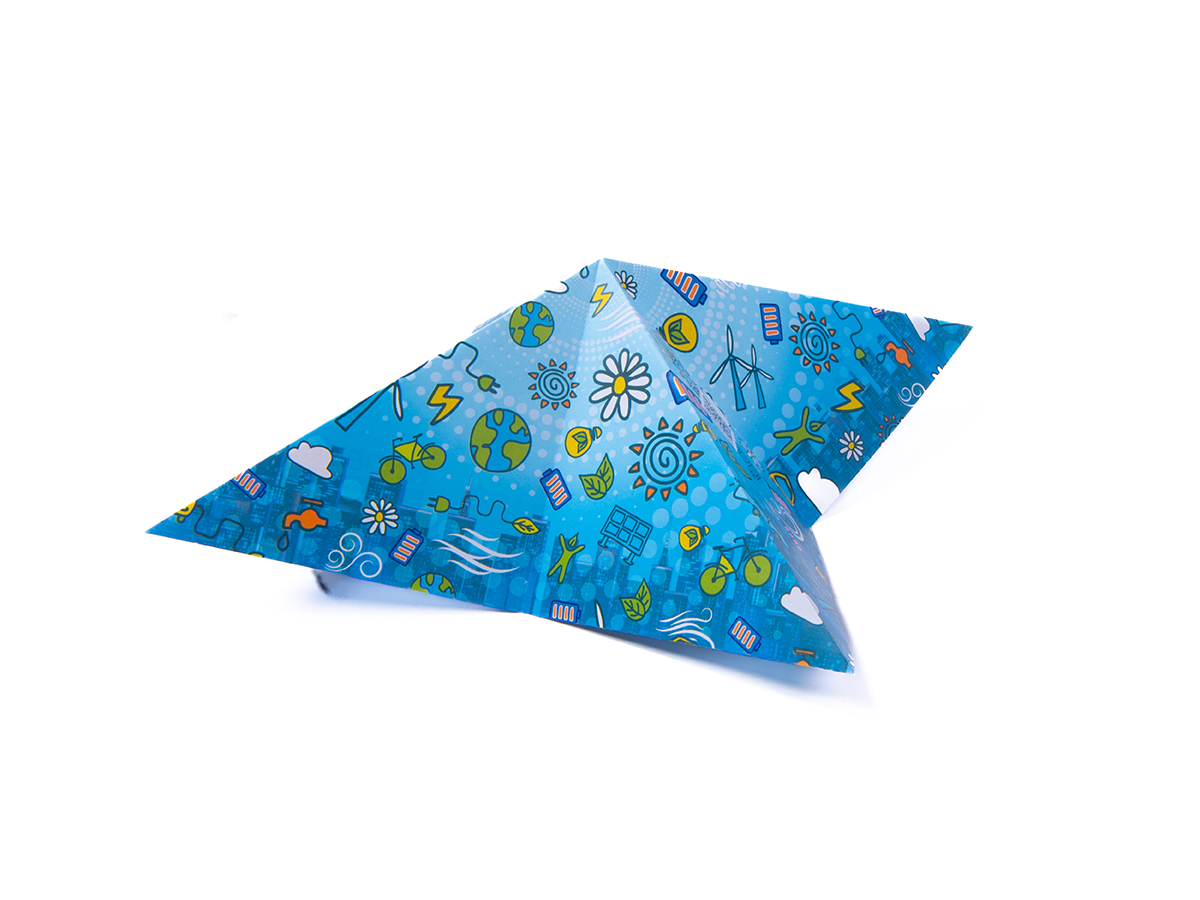
Flatten the pyramid on a flat surface.
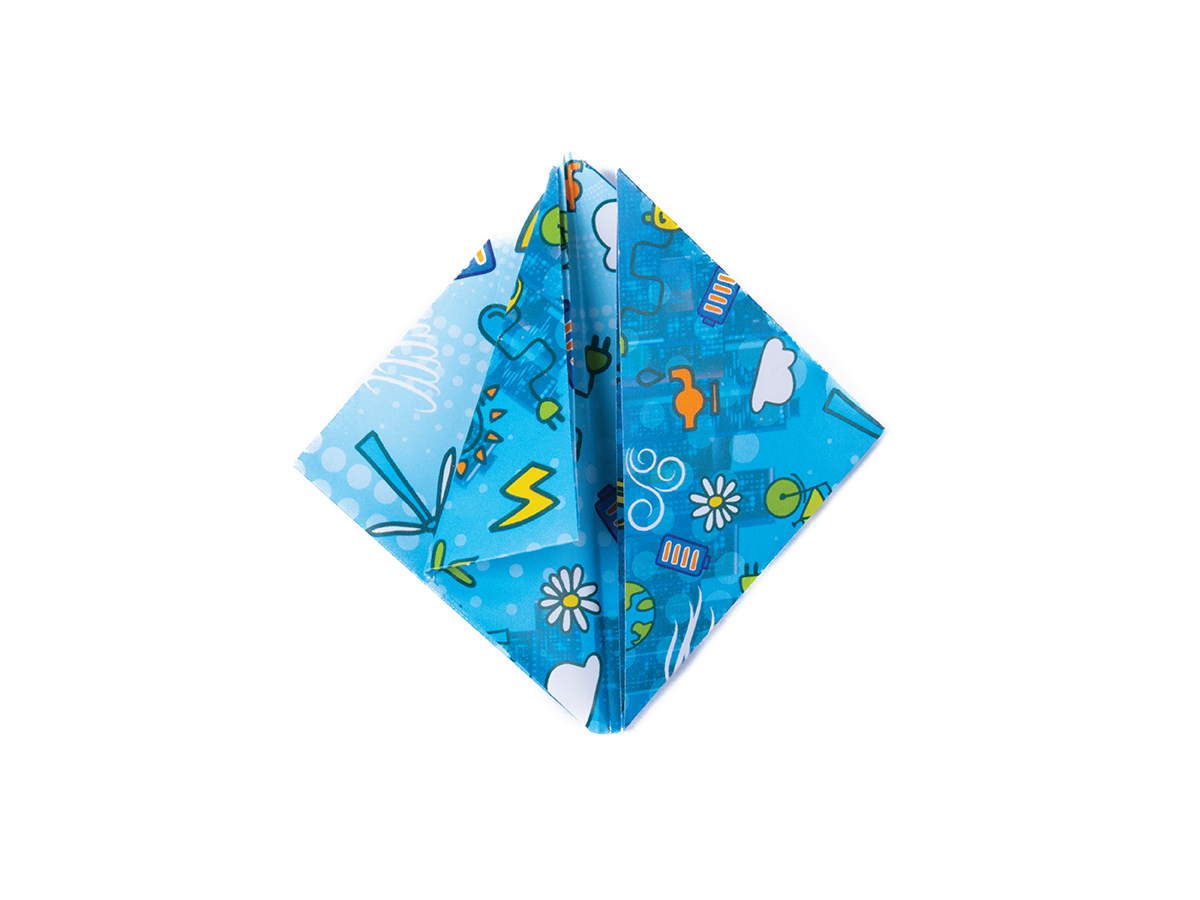
Fold the right flap upwards towards the middle crease.
Turn the flap over and fold the next flap on the right upwards the sam way. Work your way around each flap, folding in the same direction.
Starting with the left flap facing you, fold inwards as shown. Keep the shape flattened, turning as you work.
Flatten the pyramid on a flat surface.
Fold the right flap upwards towards the middle crease.
Turn the flap over and fold the next flap on the right upwards the sam way. Work your way around each flap, folding in the same direction.
Starting with the left flap facing you, fold inwards as shown. Keep the shape flattened, turning as you work.
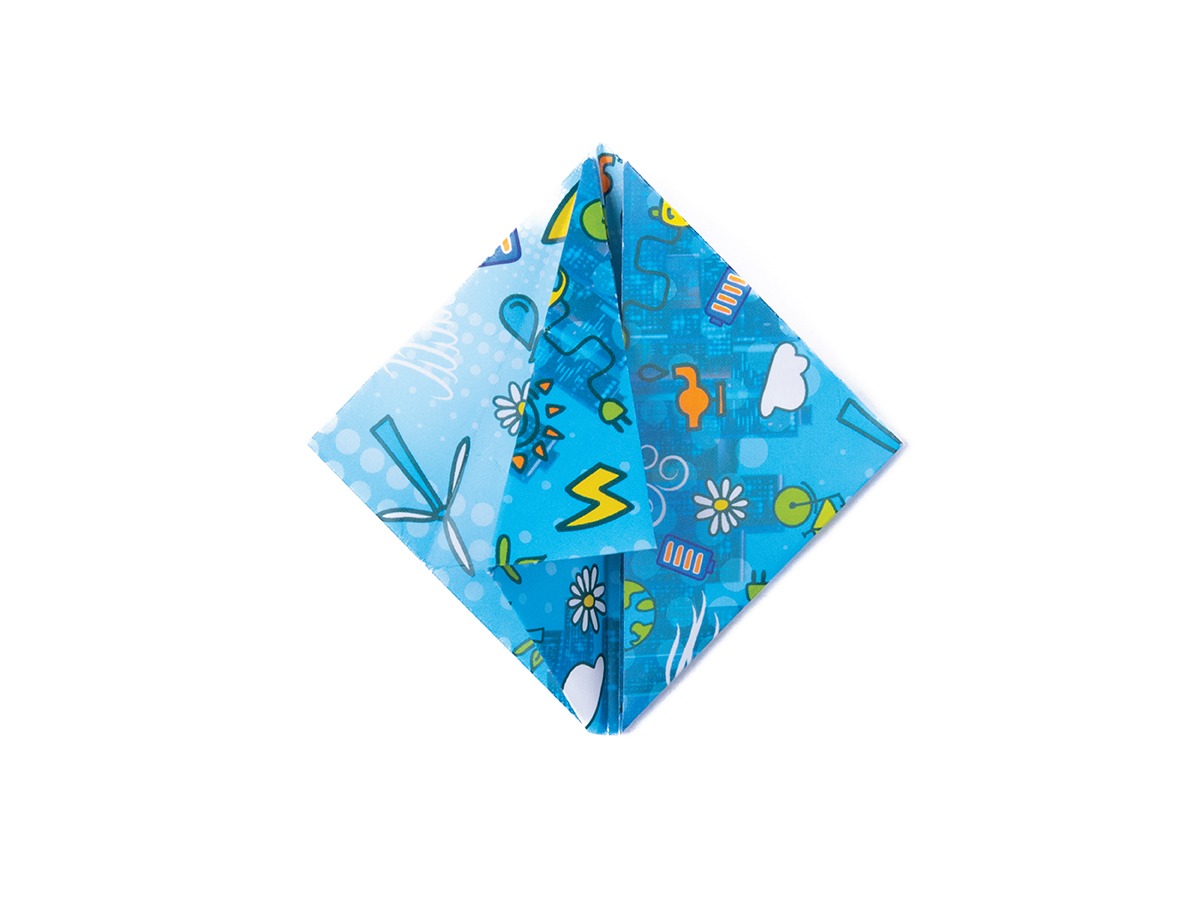
As you did in step 11, keep turning the shape and folding each flap in the same direction.
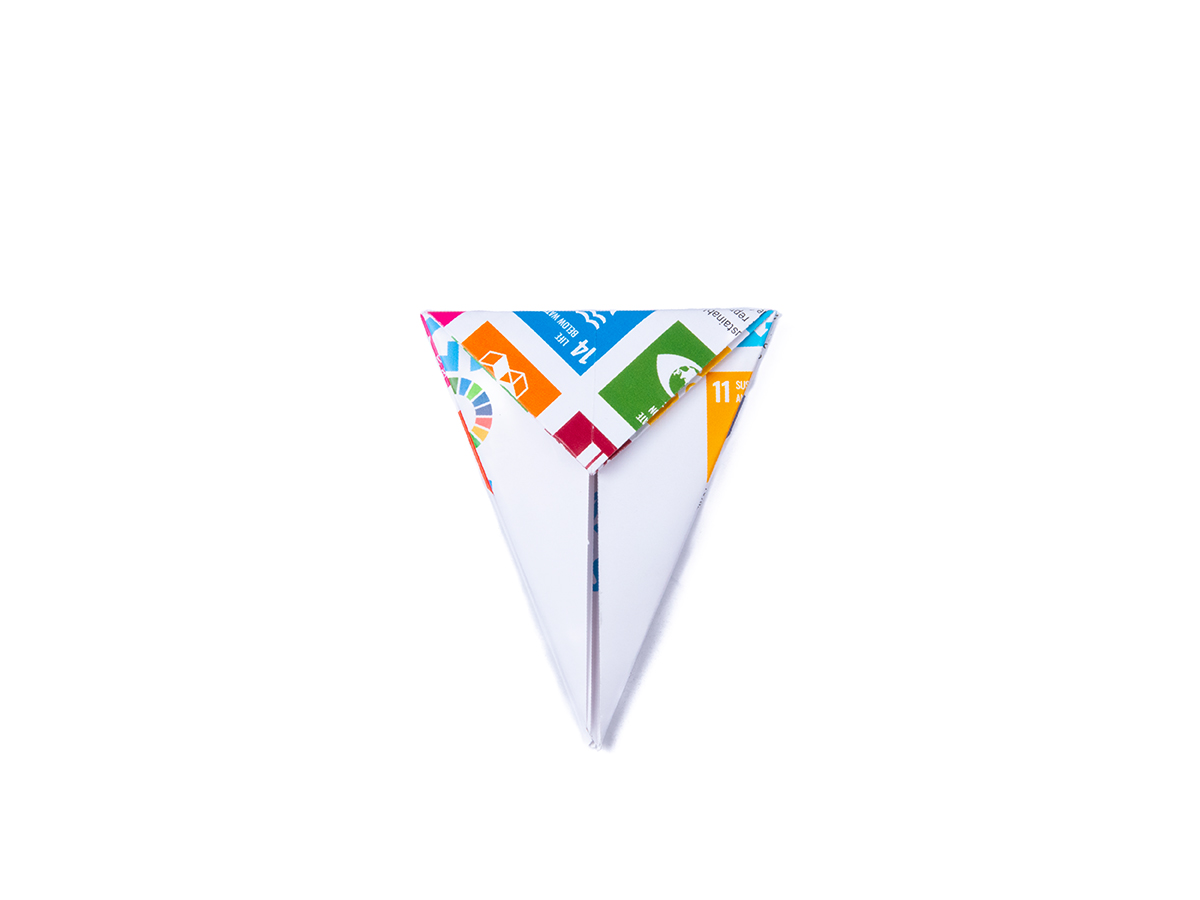
When you have worked your way around, your shape should look like this.
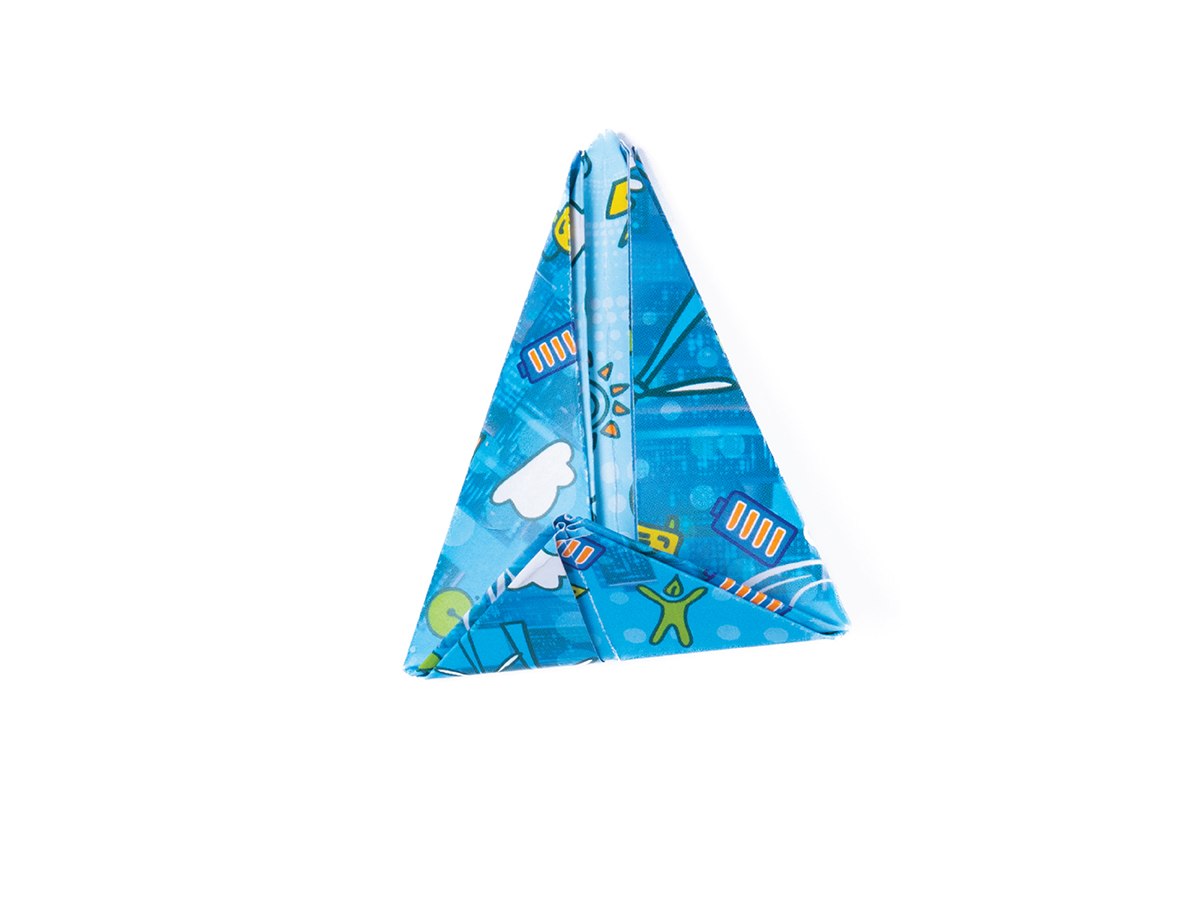
Fold the triangle at the bottom upwards. Crease well and unfold.
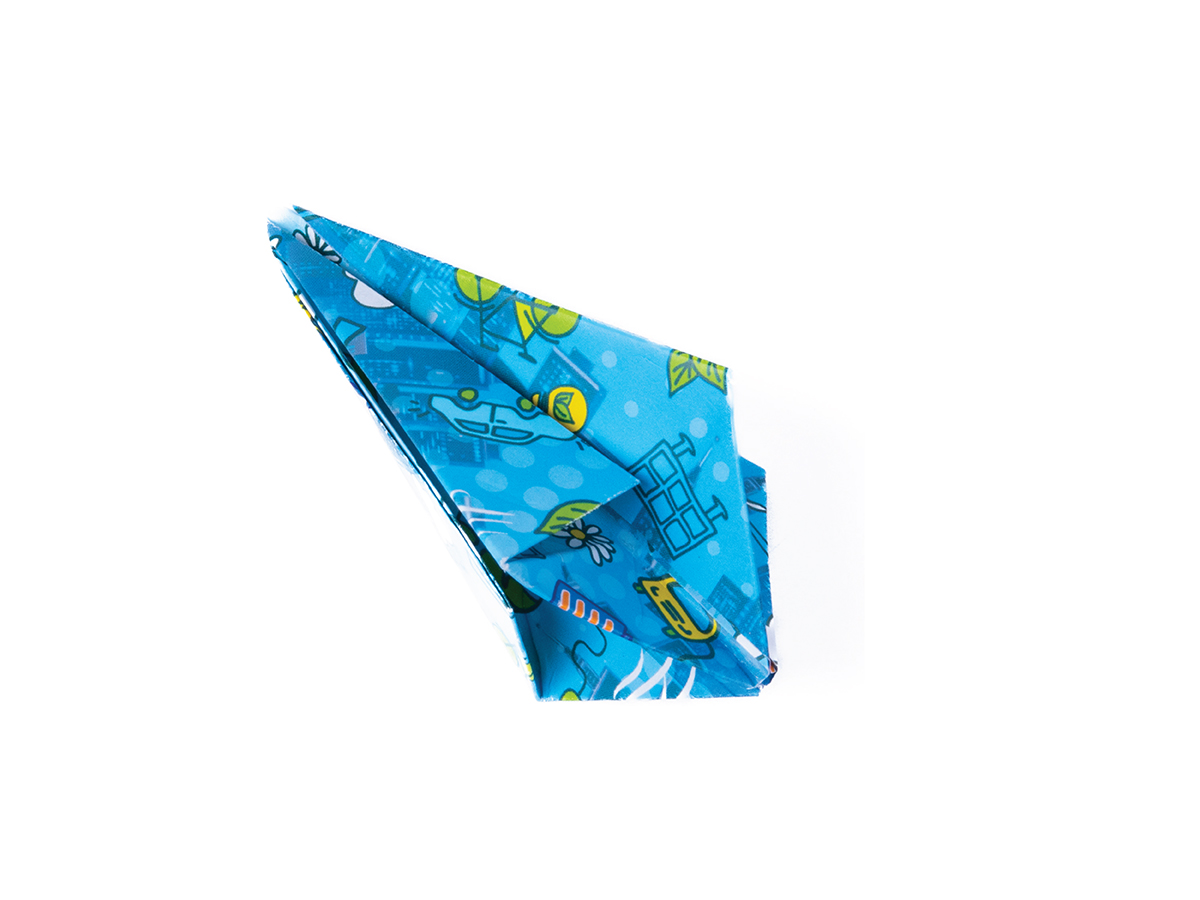
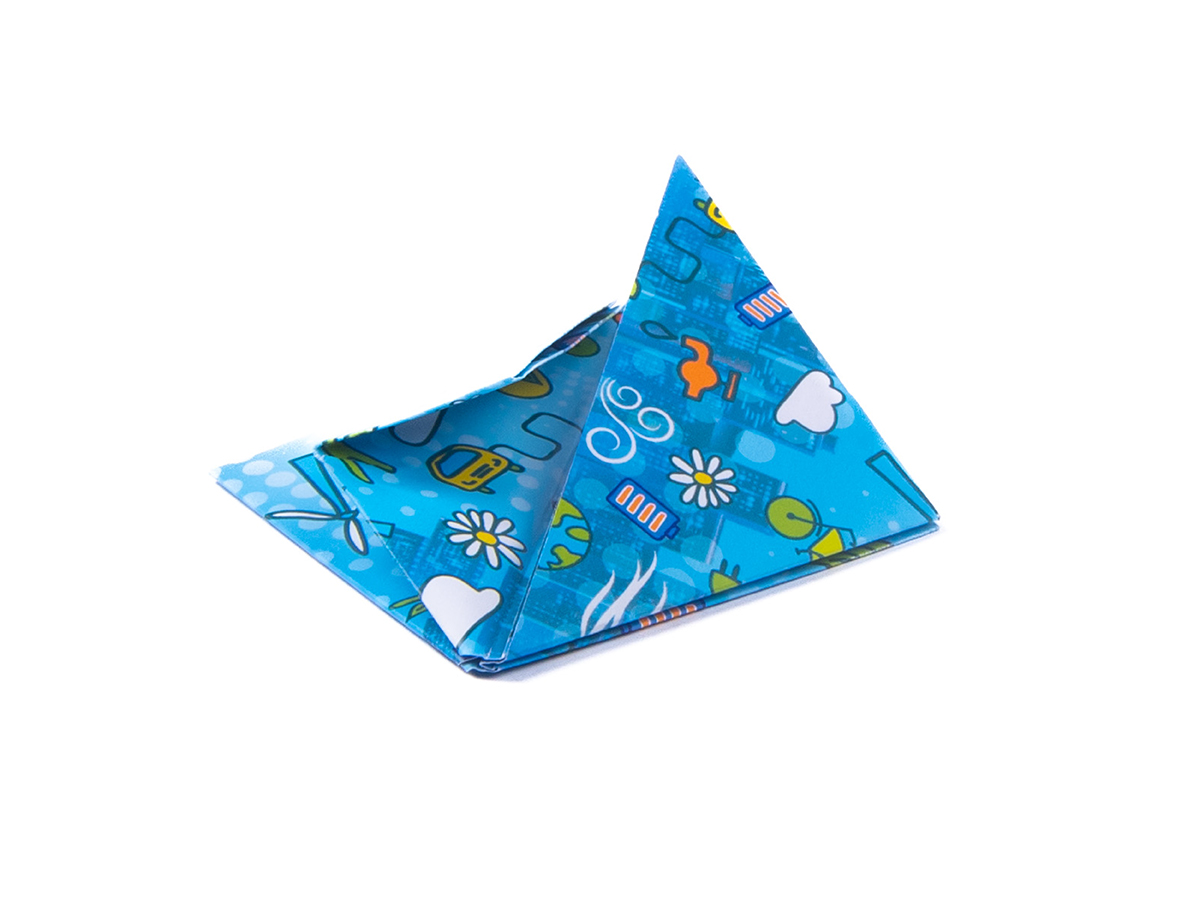
Fan out the flaps as shown.
As you did in step 11, keep turning the shape and folding each flap in the same direction.
When you have worked your way around, your shape should look like this.
Fold the triangle at the bottom upwards. Crease well and unfold.
Fan out the flaps as shown.

Find the opening and the bottom of your shape, and blow into it.

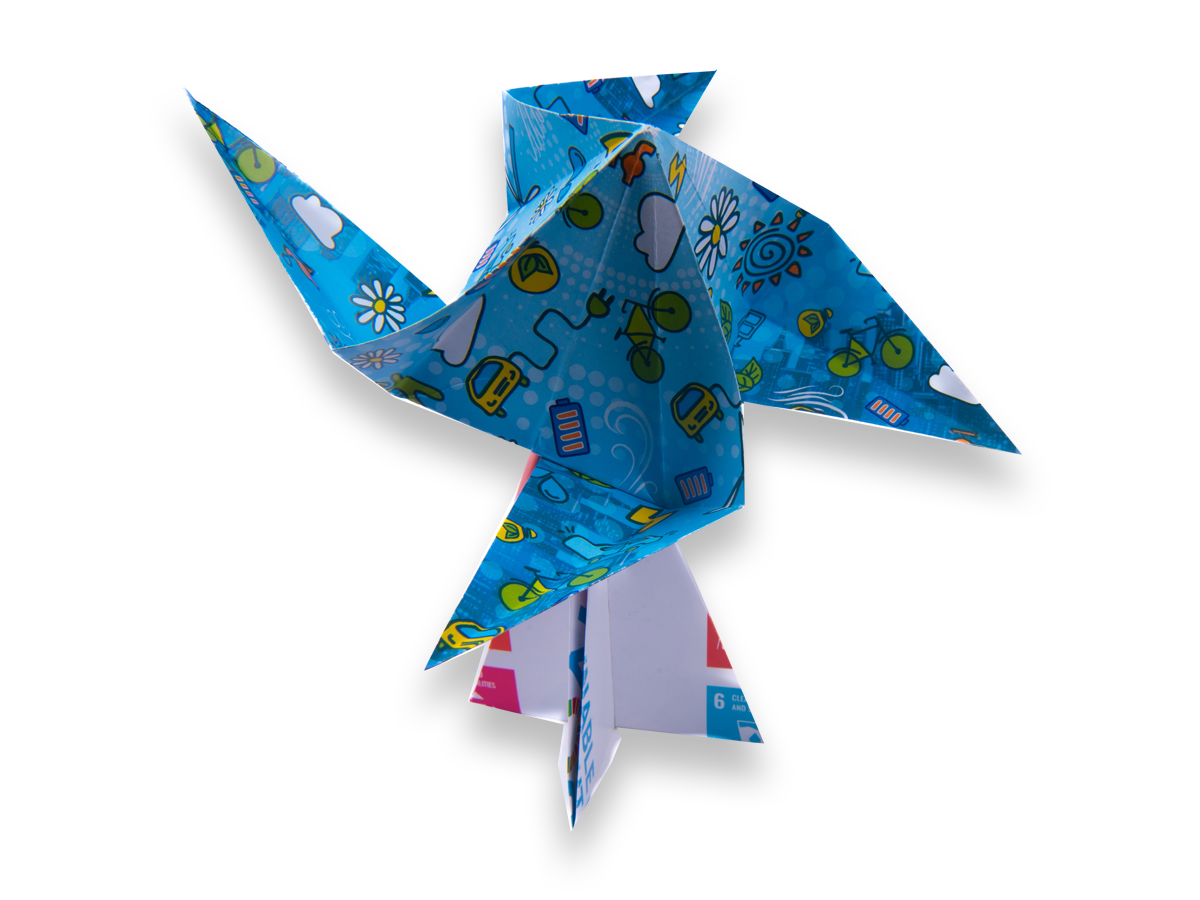
Your shape should inflate into a pyramid with four flaps around it.
Pull on one of the flaps until it opens out like a fan blade.
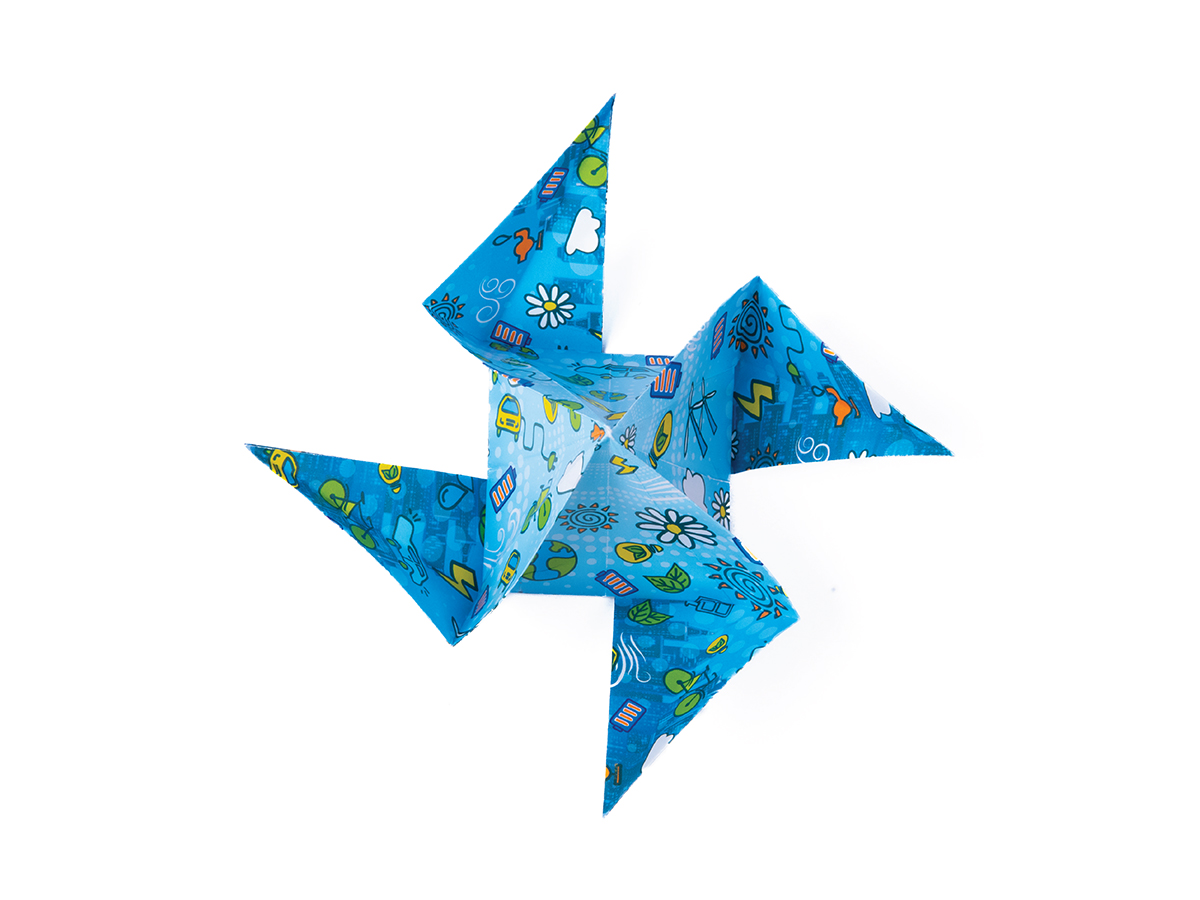
Repeat on all sides, and your wind turbine fan is done.
Find the opening and the bottom of your shape, and blow into it.
Your shape should inflate into a pyramid with four flaps around it.
Pull on one of the flaps until it opens out like a fan blade.
Repeat on all sides, and your wind turbine fan is done.

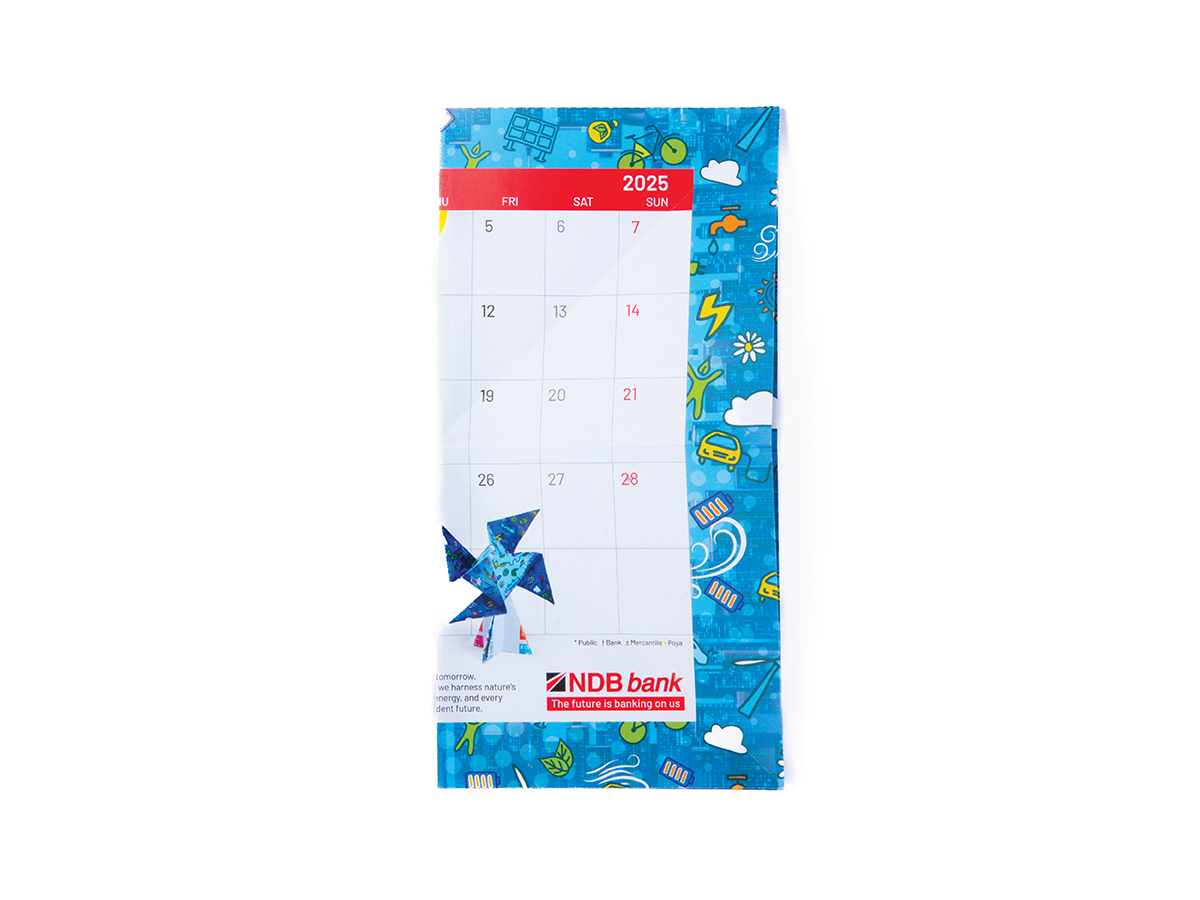
Next, place the Sustainable Development Goals page in front of you. This is going to make the base of our wind turbine. Fold diagonally in each direction, creasing well and unfolding each.
Turn the sheet over so that the How To page is facing up.

Fold horizontally, crease well, and unfold.

Fold vertically, crease well, and unfold.
Next, place the Sustainable Development Goals page in front of you. This is going to make the base of our wind turbine. Fold diagonally in each direction, creasing well and unfolding each.
Turn the sheet over so that the How To page is facing up.
Fold horizontally, crease well, and unfold.
Fold vertically, crease well, and unfold.


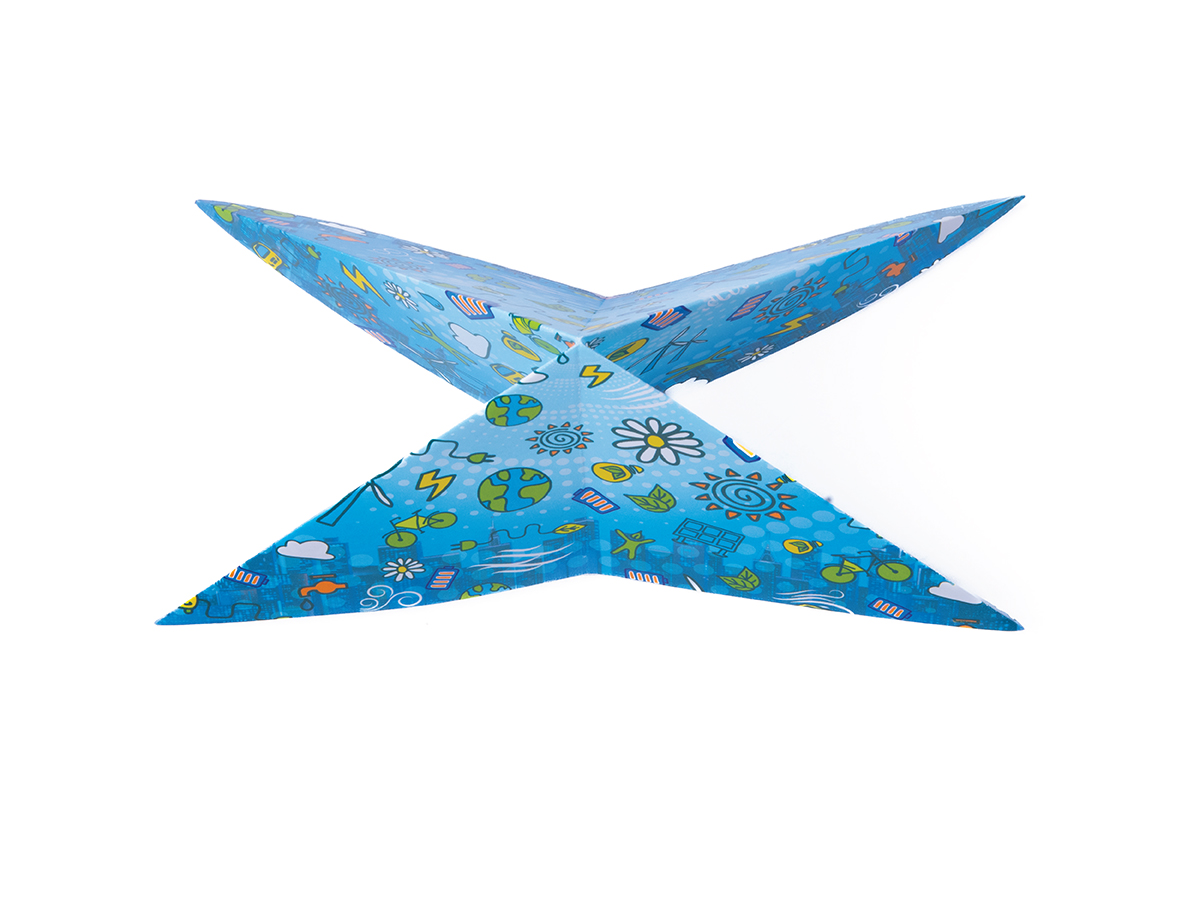
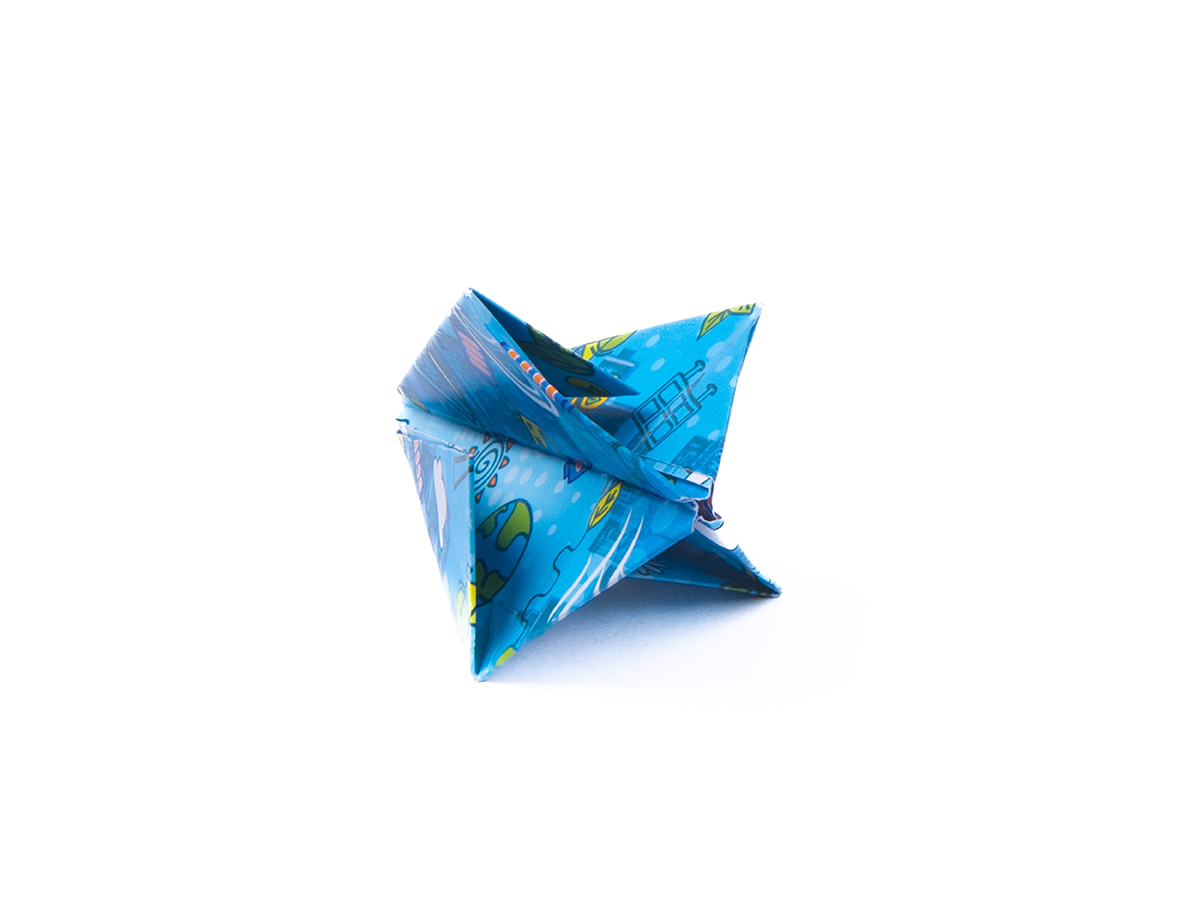
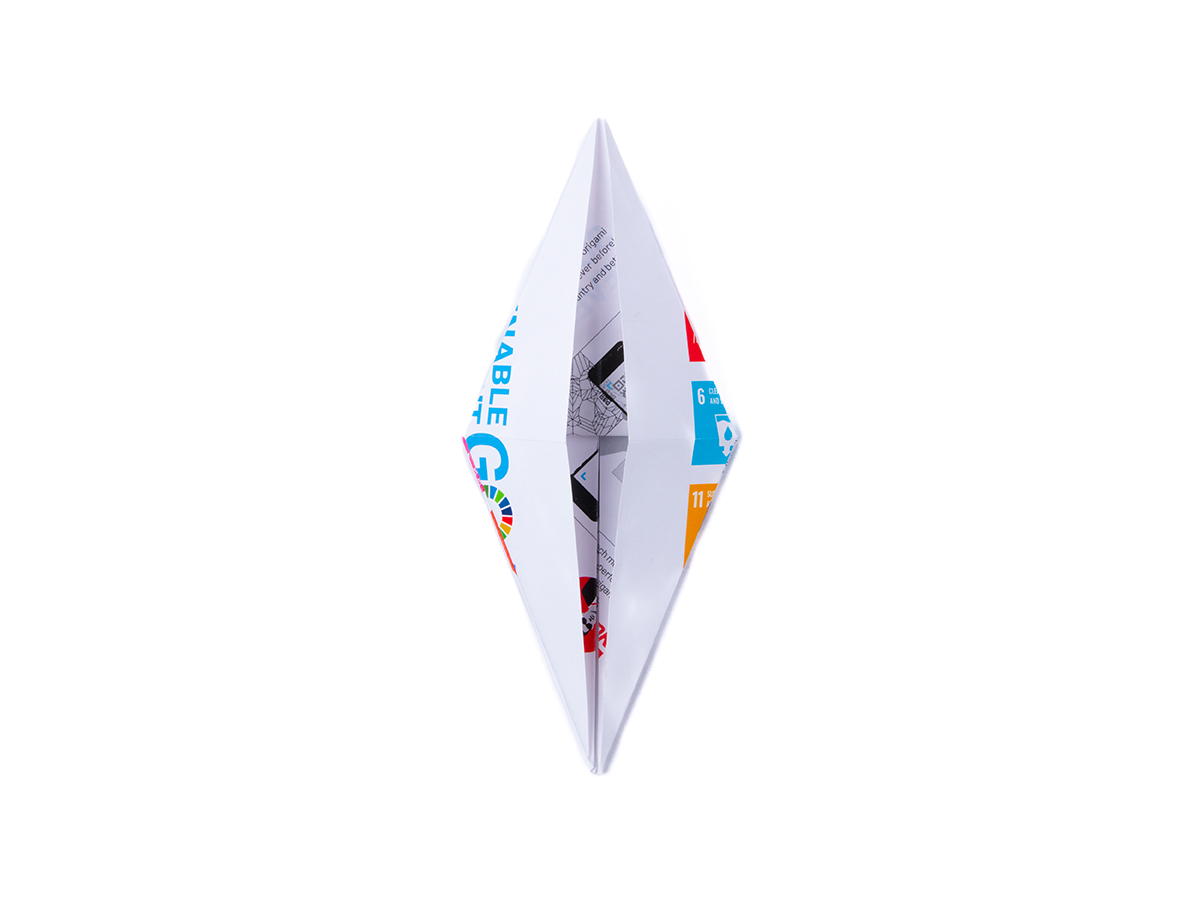
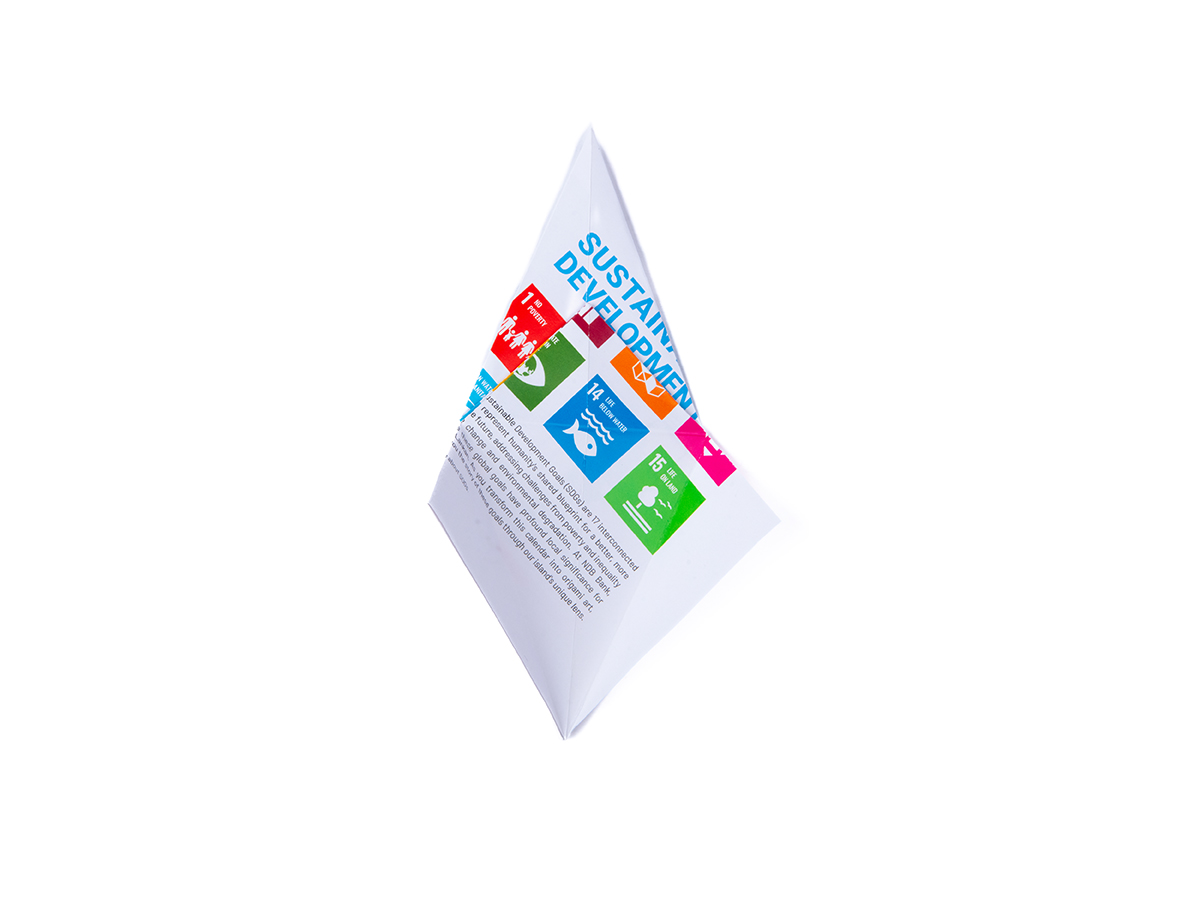
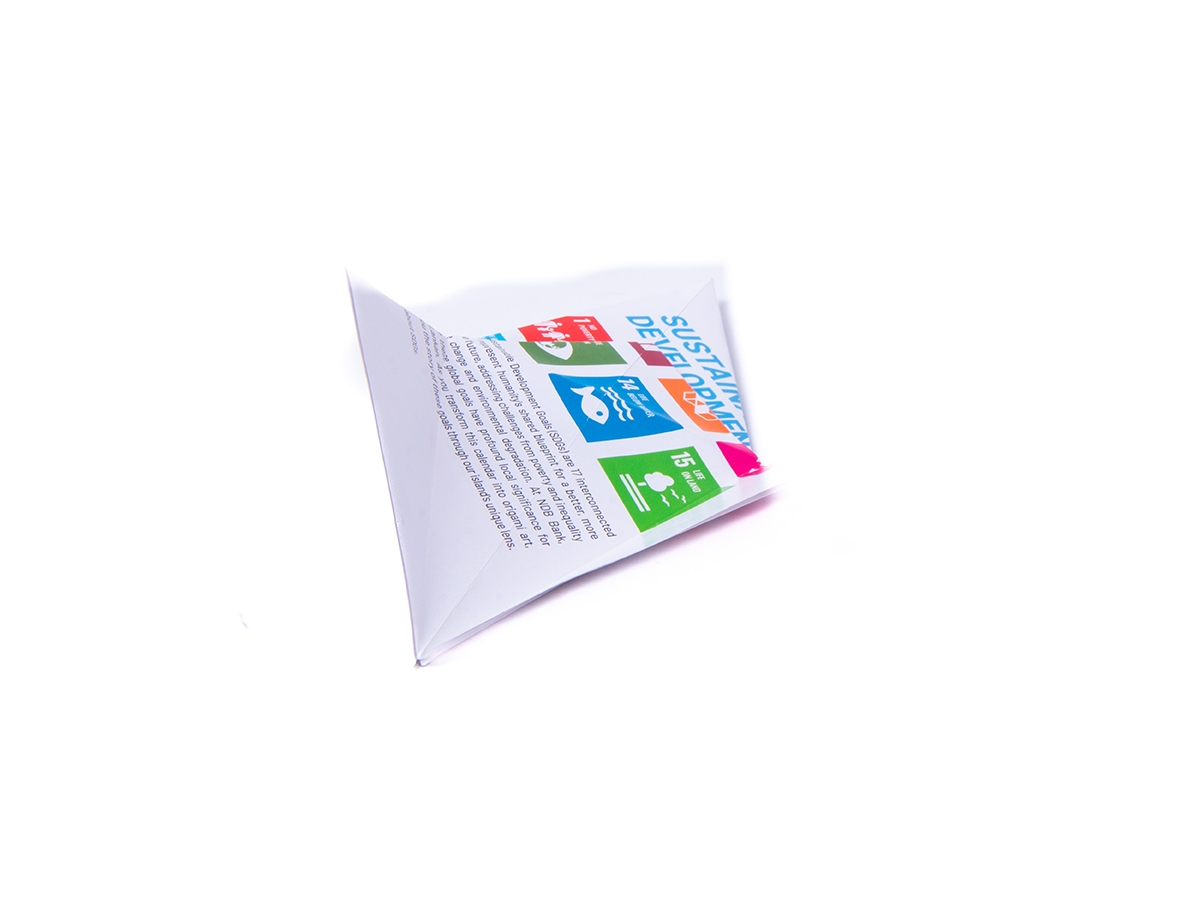
Collapse the sheet along the creases into a diamond shape.
Lay the diamond shape on a flat surface with the open end pointing towards you.
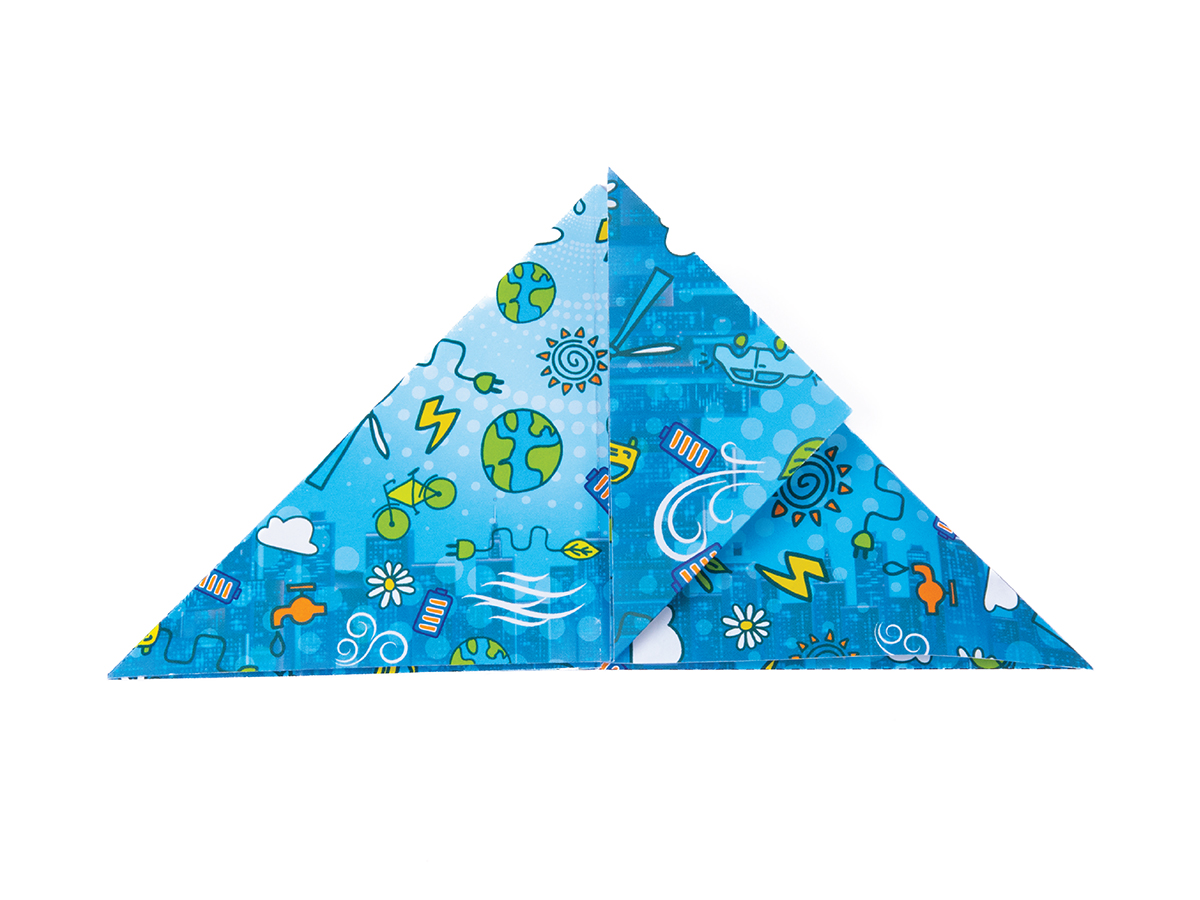
Fold the left and right corners inwards to meet the central crease.

Turn the shape over and repeat on the other side.
Collapse the sheet along the creases into a diamond shape.
Lay the diamond shape on a flat surface with the open end pointing towards you.
Fold the left and right corners inwards to meet the central crease.
Turn the shape over and repeat on the other side.

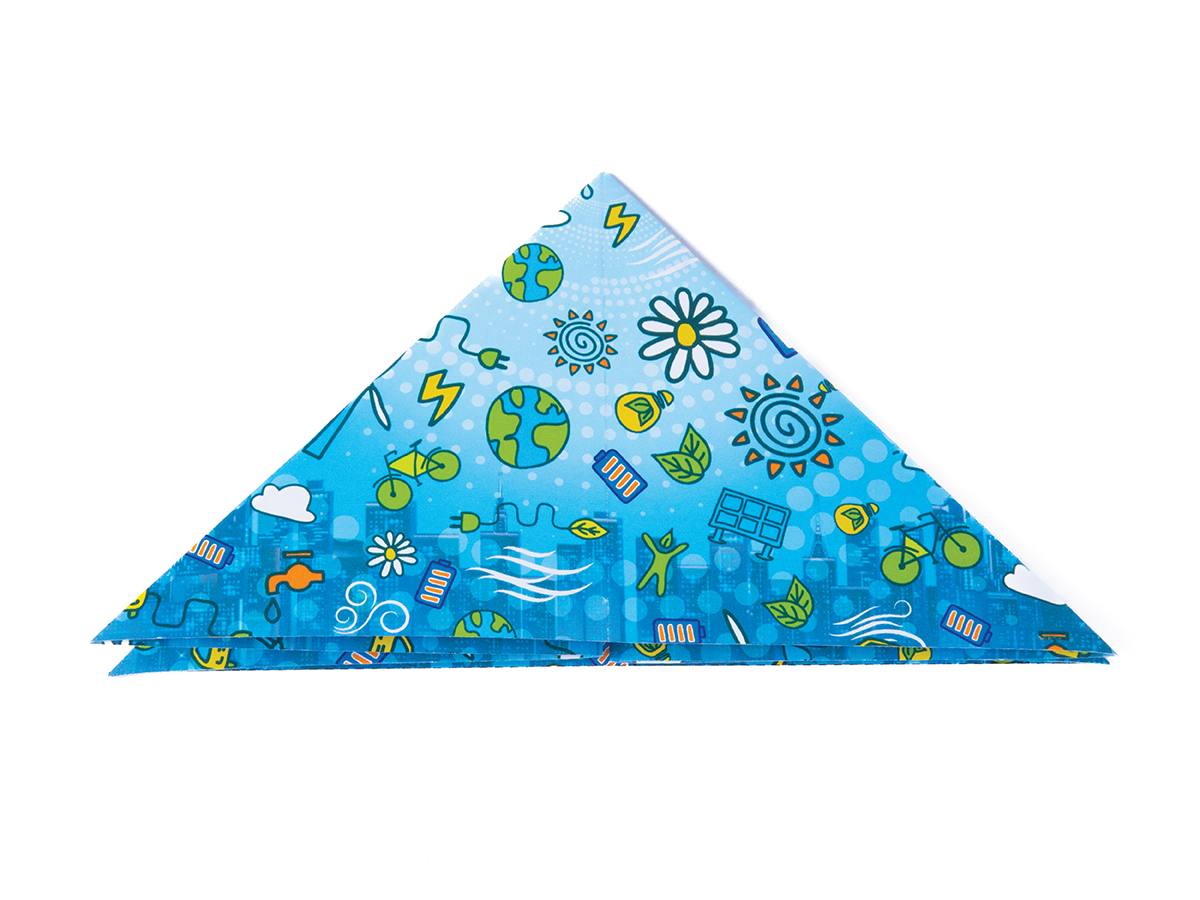
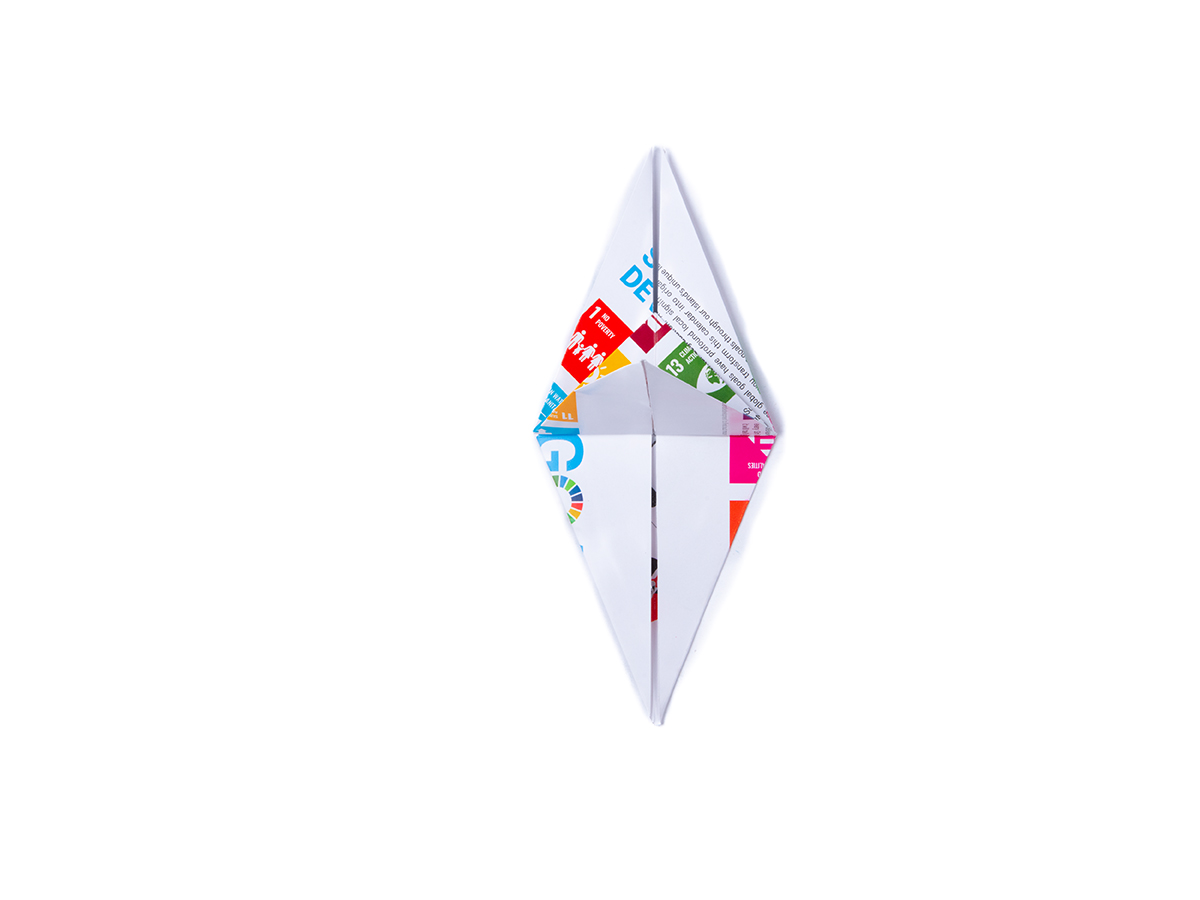
Fold the triangle at the top downwards. Crease well and unfold.

Reach in and open out the fold as shown.
Press it down flat.
Turn the shape over, and repeat steps 30 and 31.
Fold the triangle at the top downwards. Crease well and unfold.
Reach in and open out the fold as shown.
Press it down flat.
Turn the shape over, and repeat steps 30 and 31.

Fold the one of the new long flaps you created over to the side. You should see a small triangle in the middle.
Bring the bottom of the uppermost flap upwards to meet the top. Crease well.
Turn the shape over and repeat on the other side.

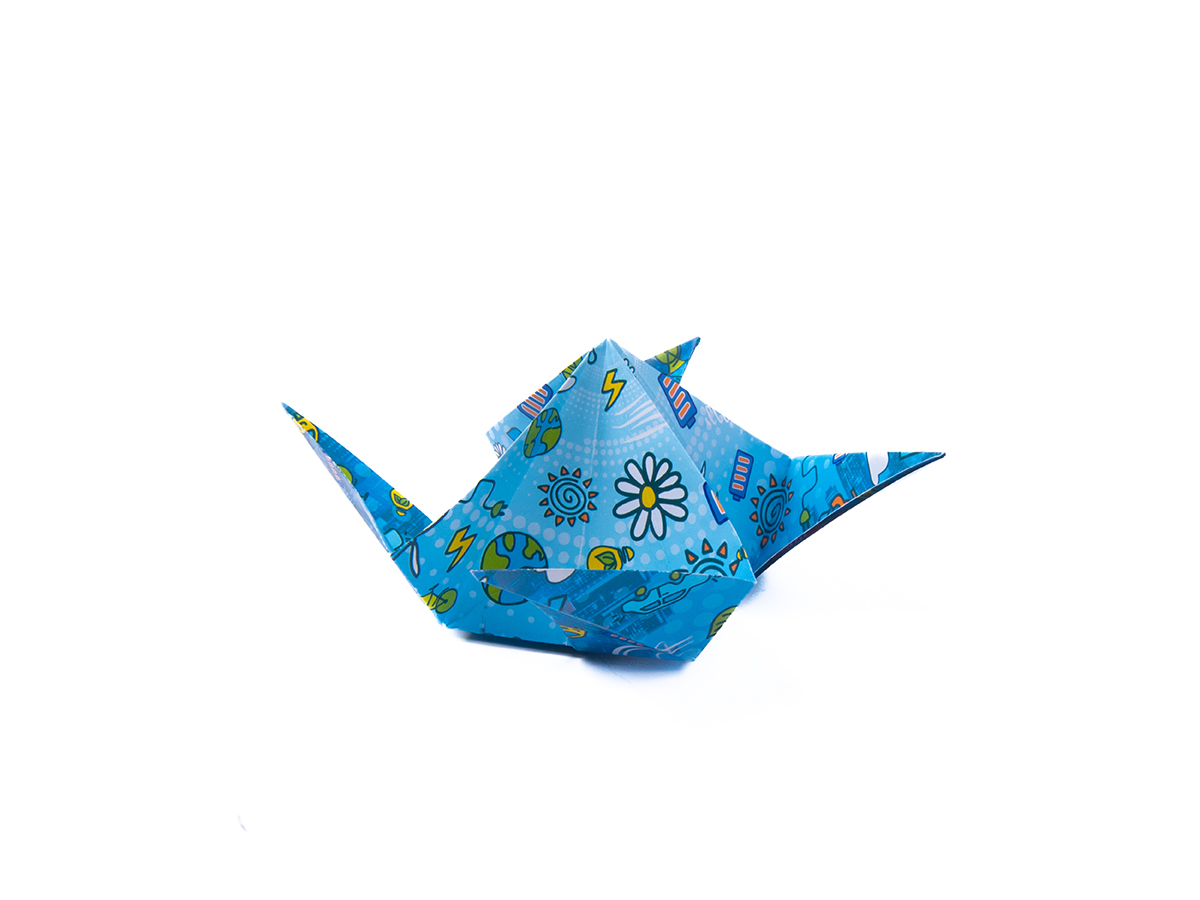
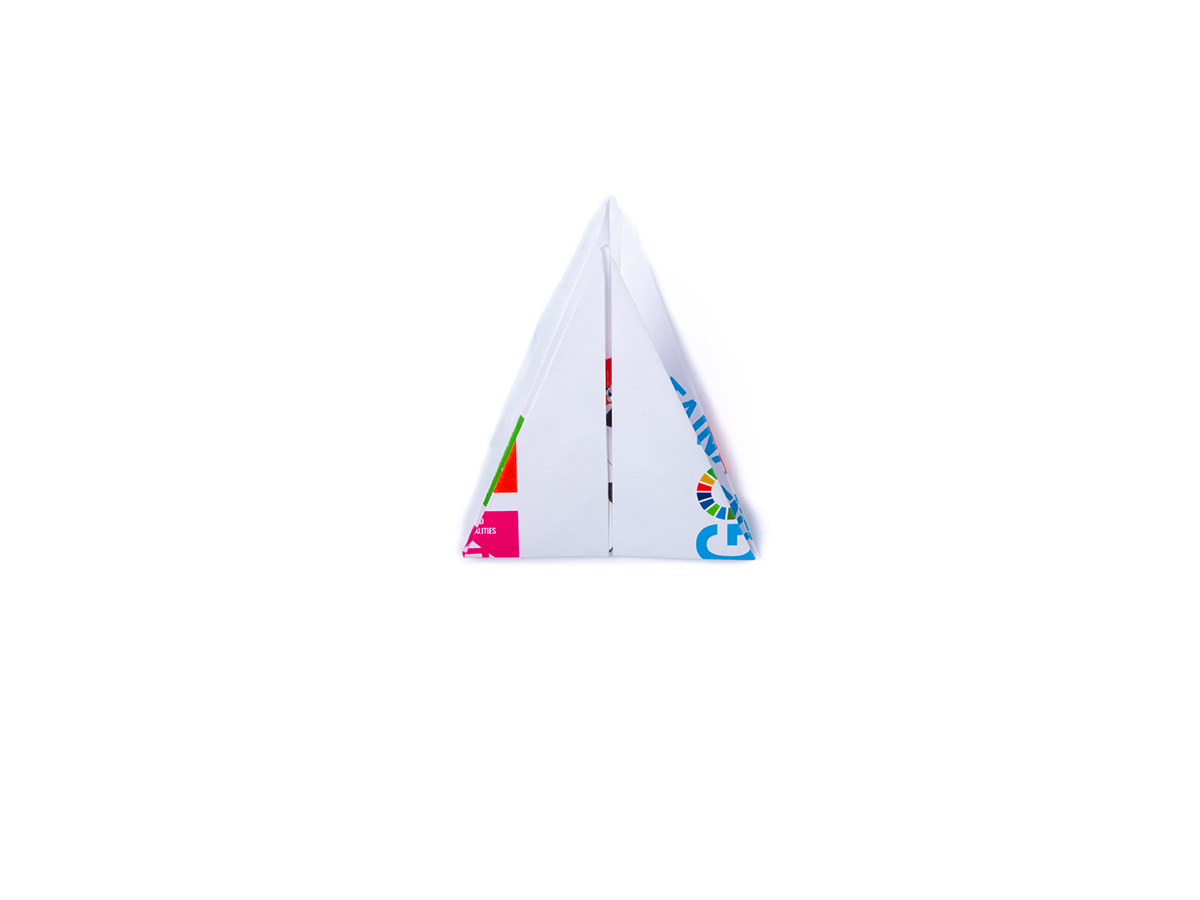
You should now have a pyramid-like shape that looks like this from above.
Fold the one of the new long flaps you created over to the side. You should see a small triangle in the middle.
Bring the bottom of the uppermost flap upwards to meet the top. Crease well.
Turn the shape over and repeat on the other side.
You should now have a pyramid-like shape that looks like this from above.

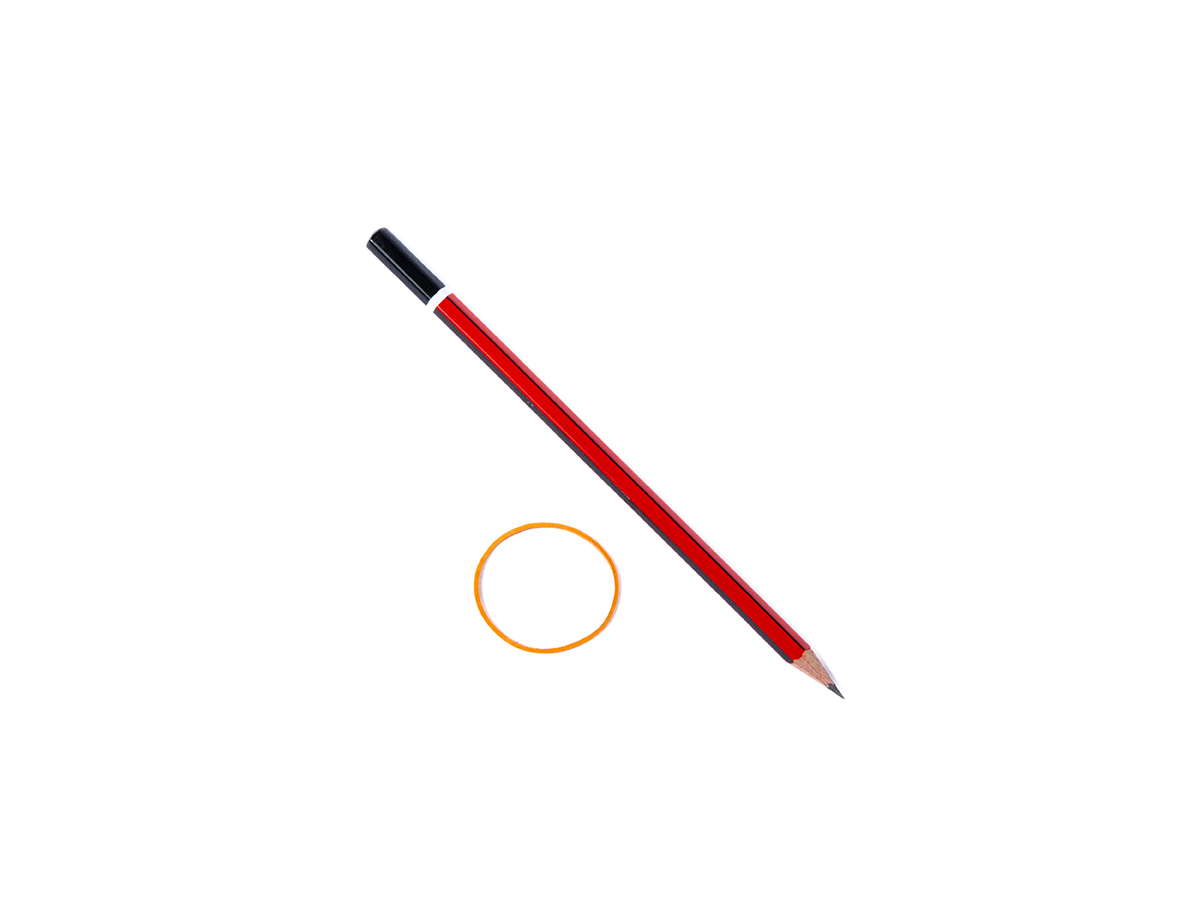
To assemble the wind turbine, you will need a full-length pencil and a rubber band.
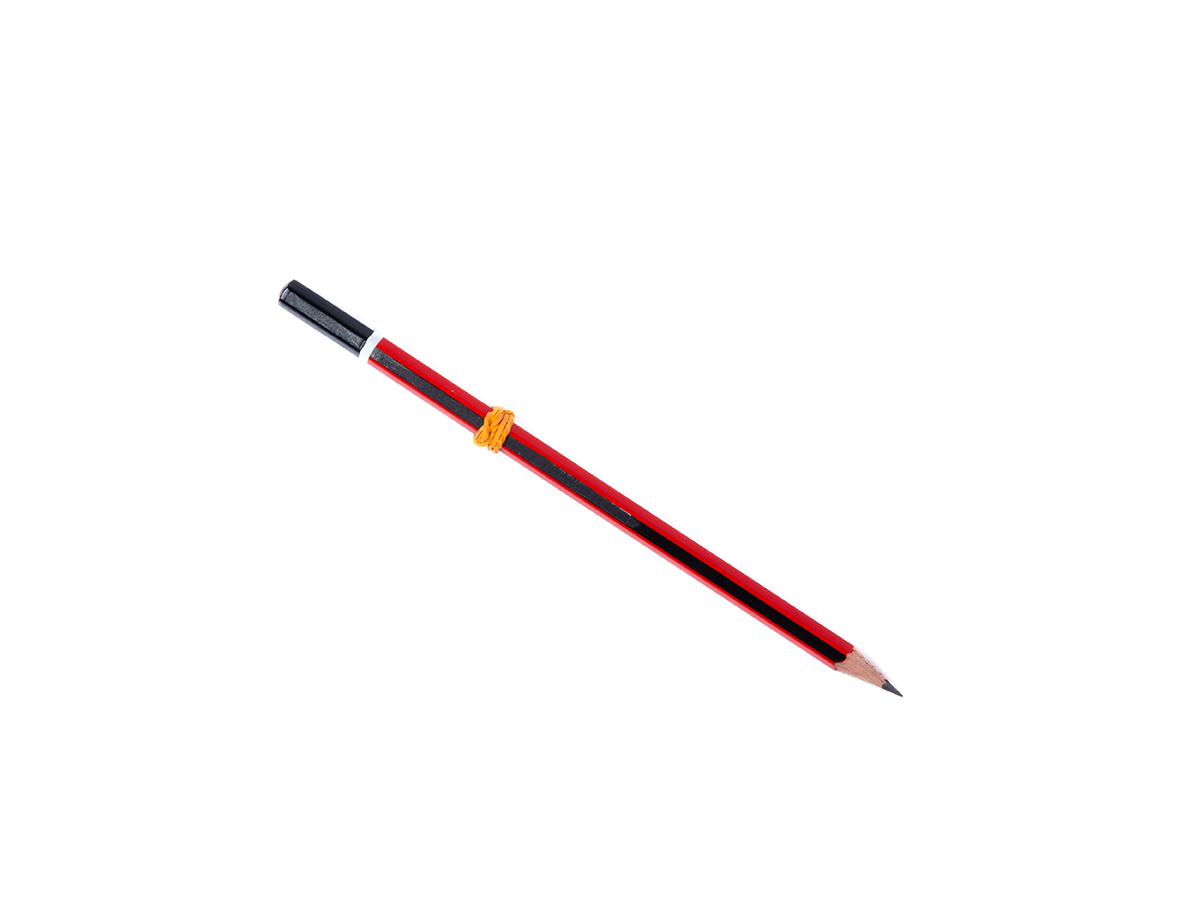
Put the rubber band on the pencil about one third of the way down from the blunt end, making it a little tight but moveable.

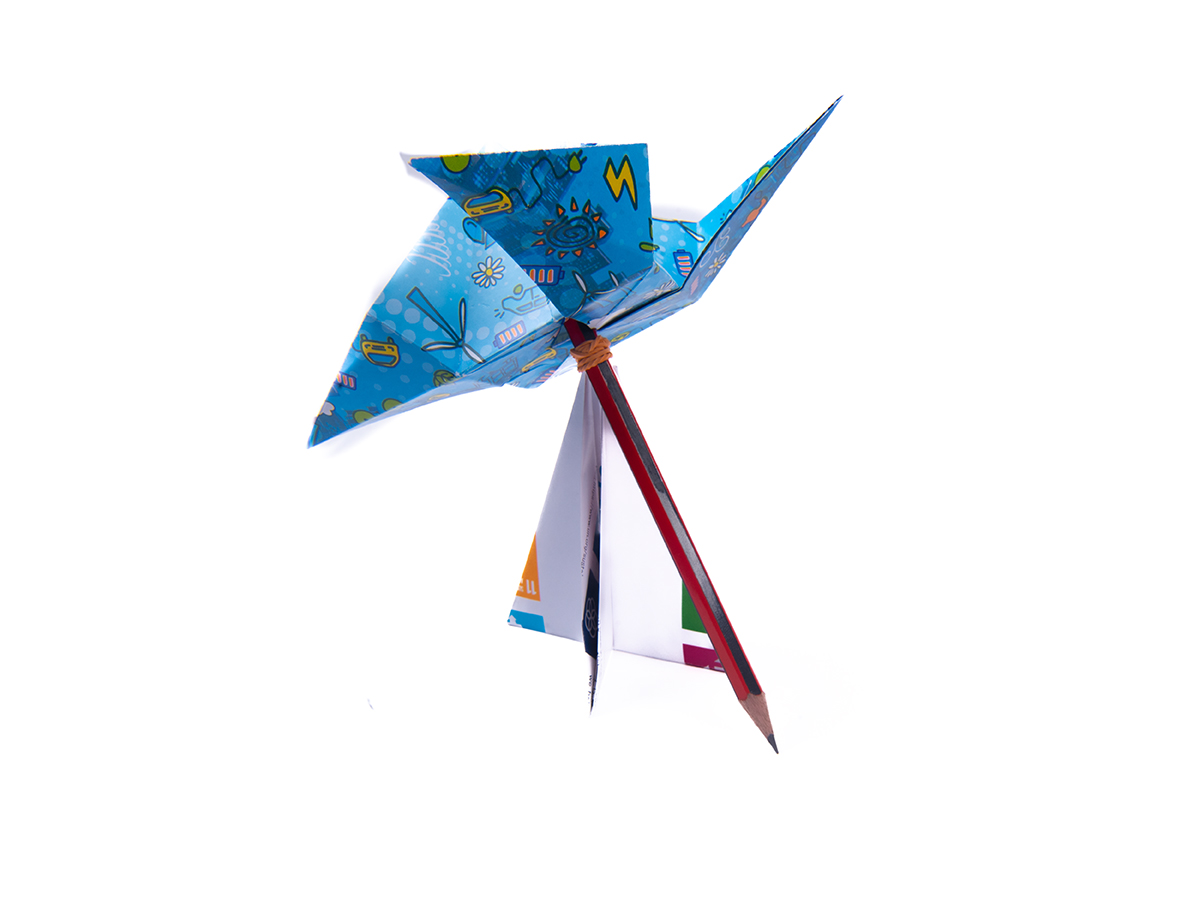
Put the blunt end of the pencil into your fan through the hole you used to inflate it.
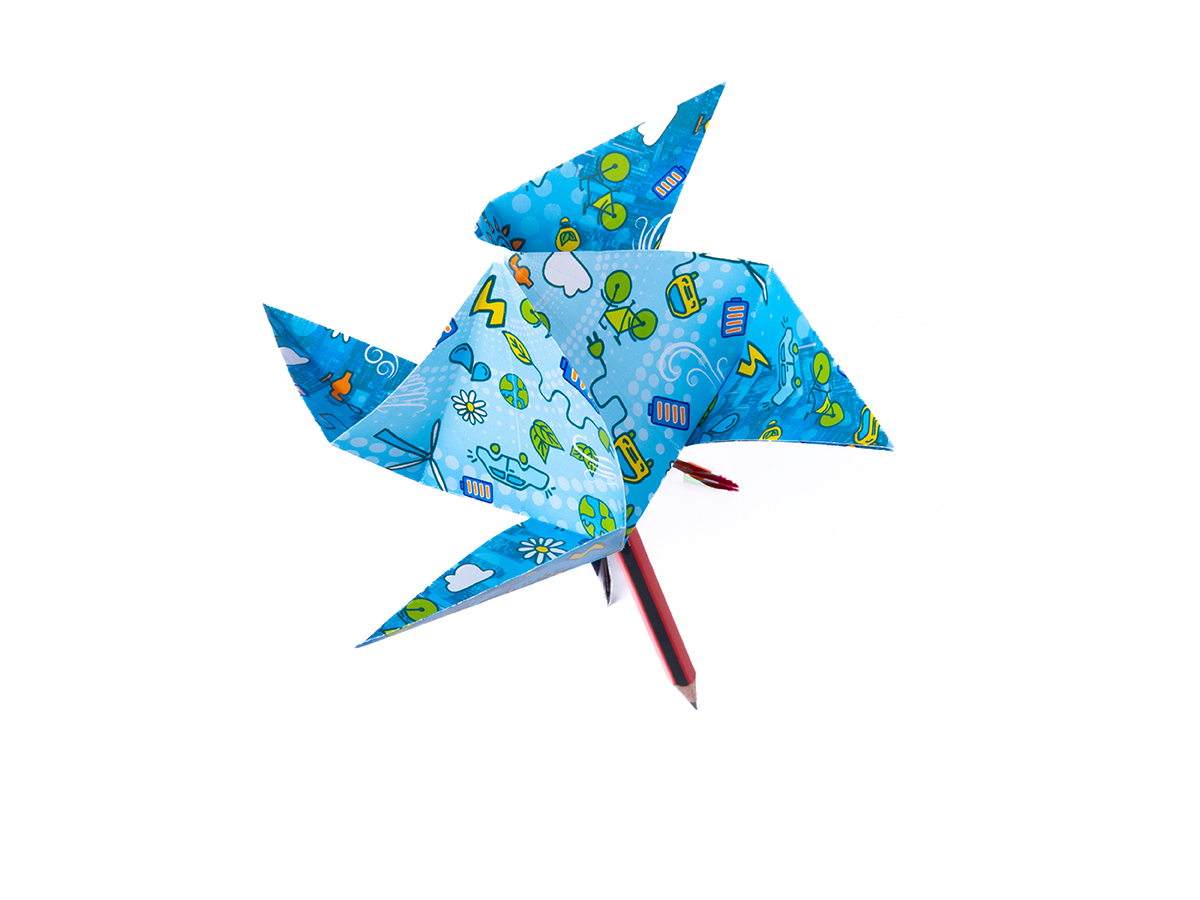
Yon can now balance the fan on the base and your wind turbine is complete! Hold the pencil and blow on the turbine to make it spin!
To assemble the wind turbine, you will need a full-length pencil and a rubber band.
Put the rubber band on the pencil about one third of the way down from the blunt end, making it a little tight but moveable.
Put the blunt end of the pencil into your fan through the hole you used to inflate it.
Yon can now balance the fan on the base and your wind turbine is complete! Hold the pencil and blow on the turbine to make it spin!


Other Origamies
Explore an exceptional range of origami artworks, where tradition meets innovation. Each piece is thoughtfully crafted, highlighting the artistry and precision of paper folding. From timeless classics to modern interpretations, our collection offers a unique insight into the versatility and beauty of origami.
©2024 National Development Bank PLC, All Rights Reserved
Design & developed by Ogilvy Martech.